moving right along - used the last seen clamps and block, wrapped in wax paper, to hold several layers of cloth/resin in place inside the transom upper lip, flattening and reinforcing that area, while at the same time putting a plywood reinforcement plate on the inside surface of the inner transom, in the area of the lower motor mount bolts, also pulling that area flat, results as seen
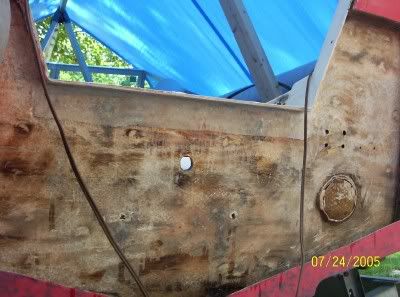
this effort successfully pulled the inner transom wall flat, so that I could beginning shaping plywood plates for the transom replacement. In the original transom, between the outer skin and the face of the plywood, was a very heavy, and highly troweled / grooved layer of putty - the outer skin was not uniformly bonded to the core, and this also made for an offbeat thickness, so my transom layup looks to be 3/4" / 1/2" / 1/2" - I have the first two plates in now -

last night, after a good 24 hours cure, I pulled the bracing off, and checked thru the bolt holes, and a couple of taped off interior inspection holes, and I have a good solid mate and bond all the way across the transom.
and right now, I'm bushed - gonna take a break for a few days.
Added to the punch list:
the gas tank appears to have slid backwards during the tow home, stopping against the bolt / bracket in the keel for a thru hull transducer - that needs help.
the gas fill line looks ancient (well, 32 years old !) so some plumbing is in order.
I'm going to add a knee brace from the keel up to the transom.
I like the accessability I created with the hole in the splash well, so I want to dress that up for keeps.
Yes, I still think I'll get this in the water this season, yet....
I hope !!!
Bill