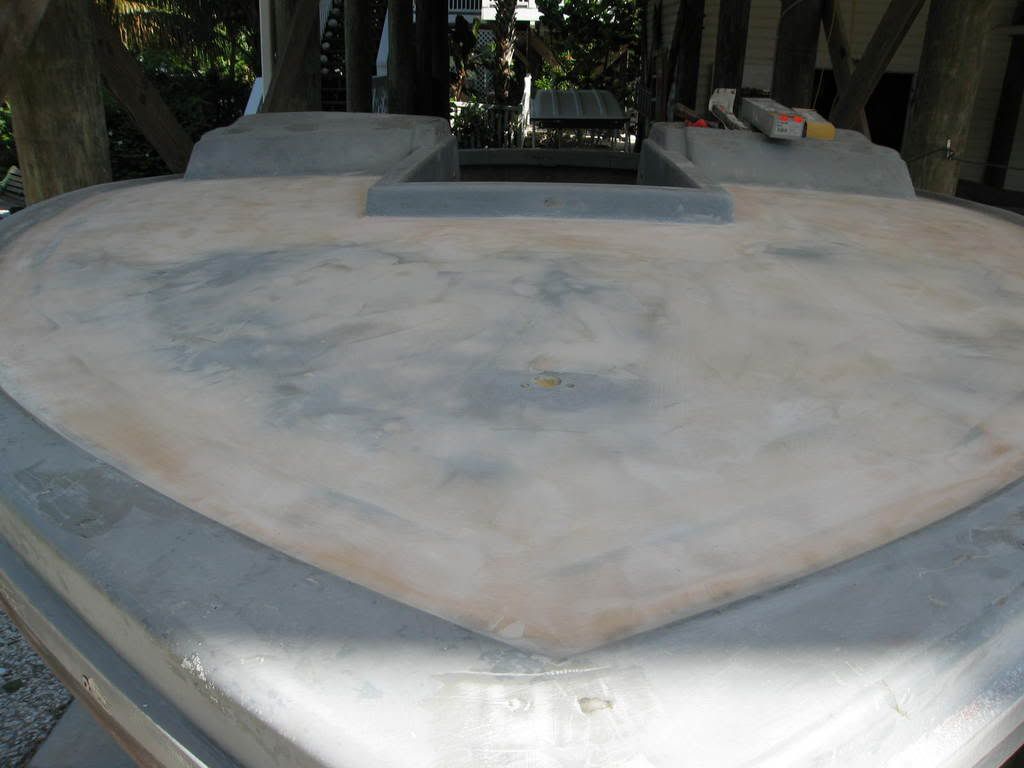
Finally got 95% of the front deck done. Just a little more fairing and on to the front cap rails and dash.
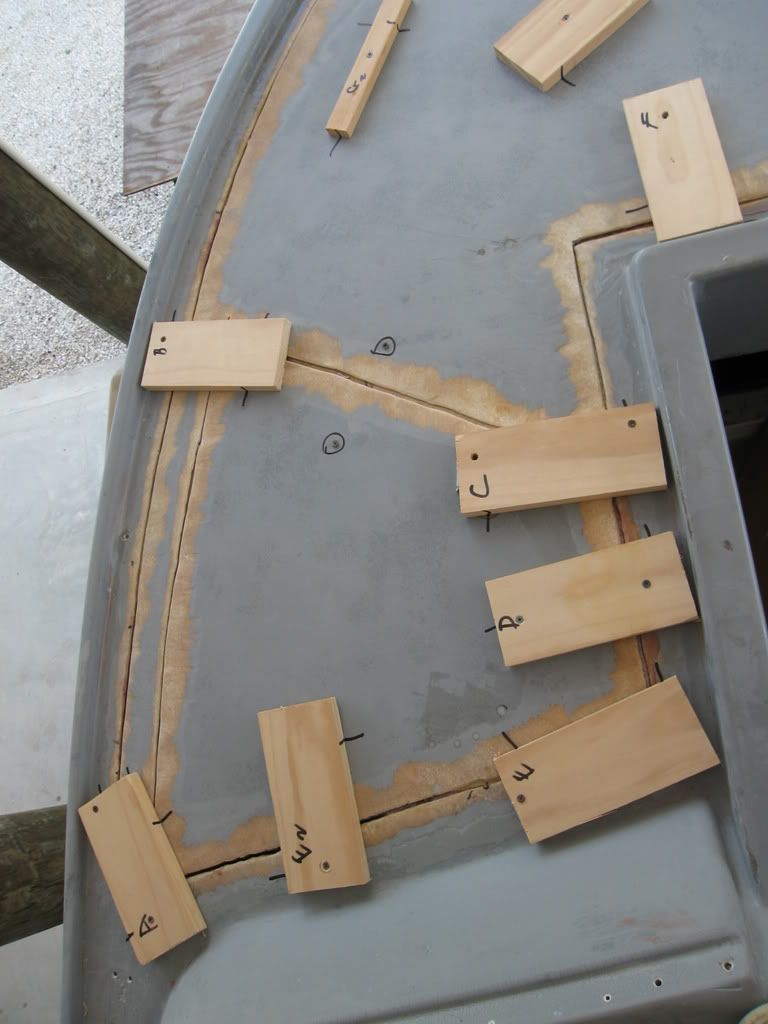
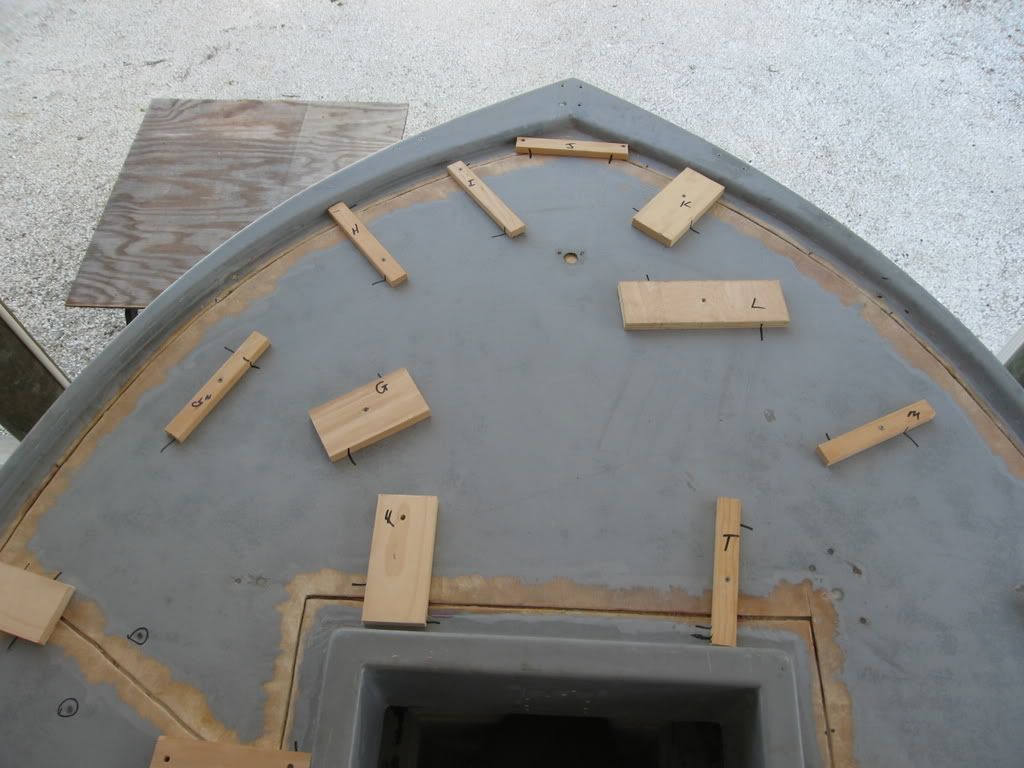
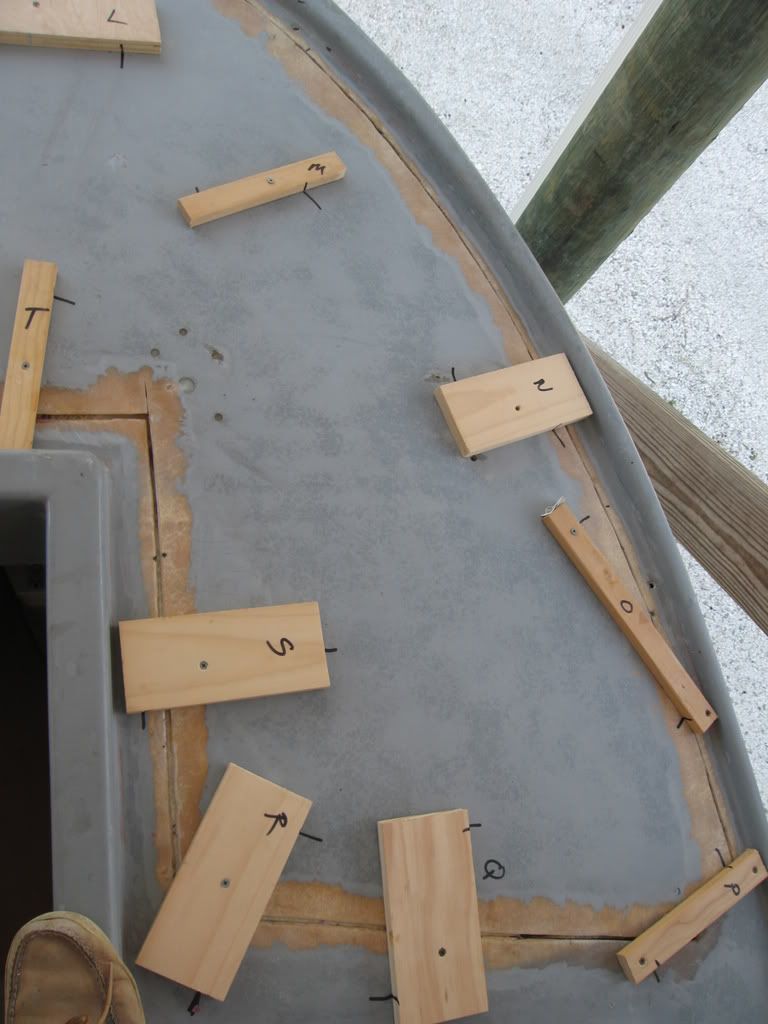
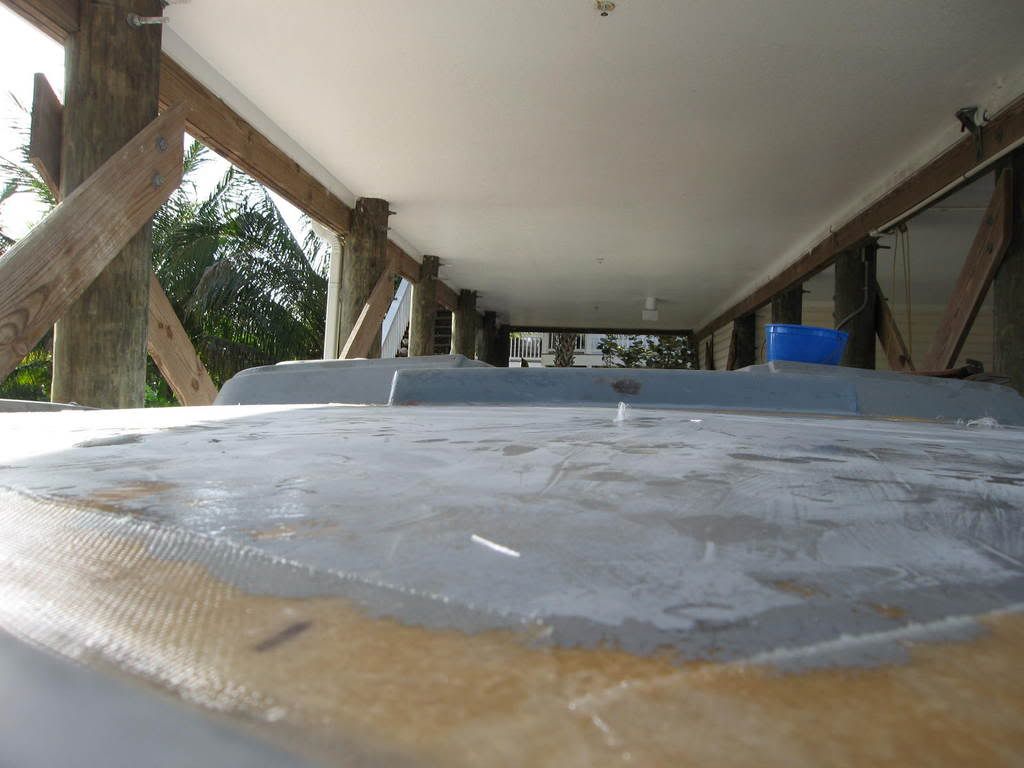
The first 3 pictures show how I used strips of wood and dry wall screw to hold the deck in alignment with the seams. Sand bags just would not hold the crown down...so this seemed like the easiest way.
I got tired of mixing epoxy and cabosil together so I bought a product from Systems 3 called. Gelmagic. It is an epoxy that is premixed with the solids. All you have to do is mix the resin and hardener and the stuff trowels out perfect. I will never mix cabosil again for a big job.
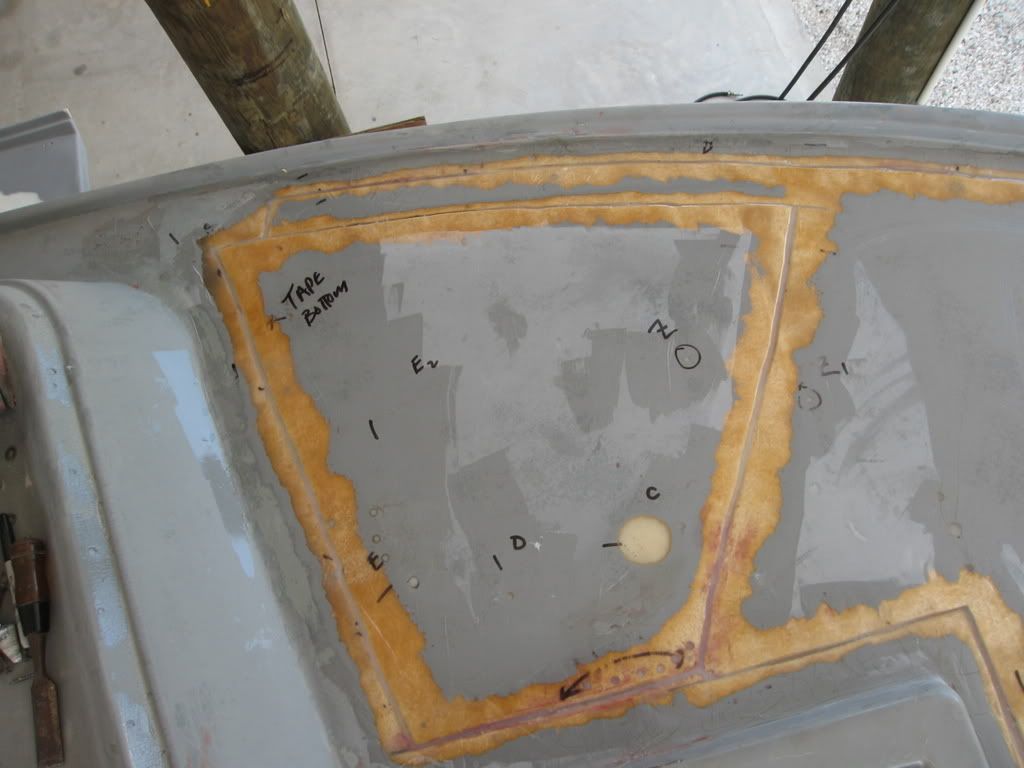
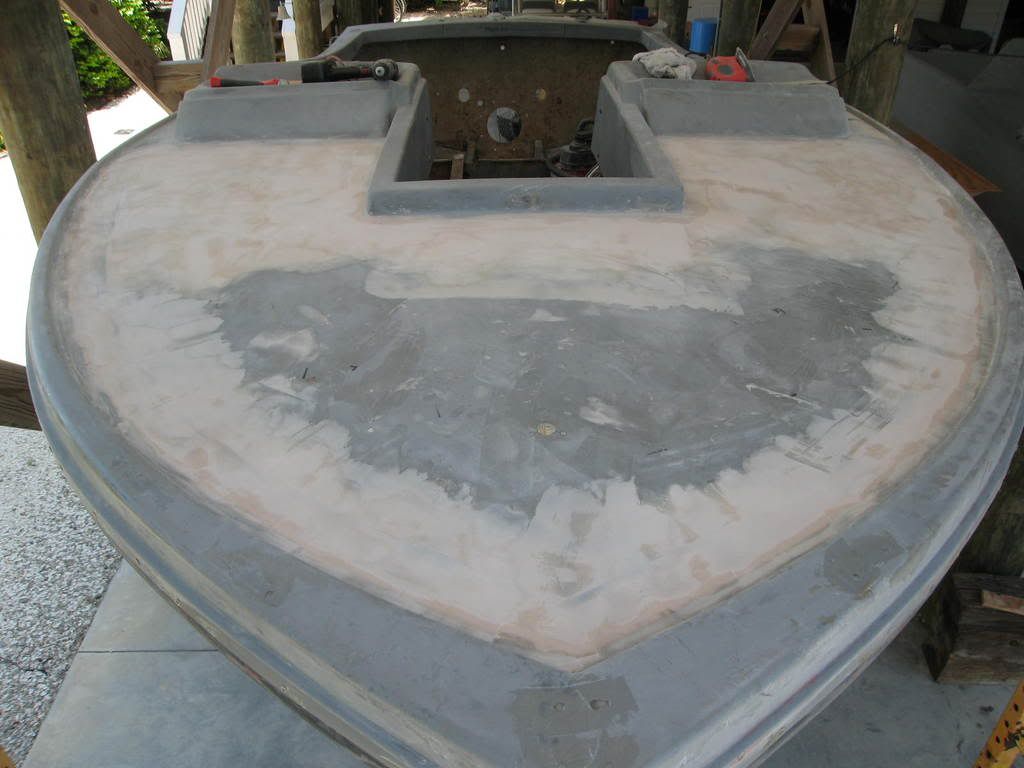
After removing the fasteners I then used epoxy and cabosil (small job) and filled the seams. Then covered the seams with fiberglass tape.
After a 1/2 gallon of QF3 and a lot of sanding by hand, it is ready. I have every sander known to man, and yet I still like to block the areas by hand. I guess that hark ens back to my street rod days when there were more rounded surfaces.
Now I will work on the cap rail and dash. Then continue towards the transom.
Thats it for now!
Mechanical fasteners Left,Center, Right.
Seams filled and taped.
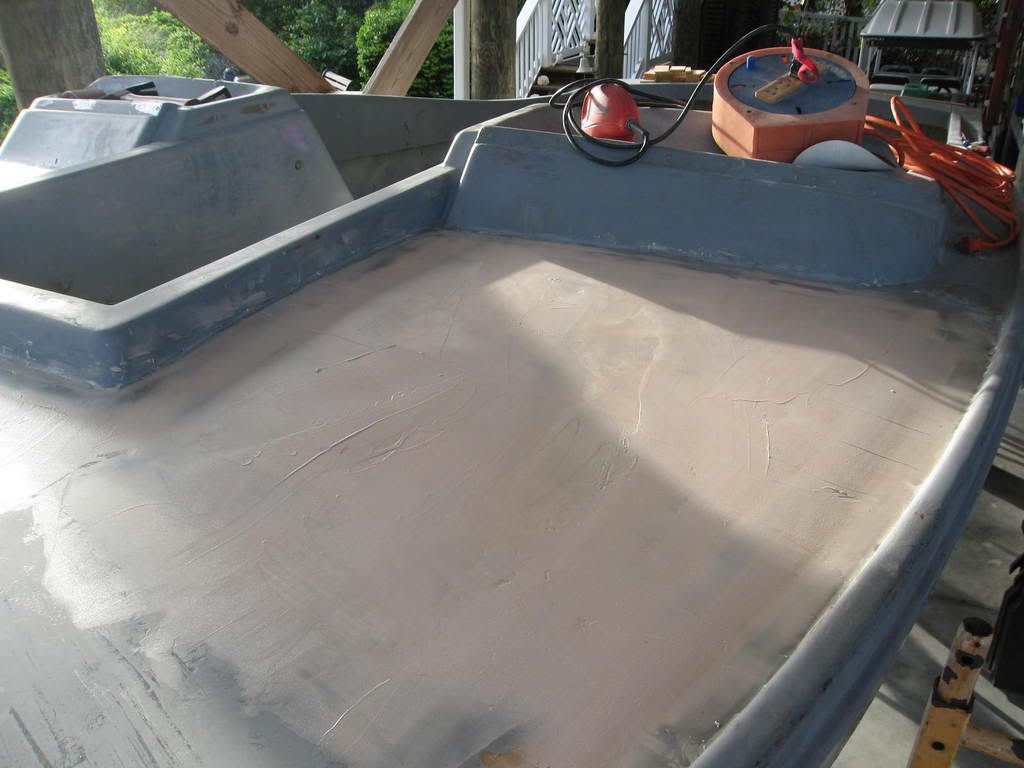
First coats of QF3 working forward and center.
You can see the crown.
That enough to bore you all.