Just so no one thinks I'm slacking off here are some pictures of my progress in the last few weeks. No particular order to these just progress.
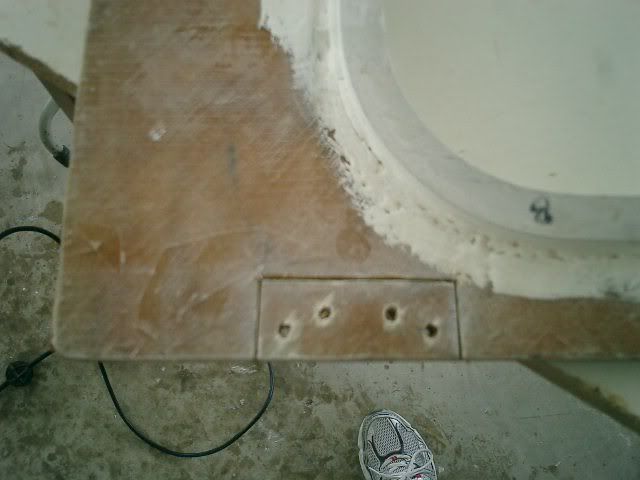
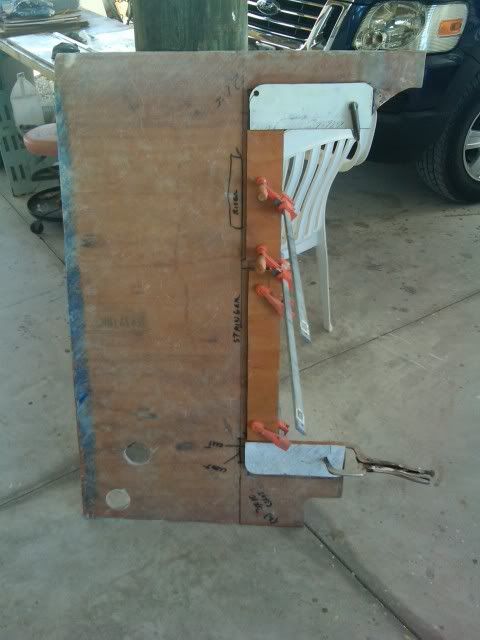
One of things I wanted to do before putting the floor down for good was to figure out a way to secure the engine cover to the floor without wood type screws. I did not have enough room to use T-Nuts, because a bulk head was in the way, plus when I notched the bulkhead for nylon nuts I still did not have access to it.
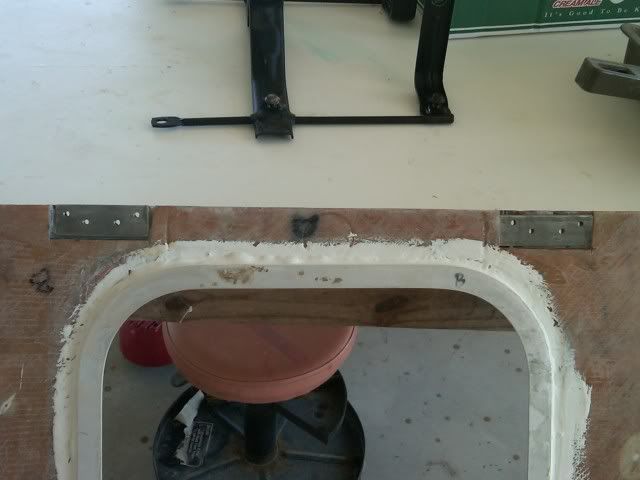
Here is my solution using s/s plates that were tapped for 10/24 threads.
Wood scored and 1/2 removed.
S/S Plates
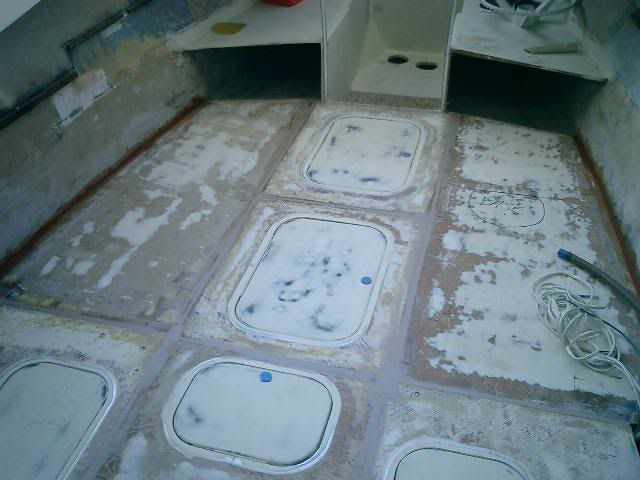
Next came the floor alignment...then the epoxy and fairing compound. Now I need to tape the floor to the hull sides and do some more fairing.
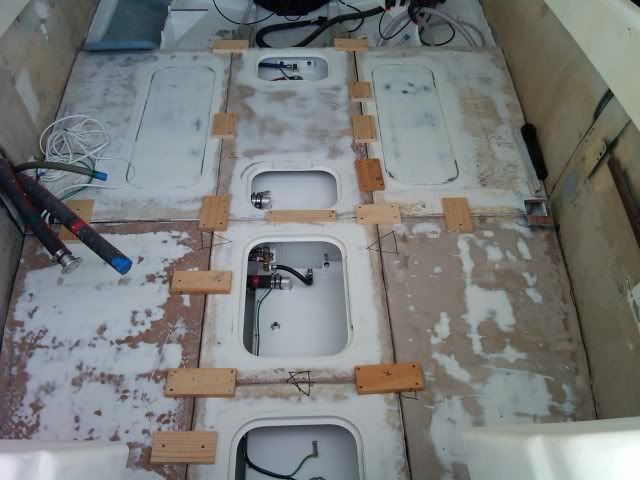
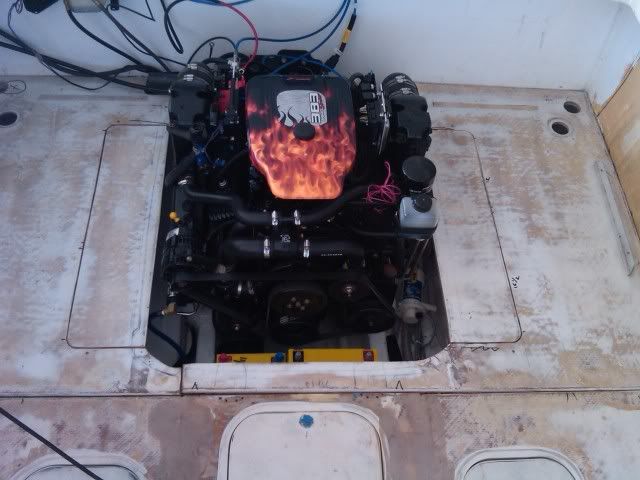
After looking at the last two floor panels for a long time I decided that I needed more room around the engine.
Solution was to cut some access areas that will be hinged, so that when the engine box is opened I then open the panels.
Making the cleats for the cut out area.
Engine sitting nicely with cutouts.
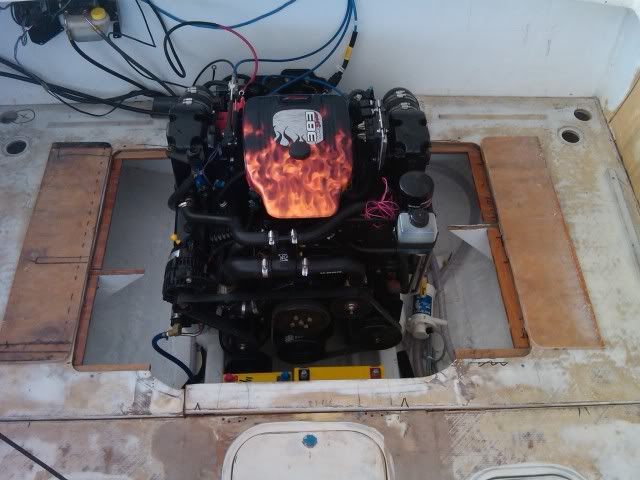
Shown with cutouts opened.
The look with the engine box down
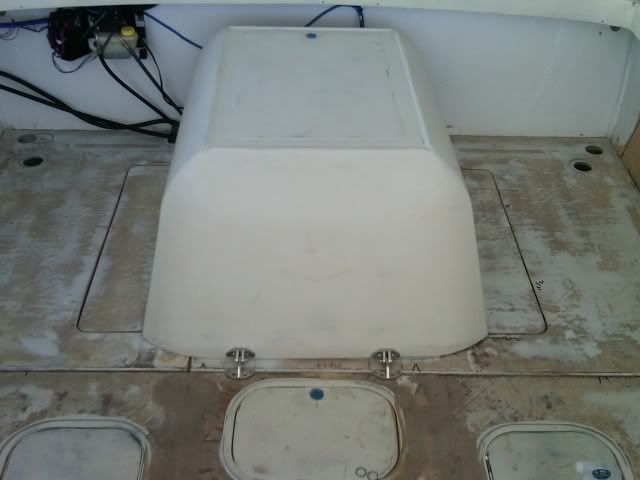
Now I feel comfortable in epoxying the last two panels down and being able to work around the engine.
Wiring for the engine should being showing up in the next few days...then I get to start it...
