You get to the bow by walking around the cabin rather than through the front window. To make this easier, there are grab rails on the top, the cabin sides are canted inward slightly, and all deck hardware is flush mounted so there's nothing to stumble upon. All of this will be apparent in future photos.
I replaced the headliner myself. Go to
www.sailrite.com and search for "headliner". I followed (mostly) their video installation instructions posted on YouTube:
http://www.youtube.com/watch?v=bHLq6FxQiI0
I would suggest using new scissors - not ones ruined by cutting fiberglass - and having lots of fresh box cutter blades. The tip of the blade dulls quickly trimming against fiberglass and then the headliner pulls and tears instead of cutting cleanly. The scissors are better if you have access and clearance. I had better luck placing the headliner, marking the edges to be cut with a marker, pulling it away while the adhesive was still wet, and then trimming away the marked line with the scissors. (You may have to spray a coat of adhesive on the headliner backside if it doesn't want to stay in place after trimming.) The carpet type headliner material is actually pretty easy to work with and stretches a lot to compensate for mistakes and/or deal with irregularities. Start on vertical surfaces, or smaller areas, before you tackle a big piece like the overhead, to refine your technique and become familiar with the process. Seams are hard to perfect, so try to place them in areas where they are less visible.
It took me a couple of hours to do the forward cabin in the Tsunami, and half that was spent tryng to figure things out, and because I foolishly started out with the overhead. It was like working under a tent and very awkward, but one continuous piece did the entire overhead.
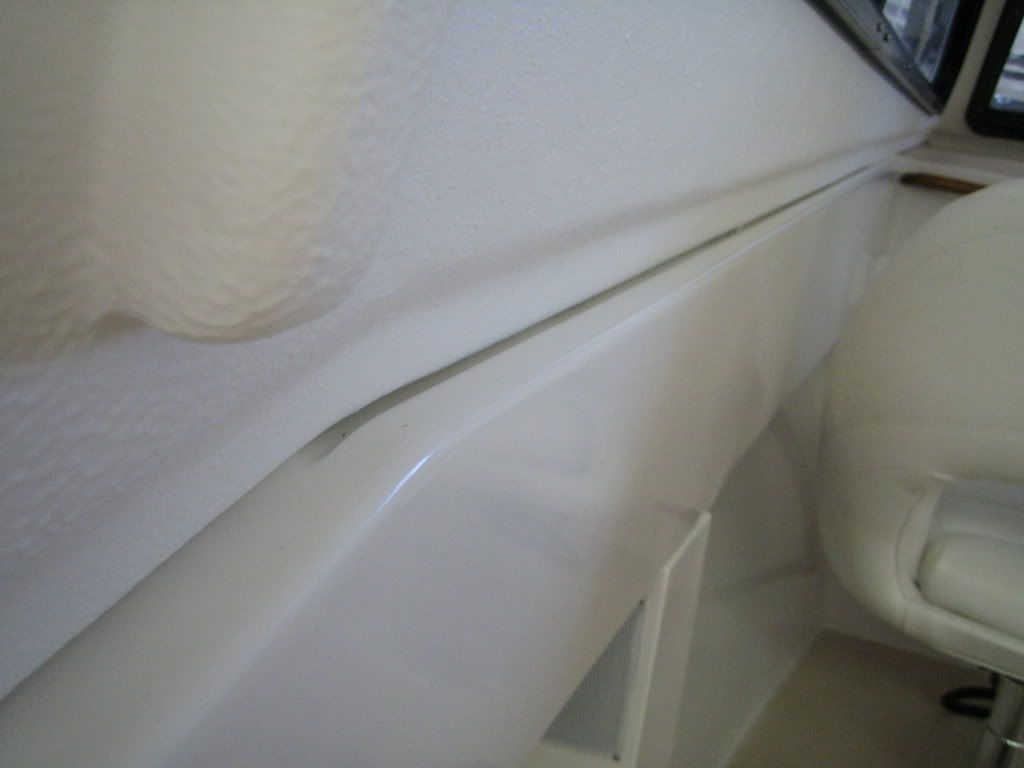
The interior cabin enclosure was finished with rolled gel coat and has a lightly textured surface, which looks clean and nicely finished. You can see the texture in the following image (as well as the small gap that is being caulked and covered with 1/2" teak quarter round molding).