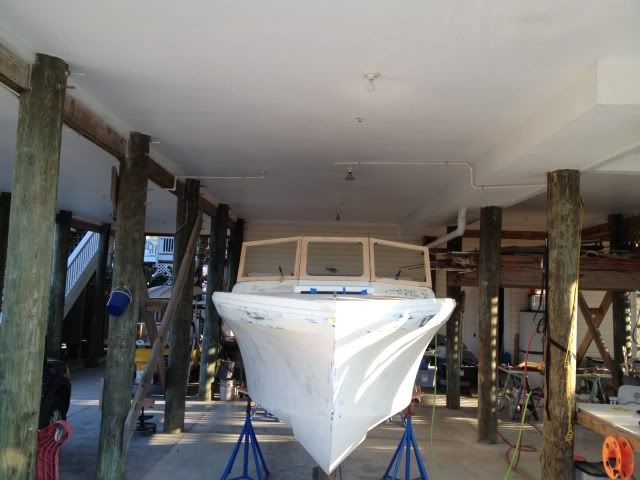
After doing my cardboard mock up and deciding that a wood windshield would be the way to go here is my update!
The next step after card board was to see if I could tame down some of the sharp angles of the design and incorporate into the rounding of the old base.
Unlike the Seafari models that are flat my set up is all round.
First step was to cut a small wood mock up and then do the modeling clay fairing to see if it would work.
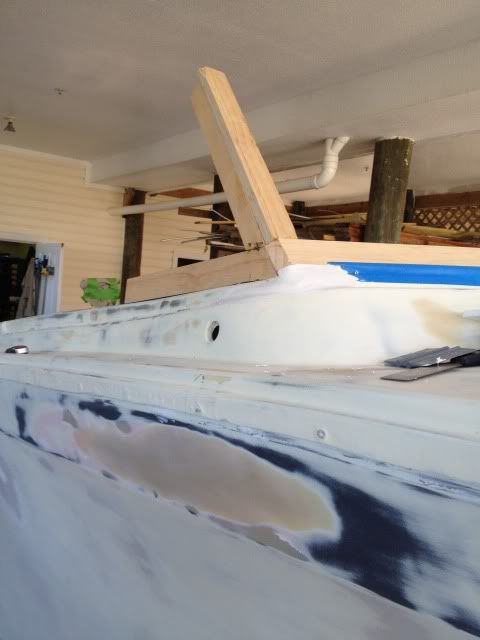 After being satisfied then it was on to flatten part of the dash so the side frame would fit tighter.
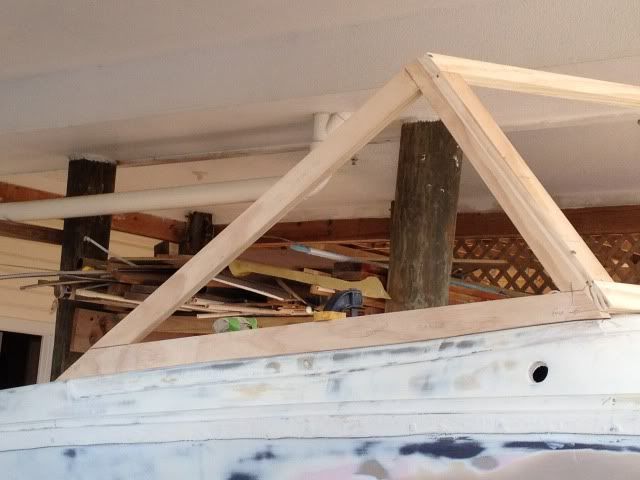
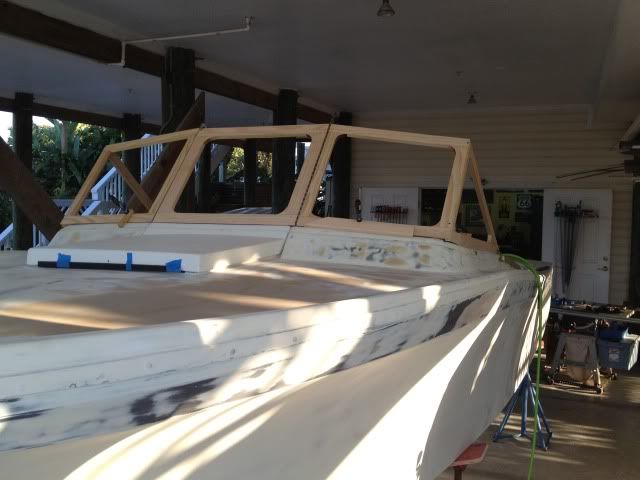
 After that was done then it was on to a full frame mock up in wood. The hard part of this whole deal is that there are compound angles on every piece. For example the out side of the windshield sits on a 5 degree inward leaning deck. So the bottom out side panels had to be cut 5 in the opposite direction to get them to sit vertical. All together there 6 different angle compound joints. Except for the middle panel the are no 90 degree joints.
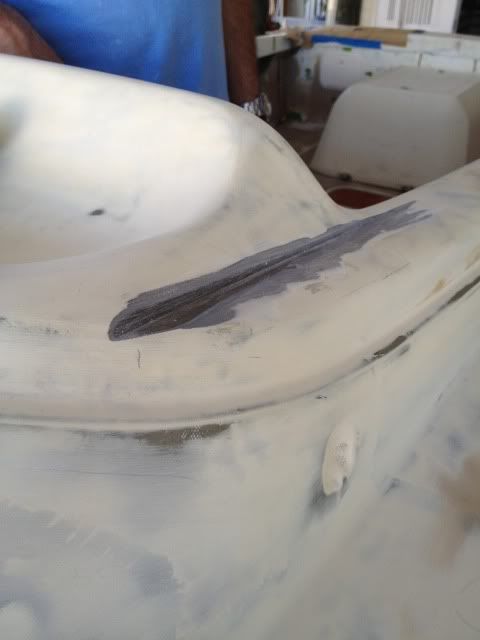
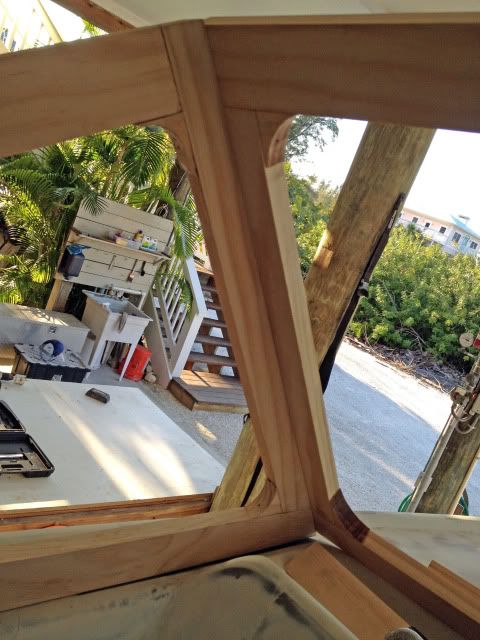
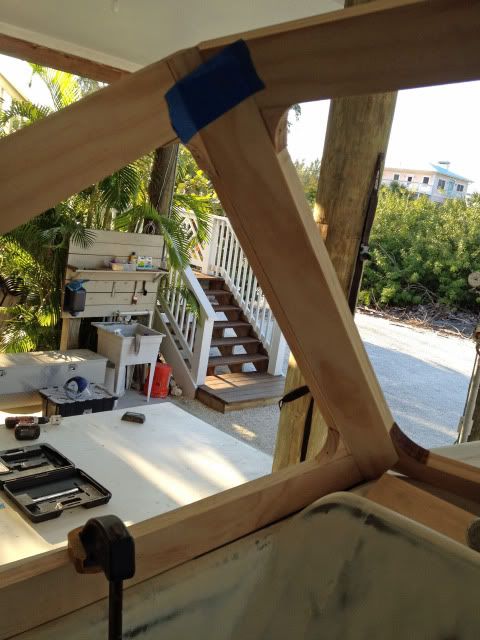
The next part was to get all the gaps right and to soften up the hard angle look. The way I did that was to cut filler pieces with a 2 inch radius for the inside corners.
Without
With
 The next thing was to clean up the inside joints and to add strength.
Before
The next thing was to clean up the inside joints and to add strength.
Before
 After
After
Inside view
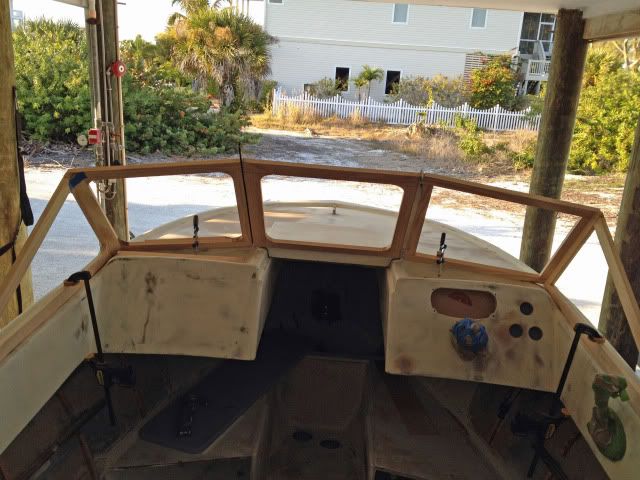
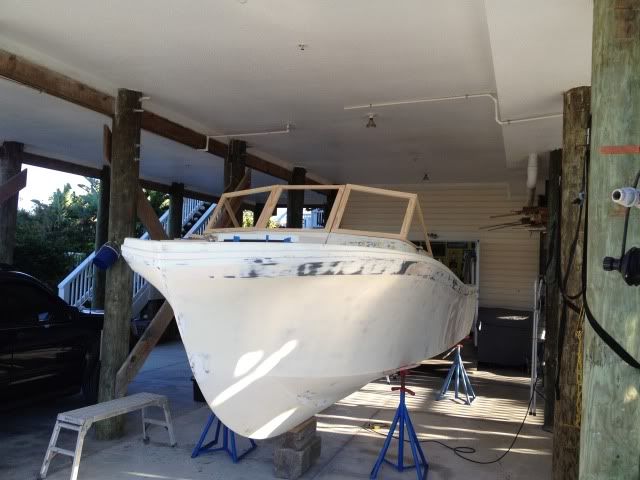
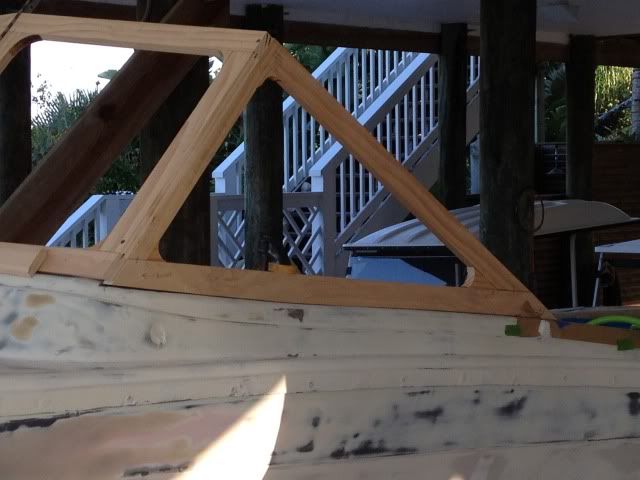
Now I think the Windshield is looking softer and fits the boat well.
Notice that the starboard side was not rounded for comparison view.
What is left to do now is to make attaching points and to thin down the center panel so it matches the width of the other two. Fair in the corners and
then break down this mockup (which is done in pine) and make a paper pattern with all my notes for angles sizes and so on. Then go off shopping for White Oak.
The final windshield will be constructed when the boat is in the paint shop, so I know I will forget something if not written down.

Parting view...I forgot to mention that the center section will open to Port.