
|
|
|
|
#1
 03-26-2009, 12:27 AM
|
|||
|
|||
|
First of all I would like to compliment this website and those who built, maintain it and post regularly, excellent job!
My good friend "The Digger", who will be posting his 18' restoration on here shortly, got me fired up and I purchased my first Seacraft in February of this year. It's a 1978 20' SF and looked at lot better in the photos on Boat Trader than it did when I got it home. I hope the pros on here will be able to give me some good advice as I know I will have lots of questions. This is what I found on line when searching for a boat..... 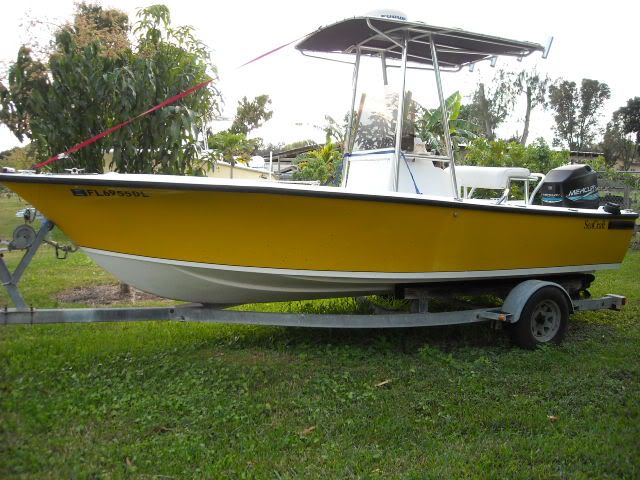  After a weekend of crushing fish at the Marathon Hump (pics to follow), here she sits in her new temporary home. We had some sanding assistance while we were out playing over the weekend. The strip down begins..... 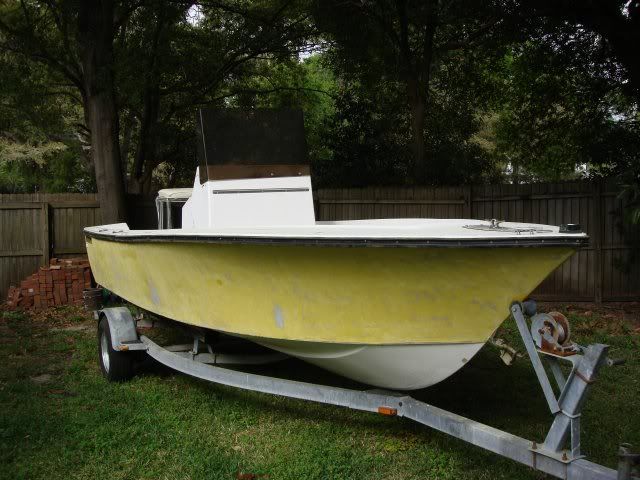 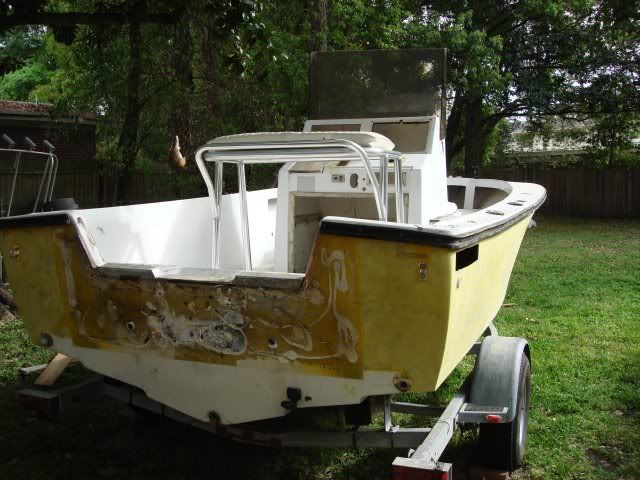 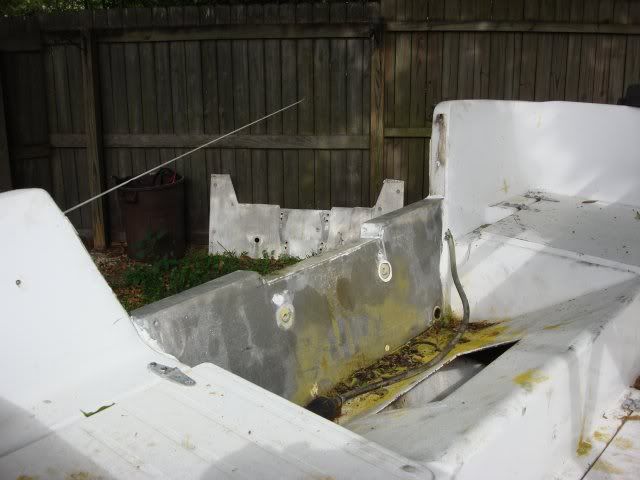 After I had removed the rub rail. It didn't take long to figure out that the boat had been restored once before.....  Enough can't be said about having good help!  One thing that caught me by surprise was that the previous owner has evidently topped it off with fuel before parking it. I repositioned the fuel line and used the priming bulb to siphon out 50+ gallons. 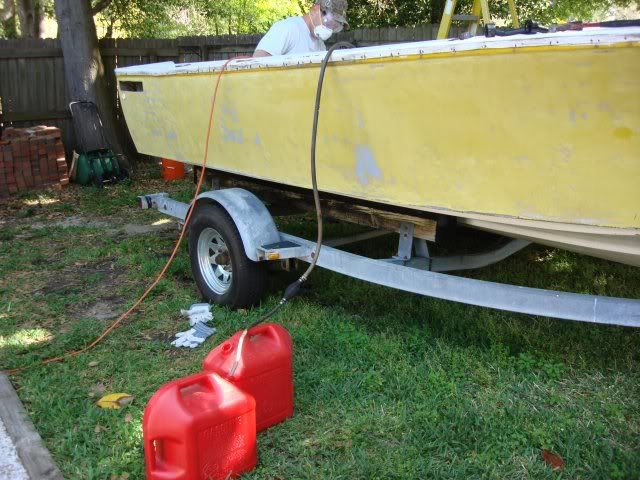 Removal of the rear boxes and access hatches.   The previous restoration had built up the top of the transom with scraps of plywood and what I think is a Cabosil mixture.   Deck removed to expose the fuel tank.  Fuel tank removed and foam cleaned out.  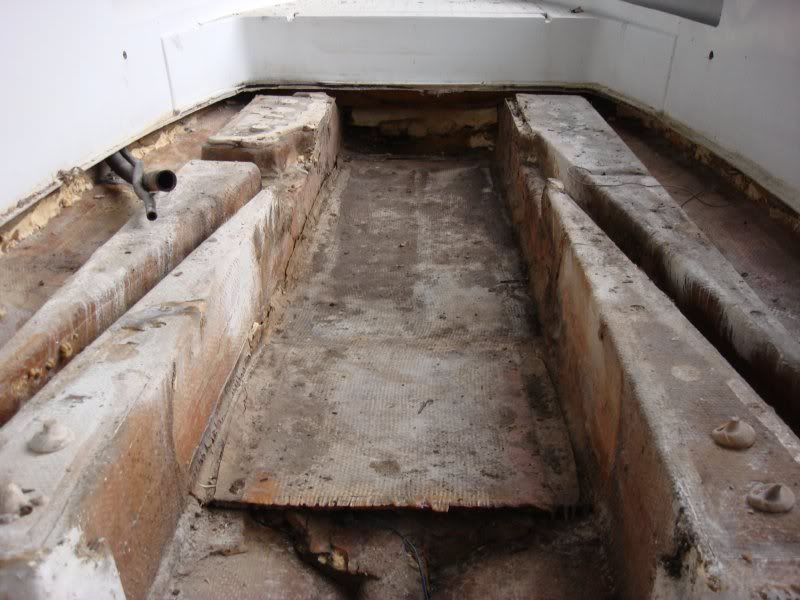 Stinger that was either broken or not put back together properly during the last restoration.  That's it for now. Looking forward to the weekend!
__________________
Will 
|
|
#2
03-26-2009, 08:50 AM
|
|||
|
|||
|
Looks good. Man, that first pic looks so clean I was wondering why you would be restoring, until I saw all of the others.
 Good luck! Good luck!
__________________
FishinDaze
|
|
#4
03-26-2009, 02:27 PM
|
|||
|
|||
|
Can someone give me some guidance on a brand or a link to buy the two-part foam that I have seen on this site for filling stringers and the voids between the deck and hull?
__________________
Will
|
|
#5
03-26-2009, 03:27 PM
|
|||
|
|||
|
You can start with here, higher the number the denser the foam.
http://www.fgci.com/
|
|
#7
04-09-2009, 07:38 PM
|
|||
|
|||
|
Nice boat and a good way to start,
__________________
Kevin
|
|
#8
04-12-2009, 11:41 PM
|
|||
|
|||
|
Not a lot of progress on the boat this past week with work, my one year wedding anniversary and the holiday weekend so I thought I would mix it up with some fishing pics I had mentioned earlier. This was March, Friday the 13th at the Marathon Hump in the Florida Keys. We had a pretty good haul with a couple of bull dolphin, blackfin and skipjack tuna, amberjack (I released another 40 lb'er), queen snapper and a snowy grouper. It was rough day but worth the pounding!
  I did get some sanding done on the exterior transom skin this past week. It doesn't look like much but if you look back at one of the first few pics you can see all of the caulk that had been used when the reinforcing plate for the transom was previously installed. It was very tough to remove. I used a wood chisel to scrap it and my orbital sander to take off the top coat of paint and the bottom paint that was on the lower transom below the water line. I've gotten lots of material ordered and hope to really get cranked up in the next couple of weeks. It cost more but I decided to go with a 1.5" Coosa board (Bluewater 26) for my transom core so it will be a one piece installation. I also spent some time calculating the amount of 8 lb structural foam that the stringers will require. My initial estimate is giving me roughly 5.0 cubic feet per stringer. That stuff is expensive and I don't want to order more than necessary.  Other than that I just continued removing hardware from the top cap. I drilled some pilot holes to determine what the original thickness of the coring material for the bow and gunwales was. What used to be wood was nothing but sawdust and that is being kind. However, dropping a tape measure in the pilot holes it appears a 3/4" material was used in the bow and transitioned to a 1/2" at the gunwales. You can also see where the wiring for the forward navigational light was glassed in. I plan on glassing in a conduit to blow strings through to pull my wires. I couldn't imagine the headache if you had a nick in a wire and would up with a short or some other freak occurrence and need the ability to pull them if necessary.   
__________________
Will
|
|
#9
10-02-2009, 02:10 AM
|
|||
|
|||
|
Quote:
You are doing a great job and when it's finished you are going to be so happy knowing what is under your feet is solid and sound. Keep up the good work! strick
__________________
"I always wanted to piss in the Rhine" (General George Patton upon entering Germany)
|
|
#10
10-06-2009, 11:16 PM
|
|||
|
|||
|
Strick,
thanks for the compliments. I've reviewed your posts many times for ideas and guidance during my project. I even joined the "two" SeaCraft club last week with the purchase of a '71 Seafari. Not sure if I'm going to keep or not since I was mainly after the trailer but it sure feels good for now!!
__________________
Will
|
 |
|
|


 Hybrid Mode
