
 |
|
#1
|
|||
|
|||
|
OK guys... I'm sure I'll get lots of different opinions on how to take on this next project. There are a couple issues that will limit the things I can do to fix these items. Want to know what you all feel are some options for me to get the interior of my boat looking as good as it can be with the least amount of time off the water and money involved. I have a 1977 23 SF and the interior is solid and has no soft spots however there are lots of p laces that have spider cracks but more obvious little dime sized craters where it lookslike the gelcoat layers just popped out and made a mini-pothole with a layer of glass at the bottom. There are also places around the rear hatches that appeared to be hollow just under the gelcoat and the gelcoat has cracked and flaked revealing a small (pencil thick) hollow area that a runs along the interior of the rear cooler hatch. Then I also have screw holes that need to be filled from previous pedestal seats that were in the boat.
The factors I have to keep in mind is Tuna season is upon us here at the Big Rock. It's winter for working with epoxy, gelcoat, polyester outside. We have some temps getting up to 60 degrees occassionally. I plan to redo the interior top notch in a year or so but righ tnow I will be eating up the majority of my time reinstalling a T-top and redoing my gas tank and tank supports. So I have my hands full removing the console, t-top and pulling the tank/replacing the rotten wood. I just would like some advice on ways to fill/seal any potholes, screw holes, etc to minimize any more damage and also make the boat look better. White filling materal, etc that doesn't quite match is much nicer than ugly black holes, craters, cracks, etc. I'll snap some pictures in a sec and show you the ares I'm thinking of. I'm new to working with gelcoat, polyester, etc. But did build a small kit kayak that I glassed with epoxy. Limited knowledge though. So dont feel bad giving me details that you think might be obvious. Thanks again in advance. Let me go snap some photos but wanted to get this on here to get you guys thinking.
__________________
Scott Atlantic Beach, NC 1977 Sea Craft 23SF 250hp Suzie 4-stroke |
|
#2
|
|||
|
|||
|
OK.. here are some of the photos from the interior of the boat. You can tell where previous owners had tried to seal some of the holes with some type of epoxy, marine-tex, resin or something. White, very hard and sloppy. I'm going to grind down these areas that have the stuff gooped on in the short term and try to get a much better result but somewhere short of restoring the entire interior this winter. I'll try to tell you where each photo was taken to help you imagine where it's at.
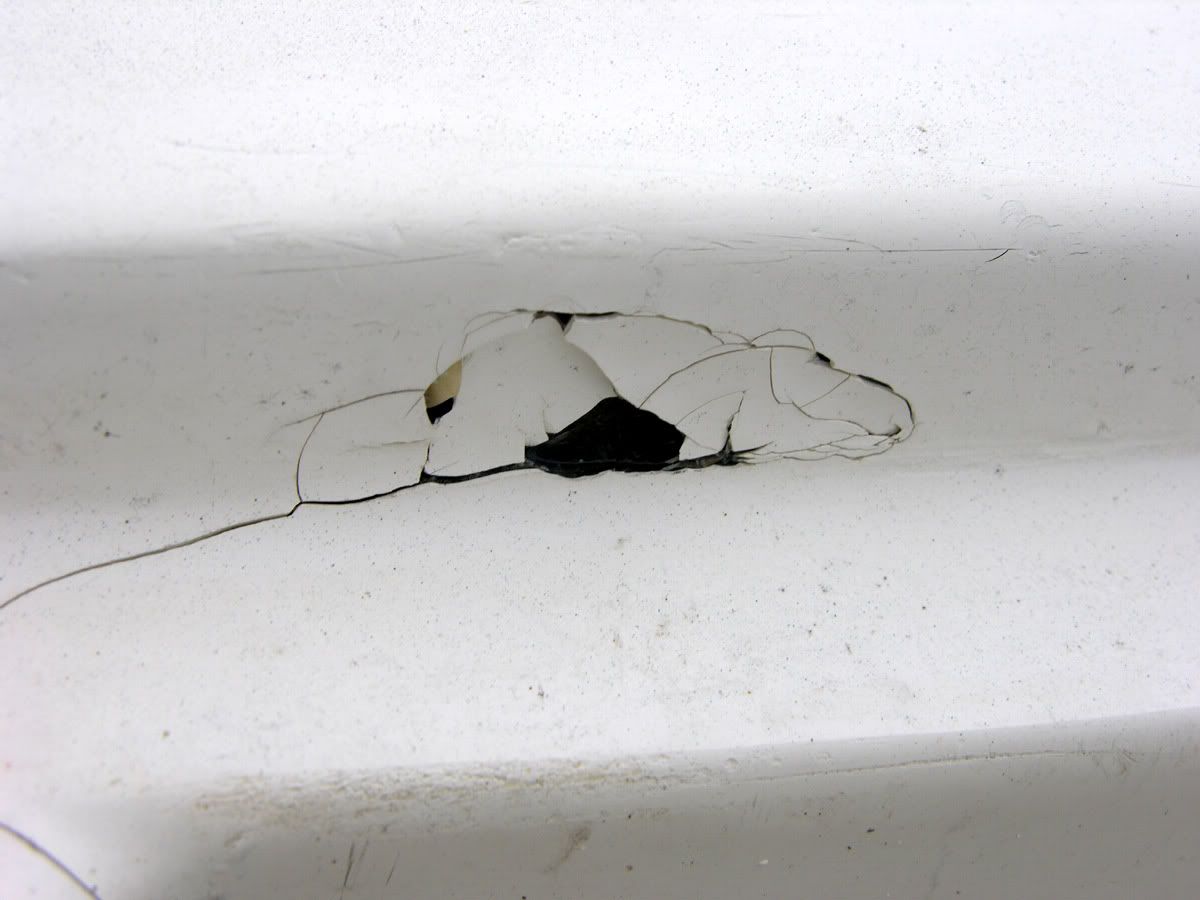 This one shows the "hollow" underside where it's chipping and can be easily plucked out. 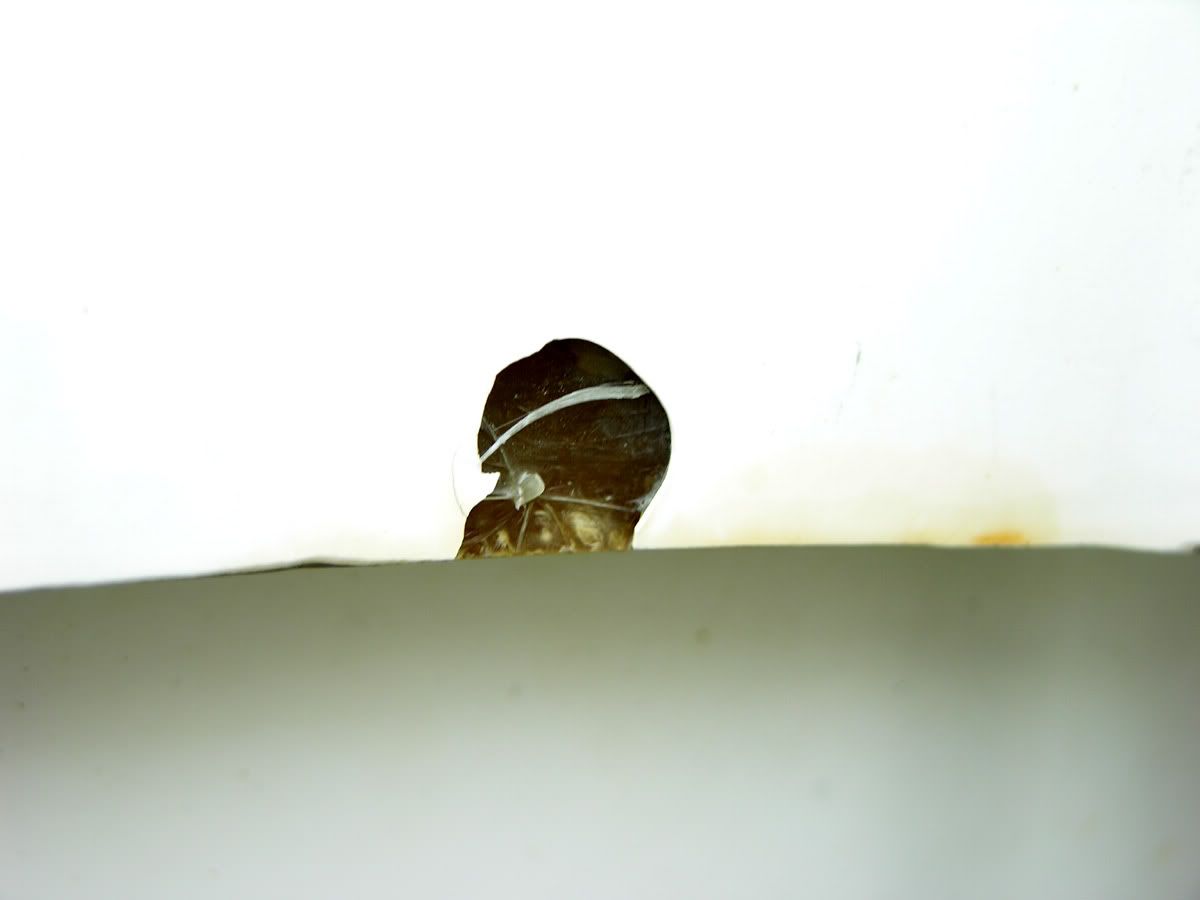 This one shows a chip on the cap. 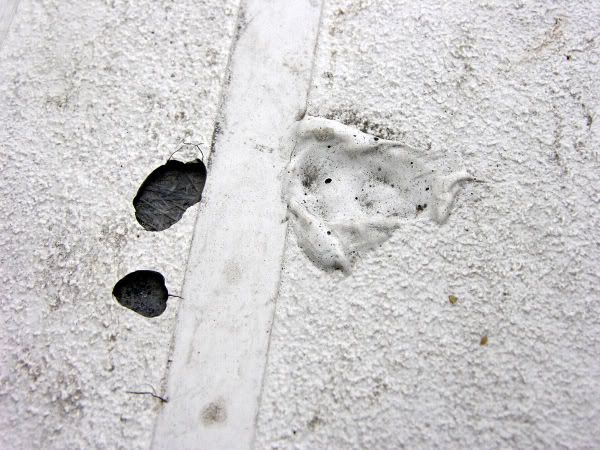 Chip in the floor but doesn't appear to be anywhere near as deep as the wood. You can see the gooped on repair that was done before. Don't want my results to look quite this bad in the meantime but glad they sealed some of the chips/dings that happened. 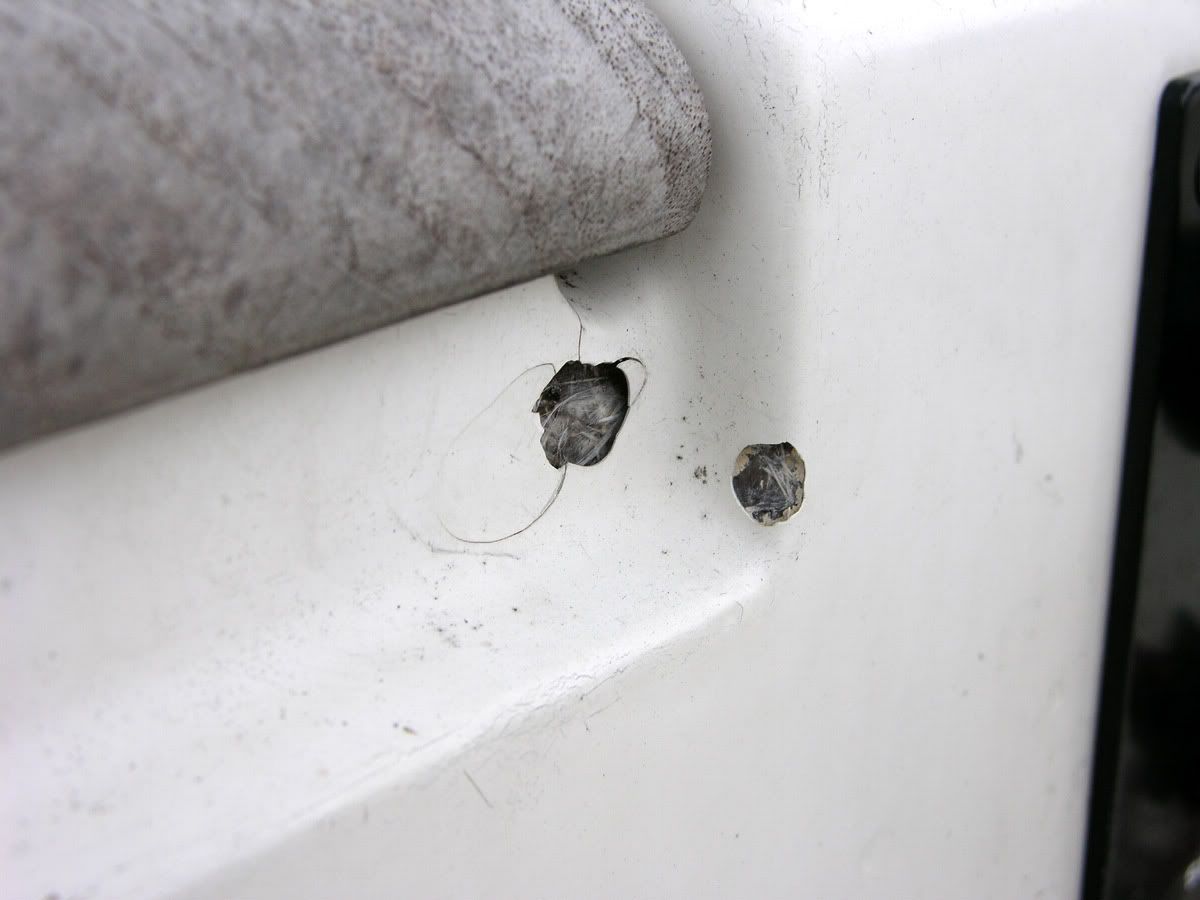 The glove box with some gel coat craters on the console. 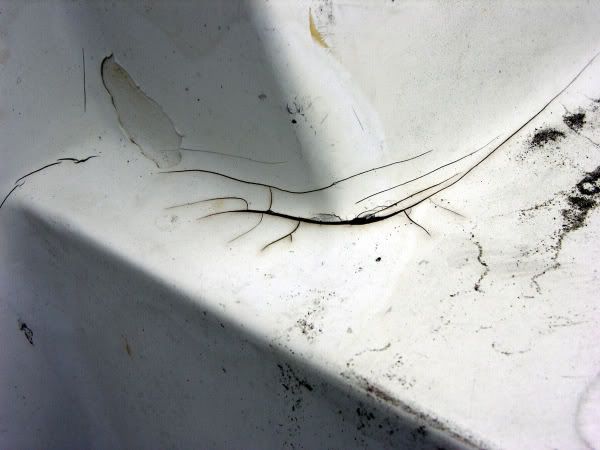 This is one of the cracks that really bugs me. Don't like it one bit. Just beside the fish box. 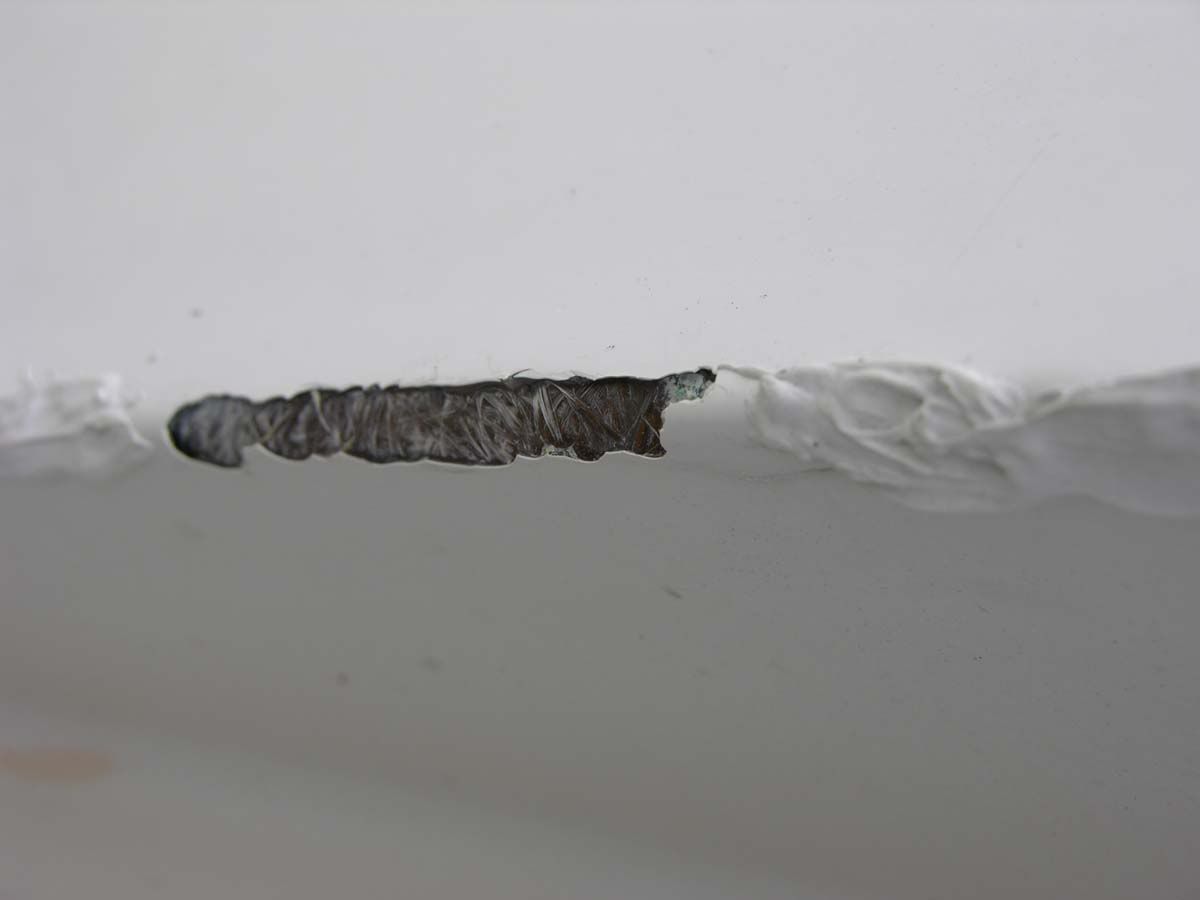 The part of the liner that hides the fuel hose. Ugly cracks on the corners of these type surface in some places on the boat. You can see where they made some attempt to repair these areas by gooping on this material for a very unfinished look. 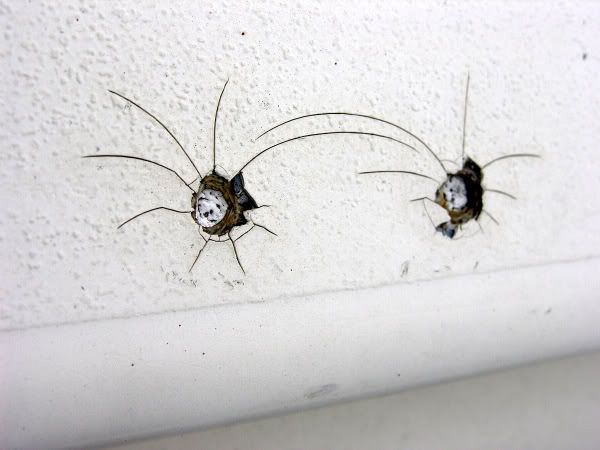 And of course we have lots of these in the boat in places. This is on the cap where I believe the outrigger clip mount was screwed in place. I know I can search for the standard procedure for filling holes. If you guys could suggest any ideas for how to make some temporary repairs using whatever materials would be appropriate to just give the interior a better look. I'm assuming these floors are polyester resin that have been gelcoated and then had the texture pattern made in the gelcoat. You guys can take some of the photos and tell me how you'd repair those areas, etc to seal them up and make them look decent until I can repair all these areas and paint or gelcoat the interior of the boat again. I just can't fit that in with the gas tank job I'm going to be taking on. Thanks for your help. This site is such an incredible resource. Maybe in the future I'll be able to contribute what I learn from this to someone like myself that is not as experienced with gelcoat work. Thanks. Scott Atlantic Beach, NC
__________________
Scott Atlantic Beach, NC 1977 Sea Craft 23SF 250hp Suzie 4-stroke |
|
#3
|
|||
|
|||
|
CaptScottNC,
I has similar questions a few months ago. Here is that thread with the responses I got. http://www.classicseacraft.com/forum...b=5&o=&fpart=1 Do a search and you will find a lot of info that will help you. |
|
#4
|
|||
|
|||
|
Thanks Dcobbett,
I have found a lot of info on how to repair holes... didn't come across yoru threat though. Played with some different searches and dont' know how i missed that one. Thanks for attaching the link. Lookslike exactly what I'm asking. Just read the replies and glad you attached the link. Still not sure how I missed it in my searches. Hate I took up a spot posting this now. Ha! I know these fellas love to help but hate saying the same thing over and over. That's exactly what I needed. What I'd really like to see now is how that repair came out for you and what methods you liked the best for your different repairs of different sizes. Have any photos you could snap of the repaired area?? Thanks Scott Atlantic Beach, NC I'll try to post how my repairs come out when I get to them.
__________________
Scott Atlantic Beach, NC 1977 Sea Craft 23SF 250hp Suzie 4-stroke |
|
#5
|
|||
|
|||
|
CaptScottNC,
Haven't got to the repair stage yet. My new tank arrived the other day and I'm still grinding the back side of the tank cover. Could be several more days before I get to the surface repairs but I will post pic's when it's done. |
|
#6
|
|||
|
|||
|
The rule I have learned, from working with the guys at Hinckley/Little Harbor is to replace what is damaged or missing with what was originally there. First you will have to grind back the areas to see how far the damage goes.
If the damage stops before the glass then just refill with gelcoat mixed with cabosil to thicken it up and then wet sand and if necesary top it off with a layer of gel or what ever you plan on finishing with. If you grind down and the laminate is damaged as well check the area and see if there is any support missing that may cause the area to flex. If there is something address that and then grind back the damage and rebuild using layers of glass and then finsh. From the photos it looks like most of the damage is from voids. So a mix of cabosil and gel-coat will be fine. Use a counter sink on your area of the holes from the outrigger part to bore out the gel coat a bit and then fix the hole, ideally you will want to fill the hole with the same material as the core but seeing as though it is so small, place some tape on the underised of the deck to make sure the mixture of chopped glass/cabosil and resin does not drop through. Let that cure with an indentation on the deck side when cured rough the indentation up a tad and fill the spot with the same mix of cabosil and gelcoat to bring it level with your deck. key tool here would be a dremel tool and a countersink but other supplies cabosil resisn/ Gel coat I suggest Polyester for this repair Acetone to clean up all the areas before you start you fix good luck |
 |
|
|