
 |
|
#1
|
|||
|
|||
|
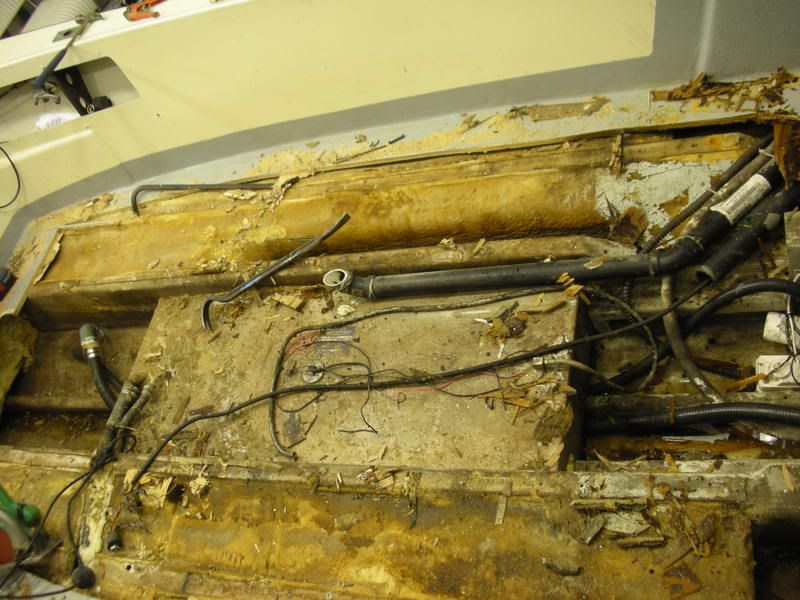
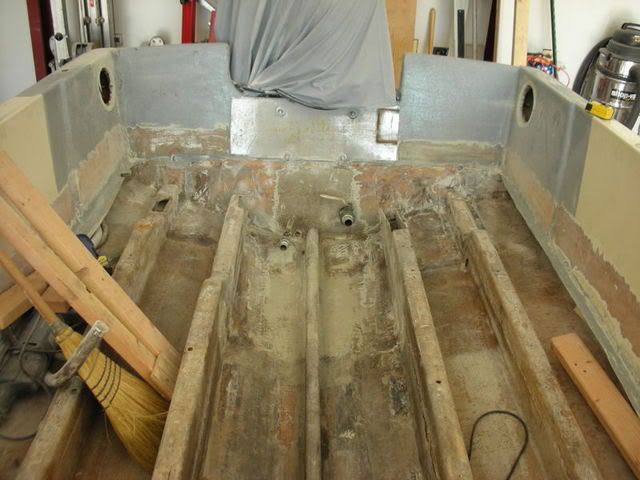
Got some work done the past couple of days and I wanted to share because of all the knowledge that has been shared with me here. I removed all the rigging, console, bench seat, livewell. Then it was time to tear the decks out. This took about an hour to tear out. The only part of the deck that wasnt rotted was the outside perimeter where I ran the circular saw around. The only thing that was holding the decks together was the fiberglass on top. Someone who had no idea what they were doing tried to add fiberglass and some plywood slapped together to the stringers. The coffin for the gas tank was made out of pine 2x3s from home depot with nothing on them. I took 130 pounds of rotten wood out of the bilge and gas tank so called support. The foam in between the stringers was wet on the bottom so I took a spade shovel and made short work of that. The gas in the tank was the only thing holding it in place. The tank is only 4 years old and I am taking it back the tank builder and having it cleaned, tested and painted. To my suprise the transom is in great shape from what I can see and feel.
I plan on raising the decks 3 inches and fix the stringers to the transom. I plan on making the deck in a one peice mold. I plan on using marine ply where I need to mount stuff and core cell and other places to save on weight. Also large scuppers are in the plans. [image]http://i113.photobucket.com/albums/n213/rocky0707/DSCN0509.jpg?t=1198564204[/image] [image] 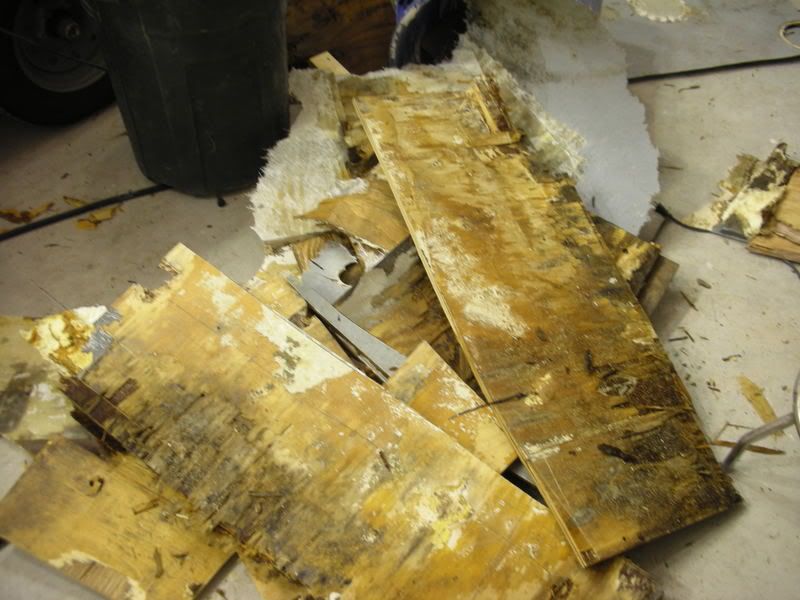 [/image] [/image] [image]http://i113.photobucket.com/albums/n213/rocky0707/DSCN0515.jpg?t=1198562632[/image] [image]http://s113.photobucket.com/albums/n213/rocky0707/th_DSCN0522.jpg[/image] [image]http://s113.photobucket.com/albums/n213/rocky0707/th_DSCN0524.jpg[/image] [image]http://s113.photobucket.com/albums/n213/rocky0707/th_DSCN0534.jpg[/image] [image]http://s113.photobucket.com/albums/n213/rocky0707/th_DSCN0556.jpg[/image] [image]http://s113.photobucket.com/albums/n213/rocky0707/th_DSCN0557.jpg[/image] [image]http://s113.photobucket.com/albums/n213/rocky0707/th_DSCN0564.jpg[/image] [image]http://s113.photobucket.com/albums/n213/rocky0707/th_DSCN0563.jpg[/image] [image]http://i113.photobucket.com/albums/n213/rocky0707/DSCN0580.jpg?t=1198564695[/image]
__________________
36' Yellowfin 1972 20' seacraft 140 suzuki http://www.classicseacraft.com/commu...ad.php?t=18607 |
|
#2
|
|||
|
|||
|
anyone want to give me a little help with the photos?
 
__________________
36' Yellowfin 1972 20' seacraft 140 suzuki http://www.classicseacraft.com/commu...ad.php?t=18607 |
|
#3
|
|||
|
|||
|
__________________
[SIGPIC][/SIGPIC] "If You Done It...It Ain't Braggin" my rebuild thread: http://www.classicseacraft.com/commu...ad.php?t=18594 |
|
#4
|
||||
|
||||
__________________
   1978 23' Superfish/Potter Bracket 250HP -------- as "Americans" you have the right to ...... "LIFE, LIBERTY and the PURSUIT of a Classic SeaCraft" -capt_chuck |
|
#5
|
|||
|
|||
|
Billy,
At least you can now put it back right. That boat originally never had a below deck tank. I cant believe all of the work went bad ion only 4 years. Makes you wonder about the transom too as it seems to have been raised 5". Anyways I have the same stringer setup but you should build up your 3" like strick did and foam fill the stringers while you have access. http://www.casdvm.com/photos/20sf/DSCN5275.JPG http://www.casdvm.com/photos/20sf/DSCN5320.JPG http://www.casdvm.com/photos/20sf/DSCN5324.JPG I think if you want to pour foam back in at this point I would stick with the outside bays only....someone else may have an epinion on this. Looks like your on your way
__________________
__________________________________________________ ________________ 1974 23SF |
|
#6
|
|||
|
|||
|
Hermit I am doing exactly what strick did except I am going up an inch higher. I just ordered all the supplies today to start fixing everything. the only thing i am having trouble finding is 2" foam.
__________________
36' Yellowfin 1972 20' seacraft 140 suzuki http://www.classicseacraft.com/commu...ad.php?t=18607 |
|
#7
|
|||
|
|||
|
Got some work done on the boat this week. I built molds for the stringers cut them to fit and glassed them into place. I grinded and grinded and grinded some more. That wasnt a typo! I ripped all the marine ply for stringers, screwed them together and coated them in polyester resin to seal them. I removed the motor and took a good look at the transom and it is in good shape I filled and glassed the the old drain holes. I decided to have the bottom soda blasted and they came on saturday. I took the boat off the trailer and blocked so they could blast it. I have sanded and grinded alot of bottoms and I figured I would give this a try and I am glad I did it was the best money ever spent. they took 4 coats of bottom paint off right down to the original gelcoat. I am considering having the hull sides blasted.
this week I am planning on glassing the stringers in and putting weep holes in the stringers for drainage. and start building the mold for the decks. I got my delivery of divyncell , PVA and duratec high build primer. here are some pics I might need some help with them  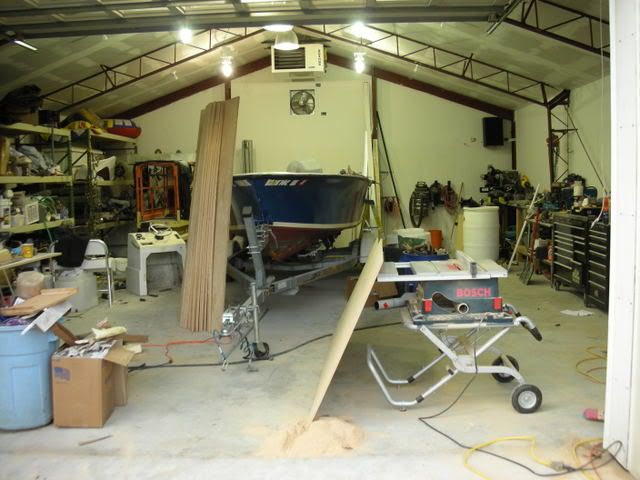 [image] 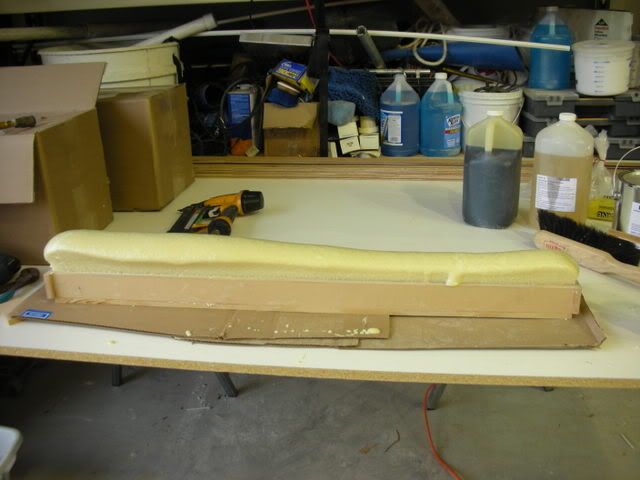 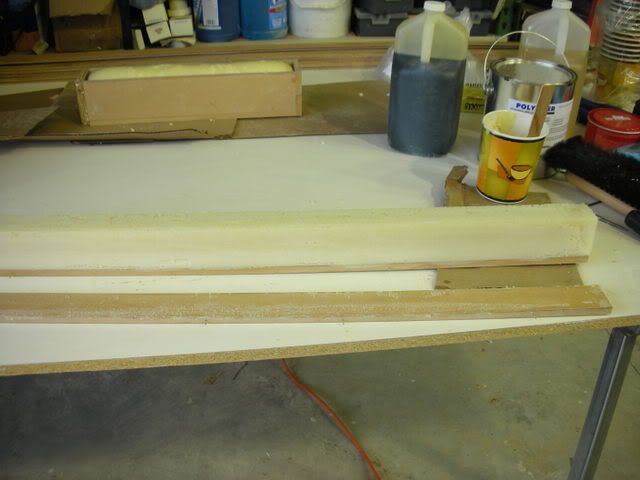 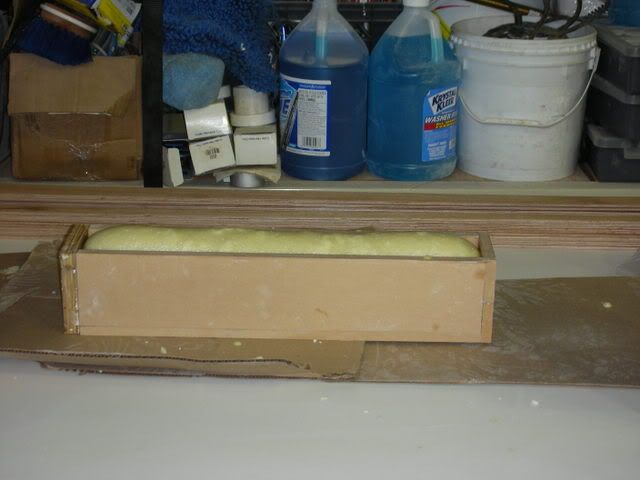 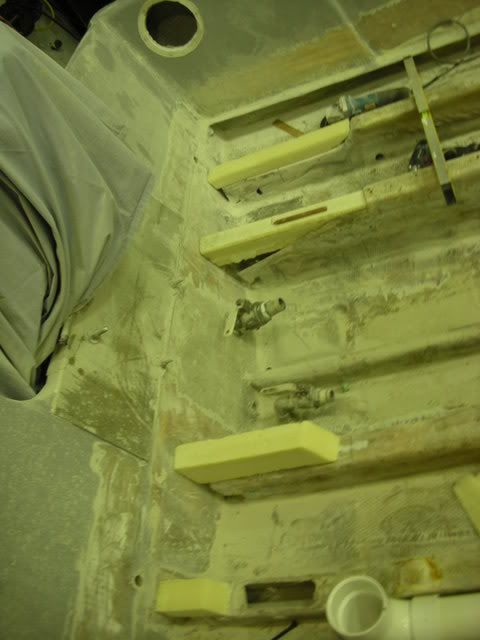 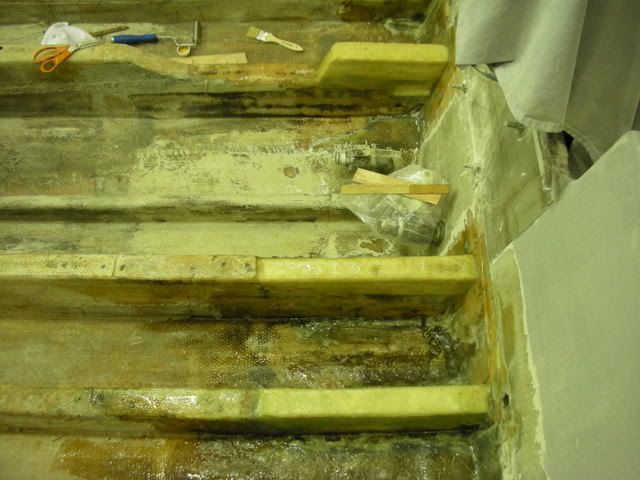 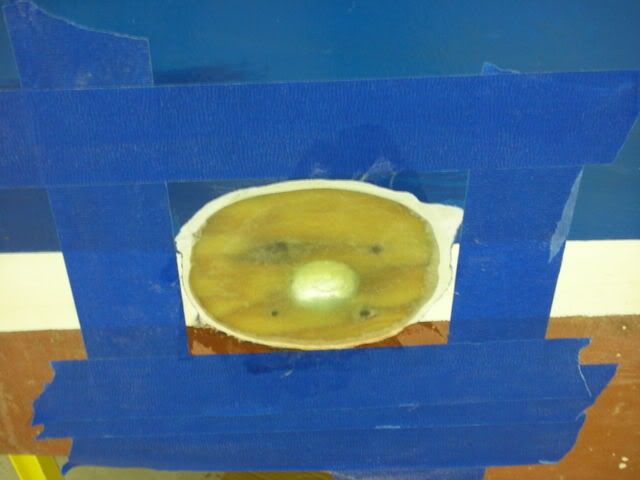 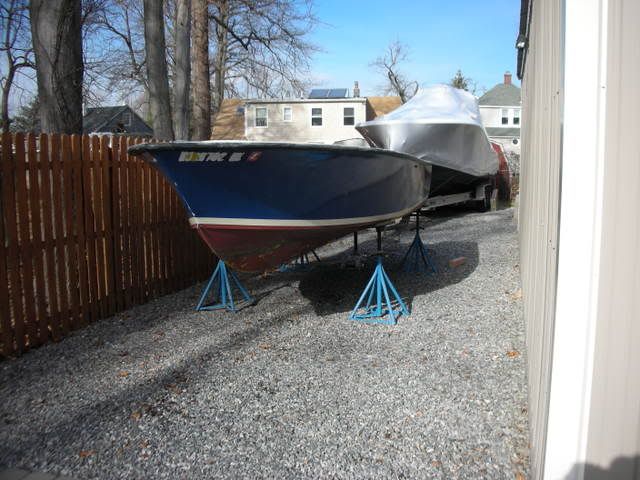 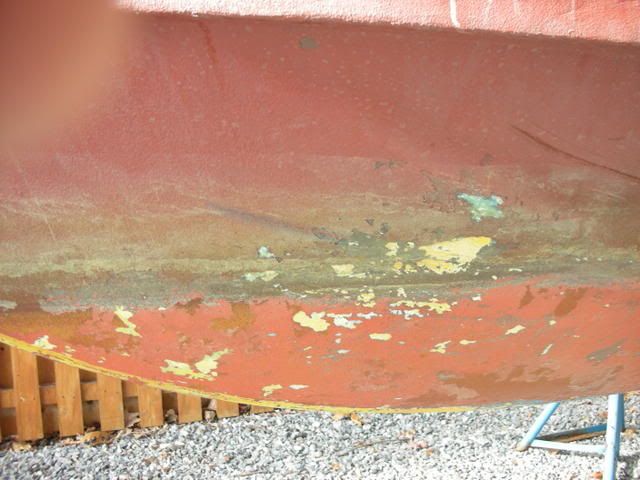 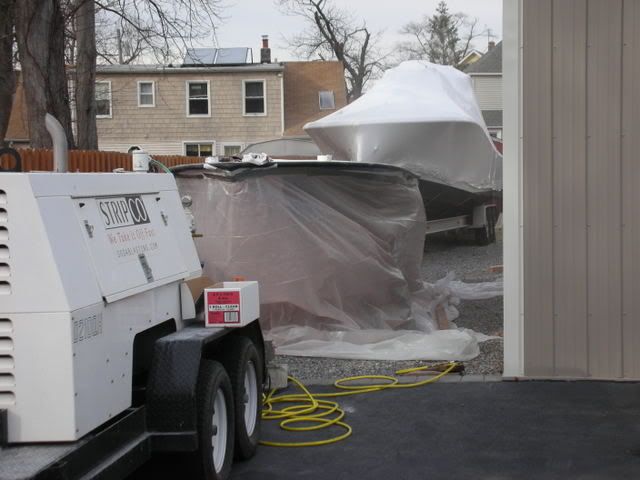 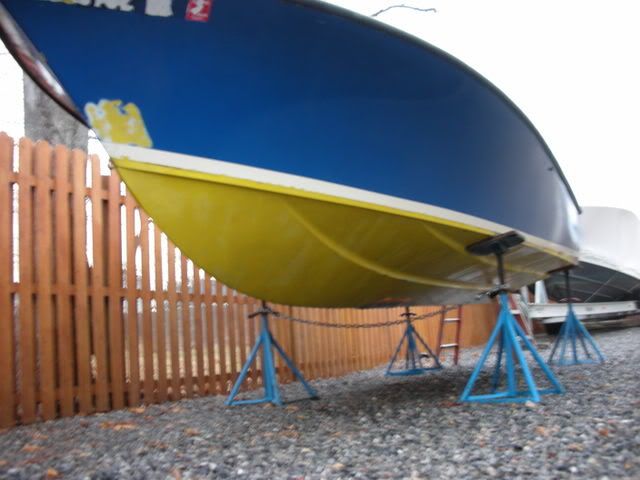 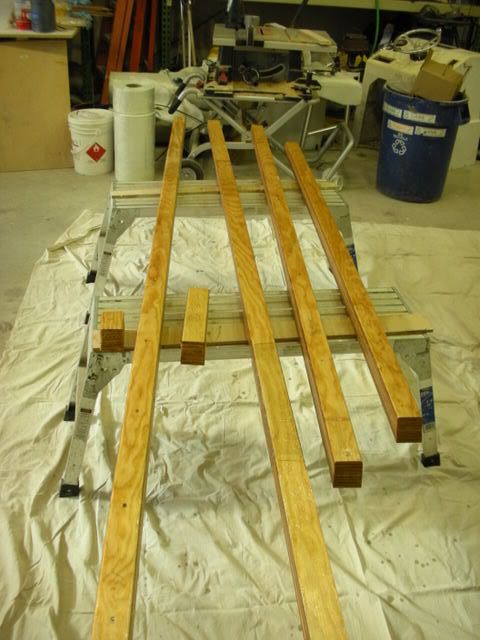 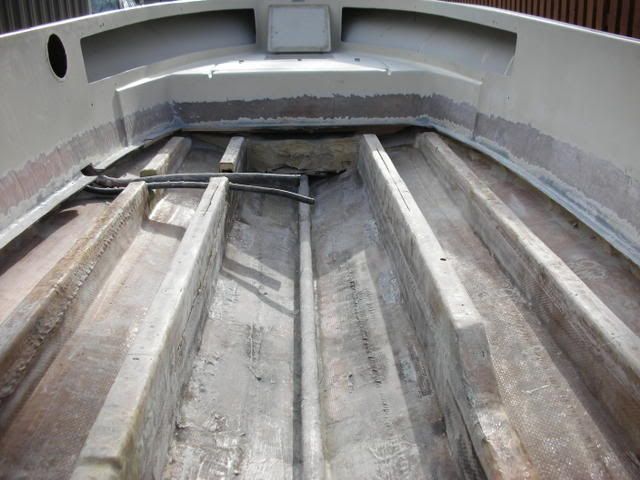 till next weekend!
__________________
36' Yellowfin 1972 20' seacraft 140 suzuki http://www.classicseacraft.com/commu...ad.php?t=18607 |
|
#8
|
|||
|
|||
|
When you post pic links...remove the ?t=1199669505 part....
anything after .jpg will break it... 
|
|
#9
|
|||
|
|||
|
pictures do not work!!!
  
|
|
#10
|
|||
|
|||
|
got it! I have ordered hydraulic steering and a pathfinder console should be here this week. also in the plans are a 45 gallon hammerhead livewell and 140 suzuki 4 stroke.
__________________
36' Yellowfin 1972 20' seacraft 140 suzuki http://www.classicseacraft.com/commu...ad.php?t=18607 |
 |
|
|