
 |
|
#32
|
|||
|
|||
|
next step was to paint the transom cap and spashwell areas
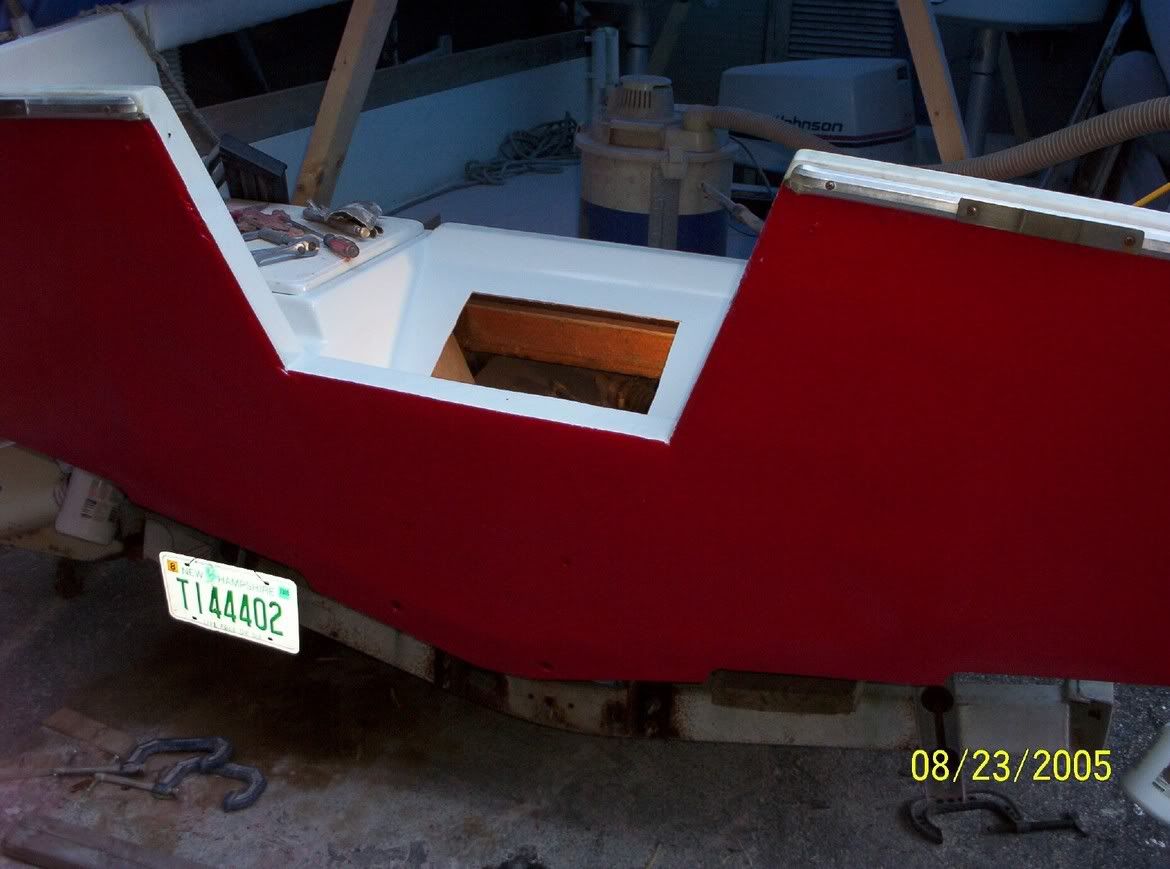 I liked the look here so well, it prompted the seperate post on transom trim, but I decided the metal edge was goods protection, so installed the trim across the transom 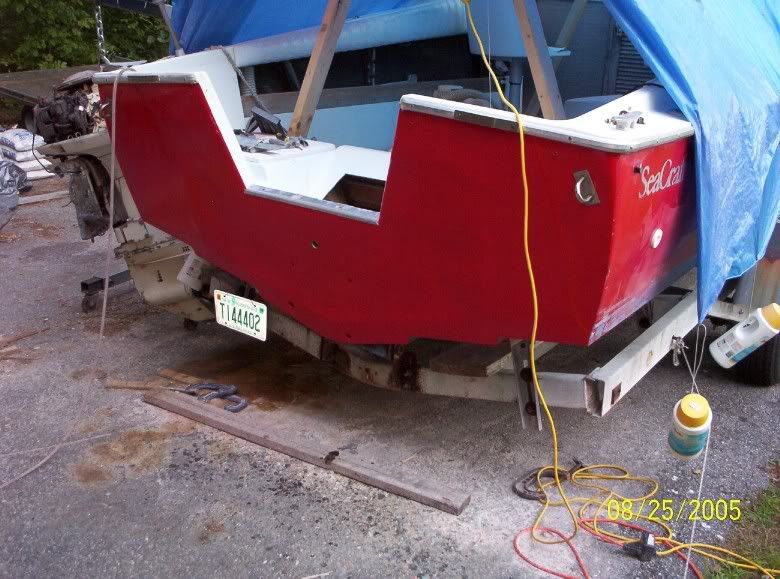 and started rigging 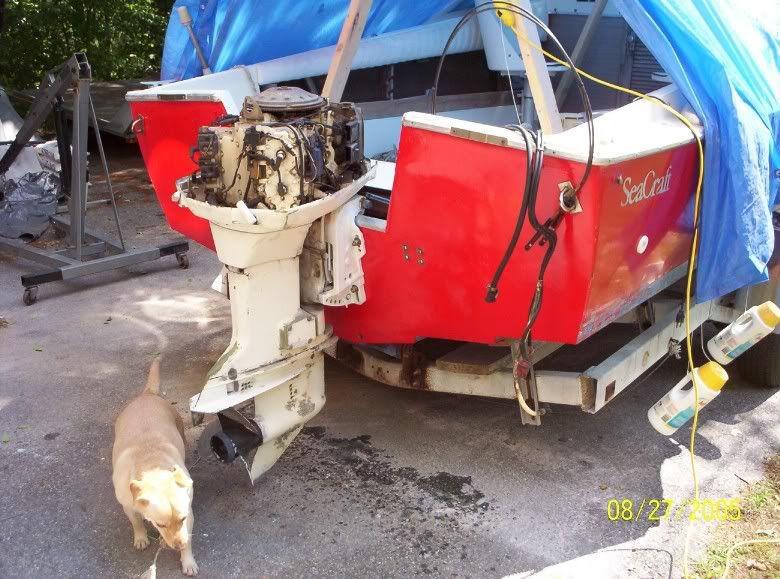 (having a cherry picker helps this process) located the motor, marked the mounting holes, pulled it back off, drilled the holes, coated/ sealed them with resin, then redrilled to size after it cured. mounted the motor and bolted it down with a heavy coat of bedding. 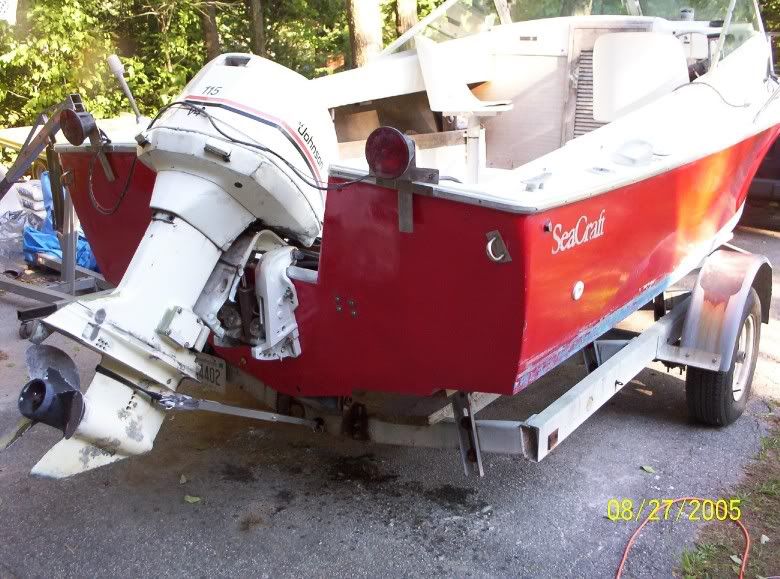 all right - enough is enough - time to hitch it up and get wet !!! 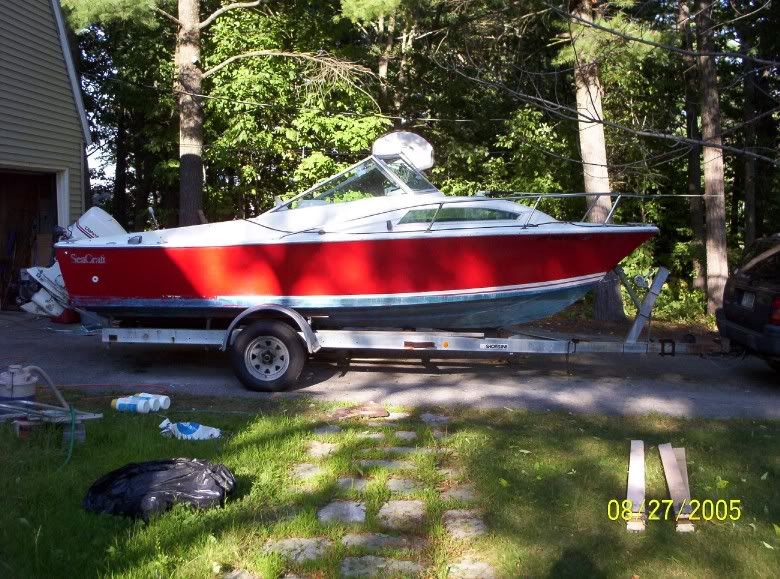 SPLASH [img]/images/graemlins/smile.gif[/img] [img]/images/graemlins/smile.gif[/img] [img]/images/graemlins/smile.gif[/img] 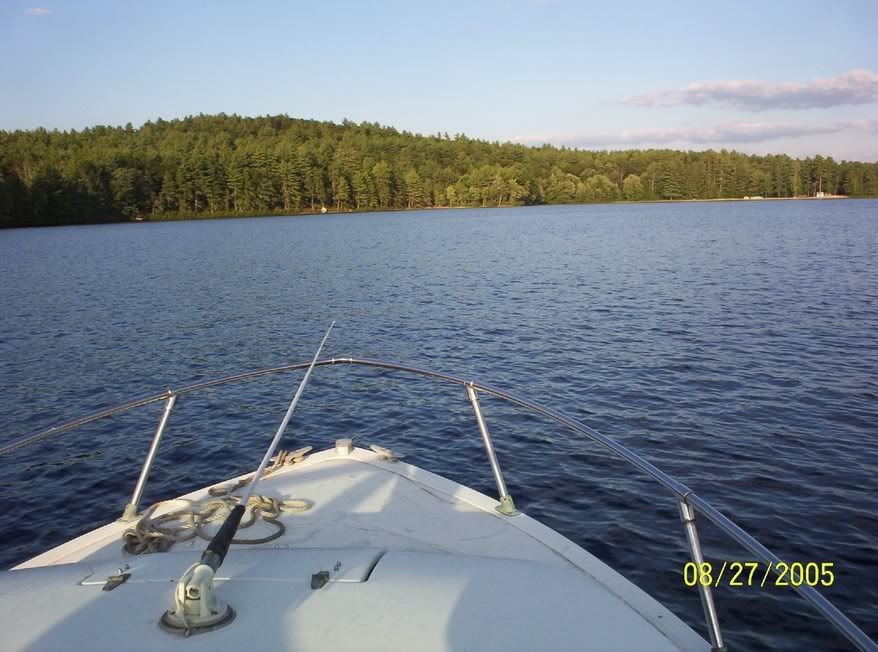 really just a trial run in a local lake - boat runs great, gets on plane easy even with 3 in the boat, even though it's only a 115, and I even managed to land this boats first fish. But man, do I ever feel blind without a depth sounder ! Time for some electronics shopping. Bill |
|
|