
|
|
#31
 01-17-2006, 11:21 AM
|
|||
|
|||
|
If 90% of the reason to go up front is to place or reteive the anchor maybe a windlass would be the answer.
My brother has a 36 Searay and hates to go around the side of the boat if its choppy, now he just hits the switch and up and down you go. 
|
|
#32
01-17-2006, 11:48 AM
|
|||
|
|||
|
I don't fish, so I can count on one hand in 10 years that I've anchored a boat. We spearfish so there is no anchoring. The hatch seems fine to me, if I had to get up there, it would provide ample access. The deck space and amount of weight the boat is capable of handleing is why I chose this particular boat.
I've read about usung Coosa Board for decks and transoms on this site. I just got a quote for 191.00 a sheet! OUCH. Looks like ply wood it is. I am friends with a cabinet maker who can get me a dense, light weight plywood (3/4")at cost. Any suggestions of the particular wood to use? Thanks for all of the help! Jason
|
|
#33
01-17-2006, 04:08 PM
|
|||
|
|||
|
I'd consider a windlass but would still like to restore things to how they were/should be. If it's still inconvenient a windlass may be the answer. It is one more item to maintain though. Another thing to break or go wrong. The anchor on there now has an all rope rode (no chain) which might make things easier on a windlass as well. I think you still need to go up there to mechanically secure things though. The windlass should only be used for raising or lowering the anchor right?
__________________
1973 23' Tsunami, 300hp Etec Norwalk, CT
|
|
#34
01-17-2006, 04:12 PM
|
|||
|
|||
|
I apologize, I think I've taken things kind of off topic from Jason's original questions. I can't do anything till I know where I'm storing the thing and will post more about my questions once I figure that out in the next few weeks. Thanks for your help
__________________
1973 23' Tsunami, 300hp Etec Norwalk, CT
|
|
#35
01-21-2006, 09:23 PM
|
|||
|
|||
|
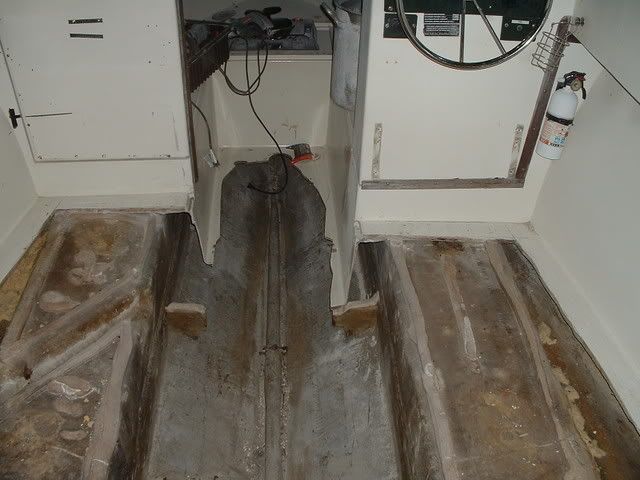
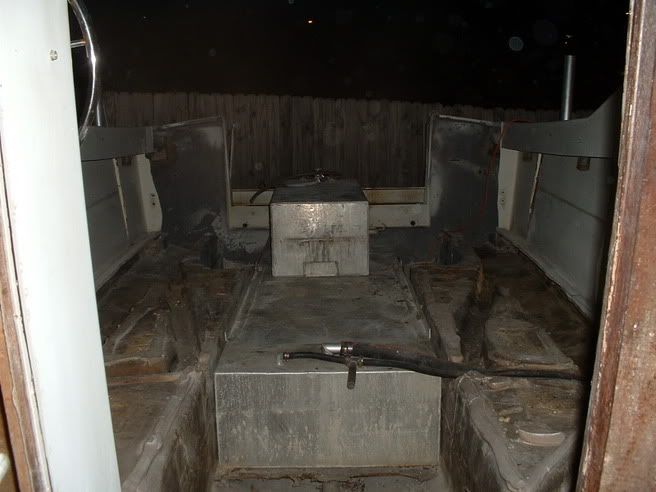
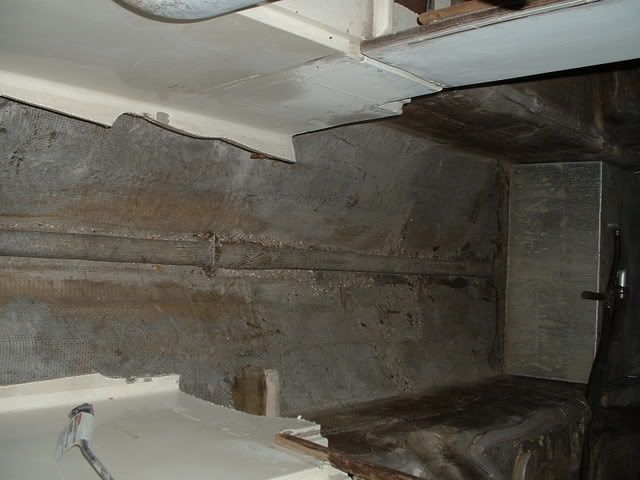
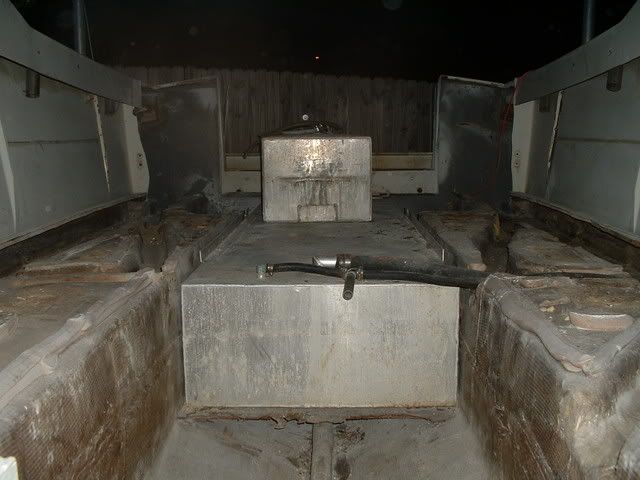
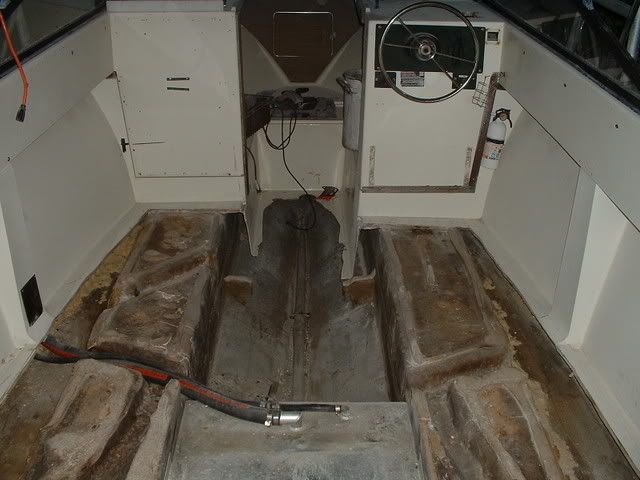
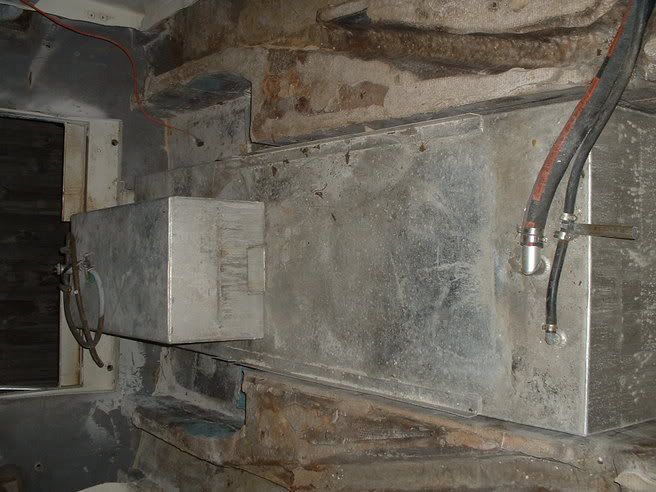
Got some work done. Monster removed off the transom.
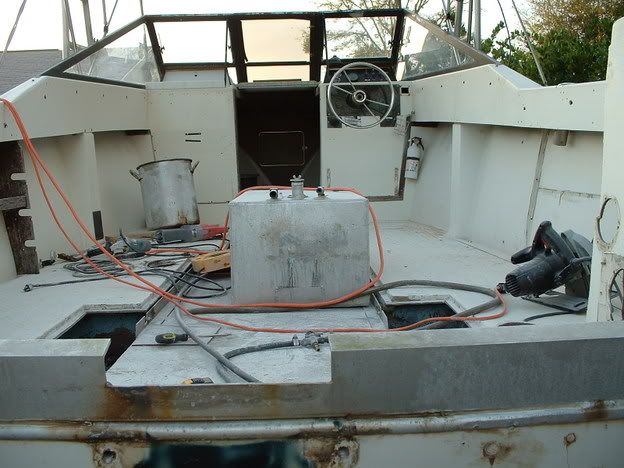 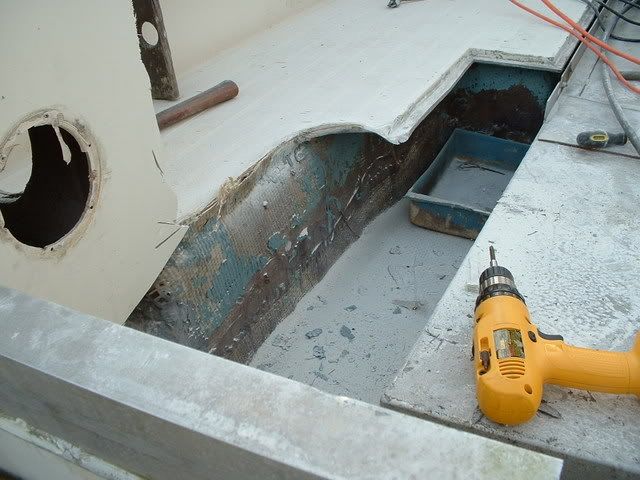 Removed Splashwell. Removed Splashwell.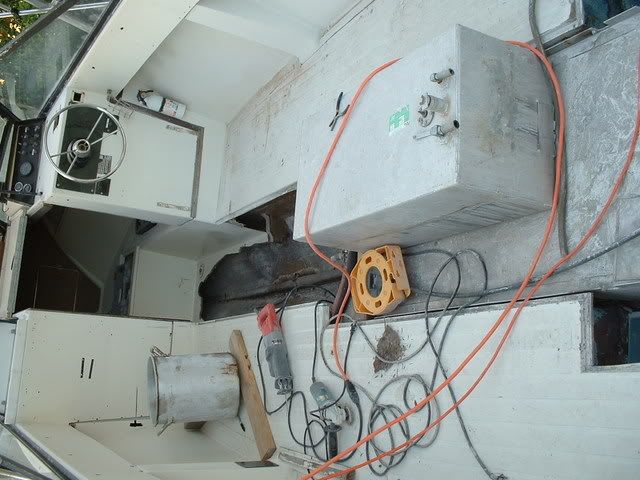 Cut out 40% of the deck, Will finish Tomorrow. Cut out 40% of the deck, Will finish Tomorrow.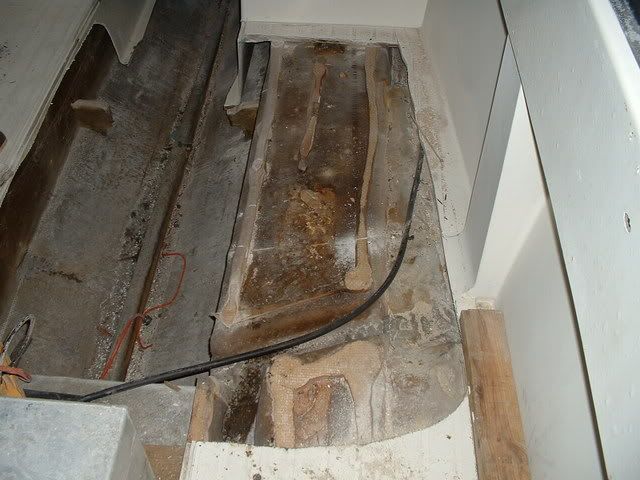 Are all Seacrafts built like this. The foam, Which is all dry, has been glassed over. All it tact with the exception of where I hit it with the grider. An epoxy? pile of material shown in these circles. Are all Seacrafts built like this. The foam, Which is all dry, has been glassed over. All it tact with the exception of where I hit it with the grider. An epoxy? pile of material shown in these circles.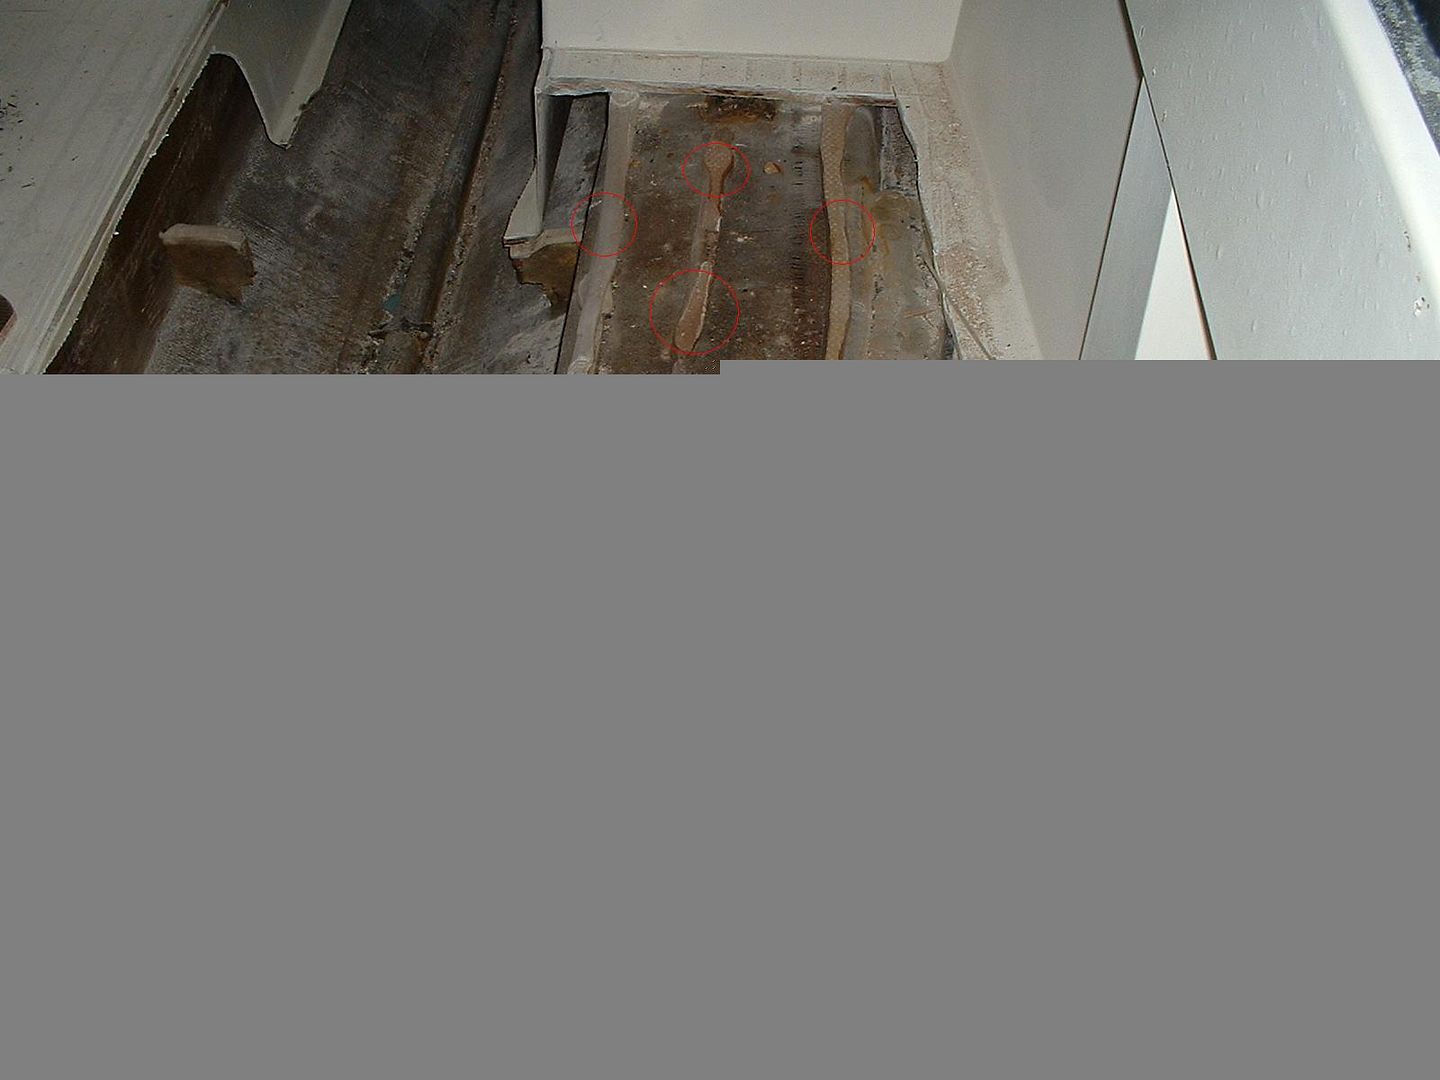 Since the foam is dry, I may make the repairs to the area I damanaged, and place spacers to get the deck up two inches, to make her self bailing. Any thoughts? Hope I get more responses than I did to the deck question I had above [img]/images/graemlins/wink.gif[/img] The deck was solid, the hatches were bad. I couldnt belive how much glass is in this boat. Jason
|
|
#38
01-24-2006, 09:22 PM
|
|||
|
|||
|
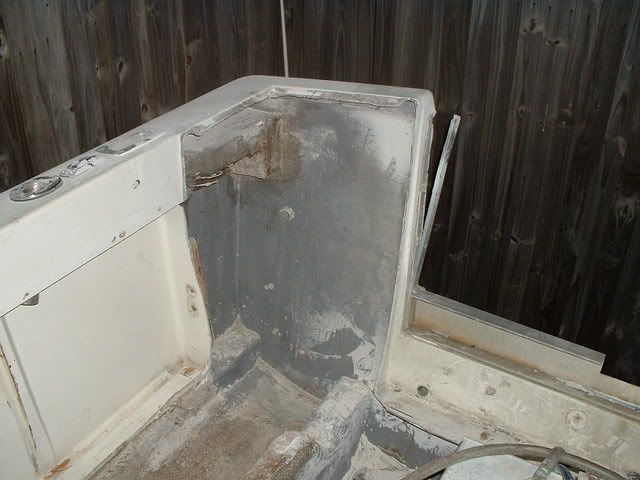
Transom options. Drilled the transon in 20 different places today. Solid, but you can tell it got wet at one time. Wood is structurally sound and not damp at all. I am contemplating grinding (allready have) all the gelcoat off, filling all holes, and sandwiching laminating another 3/4 ply on the inside of the transom.
Now, I am fully enslosing the transom. So the cut out must be built up. Questions, Has anyone, filled the cutout with new ply, laminated it in place, grind, add second piece in cutout, glass, grind, and then place the last backer over the entire transom? Or, how would you fill in the cutout with out removing the structurally sound transom? This boat will see a bracket. Thanks, Jason
|
|
#39
01-24-2006, 10:42 PM
|
||||
|
||||
|
Quote:
     
__________________
   1978 23' Superfish/Potter Bracket 250HP -------- as "Americans" you have the right to ...... "LIFE, LIBERTY and the PURSUIT of a Classic SeaCraft" -capt_chuck
|
|
#40
01-25-2006, 01:32 AM
|
|||
|
|||
|
Quote:
http://www.casdvm.com/photos/SeaCraft%20Project/ http://www.casdvm.com/photos/ strick
__________________
"I always wanted to piss in the Rhine" (General George Patton upon entering Germany)
|
 |
| Thread Tools | Search this Thread |
| Display Modes | |
|
|


 Linear Mode

