
|
|
|
|
#1
 12-05-2006, 10:30 PM
|
|||
|
|||
|
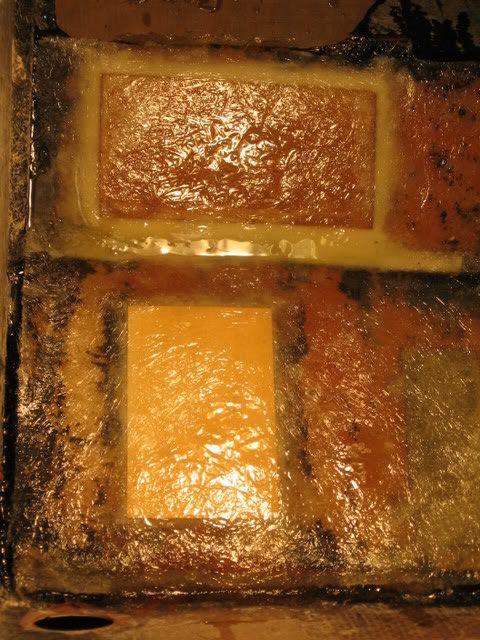
i have made some progress since last post. these were the hardest holes ive ever drilled (3/4").
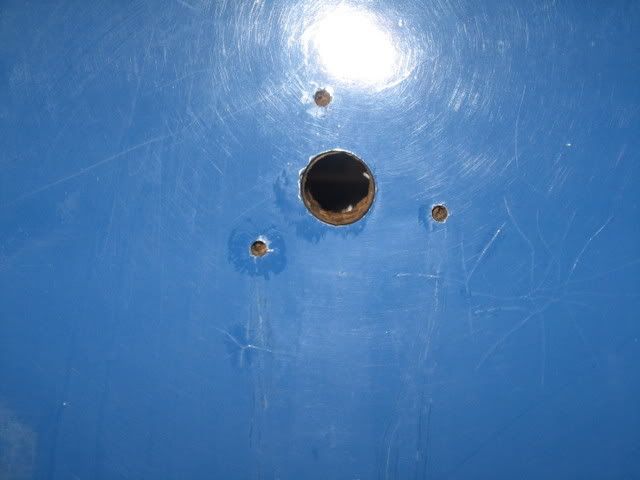 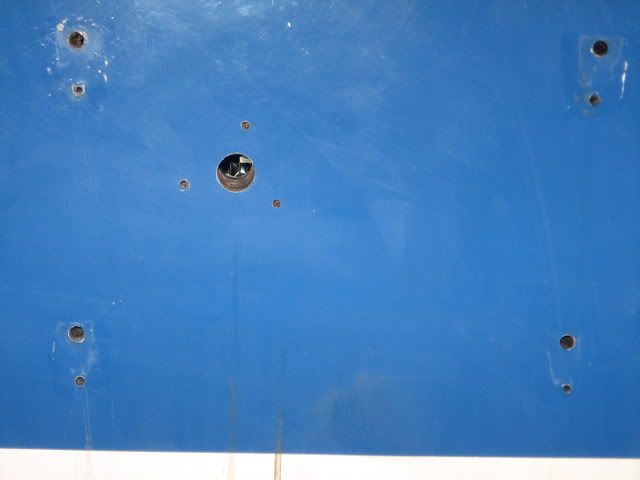 then i filled it in with resin. 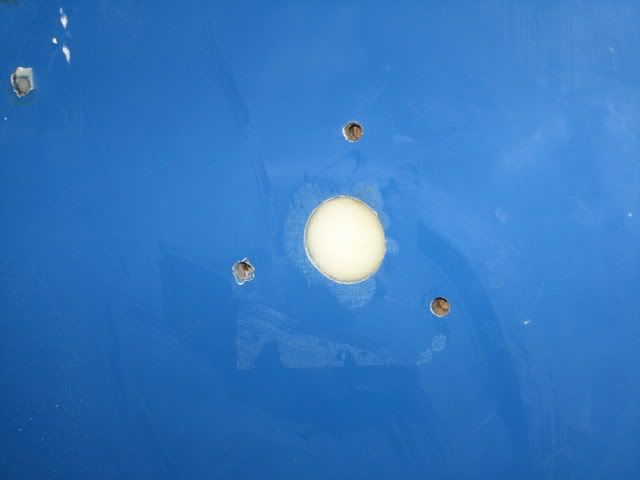 and drilled it out to 9/16" to keep a barrier around that wood. 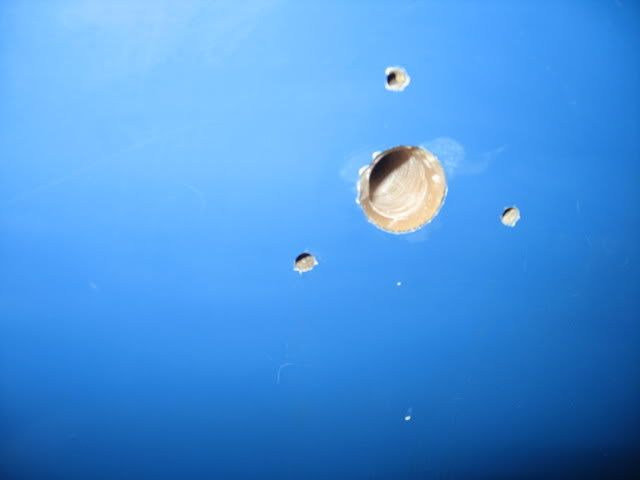 i have to plug my bilge thru hull for some previous owner rigs. 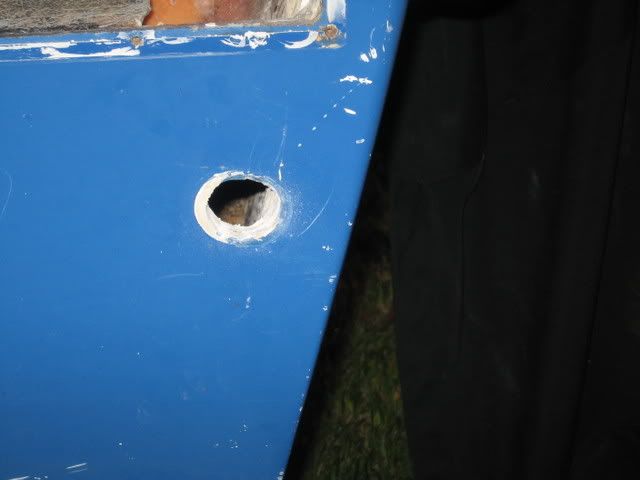 now they are on. 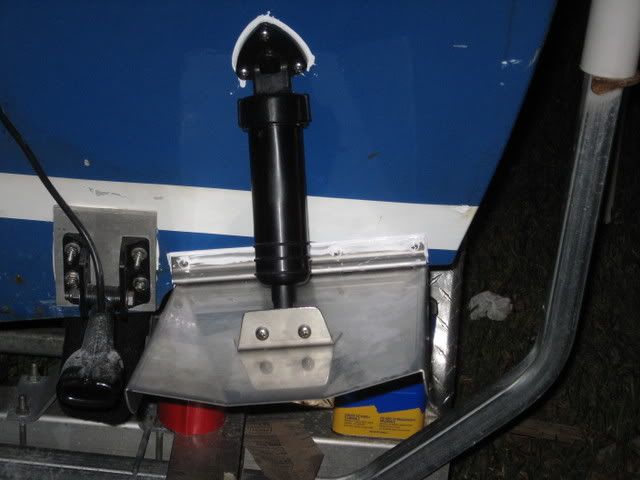 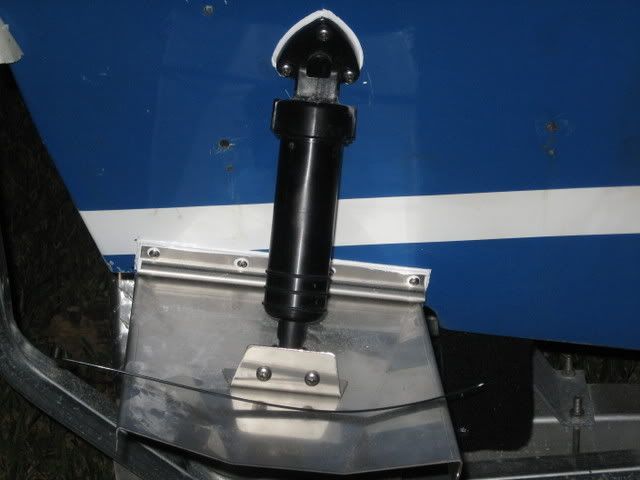 that gives me a bone.. looks very sexy. i like to see things come together. now im going to let the 5200 dry and cut it with a razor blade and scrape the drips off. 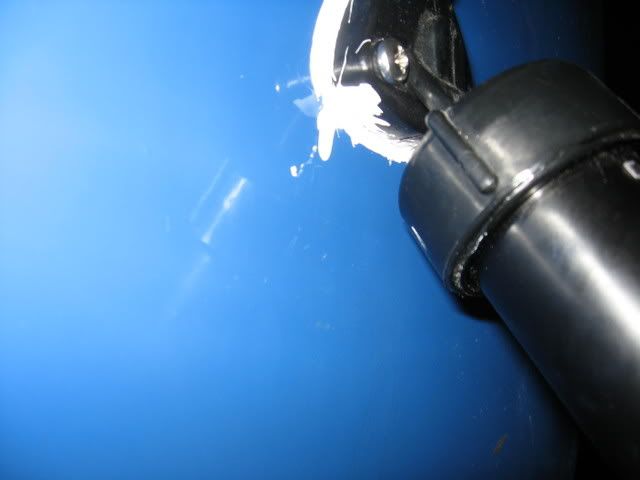  any comments guys?? 
|
|
#3
12-06-2006, 04:54 PM
|
|||
|
|||
|
i used the fast cure. but i got home from work in time to get it off with acetone. is 5200 my best bet for sealing this ? would it be safe to use regular clear silicone?
|
|
#4
12-08-2006, 11:24 AM
|
|||
|
|||
|
As far as I know- silicone should NEVER be used below the waterline.
I like to use a product by 3M(?) - 101(?) I believe it is called. Gives excellent adhesion & never dries out. Fittings can be removed in the future w/o any damage to the fitting or glass - unlike 5200. It is a rare occasion that I would use the 5200.
|
|
#5
12-08-2006, 11:47 PM
|
|||
|
|||
|
doug,
is this the stuff u are refferring to? http://www.westmarine.com/webapp/wcs...allpartial/0/0 how hard is it to remove if needed??
|
|
#6
12-10-2006, 06:15 PM
|
|||
|
|||
|
i got the console bonded from the inside. All the white area by the wood is thickened epoxy putty for fillets.
 Time to start workin on the outside. 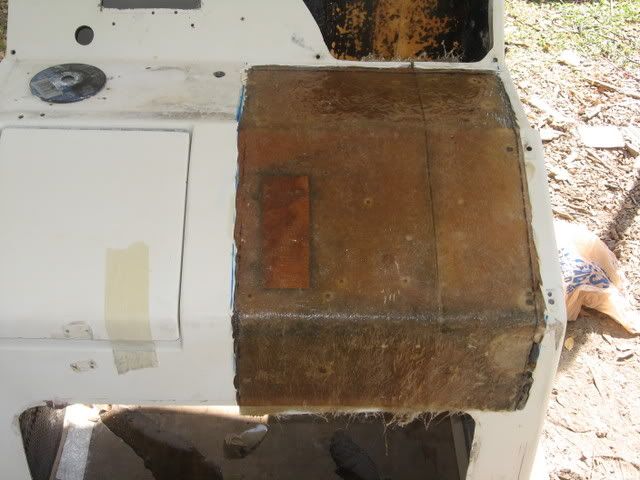 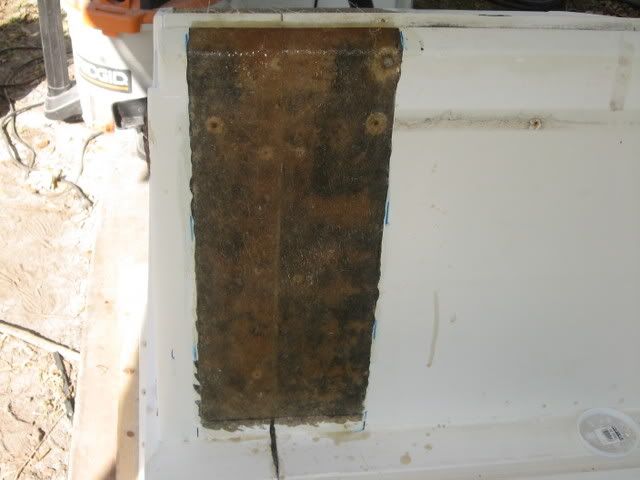 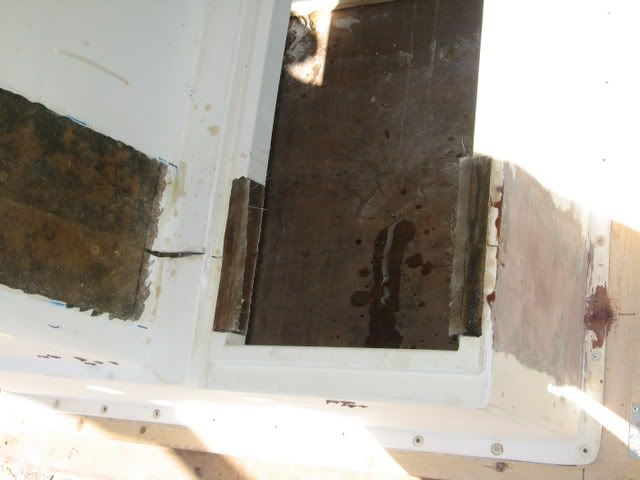
|
|
#7
02-21-2007, 07:58 PM
|
|||
|
|||
|
It has been a while since i worked on my boat. i too lost motivation but get it back watching fishing shows on saturday morning. the old console had the cooler in the front with both my batteries located in the rear. i have made a battery compartment and cooler combo. the batteries will go on the left and cooler on the right. [image]
 [/image] [image] [/image] [image]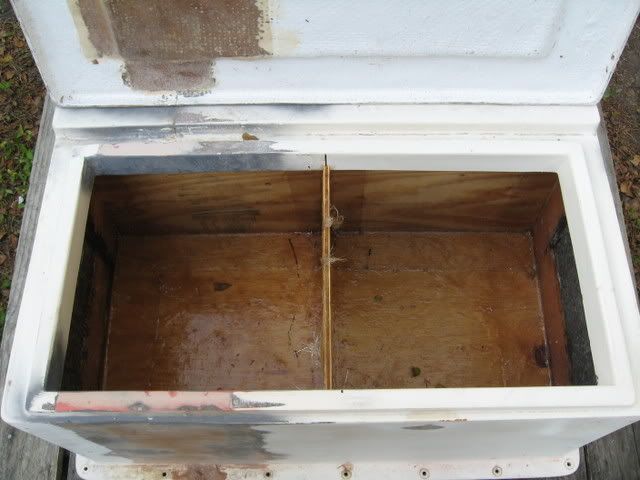 [/image] [/image] also got everything cut out and ready to have steering and throttle and trim tab switch mounted. need to have paint and have the dash made up still. [image]  [/image] [/image]
|
|
#8
12-27-2006, 10:22 PM
|
|||
|
|||
|
Hey, Sorry for the delay- I lost the post. Anyway - yes, that is the sealant- 3M 101. Works very nice, not all runny like BoatLife. It is not to bad to remove,unlike the 5200 which is near impossible, acetone when still wet, razor when dry.
With the epoxy, go for the brown thickener, I'll look up the # tomorrow. It is called the "low density" filler by West Systems, it sands out real nice. As far as pinholes, do not heat the area after the epoxy is rolled out- the heat will generate air bubbles from the wood substrate, you can heat it before hand and then apply the epoxy afterwards Good luck -Doug 
|
|
#9
12-27-2006, 10:56 PM
|
|||
|
|||
|
what about if the resin is already dry ? i am noticing the pin holes alot more after i put the primer down.. i will try the west system stuff u reccommend when i go to do the inside of the boat. keep the help coming please
|
 |
| Thread Tools | Search this Thread |
| Display Modes | |
|
|


 Hybrid Mode
