
|
|
#10
 03-10-2008, 12:40 PM
|
|||
|
|||
|
Over the last few weeks I have been working on my front deck. Previous posts showed that all the balsa core was wet beyond saving. I decided to save weight and use a product called Tuff Stuff. It is a polyurethane 1/2 inch and was scrim and scored.
I first made my check list, and then built the bridge to reform the crown. After that was done the old bottom glass was cleaned up and prep with epoxy. The tuff stuff was also prep with epoxy and then the score side was filled with epoxy,cabosil, and micro balloons. This same mixture except a little thicker was troweled on the bottom and then the tuff stuff placed scored side down. The pictures will show some of the process. All pieces were numbered on the dry fit and then marked so I could line them up easily. The crown is back and looks good. Now I will prep the old skin and put that on in the next week. Thats it for now. Check List... 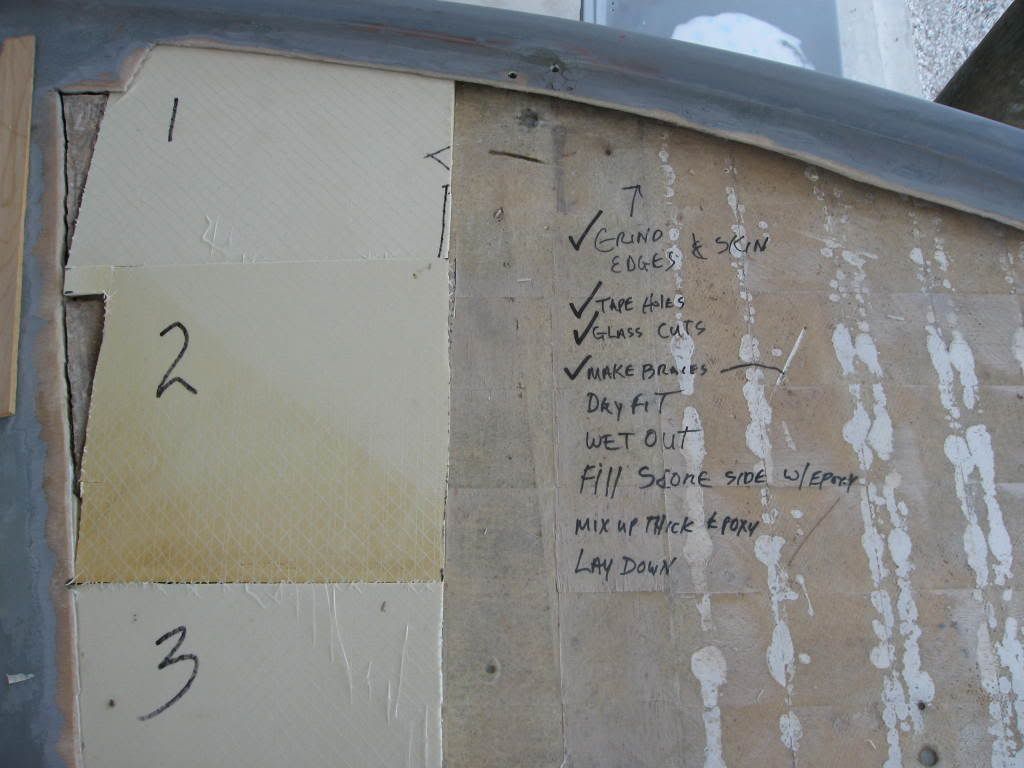 Bridge Work 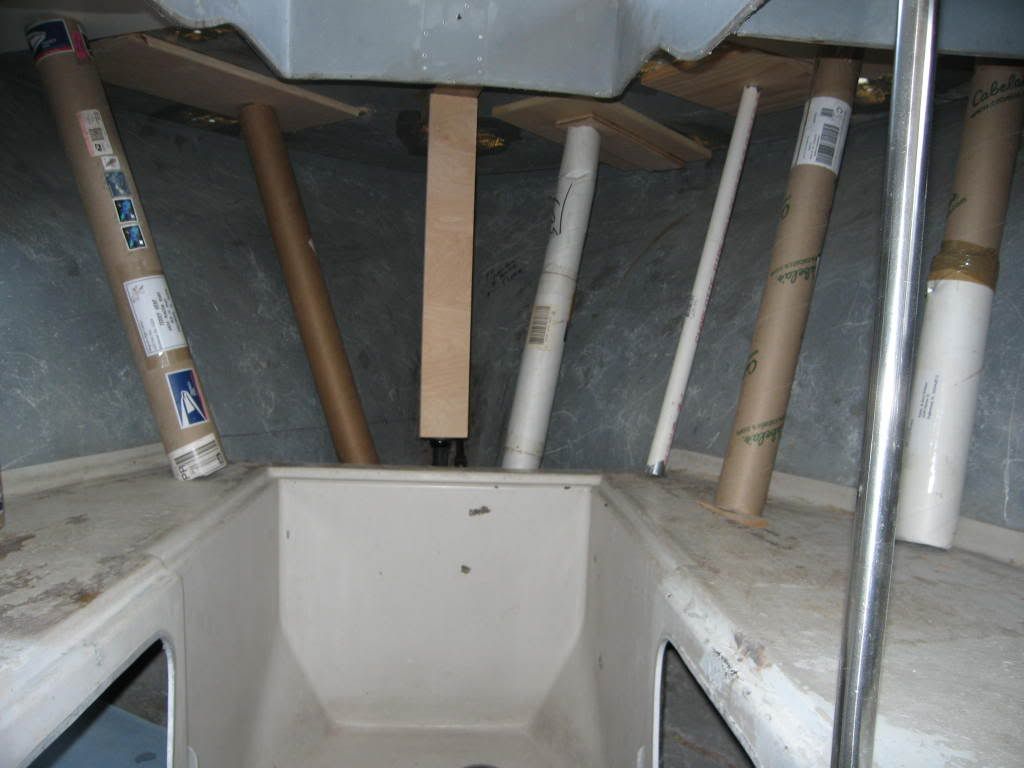 Under Deck 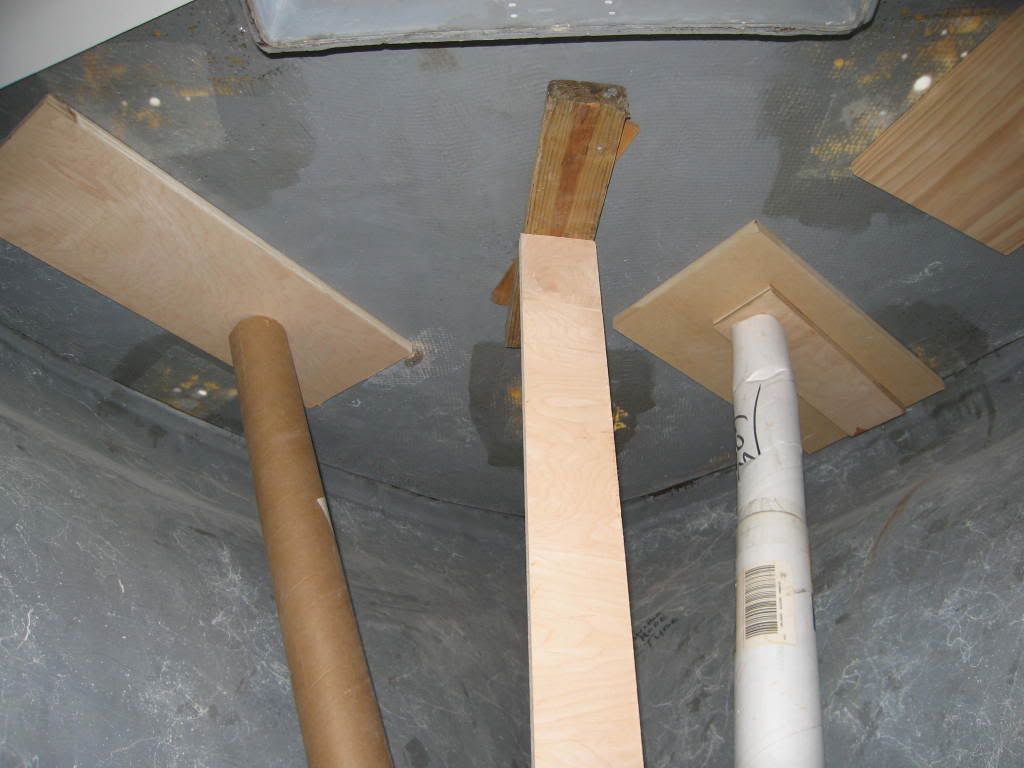 Work Table and Cabosil 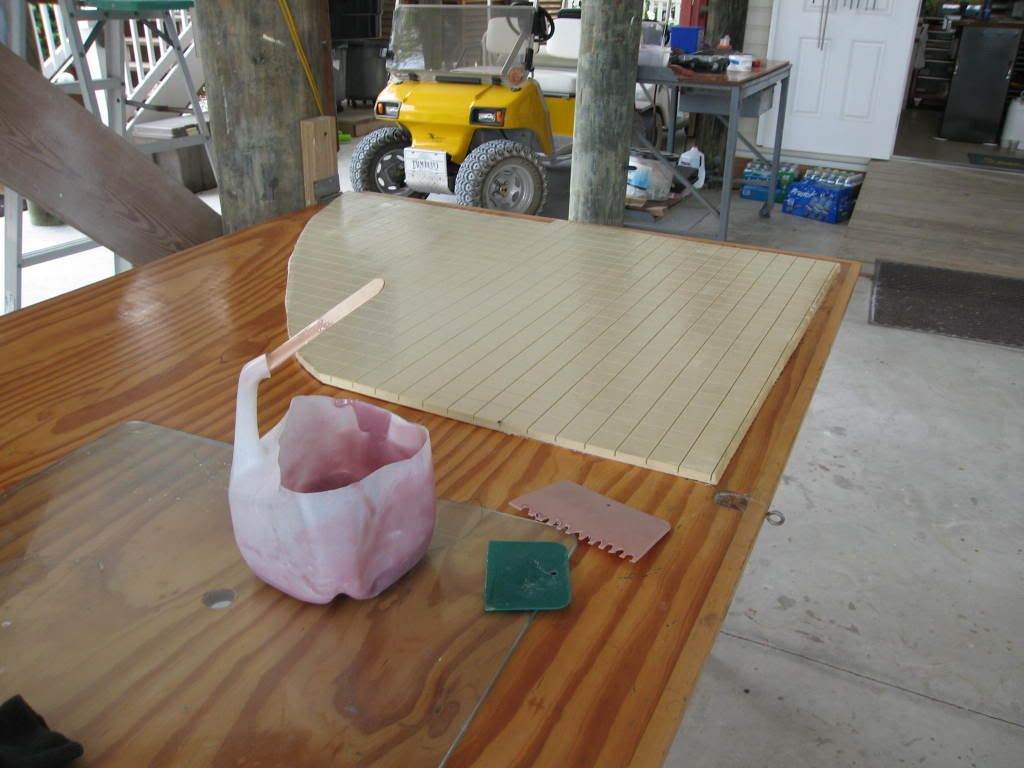 Score filled in 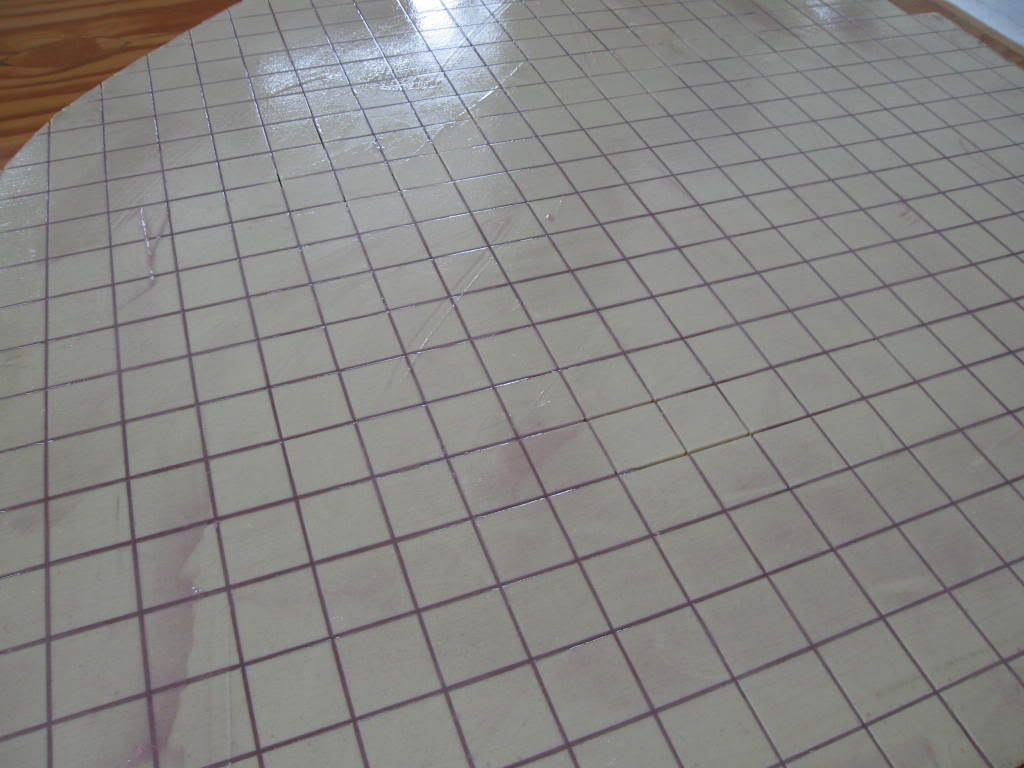 New deck core 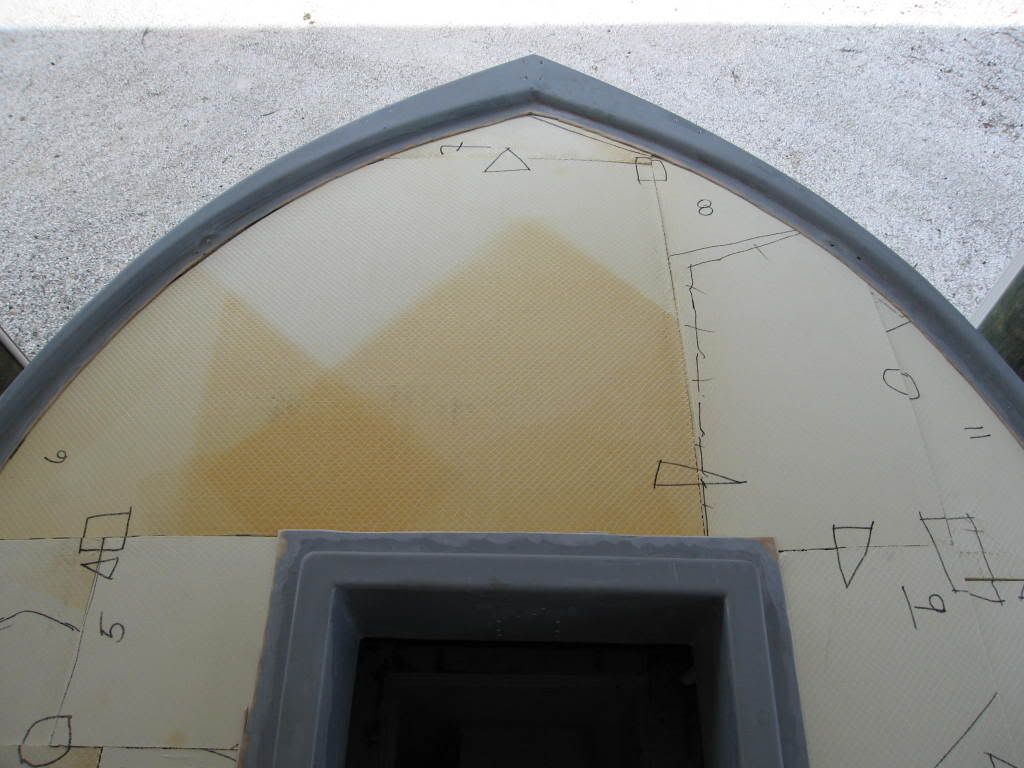 Thats it for now.
__________________
[SIGPIC][/SIGPIC] "If You Done It...It Ain't Braggin" my rebuild thread: http://www.classicseacraft.com/commu...ad.php?t=18594 
|
| Thread Tools | Search this Thread |
| Display Modes | |
|
|


 Threaded Mode