
|
|
|
|
#1
 07-27-2009, 12:50 AM
|
|||
|
|||
|
Will,
Looking good. From the way it sounded in the post you want to put all the pumps, etc in the space between the transom and the next wall. This 12" space will be maddening to work in. Not only is it small in width it will be deep. Hard to access. The area where the fish box is going would be a better location. You could use a smaller fish box and put the pumps in the floor behind the fish box with an access hatch in the floor. Just my two cents but, being a tournament fisherman, you know what a PITA it is to change a live bait pump offshore. It would be nice to have a nice clean area in the bilge that will house all pumps, fuel filters, transducer, etc. BA 
|
|
#2
08-03-2009, 01:59 PM
|
|||
|
|||
|
After giving some thought to your comments BA17, I went ahead and ordered the pumps that I will need. Once I receive I can lay everything out to see how much room I have to work with and what changes may be needed to make my idea work if possible. Not ready to scrap my plan just yet but also don't want to paint myself into a corner.
While waiting I moved ahead and started stitching up the center console. I'm using the left over coosa board anywhere I can and will glass over it after all the pieces are in place. I have some 1 1/2" coosa left over from the transom and am thinking about using it to core the sides of the console where a t-top will fasten for maximum strength. 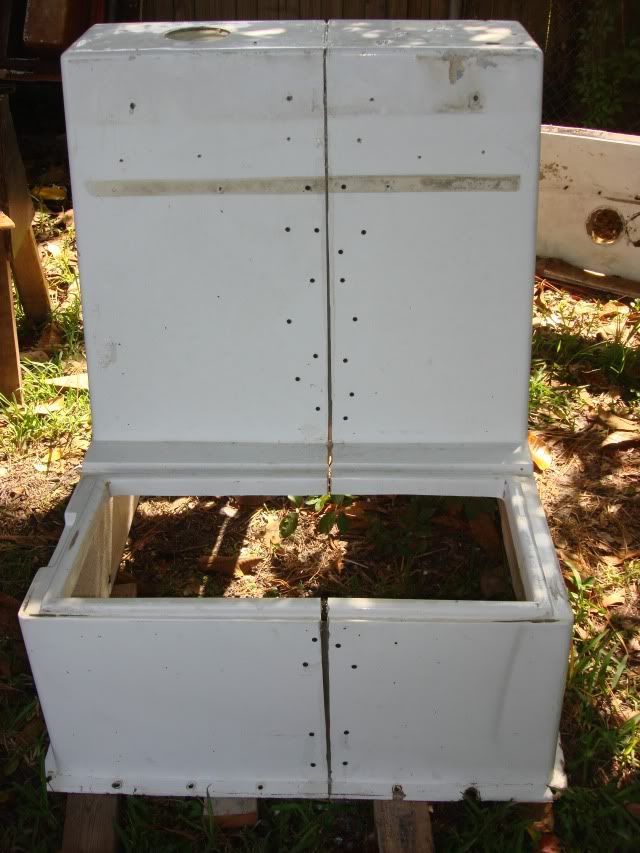 View from the inside. 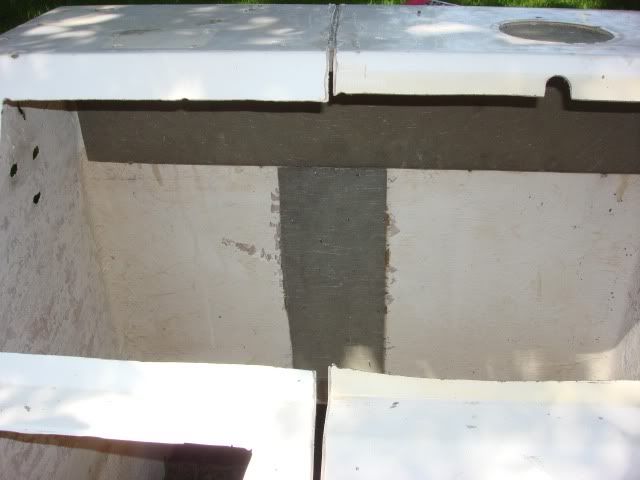 I went ahead and glassed the notch at the transom as well. 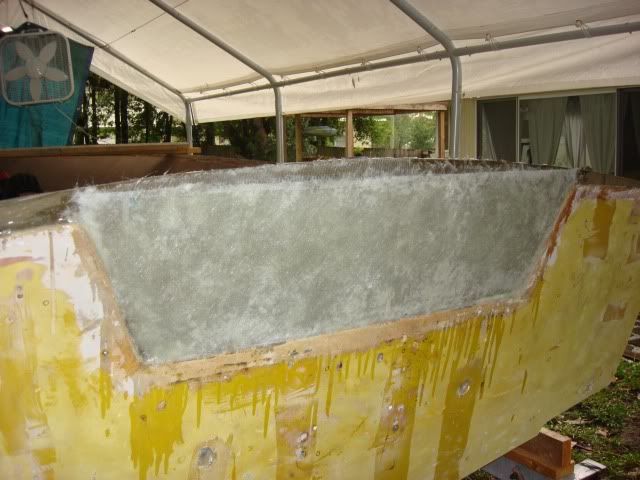
__________________
Will
|
|
#3
08-17-2009, 09:22 AM
|
|||
|
|||
|
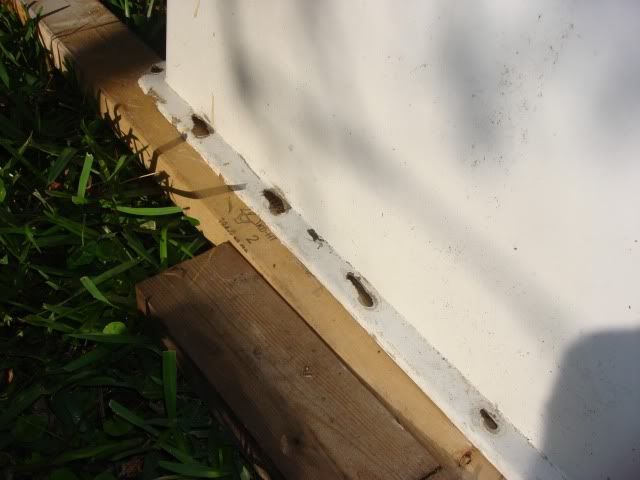
Continuing with the console. You can see how the screw holes in the flange were gouged from previous movement between the console and deck. I'm going to use 2" glass tape to reinforce the bottom of the flange and then fill in the holes with thickened epoxy.
 This tape is the easiest fiberglass product I've worked with to date. Wet out very easily. 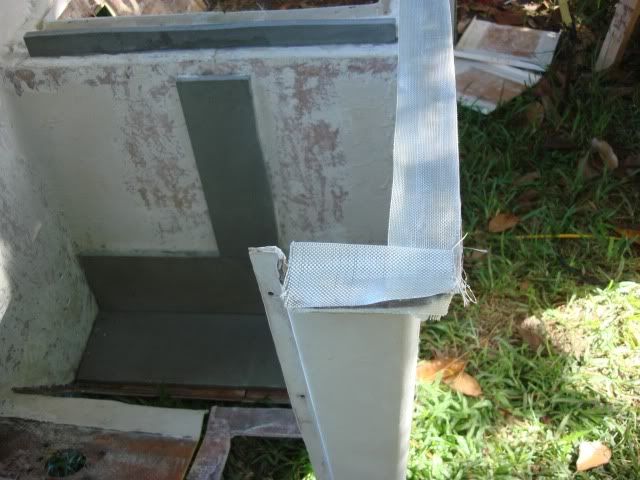 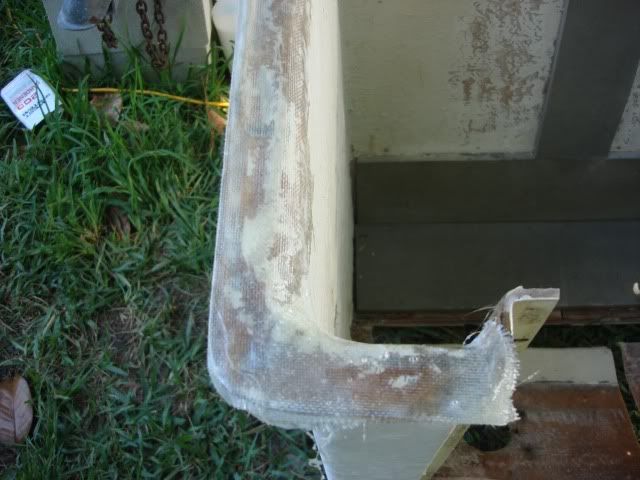 Divider wall between the forward compartment and the rear area. I've got a feeling that a subwoofer will be calling this home in the future. 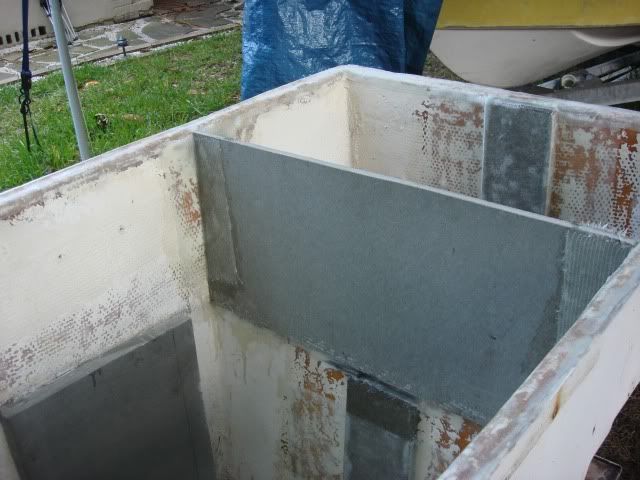 Jumped back over to the top cap. I'm removing what's left of the plywood and balsa coring and preparing to reassemble. I've also marked the area of the inner liner to be cut that will form the new gunwales that will have an open bottom. 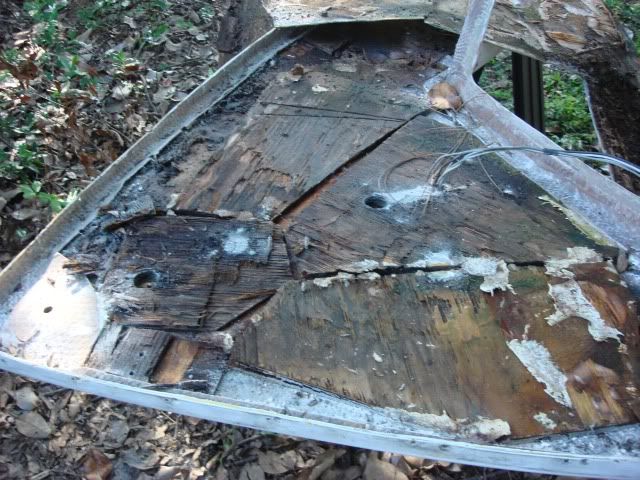 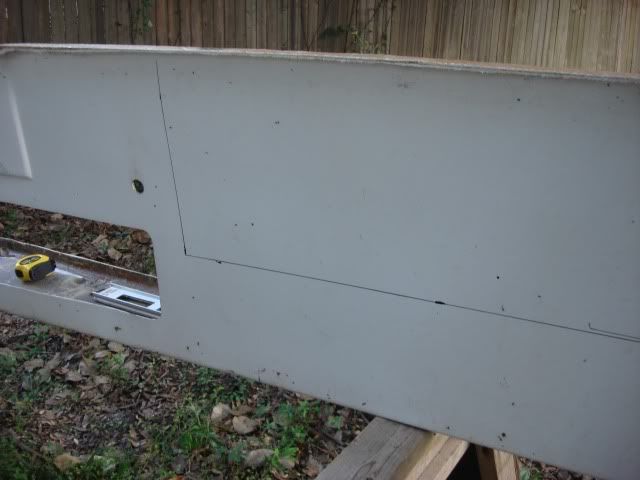 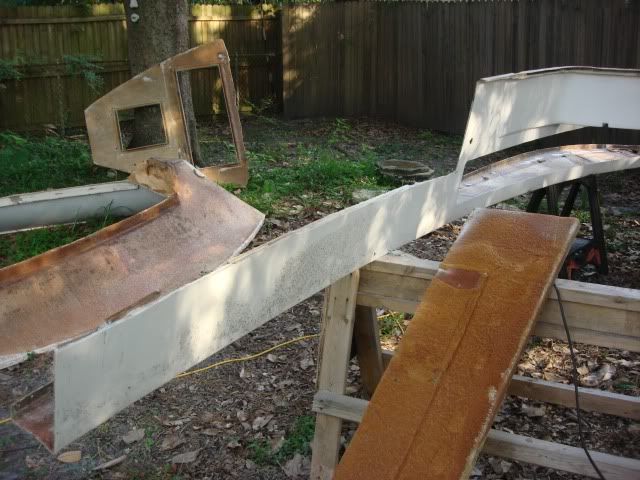 With my fuel tank ordered I cut 6 pieces of left over 3/4 " Coosa 26" long to form the slats for the fuel coffin. This picture shows the biax that was cut 42" long that will be glassed to the inside side of the stringers. 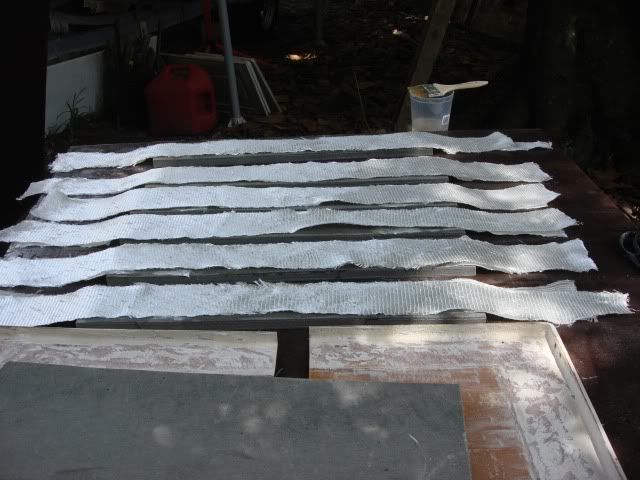 More to follow:
__________________
Will
|
 |
| Thread Tools | Search this Thread |
| Display Modes | |
|
|


 Hybrid Mode
