
|
|
|
|
#1
 08-05-2005, 01:27 AM
|
|||
|
|||
|
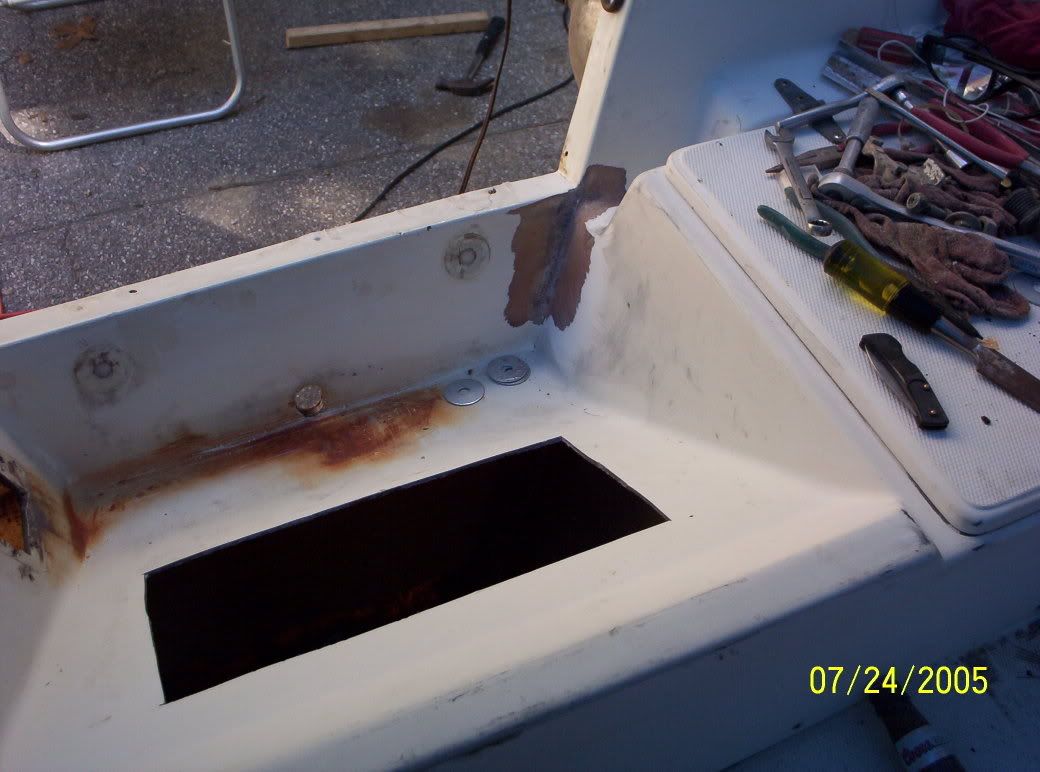
ok - so last we saw, the keel had a hole in it, and I wanted to brace the transom with a knee, to stiffen and prevent any further cracks from developing in the splashwell, or transom corners - as seen
 so tonight I crawled underneath, ground off the gel coat around the transducer hole, and beveled the hole out a little - I had already slabbed a couple pieces of 3/4 ply on each side with RW and thickened epoxy here is the partially filled keel hole, and the knee brace 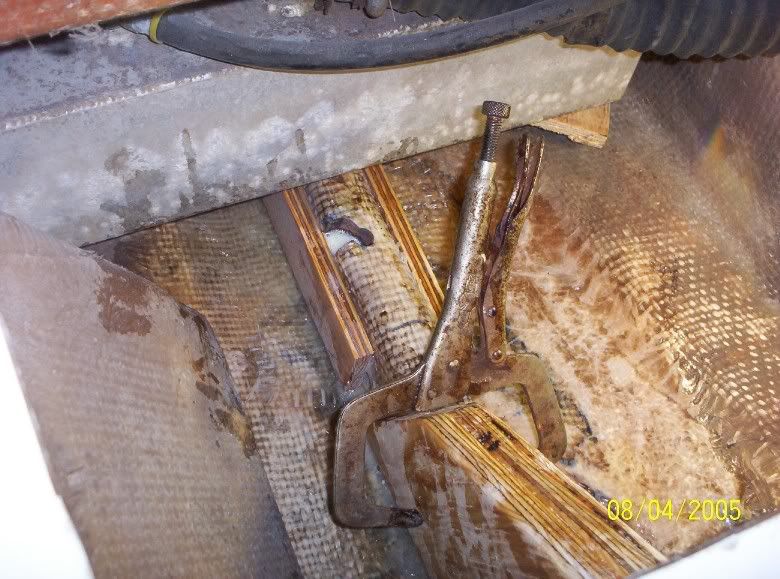 and here is another shot of the knee - it's two shorter pieces of 3/4 ply bonded to one longer one, which is slabbed onto the side of the keel, again with epoxy soaked RW and filled epoxy butter 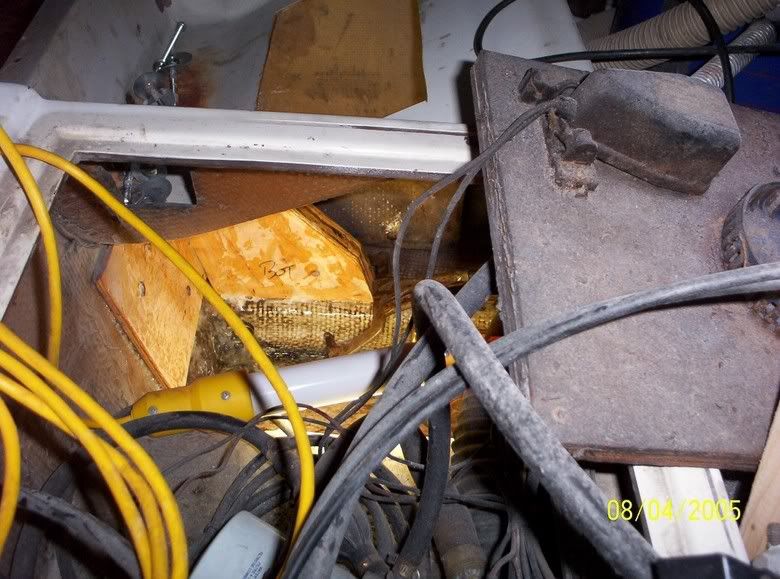 I ran the knee up to the top of the inside transom stiffener plate, both of which end right below where the splashwell comes up to the transom 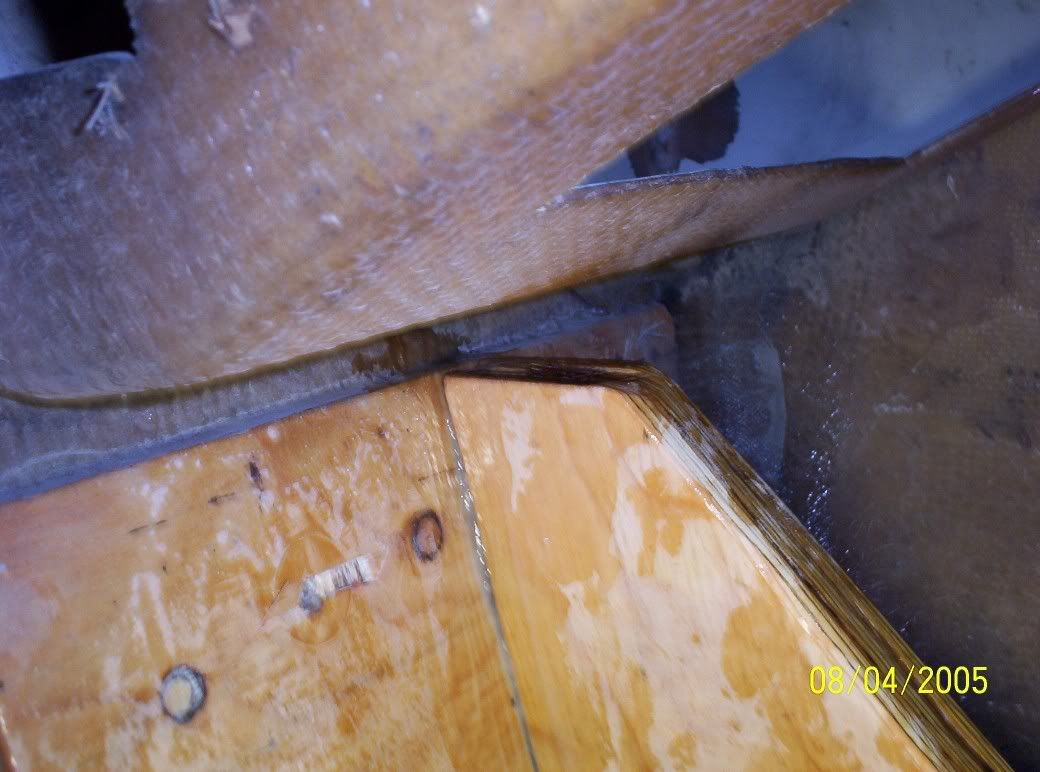 Tomorrow night I'll go back and tab the knee into both the keel and the transom support plate. Then I should be positioned to put the outer skin back on this weekend. Bill 
|
|
#2
08-08-2005, 01:58 AM
|
|||
|
|||
|
sun night - took all weekend - maybe I'm just anal about details and prep - oh well.
a running picture story - Sat morning 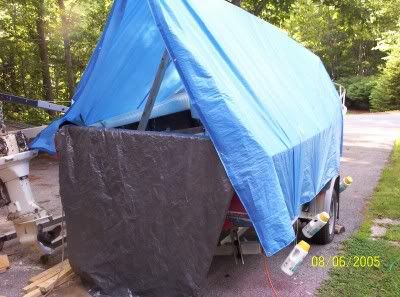 pull off the cover and get ready to work 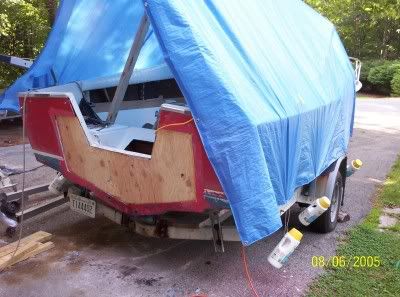 set up the work bench - I like 3M blue painters tape and wax paper - an easily renewable work surface 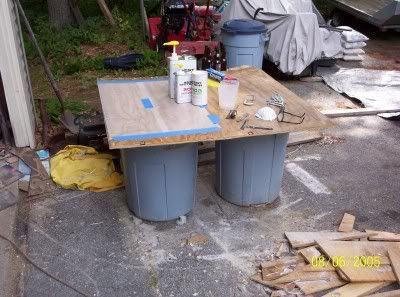 first real job, cap the new transom with several layers of cloth / epoxy resin, using some quickie molds to help hold the shape now pull the molds off after that cured, and do a little sanding now to start prepping the outer transom skin - I had previously ground clean the inside surface, but still needed to do the outside surface 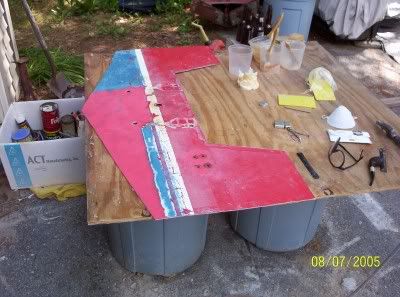 and then grind back the edges, both on the skin, and on the boat, so it would be ready to tape the seam after installation 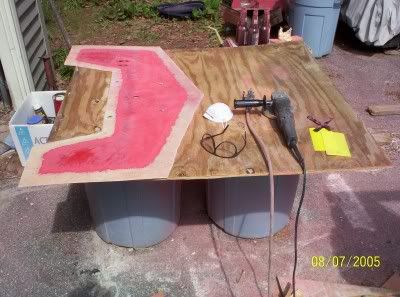 and then trial fit - it came out of that hole - would it go back in ? 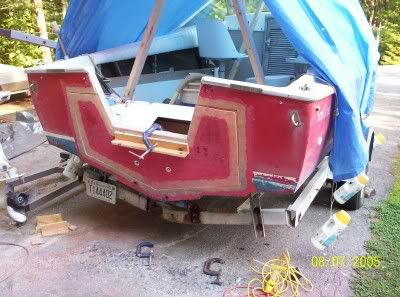 mixed up more sauce, backed up the skin with a piece of RW, wet the core, skin and RW out, and installed 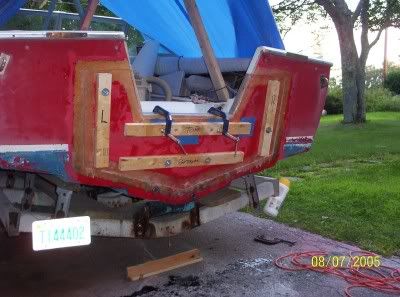 Halleluja !! the Skin is In !!! 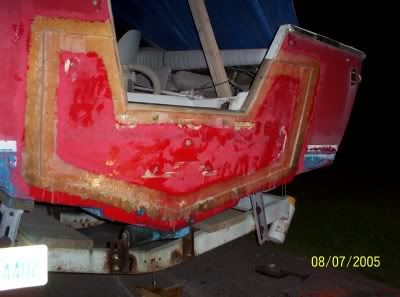 word to the wise - this is a butt busting, dirty job - don't undertake this lightly. On the flip side, rap the new transom with a hammer and hear the sharp, distinct sound of SOLID .... I like it !!! Bill
|
|
#4
08-09-2005, 01:54 PM
|
|||
|
|||
|
Great looking project! The easy part is over. Now the fairing and sanding come. Get yourself a good mask and goggle combination along with something to cover your body. IE old clothes or a body suit. A beer never tastes better than after a few hours of sanding in 90 degree heat.
__________________
Capt. Brian
|
|
#5
08-09-2005, 09:17 PM
|
|||
|
|||
|
Congratulations on finishing up your transom.
I am not trying to rain on your parade....However, I think I would it is very important to point out to others who may lack boat building or boat repair knowledge that this IS NOT the way most professionals rebuild transoms. The most accepted way amongst the boat building community is to remove the rear section of the liner, remove rotten core material, recore transom in one solid piece from the inside, and then reglass in the liner back in place. Cosmetically, it is the most invasive method. Structurally it is the best method and of course, as with most things done right...it is the most time consuming method.
__________________
http://www.thenavigatorclub.com http://thenavigatorclub.blogspot.com/ http://i18.photobucket.com/albums/b1...d_rgb_72-2.jpg
|
|
#6
08-10-2005, 01:29 PM
|
|||
|
|||
|
I wish it was finished - but at least it's getting closer.
I taped the seam last night, and finally got around to tabbing the knee and the keel hole repair. Off to see my girlfriend next, and get to the filling and fairing this weekend. Ed - I hear where you're coming from, But.... "most pro's" ... ahem, excuse me while I clear my throat see that hole in the keel stringer? the one where the drill slid off to the side, and didn't go straight thru the keel, but down the side, cutting all the way down thru the RW keel wrap. Done by a "Pro" boat yard. I've read thru every string on this and other boards, rotdoctor, etc Go back to currently page 91 of this site, poster Rich started a similar project, see thread "Wet transom Too" poster "Whitehawk" comes in and says the same thing you just did, then poster "Hermco" whom I believe is also a pro, come along and disagrees, that the external repair is also correct. Sounds like this is an endless debate. I'm an engineer, and I make up my own mind, based on what I see. I am not impressed with the transom design as found in this boat, in terms of structural support. It relied heavily on the integrity of the core, with inadequate supporting structure, provided, not with knees, or multiple stringers at full height coming right up to the transom, as seen in the mako's, but strictly thru the cap assembly. These boats have real nice stringers in the hull bottom, but, at least in mine, they reduce in height significantly before joining the transom, reducing their support value. The outer skin was 1/8" matt, rather suprisingly thin, with a thick layer of putty, heavily troweled and grooved, between that and the plywood core, while the inner transom was a combination of matt and RW - more meat in that. Wet plywood has the structural integrity of cardboard. If the core gets wet, it's all up to the glass, and the design... and then "pro" boat yards that drill holes thru the transom for bolts to mount things, and don't put any bedding in. Ehh, what's the use, it's an endless debate, with as many variables as there are boat designs, and boat yards doing setups and repairs. each one is a seperate case, in my eyes. We'll have to hoist a beer together sometime - getting them in the water, and having fun, safely, is what it's all about. Bill
|
|
#7
08-10-2005, 09:23 PM
|
|||
|
|||
|
Sorry Ed, I agree with Oldbluesplayer. The improvements are substansual. I once rebuilt a couple of ribs in an old ketch that was made in Formosa. Every body said that by not replaceing the rib and only forming a new one in it's place while still afloat that I was making the boat weak.
About a year and a half latter a drunck ramed the boat about three feet away from the repaires. The two ribs I made were the only undamaged in the cockpit area on both sides.Some of the stips lamenated were end to end and were gusseted to the keel. The same here, O's repaire is a stronger then original improvement. I beleave that a future rot problem is also less likely. The stringers are not likely to go any faster then the outside of the hull and the motor pressure is now in a better method of transfer. The transom will take less strain.
__________________
www.bigmikeslures.com
|
 |
| Thread Tools | Search this Thread |
| Display Modes | |
|
|


 Hybrid Mode
