
 |
|
|||||||
 |
|
|
Thread Tools | Search this Thread | Display Modes |
|
|
|
#1
|
|||
|
|||
|
__________________
Current SeaCraft projects: 68 27' SeaCraft Race boat 71 20' SeaCraft CC sf 73 23' SeaCraft CC sf 74 20' SeaCraft Sceptre 74 20' SeaCraft CC sf |
|
#2
|
|||
|
|||
|
Don't forget the butt paste....
 
__________________
See ya, Ken © |
|
#3
|
|||
|
|||
|
What will you be doing with the lip around the deck for the old engine hatch? Cutting it out and filling it in? I left the vents in place and was still able to get two rod holders on each side. In your case you could put one in the middle as well and then you would have three back there. With the ventilation my bilge stays clean and dry. There will be mildew unless you provide some sort of ventilation....and it spreads fast. If you are going to put some pop up cleats back there now is the time to do the cut outs for them while you have the back tore off. I had a hard time getting my arm up under there installing mine. What kind of paint are you going with? Dark colors look great but are a pain to apply and make look good. Looking great so far and your moving right along.
strick
__________________
"I always wanted to piss in the Rhine" (General George Patton upon entering Germany) |
|
#4
|
|||
|
|||
|
Quote:
__________________
Current SeaCraft projects: 68 27' SeaCraft Race boat 71 20' SeaCraft CC sf 73 23' SeaCraft CC sf 74 20' SeaCraft Sceptre 74 20' SeaCraft CC sf |
|
#5
|
|||
|
|||
|
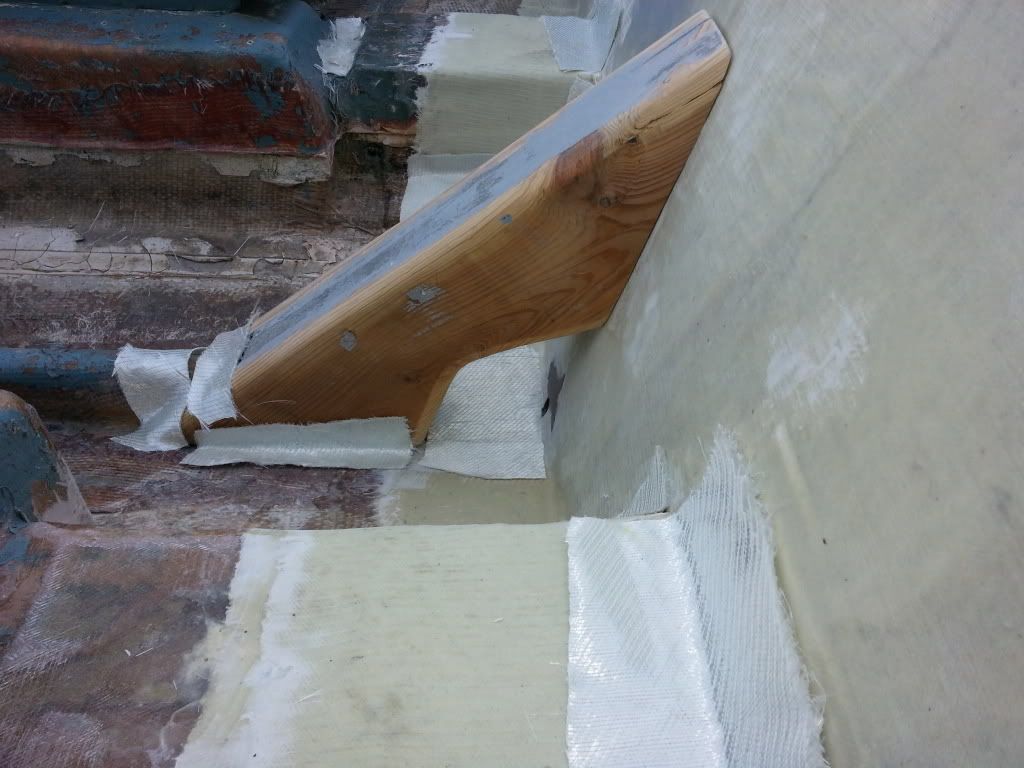
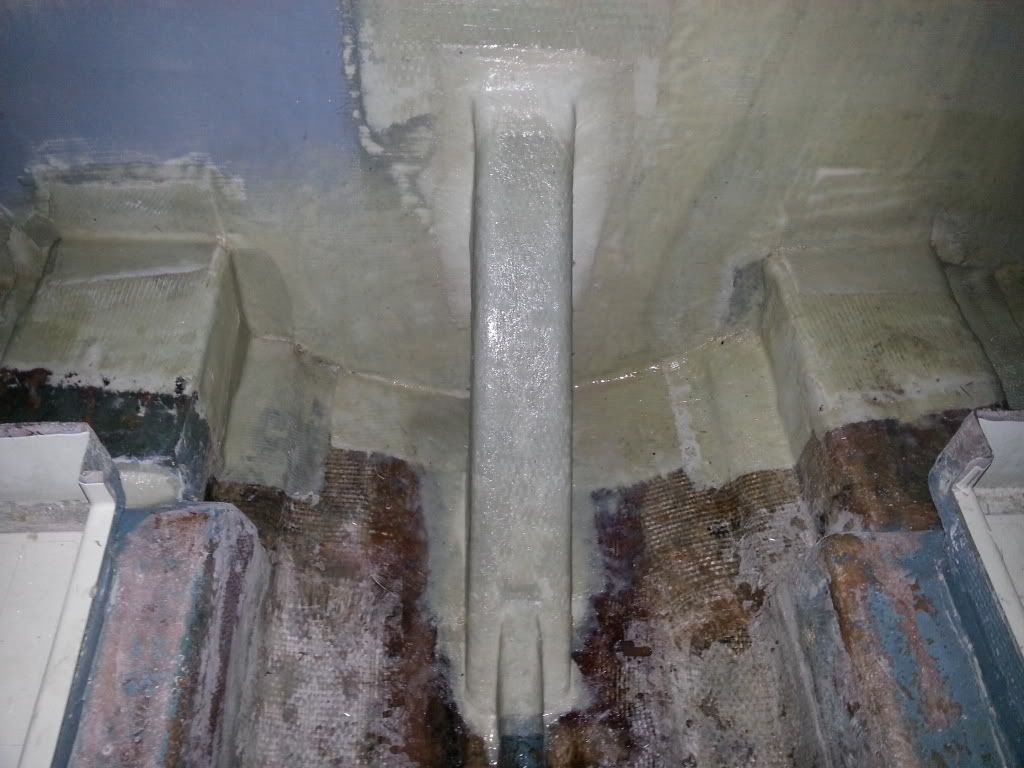
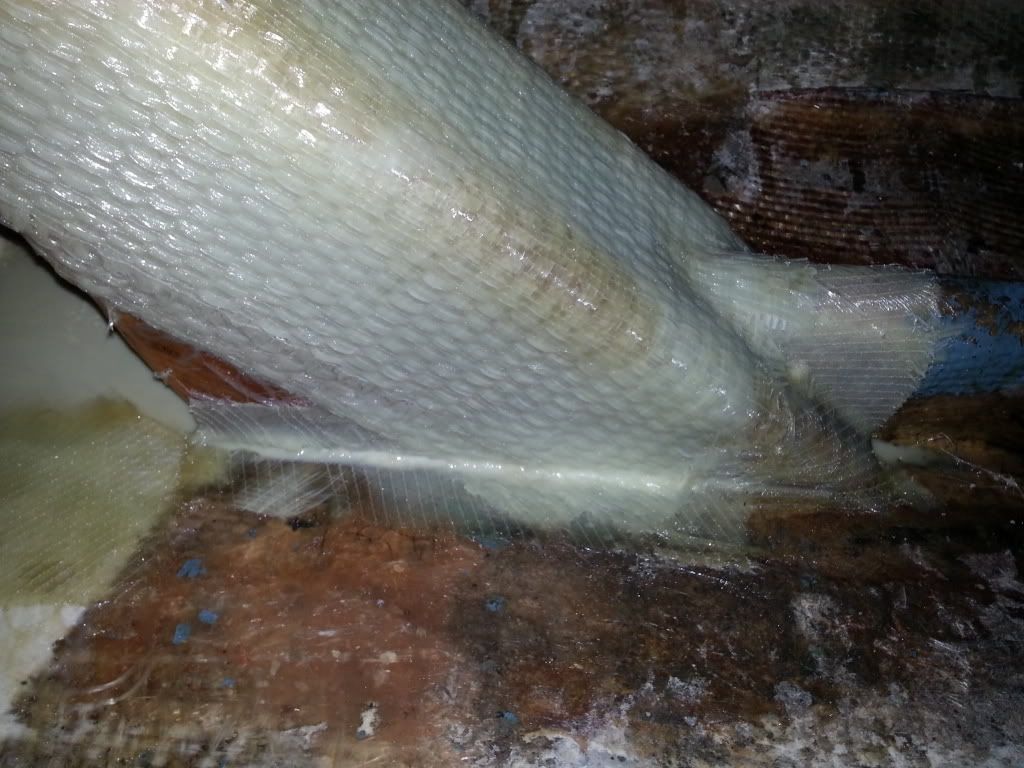
Last night I made a knee to support the transom and bracket. I want to get the bilge area finished out so I can get my top cap back on and seemed together. Left a small area open at the center of the rear for a low point for bilge pump and I also like my drain holes centered not to the side like original. Skimmed some short strand fiber puddy on the knee to smooth it out for the glass wrap. I used 1708 for some of the smaller areas then the roven backed with matt over the main part of the knee. Would of used all 1708 but still got some free roven to use so it has to go somewhere. I also applyed some more tabbing on the stringers just for over kill. They should be 3/8 thick where they meet the transom or more now. Tonight I will go around and tab the knee in better and make sure it is 100 percent covered.
__________________
Current SeaCraft projects: 68 27' SeaCraft Race boat 71 20' SeaCraft CC sf 73 23' SeaCraft CC sf 74 20' SeaCraft Sceptre 74 20' SeaCraft CC sf |
|
#6
|
|||
|
|||
|
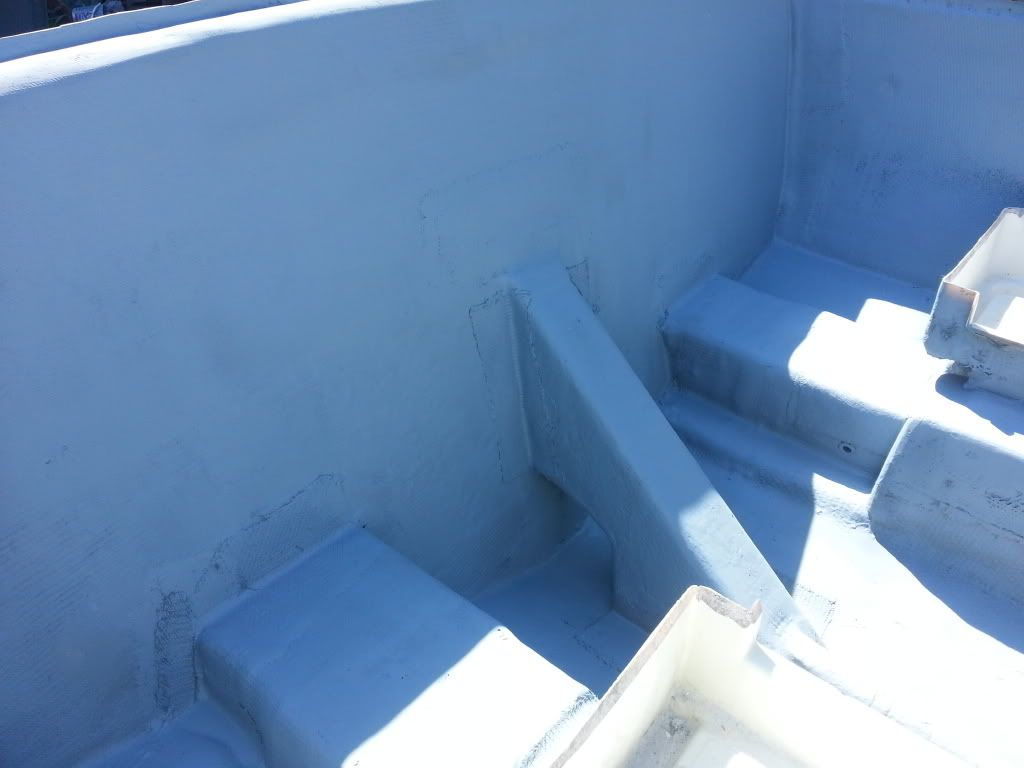
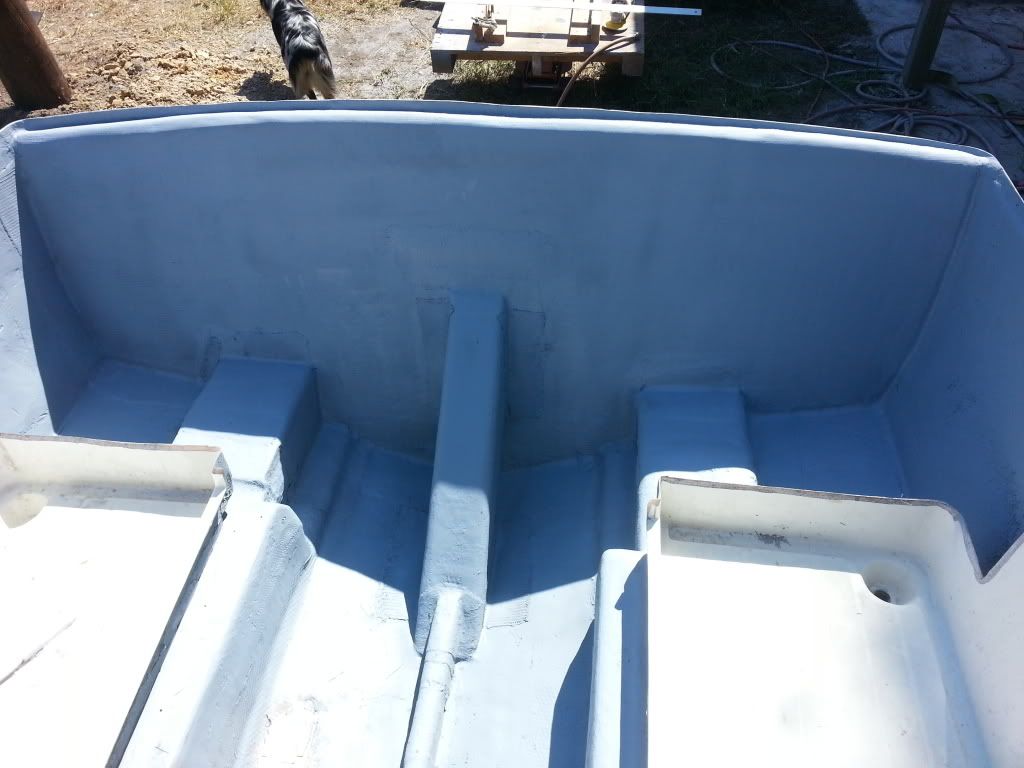
Got the bilge coated with 2000e this weekend and set some poles to make a building to do the work to the race boat under.
__________________
Current SeaCraft projects: 68 27' SeaCraft Race boat 71 20' SeaCraft CC sf 73 23' SeaCraft CC sf 74 20' SeaCraft Sceptre 74 20' SeaCraft CC sf |
|
#7
|
|||
|
|||
|
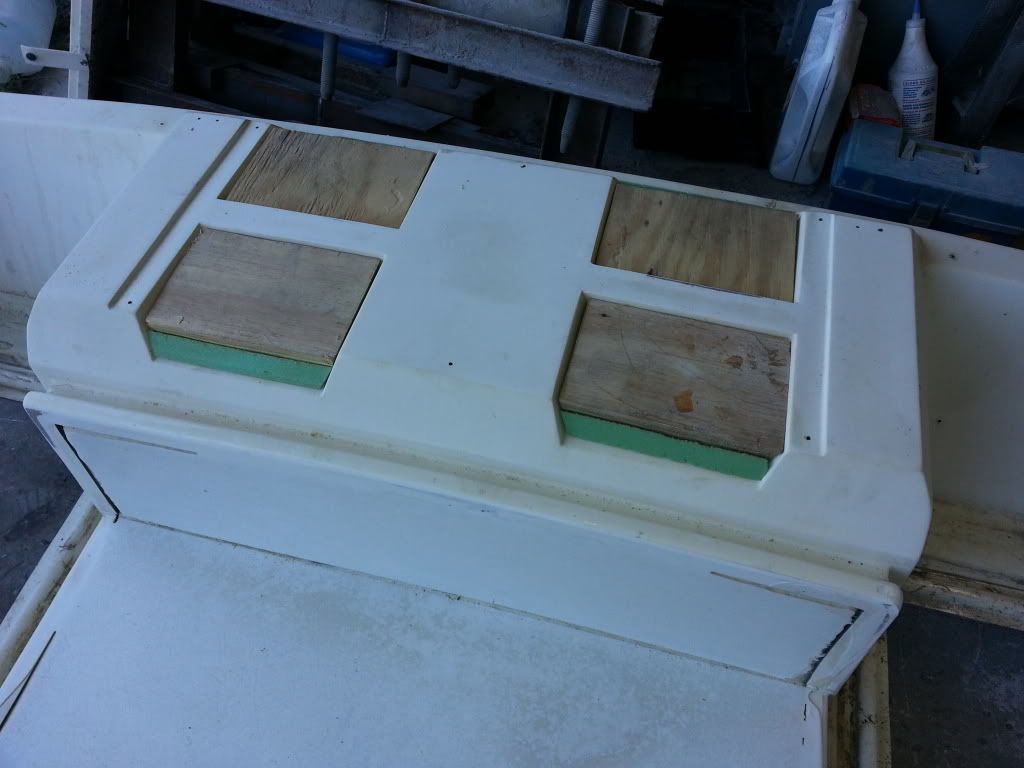
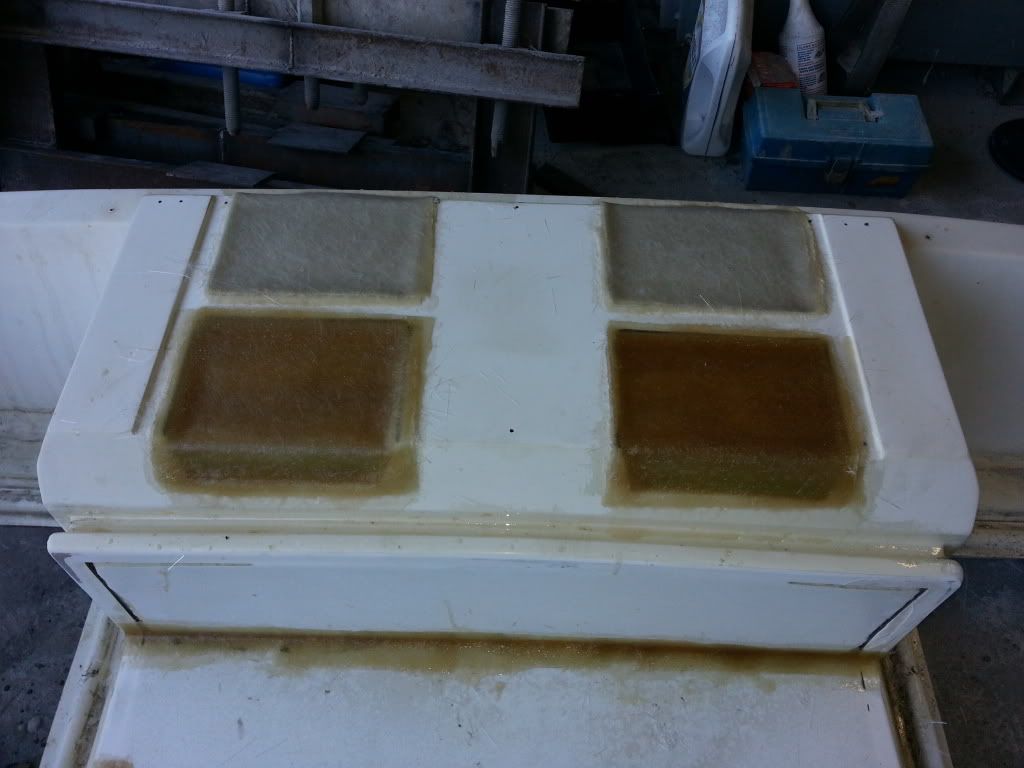
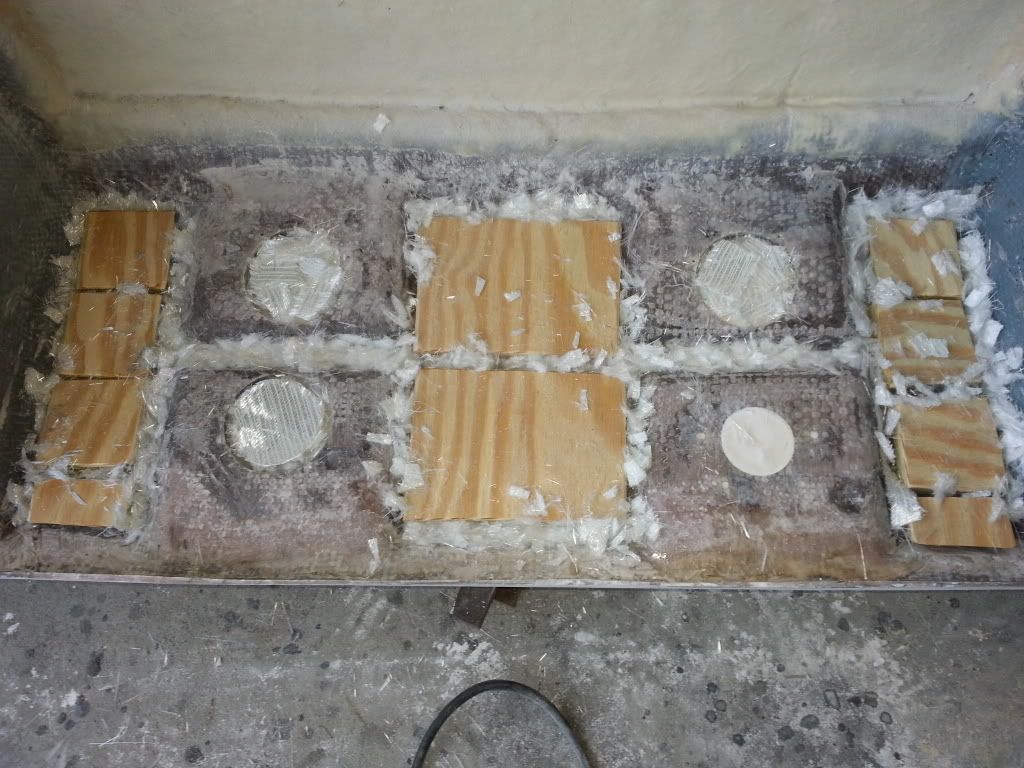
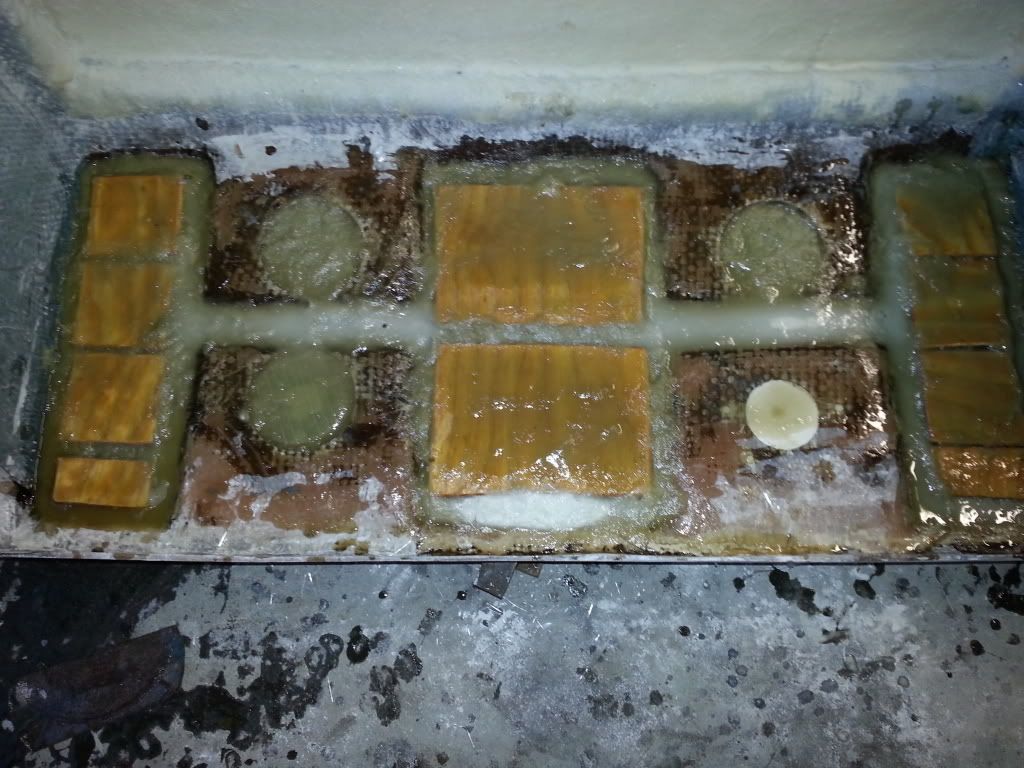
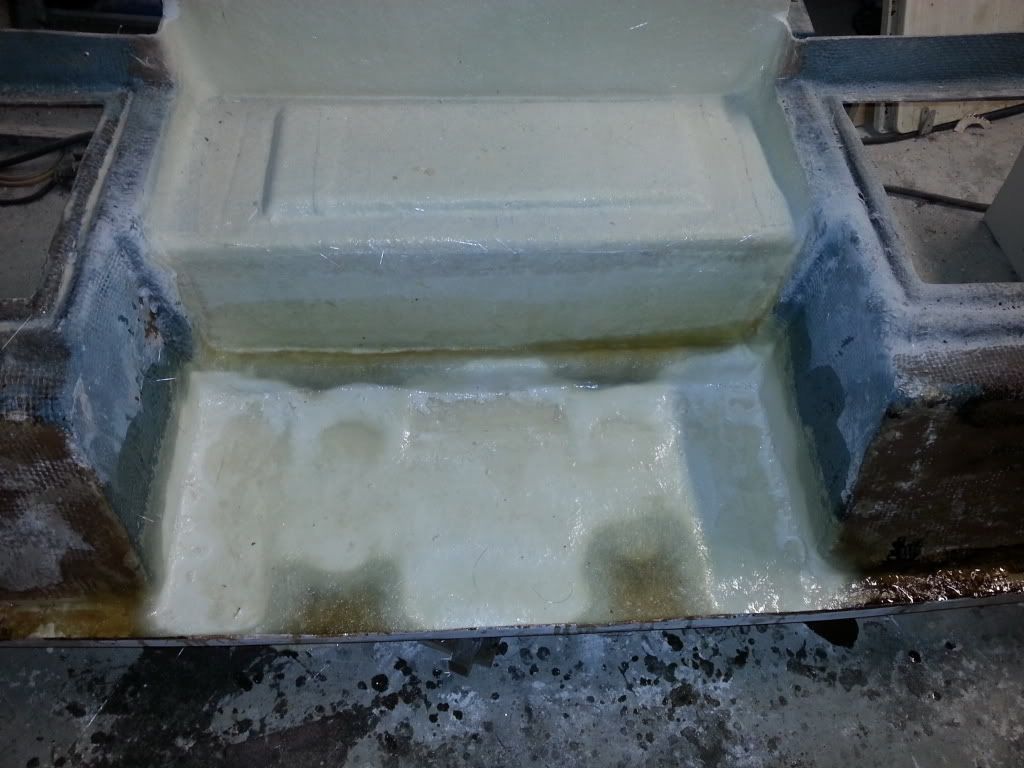
Filled in the bottom side of the rear cap so that it will be solid for the rod holder's. Cored it with ply and beaded it in thicken resin and scrap fibers to add strength. Then layed 3 layers of Matt over that. Should have a nice even bed for a strong mount.
__________________
Current SeaCraft projects: 68 27' SeaCraft Race boat 71 20' SeaCraft CC sf 73 23' SeaCraft CC sf 74 20' SeaCraft Sceptre 74 20' SeaCraft CC sf |
|
#8
|
|||
|
|||
|
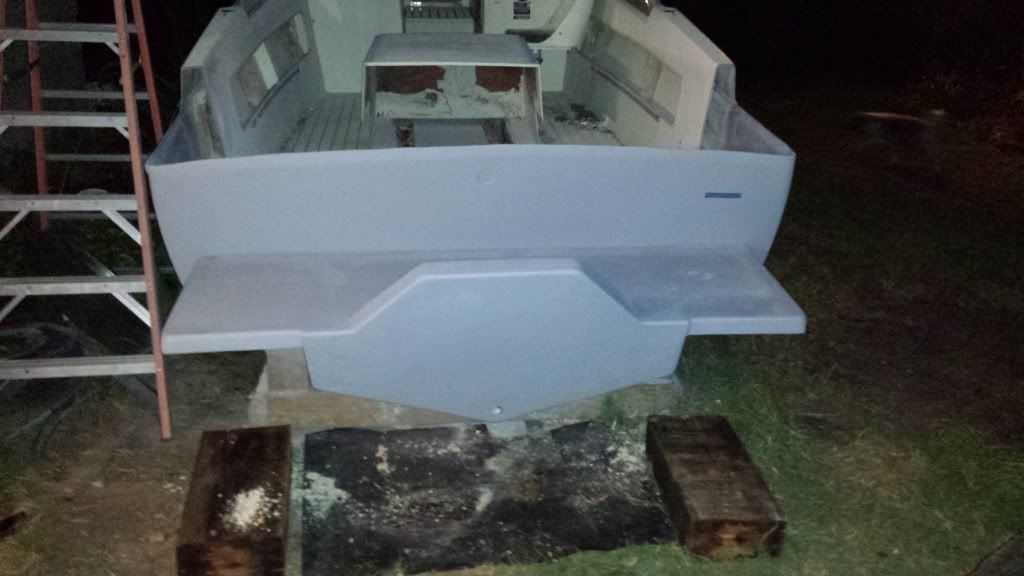
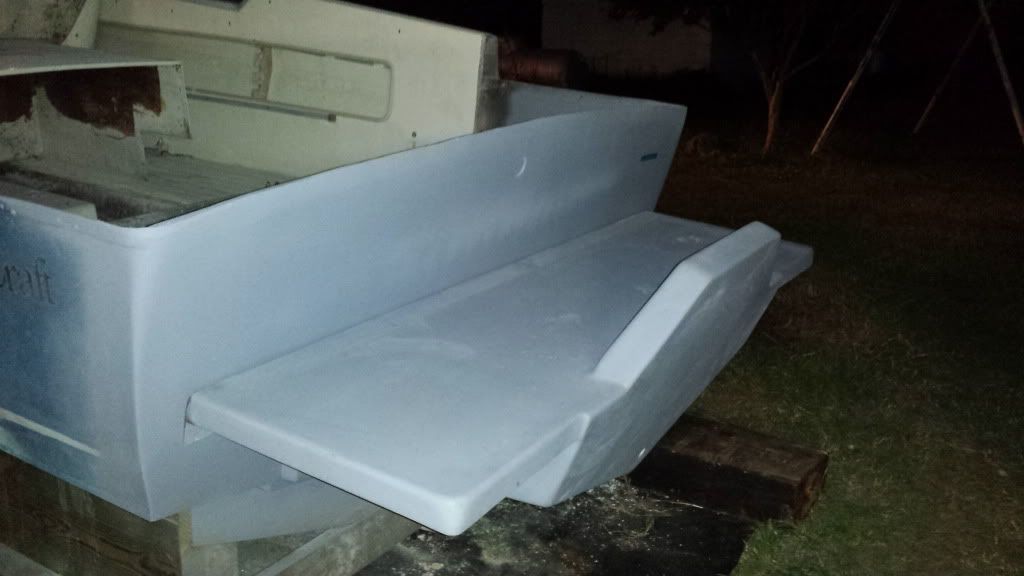
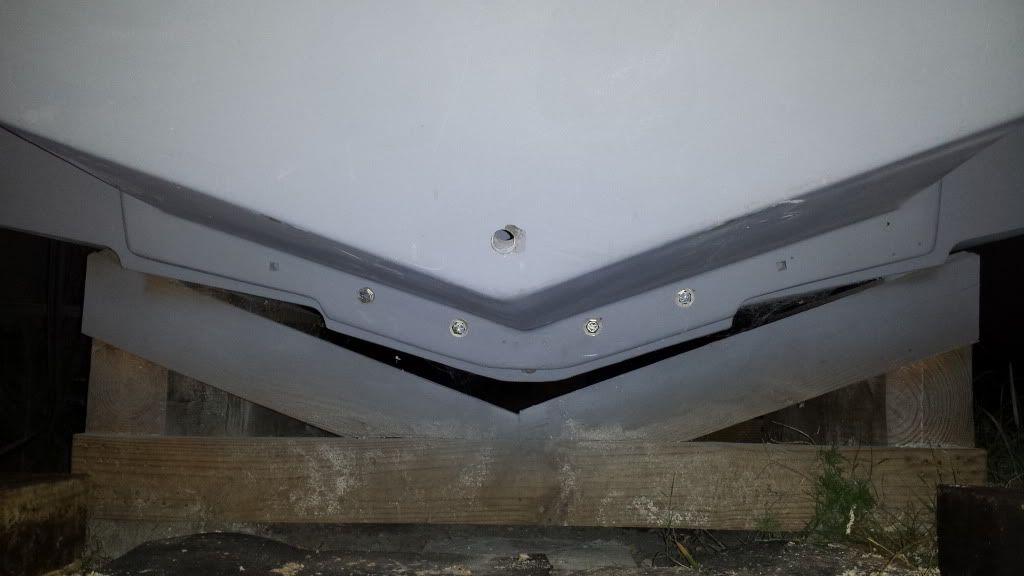
Set the bracket last night. Got it as low as possible for maximum flotation. The tub ended up 3" above the boat keel and the motor mount was about 29" from the boat bottom. I think I should Be able to get the motor up 4"-5" no problem. The swim platform is not as low as I would like it but it had to be higher like this to allow for the lower motor mount bolts to hit below the platform to get the required height. Looks good on the boat. I will be using flat bar to back the bolts on the inside and also changing the current bolts to ss carriage bolts to give a nice rounded head that will be seen on the lower flange due to the reverse direction of it. The flange will need a half circle cut out in the bottom to allow the drain hole to be accessed as well. Now that the dry fit is done I will make some small changes and get it prepped for a final install.
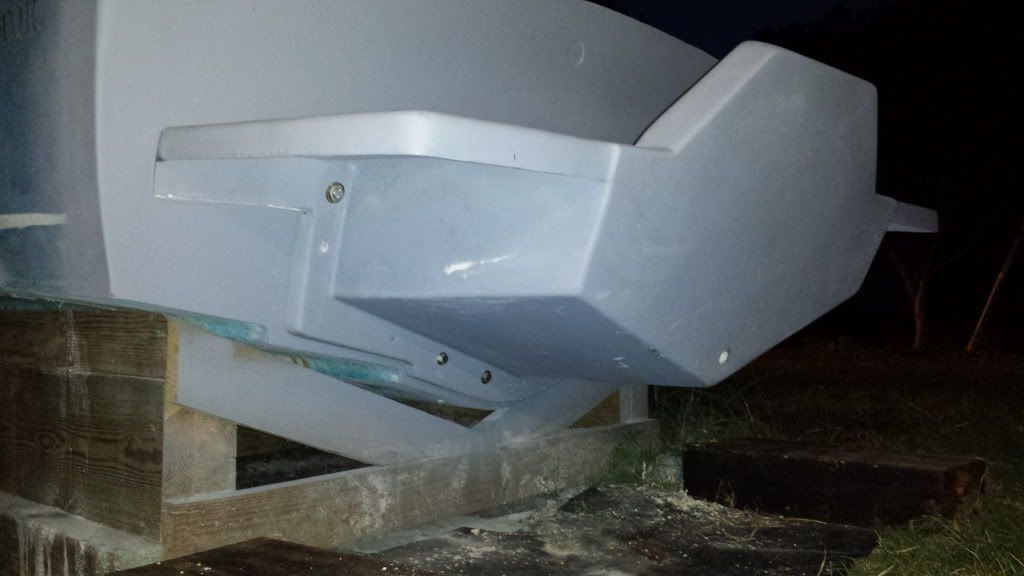 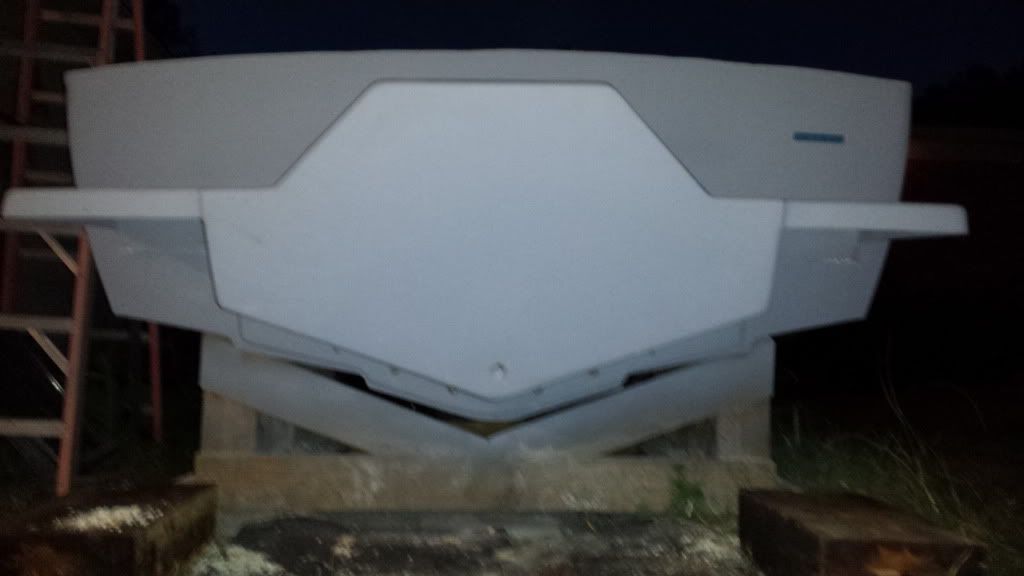 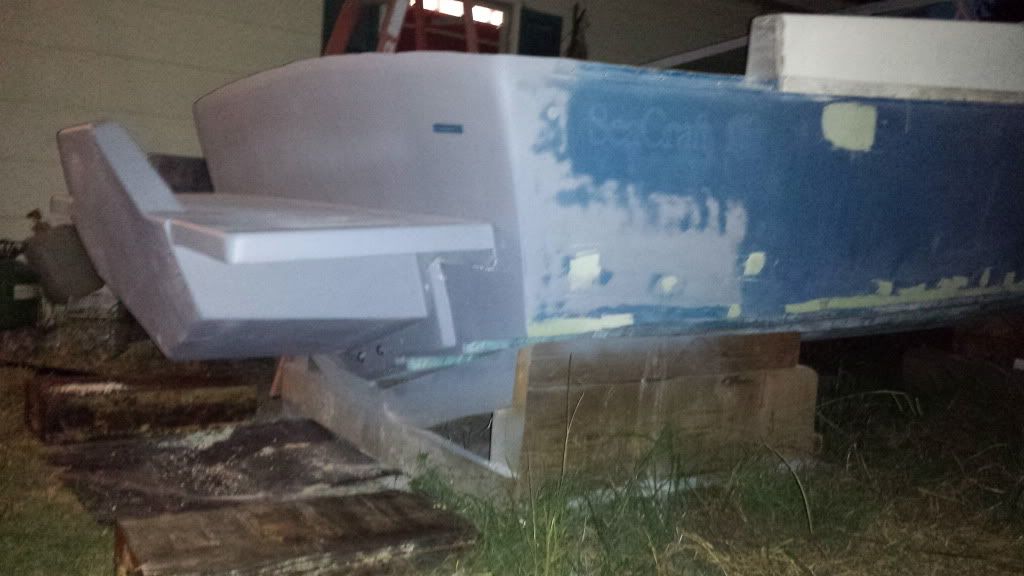 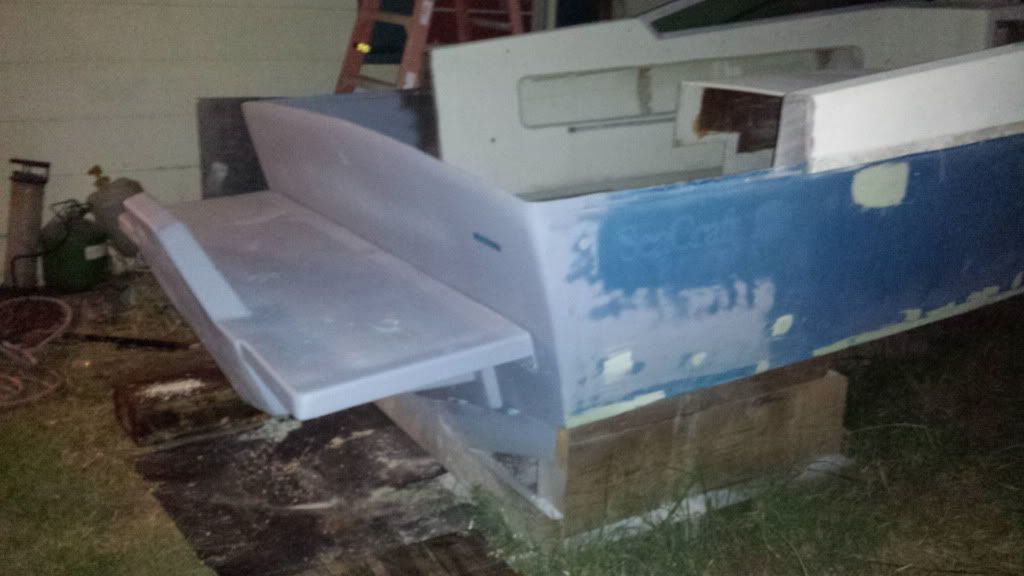   
__________________
Current SeaCraft projects: 68 27' SeaCraft Race boat 71 20' SeaCraft CC sf 73 23' SeaCraft CC sf 74 20' SeaCraft Sceptre 74 20' SeaCraft CC sf |
|
#9
|
|||
|
|||
|
Look good frizz never seen a dusky drive look so good
|
|
#10
|
|||
|
|||
|
Photo Bucket has my account pictures froze due to the 10k band with rule and hopefully the pictures will be back soon. But here is some progress till then.....
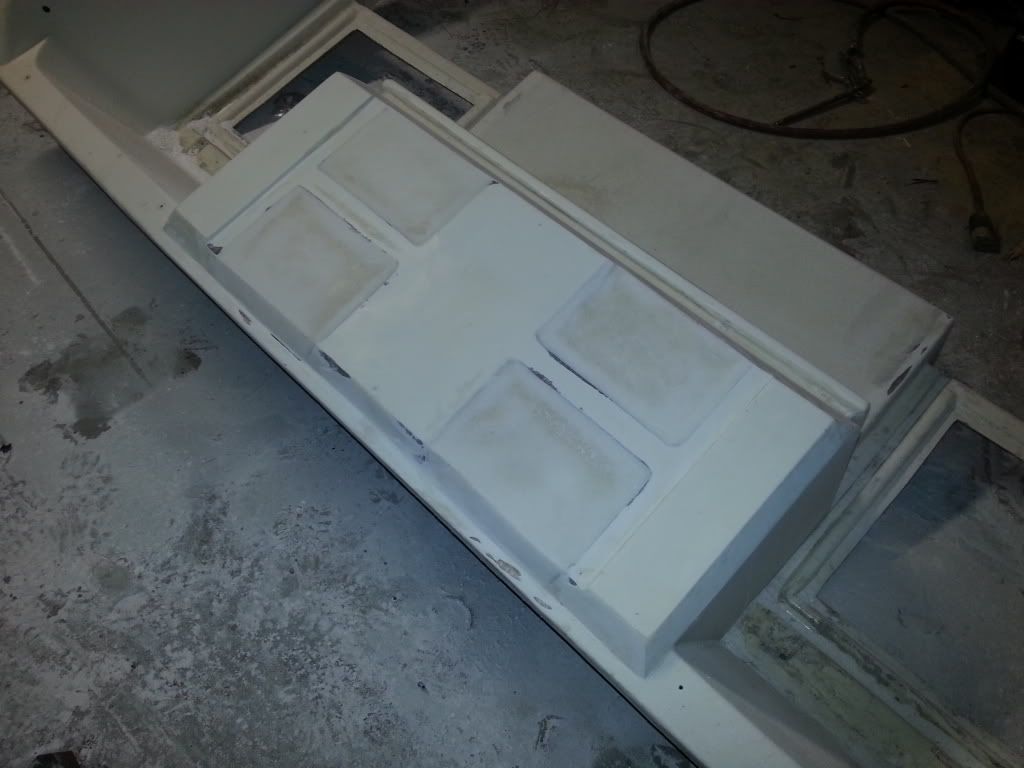
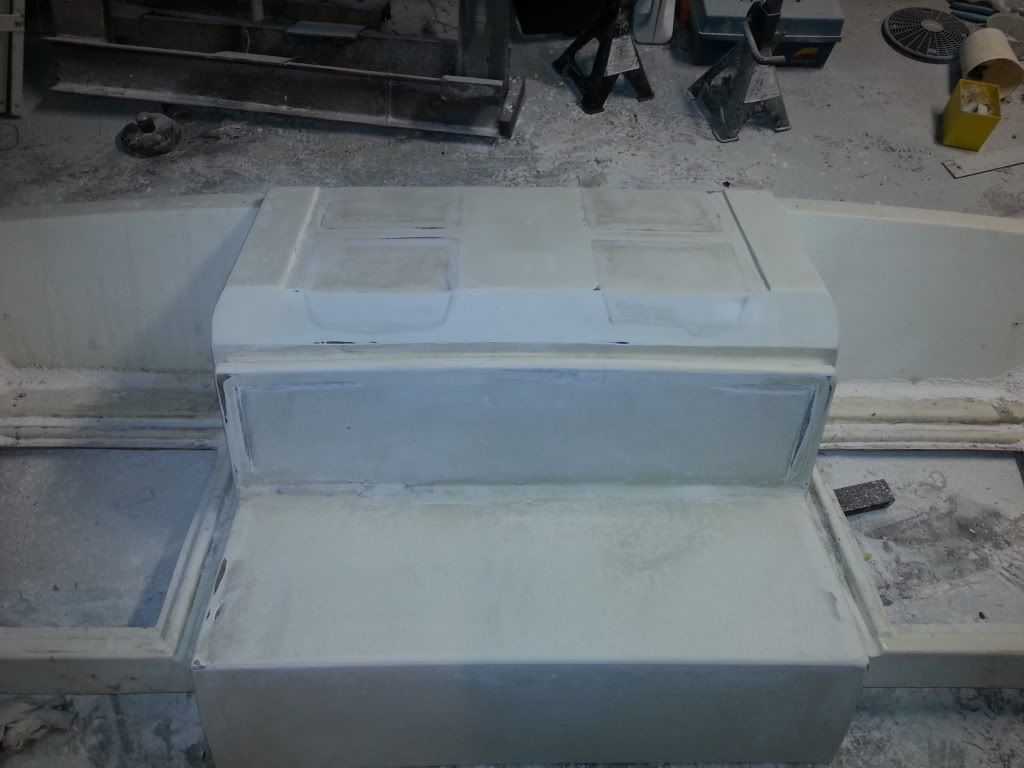
I got the section I built to fill in the old i/o hole for the floor installed. I used thickened resin on top of the stringers and sat it in place. Once that set up I came back and sanded off the sides of the new section and around the old deck at a 45 degree angle both ways to make a pocket 2" wide and 1" deep in the center to lay new glass in. It took about 12 layers or so to build it up past the deck height by starting with thin strips and getting a little wider each time. Once that was done I sanded it back flush and then hit it with some resin and 407 west additive I had laying around to smooth it out then shot it with white epoxy primer. I will go back and add the deck stripes during final paint process to match the rest of the deck. The rear top cap has been sanded, faired, and primed with epoxy primer and now is being installed back on the boat.
__________________
Current SeaCraft projects: 68 27' SeaCraft Race boat 71 20' SeaCraft CC sf 73 23' SeaCraft CC sf 74 20' SeaCraft Sceptre 74 20' SeaCraft CC sf |
 |
|
|