
 |
|
|||||||
 |
|
|
Thread Tools | Search this Thread | Display Modes |
|
|
|
#1
|
|||
|
|||
|
Went back and ground down the seems around the rear cap about 3"-4" each side and will add a piece of 1708 then a layer of matt over that and them fair back in. Hopefully this will make it much stronger. Thanks to all who helped with the seem grind back info...
Here is part of it that was ground back ready for the wider cloth. You can see the 2" wide area in white where I seemed it together the first time and where I ground it down to make the next layer much wider: 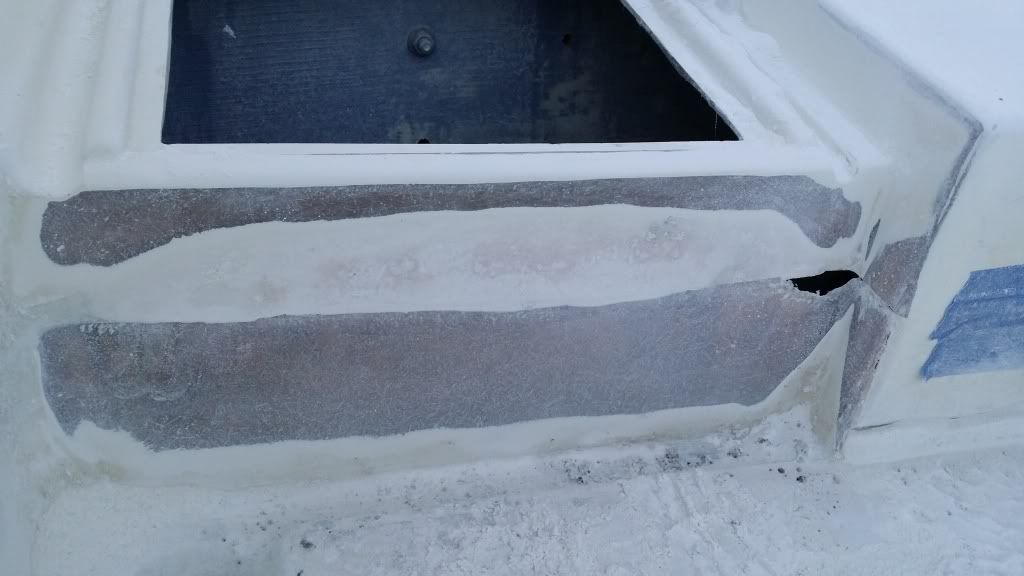
__________________
Current SeaCraft projects: 68 27' SeaCraft Race boat 71 20' SeaCraft CC sf 73 23' SeaCraft CC sf 74 20' SeaCraft Sceptre 74 20' SeaCraft CC sf |
|
#2
|
|||
|
|||
|
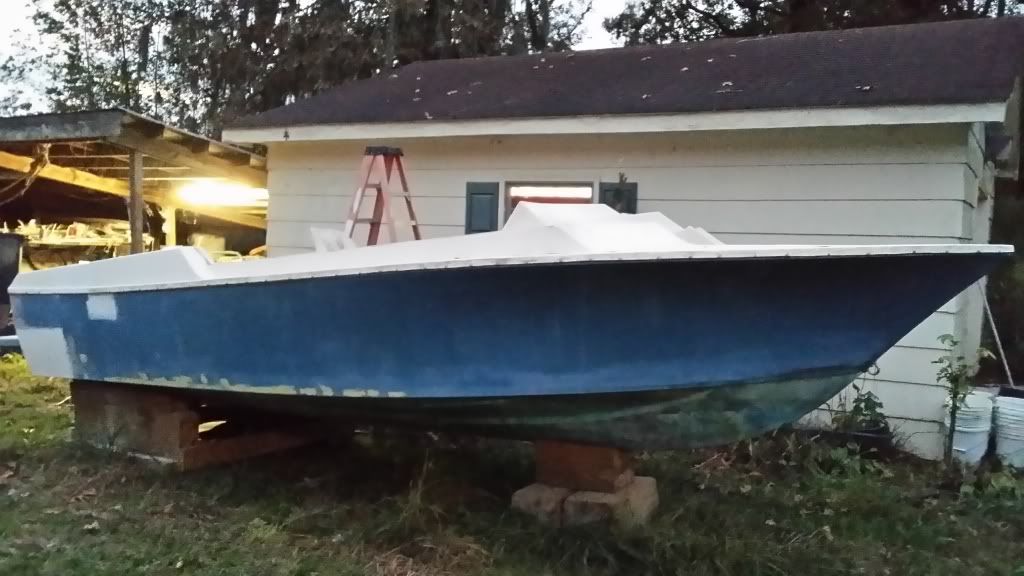
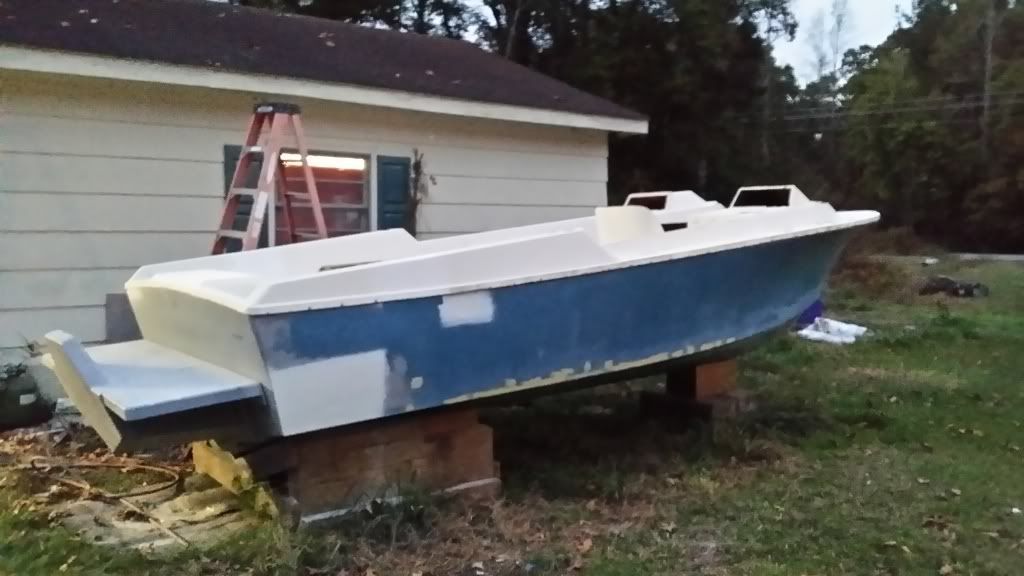
Took off the windshild and all the hard ware off the boat. Getting it striped down and trying to fix any small spots and cracks in the gel coat. Filling any old holes from previous life:
__________________
Current SeaCraft projects: 68 27' SeaCraft Race boat 71 20' SeaCraft CC sf 73 23' SeaCraft CC sf 74 20' SeaCraft Sceptre 74 20' SeaCraft CC sf |
|
#3
|
|||
|
|||
|
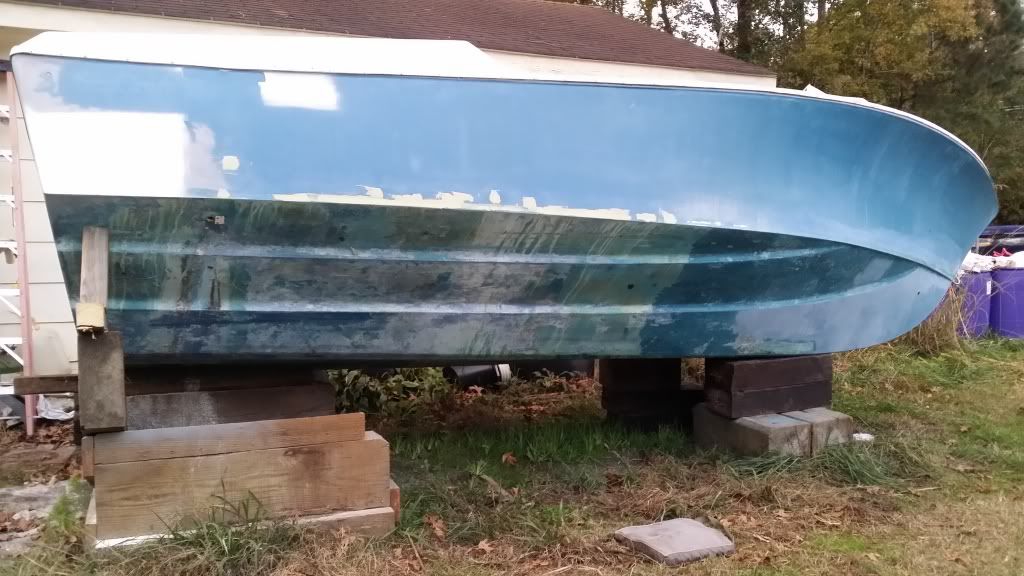
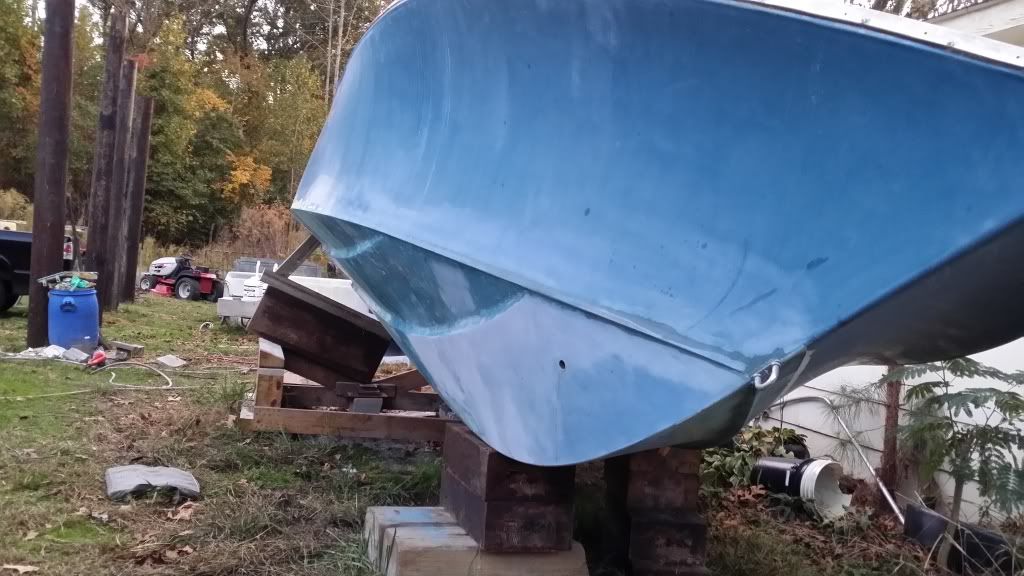
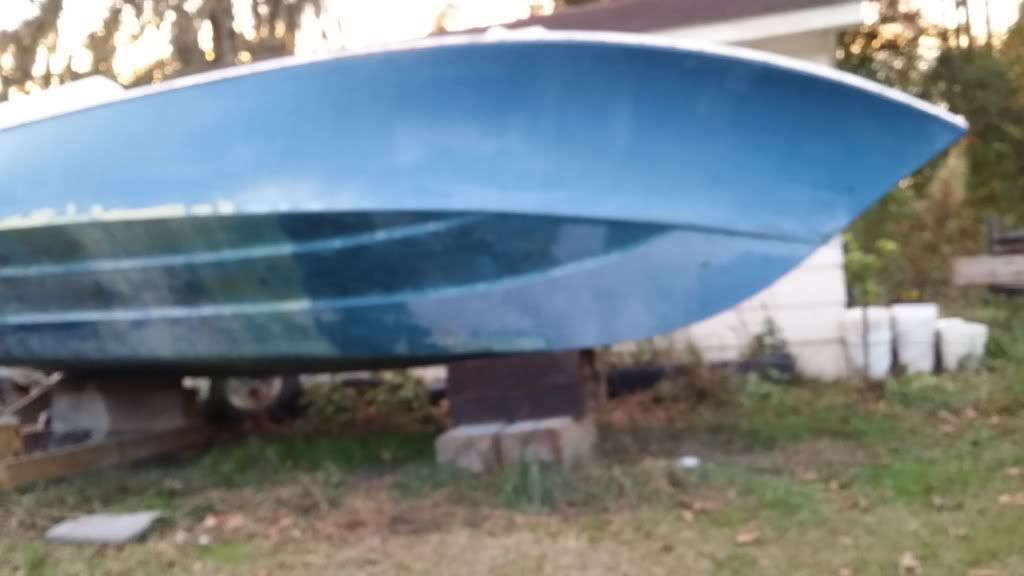
Getting the bottom paint off has been a challenge on my back so I decided after seeing how some others on here done it on their post I decided to put her over on her side. There is only one coat of bottom paint to get off and then I will sand the gel back with 120 grit then fix any small cracks or blisters with a 2 part epoxy under water filler (light green stuff on the bottom of the hull). Once that is done and I get the bottom faired in I will apply a thick coat of the the interlux 2000e epoxy seal coat to it.
__________________
Current SeaCraft projects: 68 27' SeaCraft Race boat 71 20' SeaCraft CC sf 73 23' SeaCraft CC sf 74 20' SeaCraft Sceptre 74 20' SeaCraft CC sf |
|
#4
|
|||
|
|||
|
Spent a lot of time in that garage! Hey Friz, the guys name is Chris Phelps and his cell number is 252-337-4452. Hope he can hook you up. Later, boo.
__________________
1975 SF18/ 2002 DF140 1972 15' MonArk/ 1972 Merc 50 http://i833.photobucket.com/albums/z...photos/SC3.jpg |
|
#5
|
|||
|
|||
|
Sorry but another question. After grinding the inside of the outer skin I didn't grind it down evenly and there is some wavy spots. Will this uneven surface be a problem when bonding the core to it? Thanks again for all your help and I can't wait to see more of your progress.
|
|
#6
|
|||
|
|||
|
Quote:
There are two ways I usually do a transom to the original skin. The first is if I use Poly or vinyl-ester. I start by adding a layer of 10oz matt then a layer of 1708 over that then 2 layers of matt over that for the inside laminate between the skin and core. That will give you skin-matt-matt(on back of the 1708)-biaxel (top of 1708)-matt -matt. This gives you two layers of matt to fill the voids between the skin and the layer of biaxel. Then the two layers of matt on top of the biaxel will help fill the voids to the core material. This creates a good bond to the hard surfaces that you lay up on or to. This leaves the biaxel in the middle which is for strength mainly. The core gets soaked with thinned resin before it is installed and then I will add several layers of 1708 between the two 3/4" wood plys. Always put the matt side towards the bare wood. At this point I will clamp it inn place and wait for it to set up. Once dried I will add the fillets around the edges and then start laying up the outter layers of glass. Matt should be used always as a first layer up against old glass or wood to gain bond strength by holding more resin and filling voids. Most people like the 1708 because it has the matt glued or (stitched for epoxy) to the back of the biaxel fibers. You can lay it as one layer and it is faster maybe easier to do than two layers separate. The second way I may install a core into the transom is with epoxy. I then use just a thickened epoxy resin with cabosil then trowel it directly onto the surface of the skin. The trowel I use will be notched with 1/4" teeth and I get it thick enough it will stay in place and not run down the skin. The thick resin should fill most voids and dips. Once this is applied I stick the core to the skin and let it bed down into the thickened resin. I try to get all the air out if possible and clamp it in place to set up. Dont squeeze the resin out from to much pressure. Try to keep as much in as possible but at the same time bed it well enough to get all the air out. The epoxy has a strong enough secondary bonding strength that it can be used with out matt and will bond the core in well. It will not provide much strength as that comes from the cloth. You need to make sure the original skin is plenty thick to do it this way. This is how I did the 74 20' sceptre. The skin was super thick already and I added more bixal to the inner section between the core wood plys and the front side of the core to give it plenty of strength. If I bond it in this way I will also will fully seal the wood core with two layers of matt first so that it will be completely seal from any possible water intrusion. I scuff it real well with 36 grit to give the surface some "tooth" for the epoxy to bite to. The thinned poly or ve will absorb into the wood better than the epoxy. I usually thin with styrene or you can use acetone. (The first method I described to you I just bond the wood in without enclosing the core first. It gets enclosed as it is laid up.) Once the epoxy sets up you can add all the fillets around the edges and then laminate the front side of the core to the boat. There are many ways to do a transom but that is the two main ways I do them. Hope this helps, Mike
__________________
Current SeaCraft projects: 68 27' SeaCraft Race boat 71 20' SeaCraft CC sf 73 23' SeaCraft CC sf 74 20' SeaCraft Sceptre 74 20' SeaCraft CC sf |
|
#7
|
|||
|
|||
|
Can I use poly resin and mat on skin to build some thickness? Then do what you did with epoxy for the core.
|
|
#8
|
|||
|
|||
|
You could do that, and it might be fine, but that kinda defeats the purpose of using epoxy to get the good secondary bond to the old skin. If I was to fill all the voids and dips with matt and poly or VE I would just continue to work with that same resin and lay the core into the boat while the resin was still green. You get a better bond when you do a green or chemical bond. The peel strength is much higher and you will get less delamination problems. The part of the lay up that will be the weekest is the bond to the older orignal poly glass. The point of using the epoxy is it will give you better secondary bond strength to the old poly skin. If you lay poly on the old skin it wont have the same peel strength. You would be just as good or better off to continue with the poly and do a full wet chemical lay up all the way out vs letting it fully cure then doing a secondary bond on top of the new glass. The window for a lay up is best if it cures all together but you still have hours to a day or two to reapply more resin and glass and still get a good green chemical bond. If it was me I would do one of two things, First- use epoxy to to fill the voids and build it back up with 1708 stitch cloth and then lay the skin in place so it is all epoxy from skin to core. Then you can switch to poly or ve to do the rest on the outer core to save some money if you must. OR secondly- use VE or poly to fill the voids and dips with matt and 1708 and do a full green or chemical bond from the start to finish all the way out. You just need to take more time prepping the surfaces on the old skin before you start. Scuff it up well so it has plenty of tooth for the new resin to bite into and clean it very well and get the best bond you can out of the resin. I think as long as you prep the surface well and use enough biaxel cloth for strength you will be plenty strong and you wont have any problems with delamination or such. Just take your time and make sure you get all the air out of the laminate and leave no air pockets or spots for water to get into the core and it will last for years with out issue. There have been many boats rebuilt with just plain old poly resin that last years. The epoxy and VE are much better products and will give you more strength but at a cost. If you are trying to get the most strength out of a light lay up for performance high end resin systems is a must but just for a pleasure fishing vessel where weight is not a issue you can over build it with poly a little for peace of mind and be fine.
__________________
Current SeaCraft projects: 68 27' SeaCraft Race boat 71 20' SeaCraft CC sf 73 23' SeaCraft CC sf 74 20' SeaCraft Sceptre 74 20' SeaCraft CC sf |
|
#9
|
|||
|
|||
|
Thanks a lot for the great info. That explains it all. When are you planning on finishing your boat? What color will it be? Keep us posted.
|
|
#10
|
|||
|
|||
|
Quote:
Right now I am working on another 20' (this one a cc) in my heated shop. I hope to have both ready by time it warms up so I can spray both of them once it warms up out side. I could spray them in my shop but I don't want over spray every where. I do have a friend with a paint booth. I did the electrical wiring on a while back for him when he installed it so I might reach out to him for a favor if the spring doesn't hurry up and get here. Color? Not sure but probably the popular seafoam green or Carolina blue. (UNC Tarheel Blue) 
__________________
Current SeaCraft projects: 68 27' SeaCraft Race boat 71 20' SeaCraft CC sf 73 23' SeaCraft CC sf 74 20' SeaCraft Sceptre 74 20' SeaCraft CC sf |
 |
|
|