
 |
|
|
|
#1
|
|||
|
|||
|
BA17 thank you I am really excited now that I see it in the boat. the cap fits really well with the flush deck , I tried to take a pic up in the bow of the toe to knee angle of where the hull hits your toes and where your knees are positioned but it doesn't look right in the pic. It is not bad at all and I think its well worth it.
I got the leaning post and Ed did a great job with it from Fabtech marine. I got the template built for the forward bulkhead and I had a lot of problems getting a straight measurement because of the curvature and angle of the hull . there was a lot of head scratching. I finally got where it looks even with the top cap and the sides. gonna pull it out and transfer the template to one of the panels I layed up . 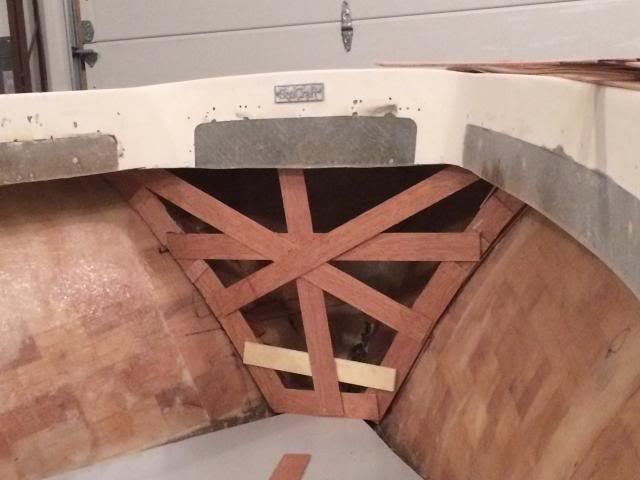 once I got the console in the boat with the deck I didn't like the engine box on the front of the console it was to high for me. Plus it was a nightmare trying to figure out how to make a mold for the well because the top was tapered in 3 different ways. I can now flatten the top and make a well with a flange on top to seal it. also I plan to make it into a seat. 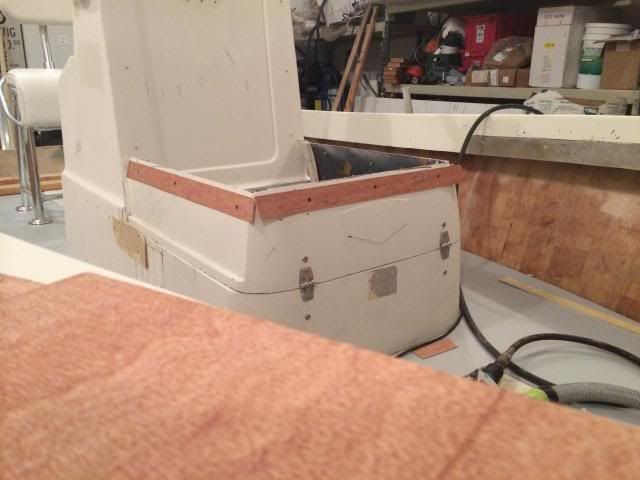 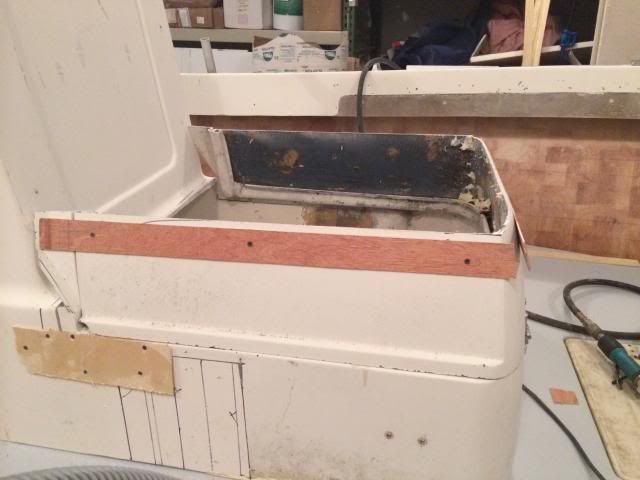 I chopped 6" off the top of the old engine box and now looks much better. the livewell will be around 50 gallons. still have to cut the flange off were the hatch opened and and I might cut 2" out of the width and have the front taper in. I forgot what shape and size rub rail fits on the 20 the nicest, I am debating on which steering system to use. I used baystar on the last boat, but was thinking of upgrading to a seastar system any thoughts?
__________________
36' Yellowfin 1972 20' seacraft 140 suzuki http://www.classicseacraft.com/commu...ad.php?t=18607 |
|
#2
|
|||
|
|||
|
got the plug built for the live well, I used 3/4 MDF and a 8" sonnet tube. I ripped the sonnet tube into 4 even pieces( as even as I could get them.) after I got all my measurements on the MDF and cut . I shaved 3/16" off the edges that the sonnet tube was gonna get stapled to, to make it flush with the MDF. After I got the 4 sides and corners all stapled together I cut the top big and used a flush router bit to run it around the outside to make it a perfect top.
once I got that nailed to the rest, I got a 3/4" round over bit to make the rounded edge. . 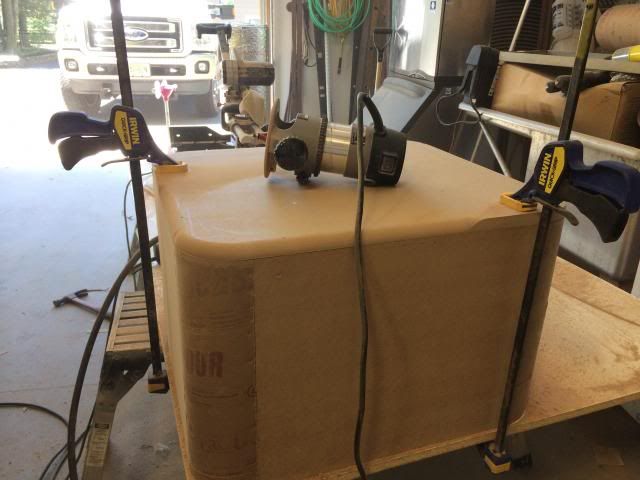 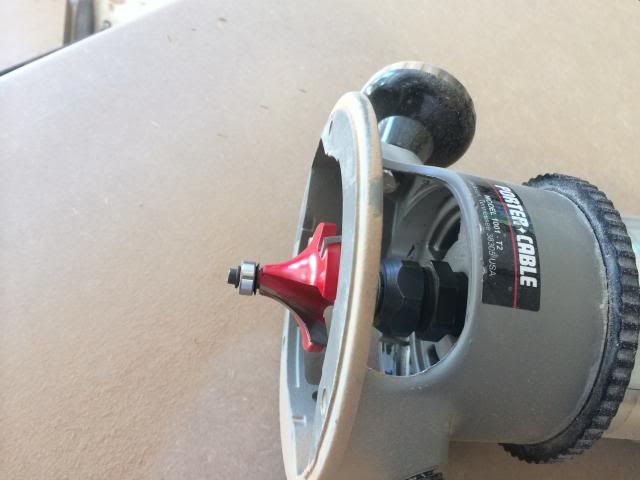 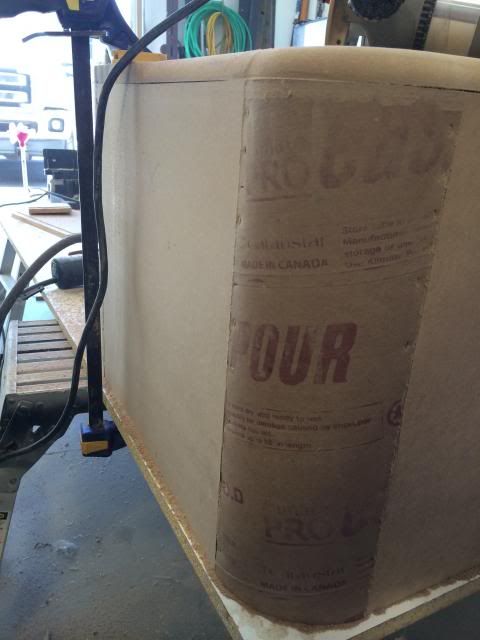 after I got it nailed together It was time to do a little tooling on it to smooth it out. I got some evercoat glaze from the autobody place and started with all the staple holes. 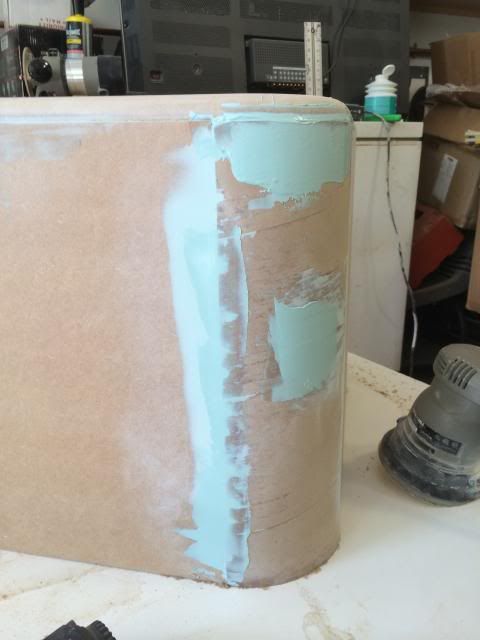 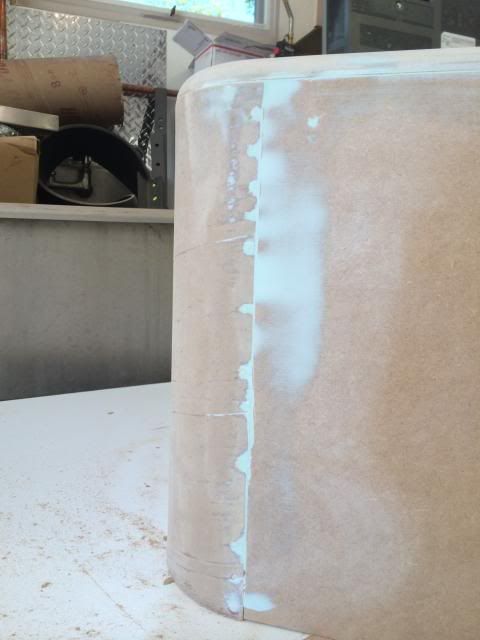 I also put a block to extend the rear drain lower 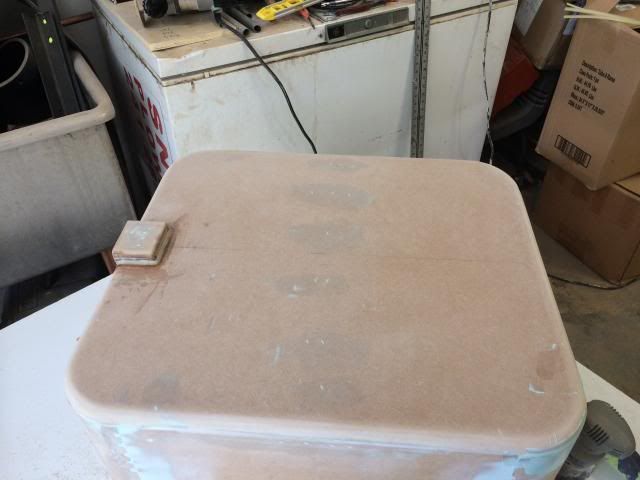 it took about 3 hours or fairing and sanding to smooth out all the inperfections. 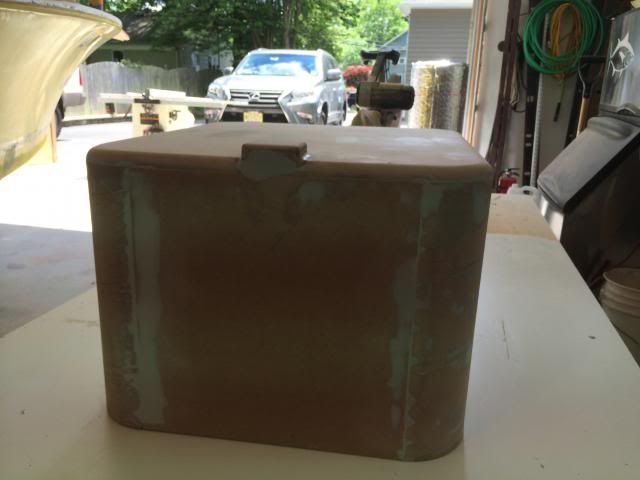 after I got it smooth and sanded I put some radius wax around the block and some larger radius wax around between the table and the mold once that was set I waxed it with 3 coats and sprayed 2 coats of PVA. 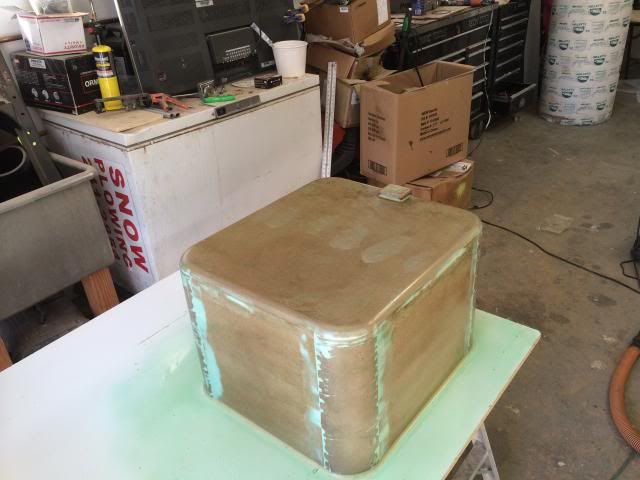 I let it dry and it was time to spray it with Gelcoat. I mixed 2 quarts of Gelcoat together with the dark blue tint. I made extra gelcat to store because I would never be able to match it. I shot the gelcoat with the cup gun. 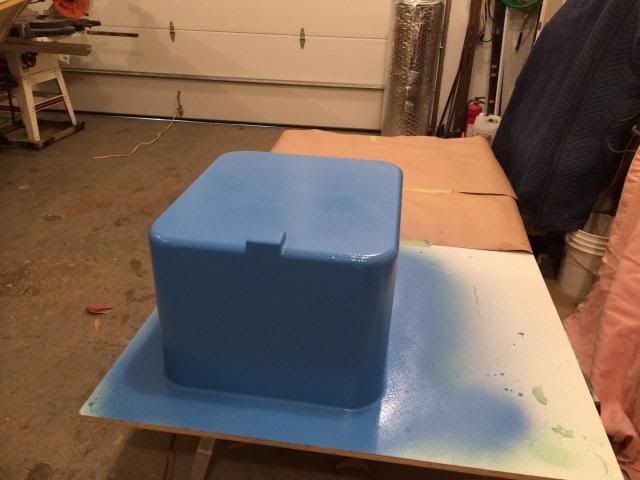 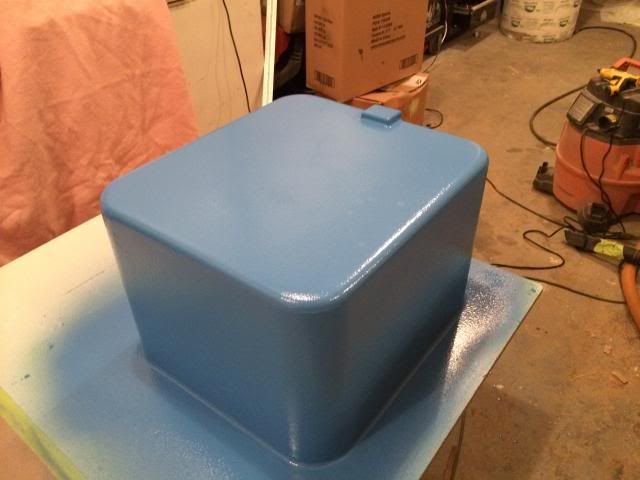 gonna glass it tomorrow.
__________________
36' Yellowfin 1972 20' seacraft 140 suzuki http://www.classicseacraft.com/commu...ad.php?t=18607 |
|
#3
|
|||
|
|||
|
Quote:
__________________
there's no such thing as normal anymore... |
|
#4
|
|||
|
|||
|
thanks bud, I like to see things get recycled so it felt right! after this many years I better be good at doing coring or I better call it quits!
__________________
36' Yellowfin 1972 20' seacraft 140 suzuki http://www.classicseacraft.com/commu...ad.php?t=18607 |
 |
|
|