
 |
|
#91
|
|||
|
|||
|
Billythekid,
I've got a quick question for you. Is the pvc primer that purple stuff that comes with the pvc glue and do you have to sand the stuff off (in the low spots) before you fill with fairing compound. Thanks -will |
|
#92
|
|||
|
|||
|
Will yes it is the same primer that you get with pvc glue. I think the dykem(spelling?) is darker and might be better for the job. I have an endless supply of primer. The first side I used a rag (make sure you were gloves) The second side I rolled it on with a 6 inch mini roller and it went on much darker and much easier. I would advise taking a pencil circling the low spots and then sand the primer off. I had a little problem with bleed through on my Awlgrip 545 primer. As Strick says " Nothing a little Primer cant fix!" I just had to lay two more addition coats over it to cover.
__________________
36' Yellowfin 1972 20' seacraft 140 suzuki http://www.classicseacraft.com/commu...ad.php?t=18607 |
|
#93
|
|||
|
|||
|
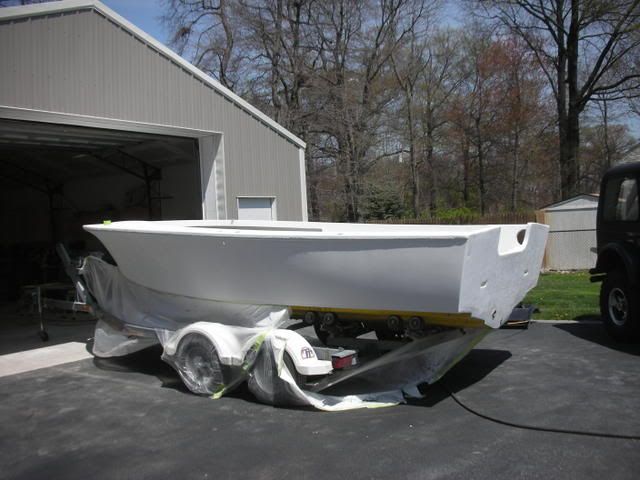
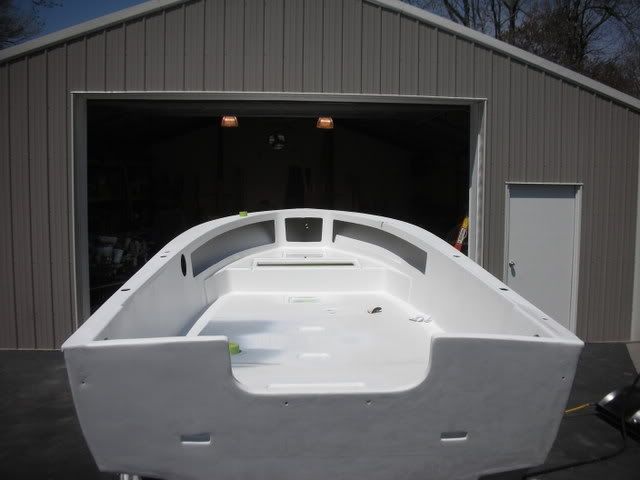
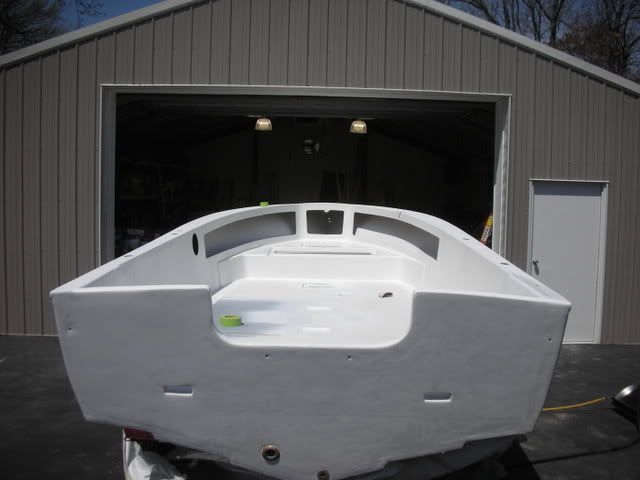
I rolled the boat outside today for a bunch of wet sanding, and who ever siad you cant get sunburn in april in NJ was wrong. I got about 80% of the boat wet sanded so another half day and we will be ready. Paint came in today along with another gallon of primer and converter that I went and picked up this morning. So that make alomst a $1000 in paint.
__________________
36' Yellowfin 1972 20' seacraft 140 suzuki http://www.classicseacraft.com/commu...ad.php?t=18607 |
|
#94
|
|||
|
|||
|
Before painting the boat I put the non skid down on the topsides Before I did it I had to spend a whole day taping everything off with vinyl tape. This was an extremely long processs to get right. It only took a half hour to put it down.
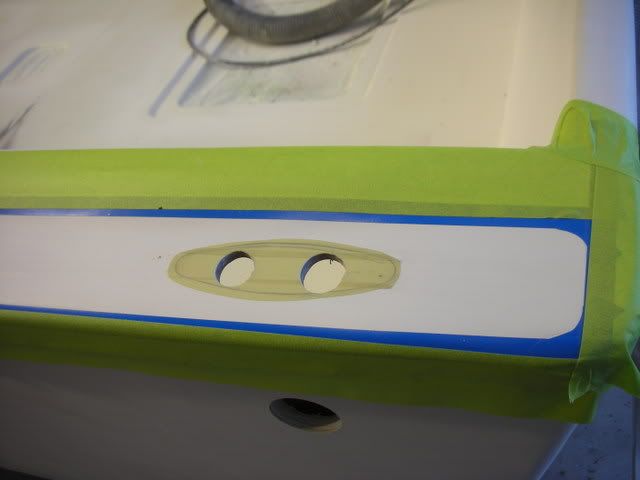 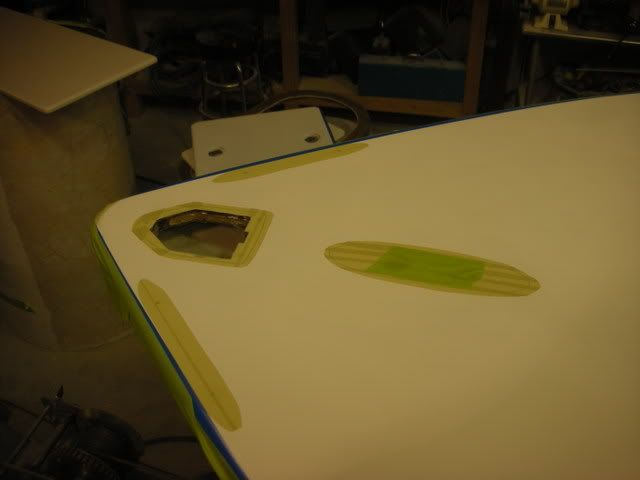 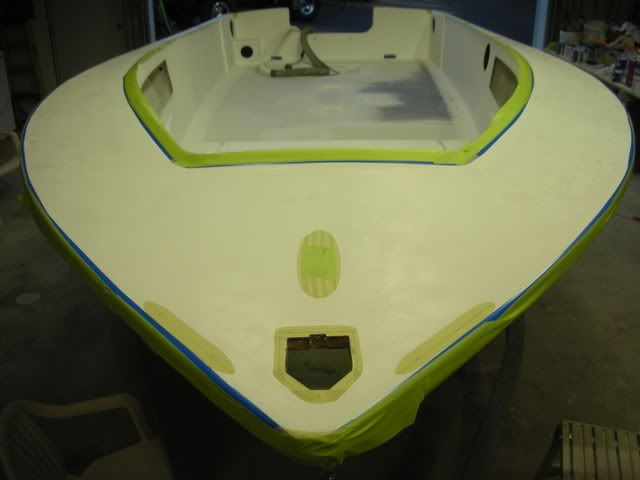 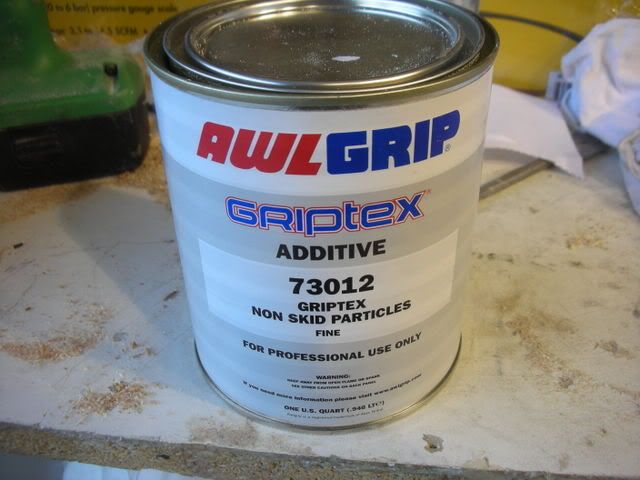 here is my homemade salt shaker its a quart can from home depot 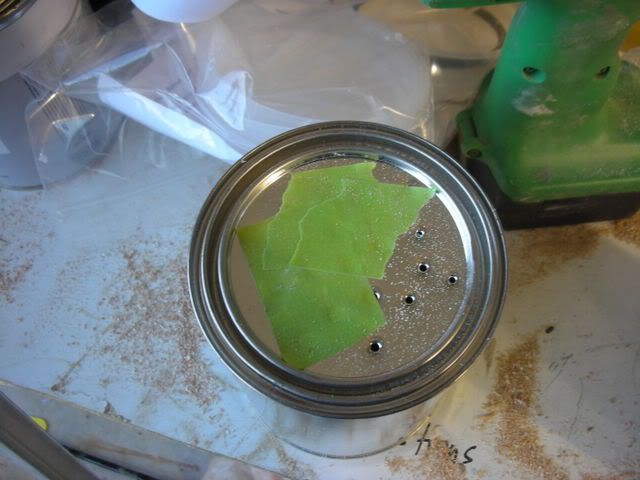 here is the nonskid getting applied. I used a foam roller and used the salt shaker to apply the nonskid to get and even spread. 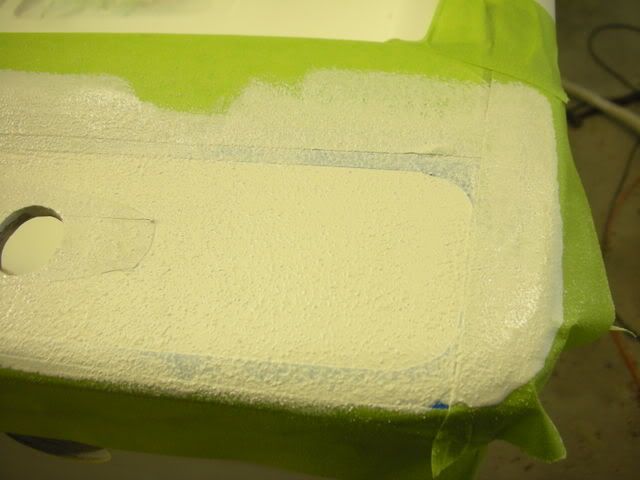 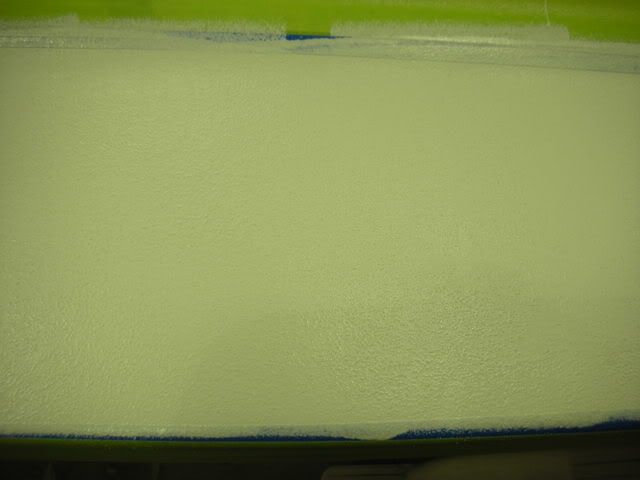 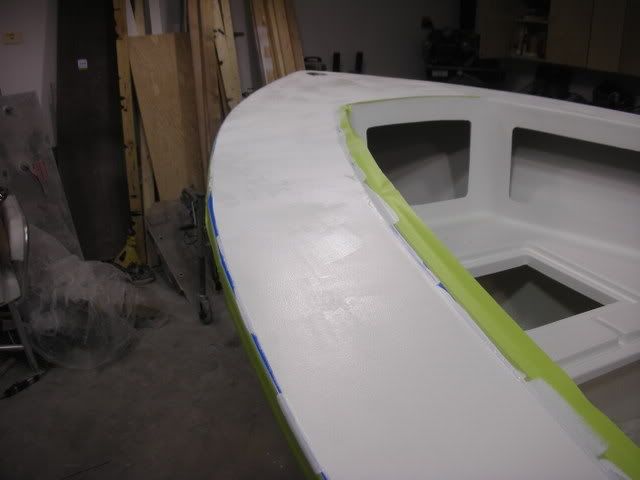 here is the vinyl tape getting removed. the reason for the vinyl tape is it prevents bleed through. It is sold at any automotive store. 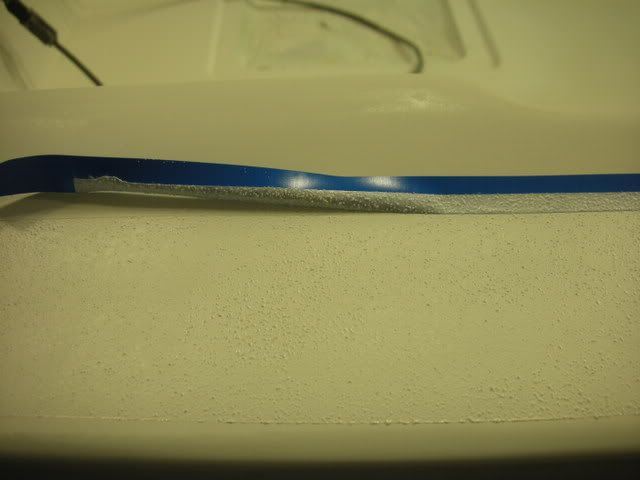 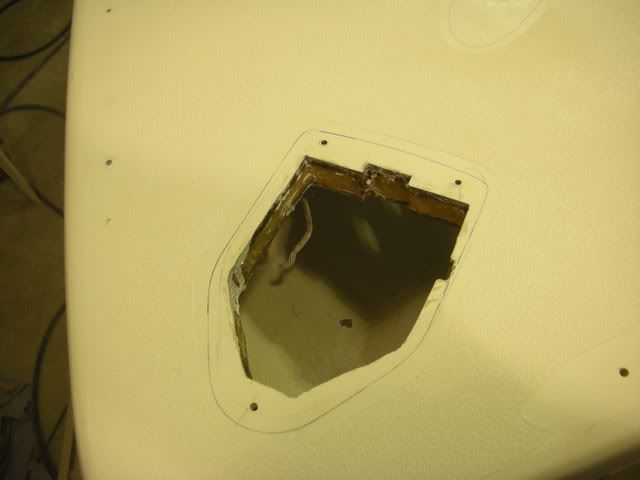 While I am waiting for paint,I decided cut a bunch of holes in the console for all the rigging I also cut a bunch of holes in the boat. I decided I didnt want the flange on the console and I wanted it shorter. so I cut 3 inches off of the console and I am much happier with the way it looks 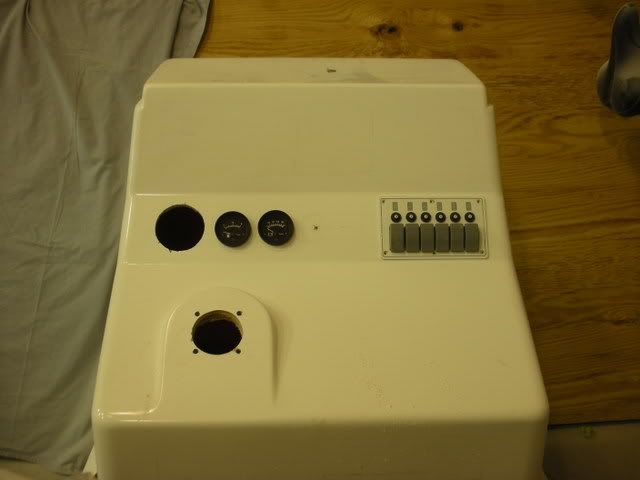 here is my home made scribe tool. this is what I used to scribe the console around for an even line 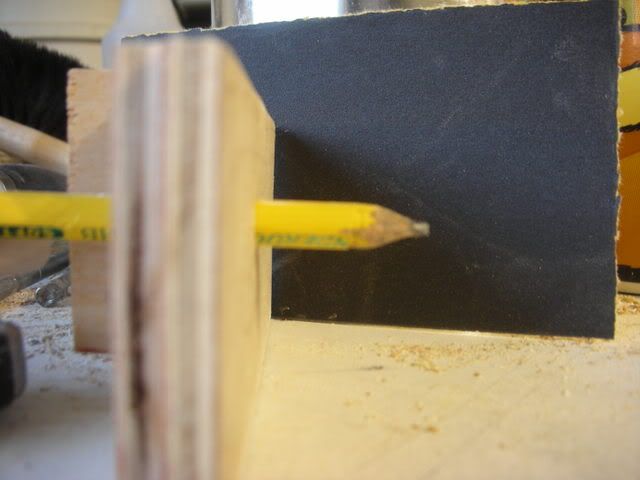 I used a some screw as a set screw to hold the pencil 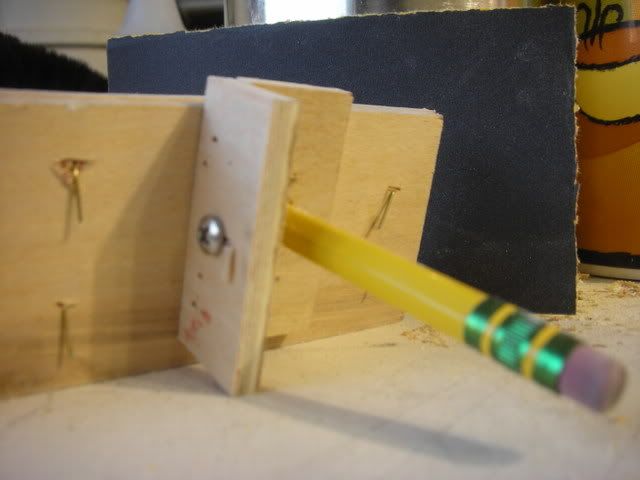 out came the trusty diamond tipped router bladed 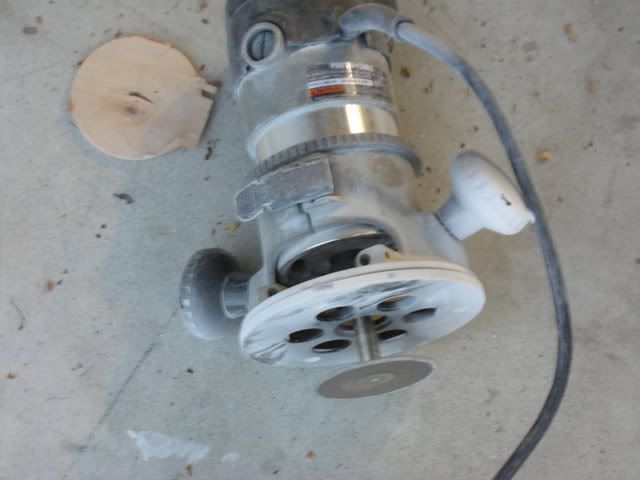 here is what is left of the flange 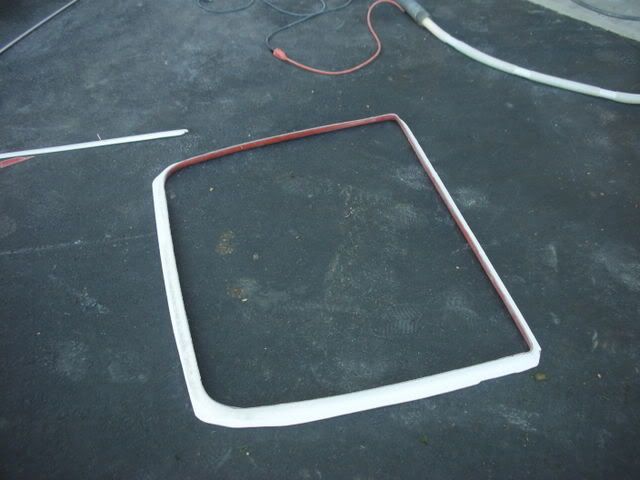 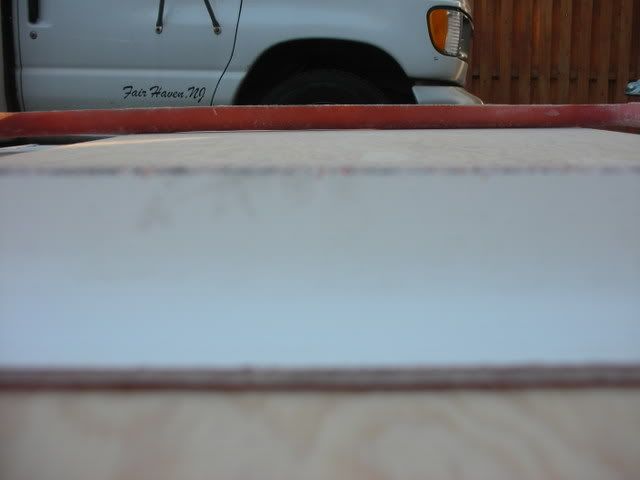 here is the flange cutoff and the console flush to the deck. 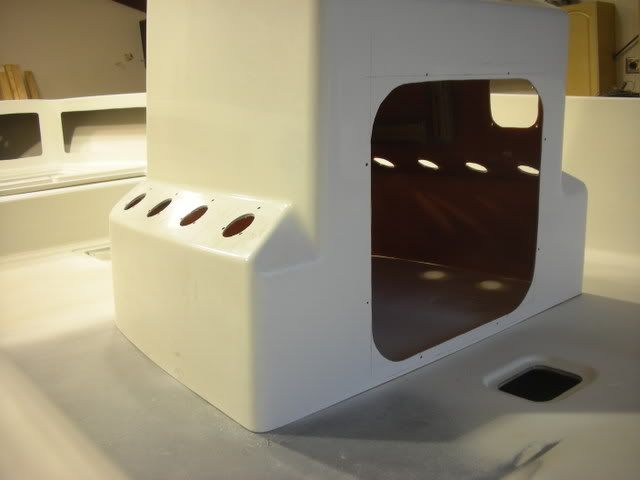 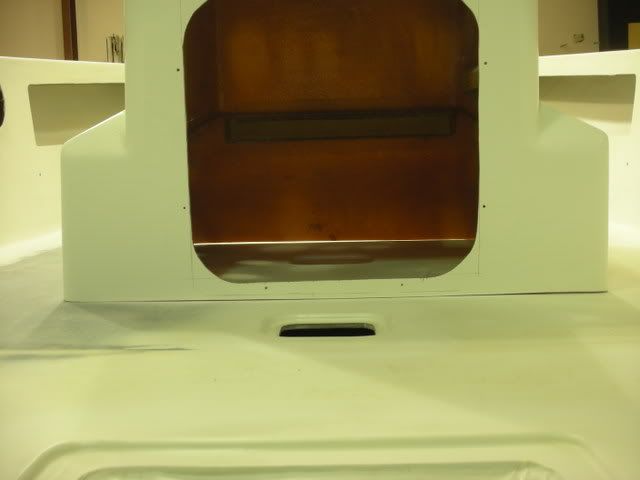 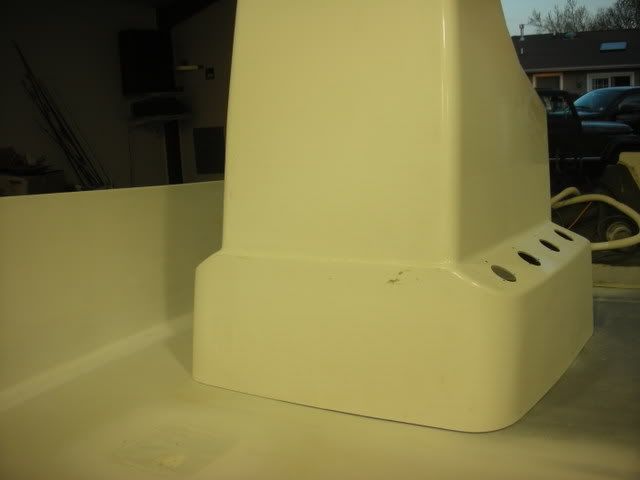 after looking at this pic I can tell it made a big difference cutting 3 inches off. I am going to layup a reverse flange on the inside of the console. for mounting purposes. The boat looks pretty slick.   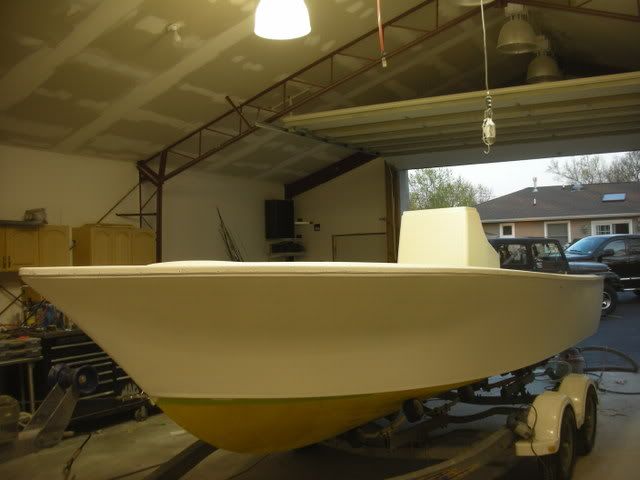 the interior is getting sprayed saturday morning. until next time
__________________
36' Yellowfin 1972 20' seacraft 140 suzuki http://www.classicseacraft.com/commu...ad.php?t=18607 |
|
#95
|
|||
|
|||
|
Doing a great job & she's turning out looking super!
On the non-skid, did you shake & THEN roll with foam roller? I've seen the shaker method before, but it never came out evenly, whereas yours did ... nice work.
__________________
SeaCraft:1966 19' Bowrider & 1962 21' Raceboat |
|
#96
|
|||
|
|||
|
65 bowrider I rolled and shaked and then rolled again. It went really quickly. It is all in the prep work!
__________________
36' Yellowfin 1972 20' seacraft 140 suzuki http://www.classicseacraft.com/commu...ad.php?t=18607 |
|
#97
|
|||
|
|||
|
Gome some work done after real work this afternoon.I put the console down on a piece of formica to laminate against. I laid up the flange on the inside the console with 3 layers of 1708 and a 2 layers of mat. It was a pain in the ass to work inside the console laminating. I taped the outside of the console and went to work
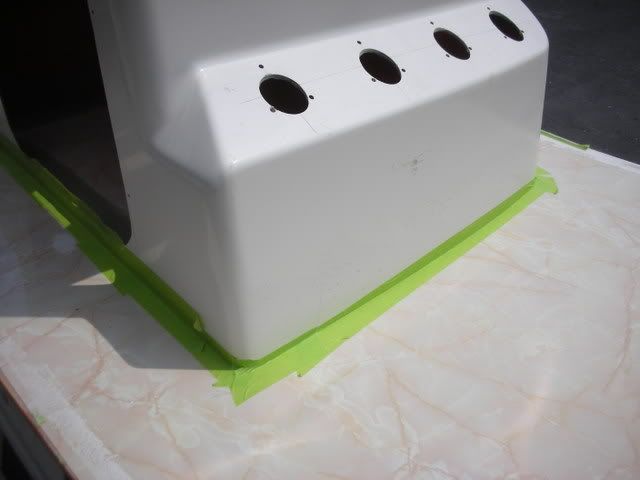 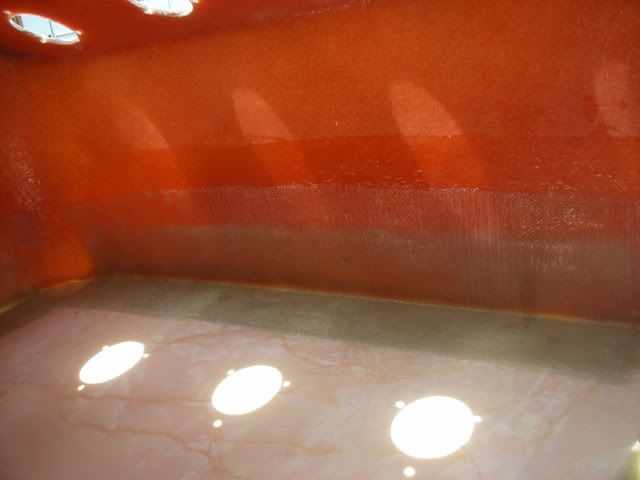 popped it off the formica. out came the diamond tipped router blade and it made shrt work of the flashing. 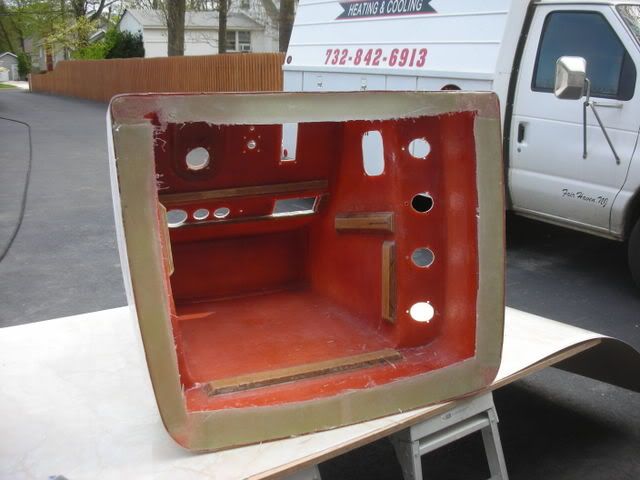 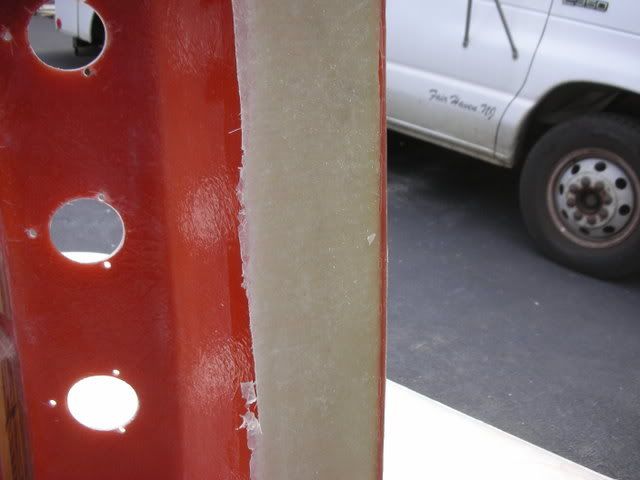 I left a little over 2 inches to screw through 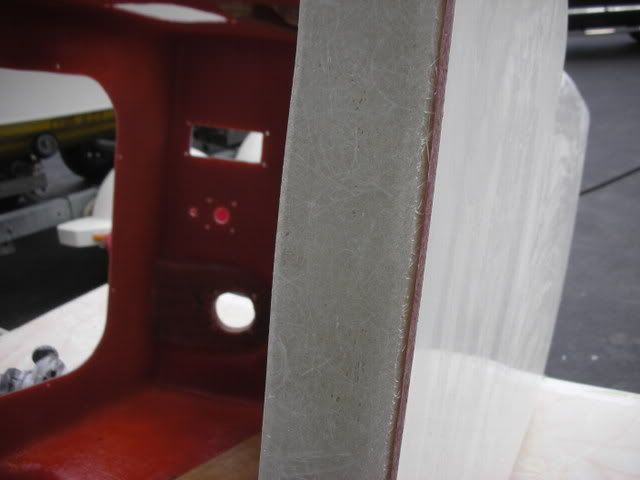 after adding a couple more mounting points inside the console I decided I wanted it white on the inside. so I taped off all the holes and mixed up a quart of epoxy primer 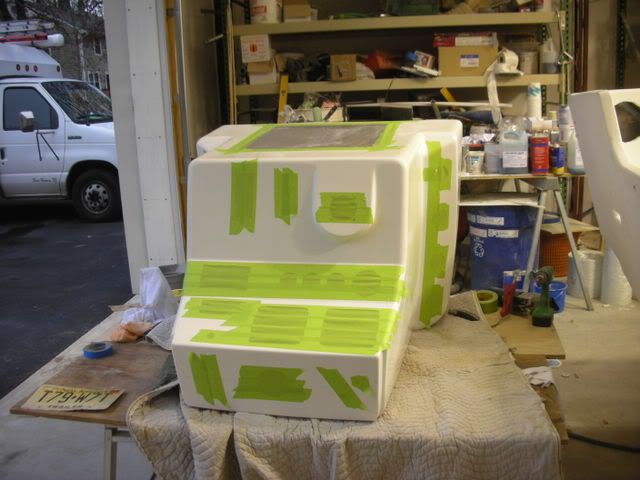 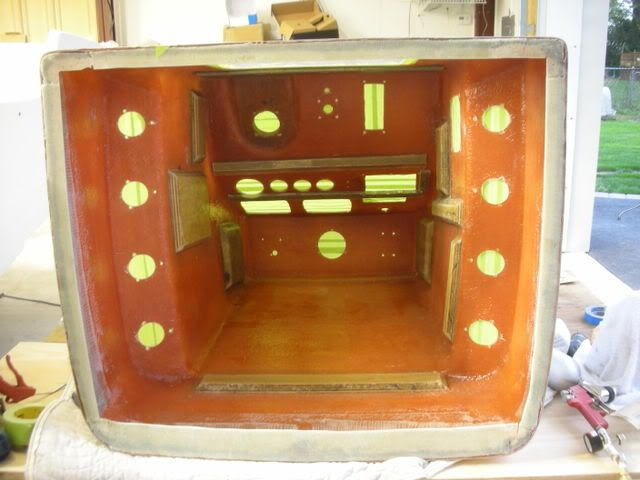 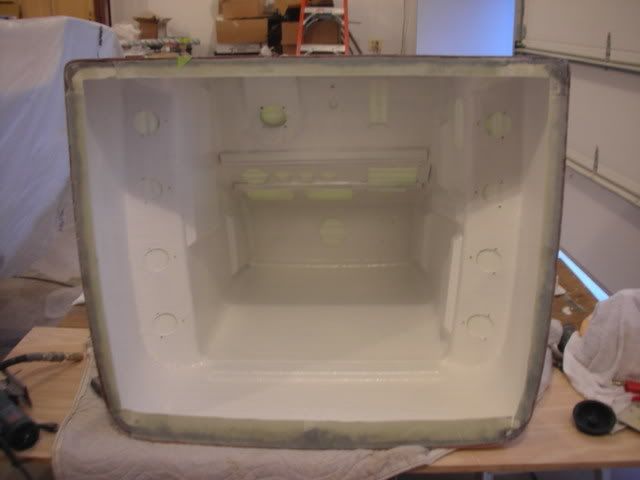 tomorrow is paint in the inside then I can non skid the floor and rig the inside of the boat.
__________________
36' Yellowfin 1972 20' seacraft 140 suzuki http://www.classicseacraft.com/commu...ad.php?t=18607 |
|
#98
|
|||
|
|||
|
Well here we go I got alot done last week and I still had to work a 57 hour week. Alot of late hours were put in. I started with the console rigging while it was still out of the boat. I drilled and screwed the wire looms in place before I started any wiring. I have watched many boat builders do this over the years and it still makes the neatest job. After the panduit clamps were in place it was time to mount and rig the electronics,gauges,battery switch, washdown,water seperator. I also roughed in the battery cables for later.
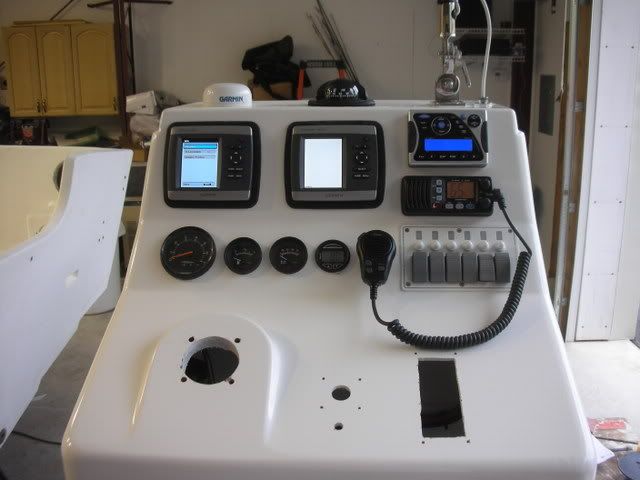 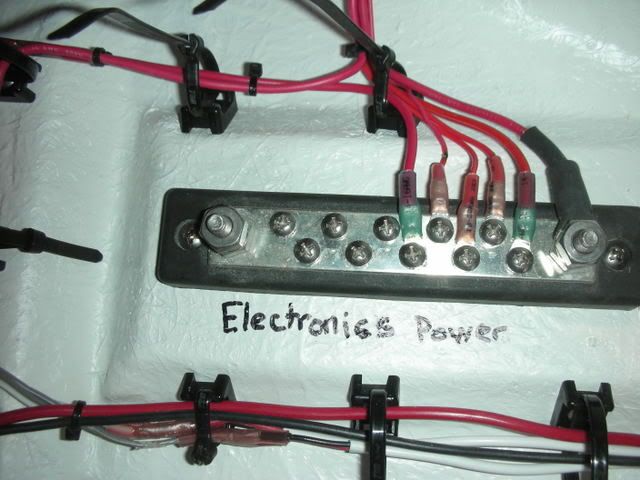 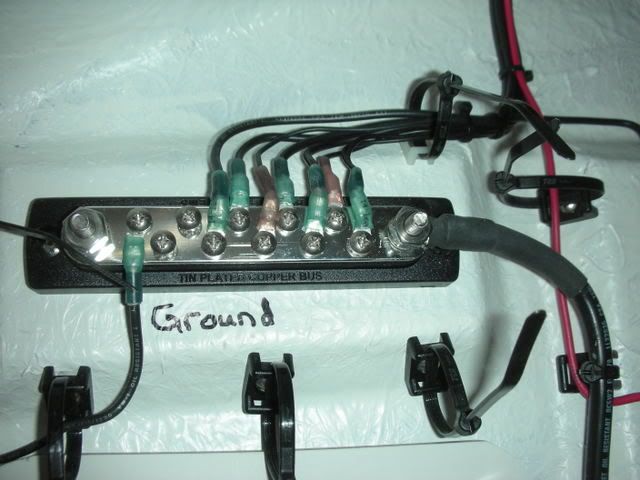 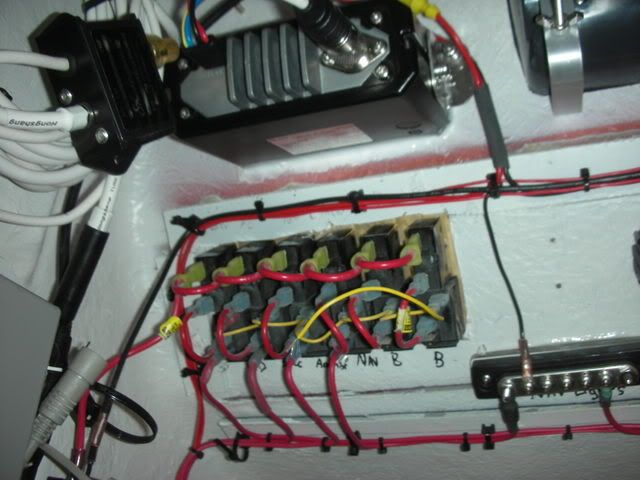 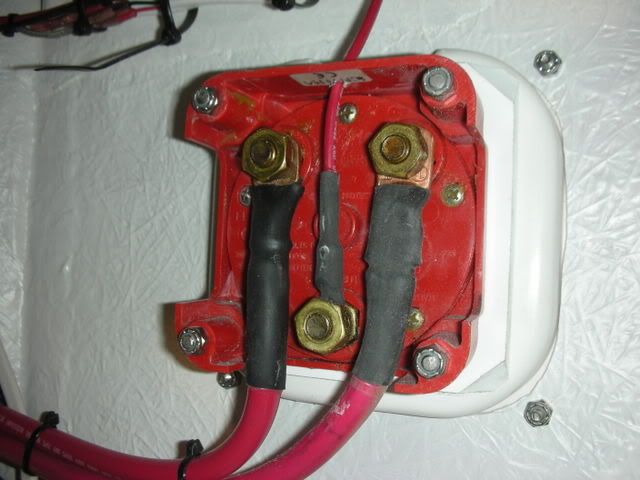 here are some of the wires all loomed up waiting for the console to be installed.  This is where it made me feel like I was making some progress. The inside liner was painted awlgrip snow white. then deck and hatches were taped off and sanded 120. The decks were painted with a contrast color awlgrip Moondust. It took about 3 hours too tape the deck off. I am not the best at taping,  but I was happy with the way it came out. but I was happy with the way it came out. 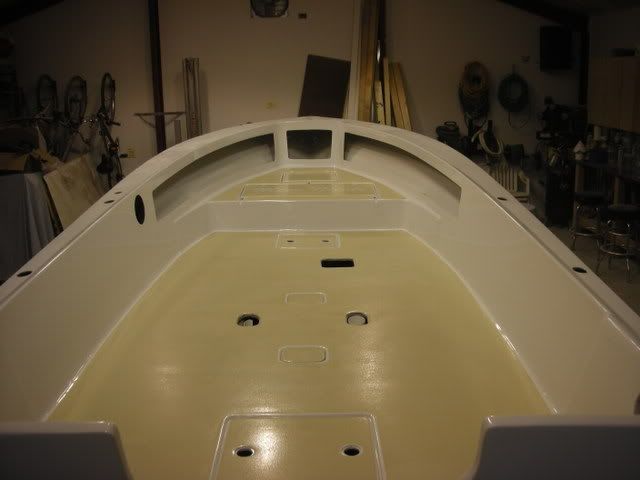 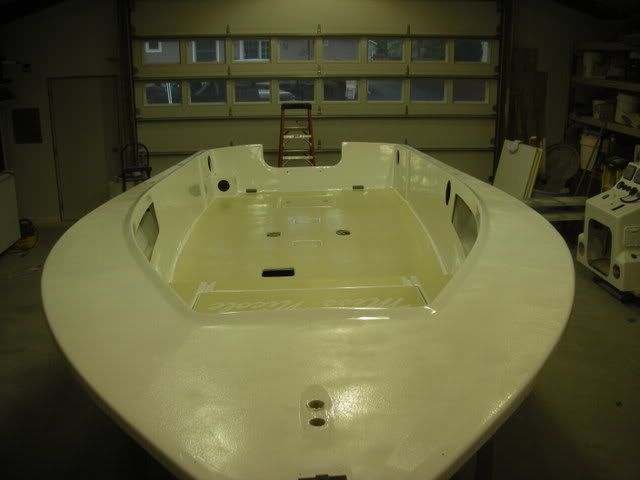 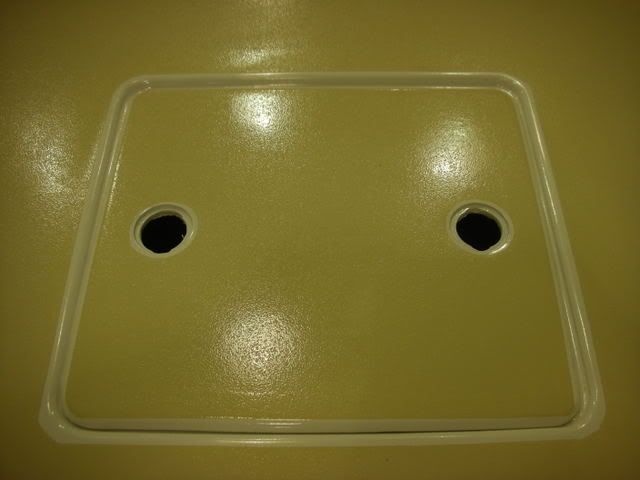 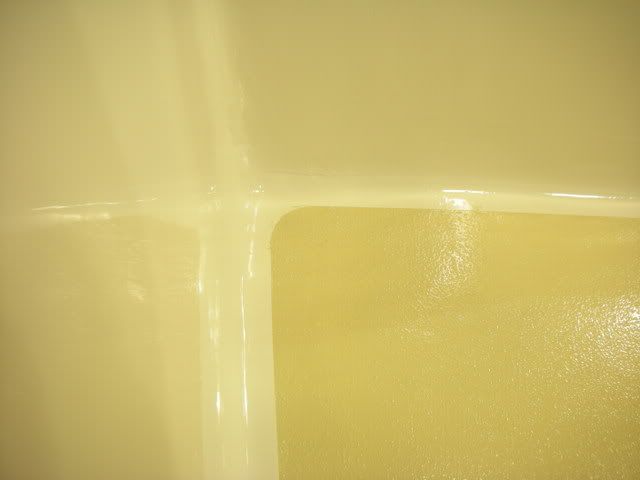 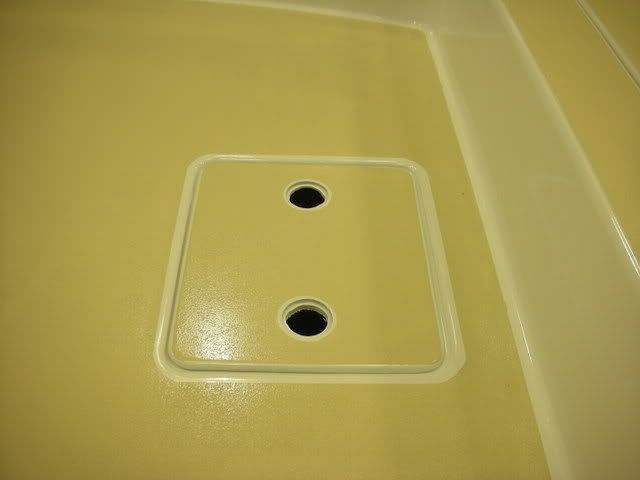 This was a special touch that I added for someone who has put up with me while the rebuild took place  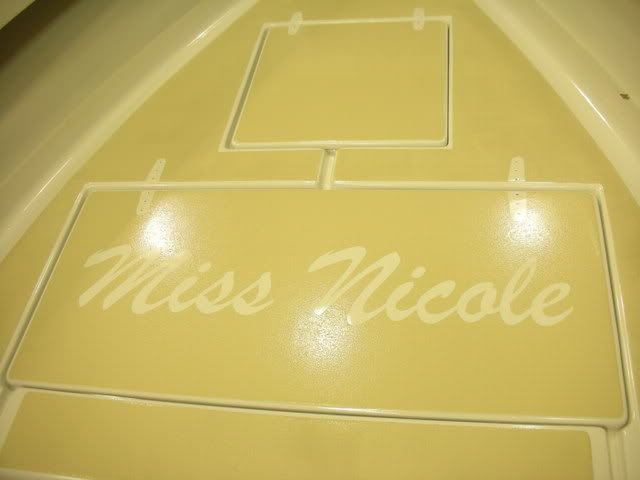 I would have the outside sprayed but awlgrip mislabeled thier paint so tuesday. otherwise the console is going into tomorrow. till next time
__________________
36' Yellowfin 1972 20' seacraft 140 suzuki http://www.classicseacraft.com/commu...ad.php?t=18607 |
|
#99
|
|||
|
|||
|
Quote:
 I notice you are mounting the wash down pump in the CC.... is there no room under the deck? strick
__________________
"I always wanted to piss in the Rhine" (General George Patton upon entering Germany) |
|
#100
|
|||
|
|||
|
It's really great to see boats like this one, Strick's, etc. where people are really going all-out on redoing them. It gives inspiration to many

|
 |
|
|