
|
|
#1
 03-26-2009, 12:27 AM
|
|||
|
|||
|
First of all I would like to compliment this website and those who built, maintain it and post regularly, excellent job!
My good friend "The Digger", who will be posting his 18' restoration on here shortly, got me fired up and I purchased my first Seacraft in February of this year. It's a 1978 20' SF and looked at lot better in the photos on Boat Trader than it did when I got it home. I hope the pros on here will be able to give me some good advice as I know I will have lots of questions. This is what I found on line when searching for a boat..... 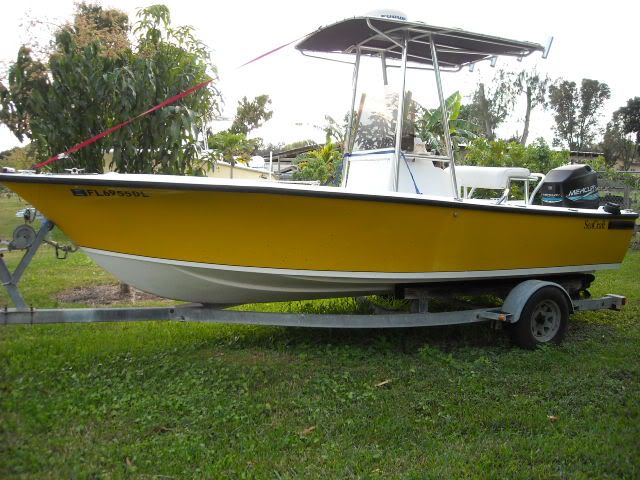  After a weekend of crushing fish at the Marathon Hump (pics to follow), here she sits in her new temporary home. We had some sanding assistance while we were out playing over the weekend. The strip down begins..... 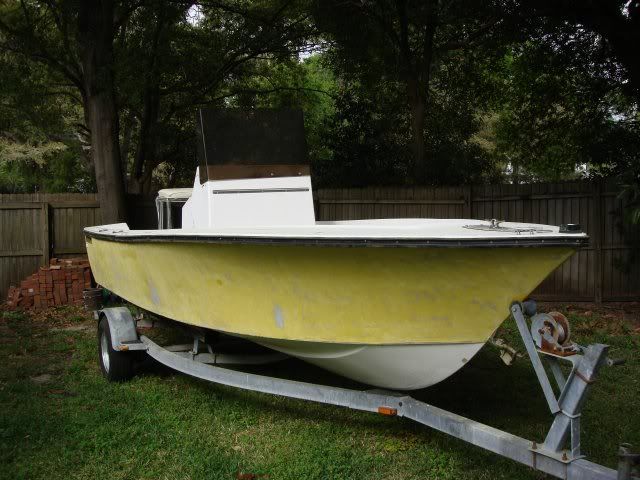 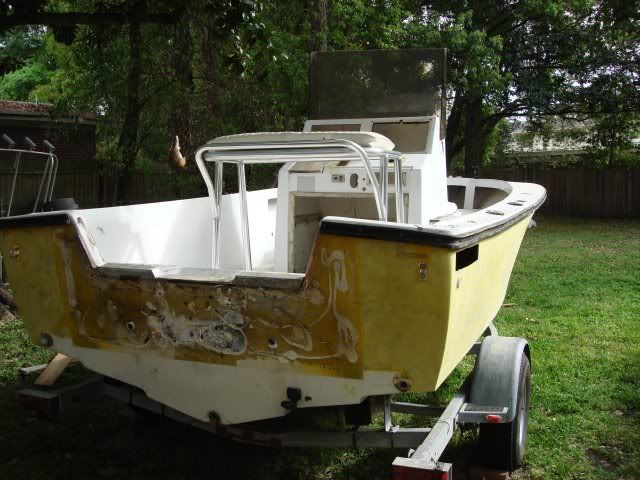 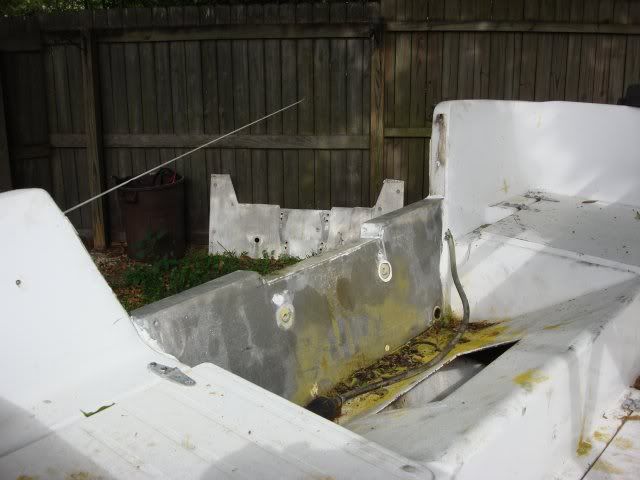 After I had removed the rub rail. It didn't take long to figure out that the boat had been restored once before.....  Enough can't be said about having good help!  One thing that caught me by surprise was that the previous owner has evidently topped it off with fuel before parking it. I repositioned the fuel line and used the priming bulb to siphon out 50+ gallons. 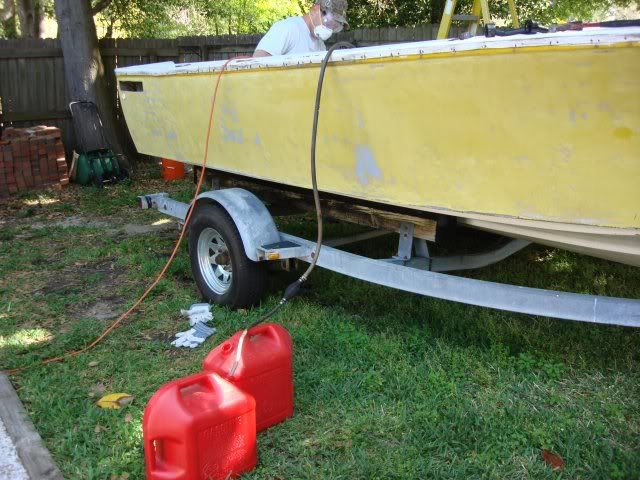 Removal of the rear boxes and access hatches.   The previous restoration had built up the top of the transom with scraps of plywood and what I think is a Cabosil mixture.   Deck removed to expose the fuel tank.  Fuel tank removed and foam cleaned out.  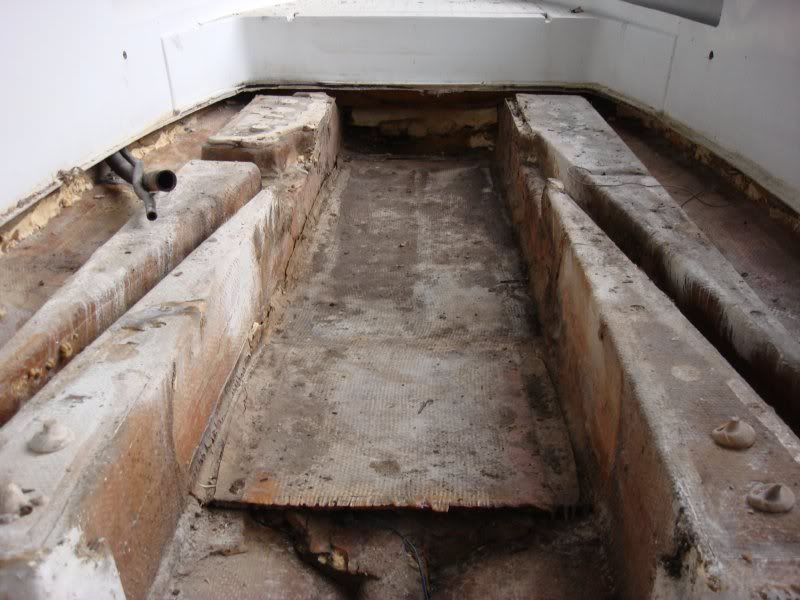 Stinger that was either broken or not put back together properly during the last restoration.  That's it for now. Looking forward to the weekend!
__________________
Will 
|
|
|


 Threaded Mode