
|
|
#21
 06-12-2007, 12:26 AM
|
|||
|
|||
|
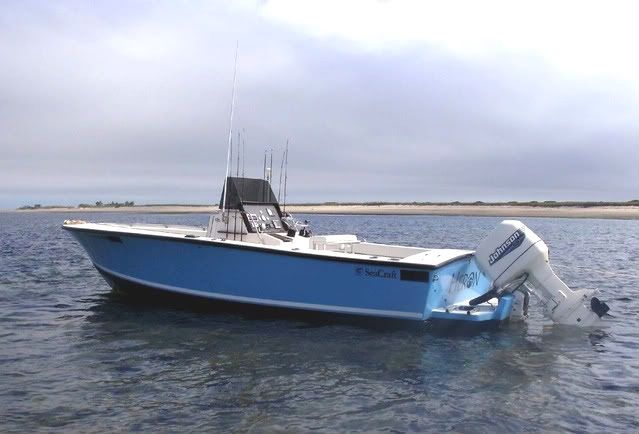
ESD - I've been wanting to strip the bottom since I got the boat - it probably had 30 years of accumulated bottom paint on it, the previous, and original, owner, kept it in the water - that bottom paint was so thick, and yet so leached out from immersion, that it looked like the boat was wearing a worn out scotch-brite pad, as a diaper !! So, I can't wait to see what a slick bottom does for performance !!!
How ? Dirtiest job I ever did - jack the boat up, crawl underneath, and go at it with a disc sander - 40 grit and 80 grit, then with an orbital sander with 100 grit --- Warning !!! if you do this, wear a respirator, face mask, and coveralls !!!!! and even at that, I could only stand 2 hour stretches at most, and crawled out from under looking like a blue raccoon from the dust - strip in the laundry room, and head straight for the shower !! there were nights I just could not bring myself to dive in - overall, it took me 6 or 7 sessions, 1.5 - 2 hours each - and absolute arm breakers, holding a power tool up over your head. I did hand wax and machine buff the hull sides tonight - and my arms just about fell off, but it looks good. Now, back to that front bulkhead. And a trailer hub that needs to be stripped and new bearings installed. Bill 
|
|
#22
06-12-2007, 07:57 AM
|
|||
|
|||
|
Bill,
She's really looking beautiful! We had an interlux expert come out & look at our boat after painting. On the bow stem, just below the tow ring, the paint rubbed off due to it rubbing on the V-stop on the trailer. He told us it takes a good 3 months for the paint to completely cure. Other than that, we're very pleased with the interlux.
__________________
SeaCraft:1966 19' Bowrider & 1962 21' Raceboat
|
|
#23
06-18-2007, 06:26 PM
|
|||
|
|||
|
Looking good!! Love the red on white look. I also agree on bottom paint, if the boat's gonna live on a trailer, why paint the bottom??!! I think that bottom paint's only for boats that will stay on the water for weeks at a time, it also will rob some top mph. If someonw wants the "look" of bottom paint but will not keep the boat on the wtaer, then he/she should paint it with a much slicker hull paint like the one you used, Awlgrip or Imron, whichever will hold up better to the scuffing of trailering the boat.
")
__________________
Boatless again!
|
|
#24
06-18-2007, 08:15 PM
|
|||
|
|||
|
What about turning the radar arch the other direction? . . . I think it would give you much more fishing space.
|
|
#25
06-26-2007, 01:18 PM
|
|||
|
|||
|
Time for an update -
Whle I had the trailer jacked up in the air, I went thru and replaced most bolts with stainless - while crawling around under there I noticed a few that were critically rotten, also pulled the hubs and replaced bearings / races, and while I was at it, I dropped the axle and moved it back three inches, to get an increase in tongue weight. Now for the fun stuff - I picked up the outrigger side mounts, and a bimini top from our very own Ben, down in Florida. based on Nestors input on mounting the outrigger holders, I worked up some spacer blocks, shaped some 3/8" ply, then glassed it, and sanded it back to shape.... Alright, some pix - mostly just roughed out for now, need a bunch of finishing yet... 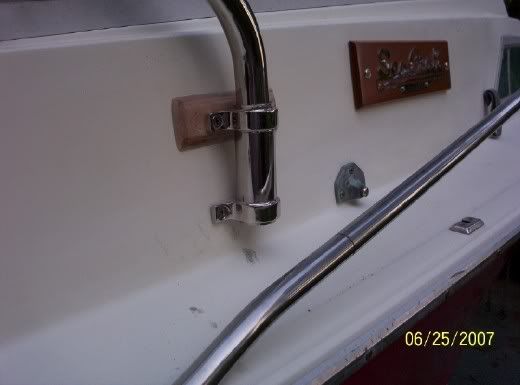 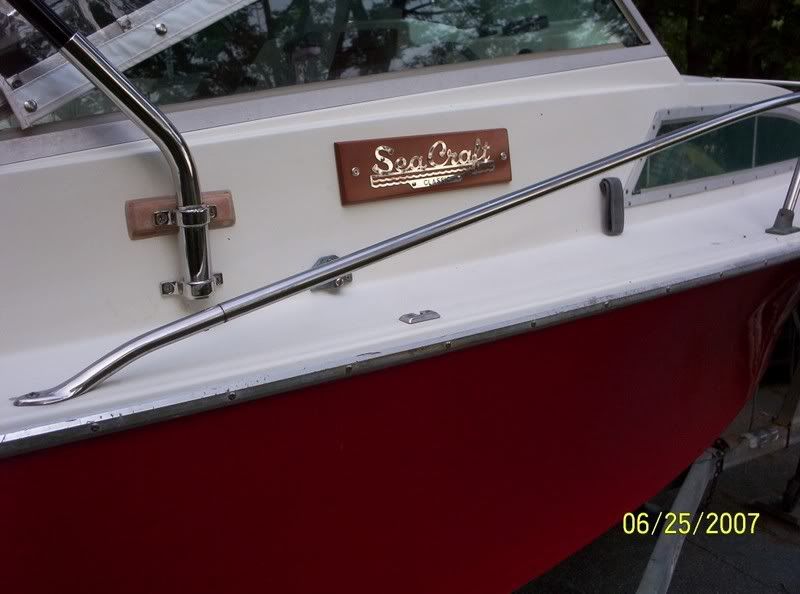 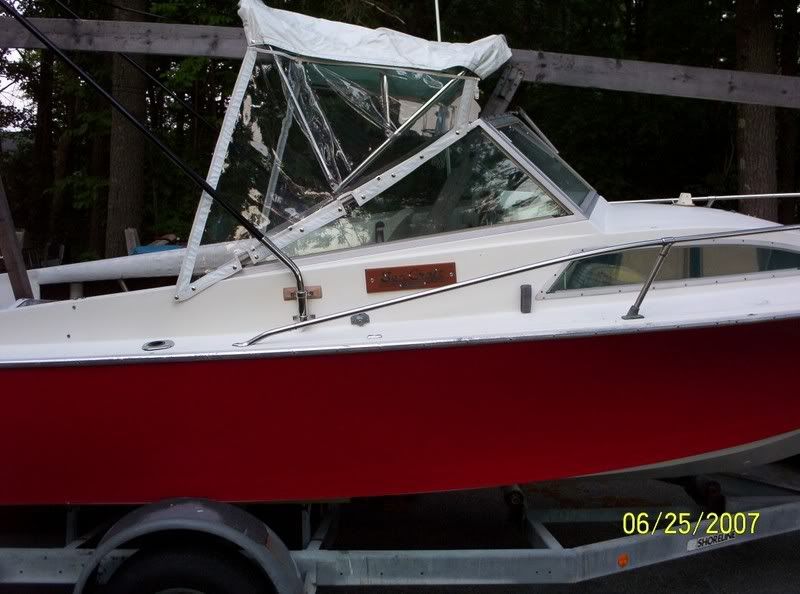 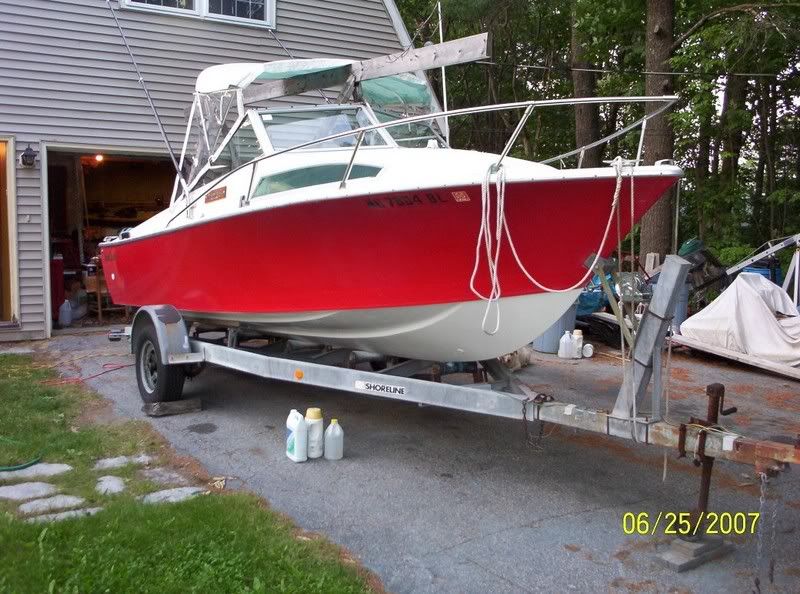 I'm scrambling - the tuna are in !!! Bill
|
|
#26
06-26-2007, 01:38 PM
|
|||
|
|||
|
Hi Bill,
Looking great, nice job!  Not sure if you did or not, but did you put any backing material in the inside of the mounting area of the outriggers? Not sure if you did or not, but did you put any backing material in the inside of the mounting area of the outriggers?As others mentioned, there is a fair amount of flex in that area. Don't worry about the tuna, no matter when you are ready they will be gone  - Nick
|
|
#27
06-26-2007, 02:28 PM
|
|||
|
|||
 SWEET SWEET Bill, How many coats went on the bottom?? Also what did it take for paint to get you there?
__________________
__________________________________________________ ________________ 1974 23SF
|
|
#28
06-26-2007, 02:31 PM
|
|||
|
|||
|
Nick - yes - glassed in 3/8" ply, on the inside, extended well out past the mounting area.
Don't be kiddin me on the tuna, now - I'm readin the reports on reel-time... What you been up to ? Heard a vague reference from Ed recently about a lumpy trip ?? spill it, man !!! Bill
|
|
#29
06-26-2007, 05:25 PM
|
|||
|
|||
|
Cool Bill,
I figured you did. Was it like night and day with a piece of ply in that area? I plan to do the same since my hardtop ties into that same area. What the heck was Ed talking about?? - Nick
|
|
#30
06-27-2007, 12:04 PM
|
|||
|
|||
|
Hermit -
I sprayed the bottom, Interlux Brightsides and their spray formula reducer, basically 2 coats in one shot - spray area A, wait for it to flash (just minutes) respray area A and extend into area B, flash, respray area B and extend into C, etc... Nick - I can't really tell you a before and after stiffness comparison, but I knew, and Nestors post confirmed, that that area would have to be beefed up, so it only got trial rigged without the backer, not bolted up tight - actually still haven't bolted it up tight for final yet, as those spacer blocks still have to come back off and get painted. Just as an FYI - I did Not make the backer plates as uniform rectangles - I looked at the metal backing plates offered for sale for these things, they aren't much bigger than the bolt hole pattern - that's not big enough to properly spread the load out. My plates are like 14" long, by nearly the height of the side wall, and are tapered in the outer 3" each side - imagine a rectangle with a trapezoid added at each end - forcing loads into different directive angles, to spread them even further. just another damn engineer over doing it !! Bill
|
 |
|
|


 Linear Mode

