
|
|
#71
 10-31-2010, 01:01 PM
|
|||
|
|||
|
Quote:
__________________
'72 SeaFari/150E-Tec/Hermco Bracket, owned since 1975. http://i188.photobucket.com/albums/z...Part2019-1.jpg 
|
|
#72
10-31-2010, 06:53 PM
|
|||
|
|||
|
Clay or wax is the best. I've used about everything including bondo. Just make sure you wax it well and get good PVA coverage. A heat gun helps to soften the clay and then take a socket on a extension and run it along the clay and it will smooth out like butter. Make sure you press the clay in real hard and run your thumb along it before using the heat gun and socket.
strick
__________________
"I always wanted to piss in the Rhine" (General George Patton upon entering Germany)
|
|
#73
10-31-2010, 09:15 PM
|
|||
|
|||
|
Just to add my 2 cents. I recently had a terrible time with lligators. I was doing my molding out side in full sun. To day I had a wee bit of shade and the suuny side began alligatoring and the shady side was fine. As Strick said there are lots of causes. I probably cost my self 5 hundred dollers and 20 hrs of work, but I think I''ve got it licked now.
PS I've been using "Clean Clay" for my fillets
__________________
www.lionheartlandscapes.com Design, install, and concrete pavers. Will travel
|
|
#74
11-01-2010, 09:07 AM
|
|||
|
|||
|
Quote:
Keep the great pics coming. Now it`s Cracker weather. Cheers, GFS
|
|
#75
11-04-2010, 10:12 PM
|
|||
|
|||
|
Doing lots of sanding and grinding over the weekend, but nothing that makes impressive pics. Shop was a mess. The rolling work bench helped a lot so I made another one.
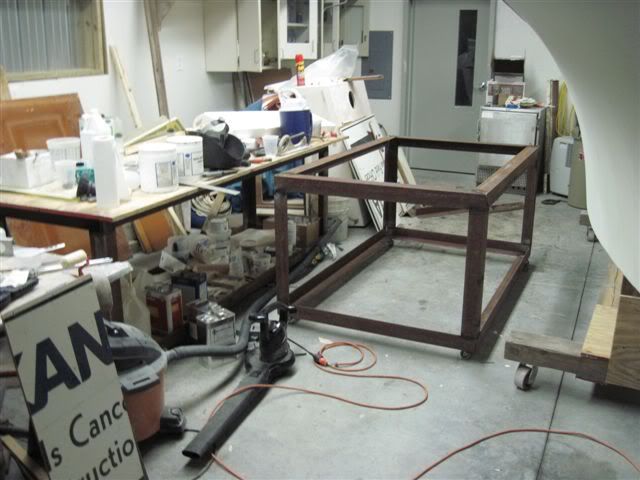 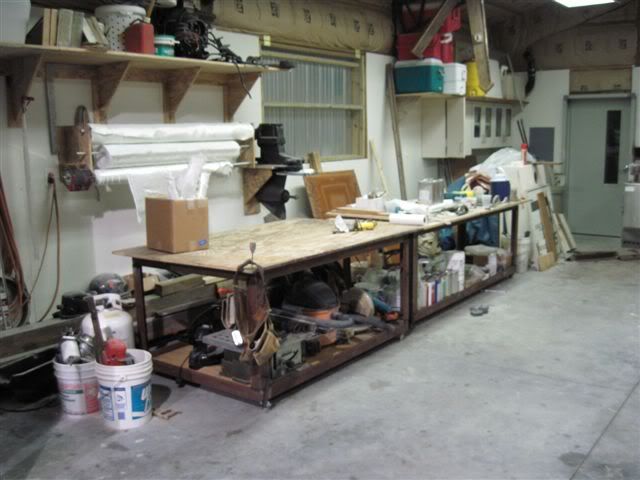 It gave me a place to put all the power tools I've been tripping over for the past couple weeks. The first bench is 3'x8', the second is 4'x6'. I also got my seats 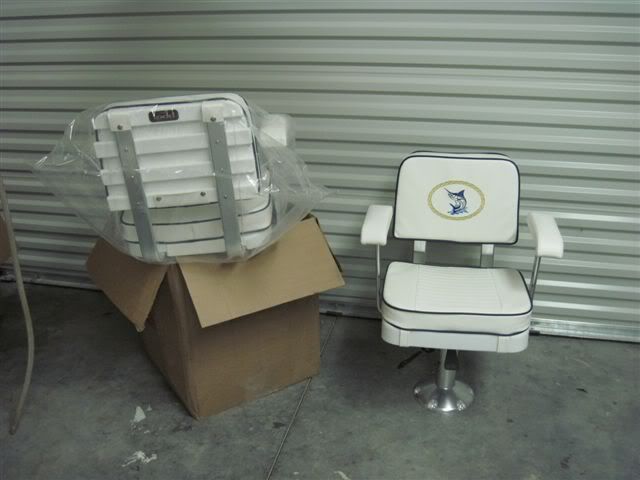 And a few trinkets 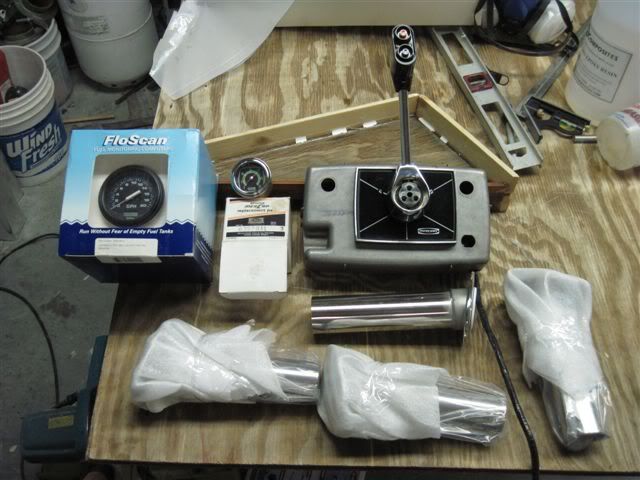 The seats are Todd Ladder back and were on special, almost 60% off, I guess because of the embroidered fishy. Works for me. The little gauge next to the Floscan is an OEM Mercury vacuum gauge. The remote control is a NOS Merc concealed panel mount vintage 1976. The rod holders are cast stainless, about the same quality as Lee, but 1/4 the price. In case it's not obvious, I'm a tightwad. Dave
__________________
Blue Heron Boat Works Reinventing the wheel, one spoke at a time.
|
|
#76
11-04-2010, 10:33 PM
|
|||
|
|||
|
[quote
Brandon and Ken, Thanks for your encouragement, too. Ken, If you want to stop by, you're welcome any time. Just be forewarned, I may stick a sander in your hand and put you to work. Of course, I'll have a beer for your other hand. [/QUOTE] NOW, that's an offer not to be refused!!!  
__________________
Getting home is more important than getting there! Plan accordingly!
|
|
#77
11-06-2010, 11:11 AM
|
|||
|
|||
|
Quote:
__________________
Will
|
|
#78
12-01-2010, 10:37 PM
|
|||
|
|||
|
It's been almost a month since I've posted an update. I've been working on her, but it seems like most of the time I've put in has been sanding paint off the cap. I wanted to get the drudgery done before I lost momentum. I still have to sand the bottom below the chine, and the coaming and cabin bulkhead in the cockpit, but progress is progress. I've done a couple things to break up the monotony of sanding and I guess they're worth posting. First, I ground out the spider cracks in the transom to make sure they didn't go all the way through the fiberglass. Turns out the PO used gelcoat as fairing compound and where it was too thick, it cracked:
 I ground off the gelcoat and started with bare fiberglass:  I laminated a layer of 1808 over the transom to build back laminate thickness:  And then applied the first coat of fairing compound. I applied it with a serrated trowel so there would be less material to remove while fairing it flat again:  As I was fairing the transom, I was using my 4' aluminum level as a straight edge to check for high spots and low spots. I noticed that as I moved the level over the sanded surface, it left dark streaks on the high spots. The soft aluminum was acting like the graphite in a pencil. So I applied more pressure and used the level to mark the high spots and concentrated my sanding effort there:  I knocked down the high spots, applied a skim coat of fairing to the low spots and faired some more:  I sprayed some water on it to get an idea of how flat it is and it looks pretty good. There are still a couple spots that need a little attention, but it's almost there. I spent about two and a half days on the fairing and sanding. Gotta love it. Dave
__________________
Blue Heron Boat Works Reinventing the wheel, one spoke at a time.
|
|
#79
12-03-2010, 10:49 PM
|
|||
|
|||
|
This boat originally had twin engines. When it was restored the last time, it was converted to a single engine. The PO put in panels to fill in the deck and make a smaller engine compartment opening. The panels were screwed in place and caulked with silicone. They were well made, but I wanted something more permanent and seamless. So I ground a taper on the edges of the panels and the deck and also ground the underside to make sure I would get a good bond.
 Then I held them in place with some batten strips and glassed the underside of the seam with a couple layers of 1808 and epoxy resin.  When the bottom laminate had cured, I removed the strips, glassed the top with three layers of 1808 and polyester resin and then sanded it smooth with a belt sander.  Its plenty strong. It will support my weight without deflecting too much even though its cantilevered about a foot past the stringer that supports the deck. I plan to support both sides from underneath after I get some of my plumbing and electrical raceways installed under the deck. Dave
__________________
Blue Heron Boat Works Reinventing the wheel, one spoke at a time.
|
|
#80
12-04-2010, 09:39 PM
|
|||
|
|||
|
Looking good Dave. I don't envy you on the transom. Thats a lot of work to make it look right. Are you planning on making some kind of lip around the engine compartment to keep water out? One thing I started to do with my engine compartment but got frustrated and gave up was to install some gas shocks for the engine cover. If you thought about doing that as well then the time is now before the engine goes in and gets in your way.
strick
__________________
"I always wanted to piss in the Rhine" (General George Patton upon entering Germany)
|
 |
|
|


 Linear Mode

