
|
|
#11
 04-27-2008, 01:49 AM
|
|||
|
|||
|
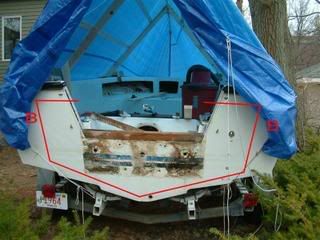
Also - After some experimenting . . . I was able to match the white gelcoat color. You can see a few shades of white in the repair . . . but if you look inside the red square . . . you can see the color match. It's a white base gelcoat with a little bit of halyard white pigment. I try to quantify the "little bit" in my next batch. I think it amounted to roughly 1 teaspoon
 I just started with a few drops in a quart and kept adding samples on top of an existing piece until I had a close match. Took a few tries, but I think I got it with the color in the red square. I just started with a few drops in a quart and kept adding samples on top of an existing piece until I had a close match. Took a few tries, but I think I got it with the color in the red square. 
|
|
#12
04-27-2008, 02:55 PM
|
|||
|
|||
|
Here are a few pictures of the transom project I did on my SeaCraft. Removed all of the old transom wood, discovered that the inner layer of glass (mat) was not bonded at the bottom or to much of the transom, so I cut most of it away, raised it to 25", replaced with 2 layers of Penske Board, used MAS Epoxy and 1708 and 1808. I set the new transom height a little high and cut it to the exact height after the initial layers (4 inside the splashwell, 4 outside) were in place. I also glassed the remaining inner skin to inner face of the Penske Board and addded a support knee. I added another 4 layers inside and out where I thought the most stress would be, and I carried that glass over the top of the 25" cut. I filled the fabric with a mixture of micro ballons, cab-o-sil and epoxy and faired with QuikFair. Paint was Interlux Perfection.
 [image]http:// 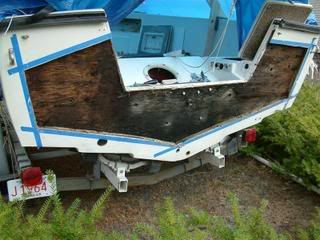 [/image] [/image] [image] 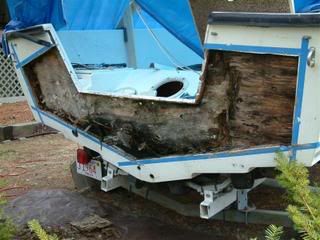 [/image] [/image] [image] 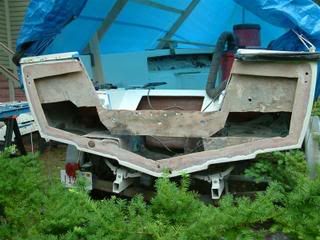 [/image] [/image] [image] 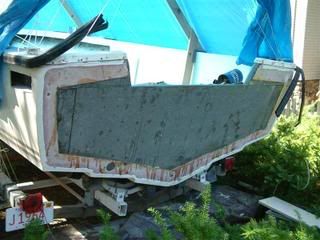 [/image] [/image] [image] 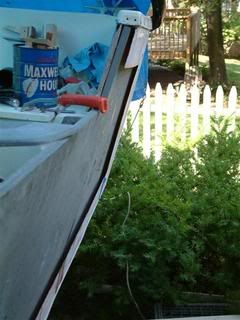 [/image] [image] [/image] [image]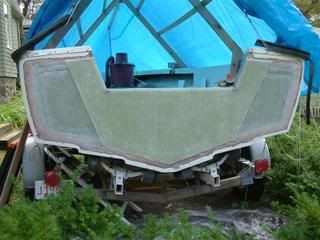 [/image] [/image] [image] 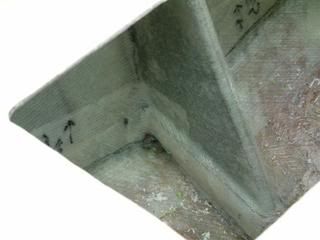 [/image] [image] [/image] [image] [/image] [/image] [image] 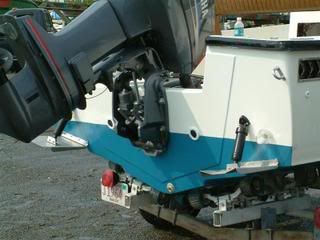 [/image] [image]http://[/image] [image] [/image] [image]http://[/image] [image]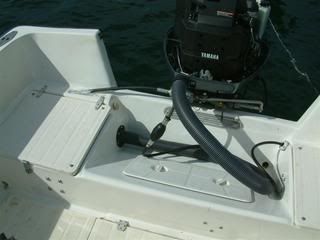 [/image] [/image]
|
|
#13
04-27-2008, 11:39 PM
|
|||
|
|||
|
If your doing an outer type transom rebuild, make sure to check the glass on the inside. Even in "hallowed" seacrafts, I have seen quite a few voids and dry spots on the inside. Mine had an area 12x16" on one side that was not stuck to the wood, and was not wetted out very well. The outer doesn't seem to have the same problems. If I was closing in a transom, I would probably do it from the inside, if I was just redoing a notched transom, that I think the outside would be the way to go.
|
|
#14
05-01-2008, 03:50 PM
|
|||
|
|||
|
I did mine from the outside in and really stiffened it with a knee glassed to the keel. Seemed at the time it was an easier way to keep everything straight. Of course finding this site before beginning the work would have been great. I would have added 5 inches to the motor mounting height as everyone advises.
|
|
#16
05-06-2008, 04:31 AM
|
|||
|
|||
|
Wow . . . some very nice work above.
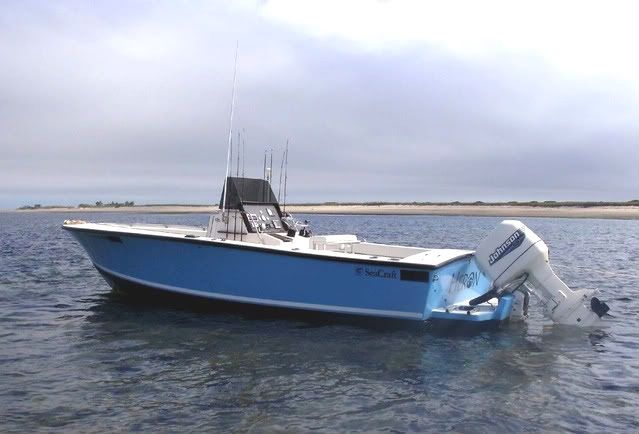
Here's some of the more recent pics of the work I'm doing for Duane Benoit. The new owner of my 20MA Got the transom raised 5", the new marine plywood installed, and the old skin bonded pretty evenly. Tomorrow it's time to grind, glass and fair it all smooth  * * *        
|
|
#17
05-06-2008, 03:57 PM
|
|||
|
|||
|
Next step will look like this one . . .

|
|
#19
05-07-2008, 01:53 AM
|
|||
|
|||
|
1 layer of 1.5oz mat over the wood . . . I had to build up some of the areas so that the skin would sit level. Some places have 3 or 4 layers of mat underneath. While the core was wet, I wet out the backside of the old skin with resin. Then I used a notch trowel to cover the entire inside of the outter skin with a cabosil/resin paste. I fit the skin and worked it into place(removing air bubbles). The old skin had plenty of holes to release any trapped air. I used blocks of wood and drywall screws to hold it in place until it cure. Then I filled each hole.
|
|
#20
05-26-2008, 06:20 PM
|
|||
|
|||

|
 |
|
|


 Raised mine 5" and it came out nice.


 Linear Mode

