
|
|
#11
 03-02-2008, 10:35 PM
|
|||
|
|||
|
after I dry fitted the deck I lifted it back out and screwed and bolted a 1"x1" rimboard around the inner linner. I made a piece of right angle with a bunch of layers of stichmat for the transom.
 this is the azac. all the azac is doing is sandwiching the fiberglass that I installed on top. 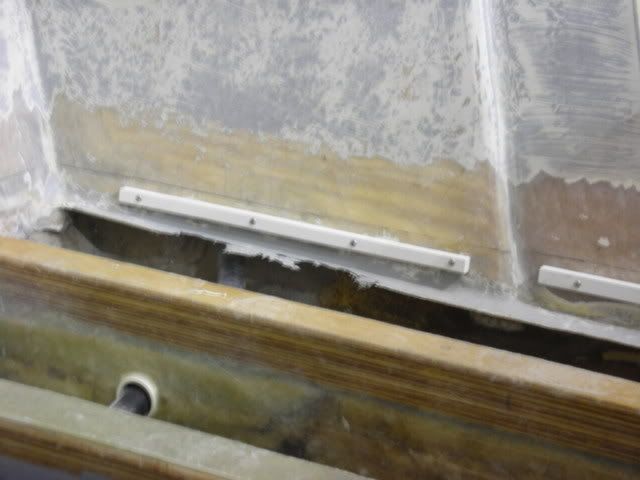 I smeared deck putty on the stringers and on the rimboard and dropped the deck in place.  after the deck was dropped into place the excess that squirted out the top was radiused. 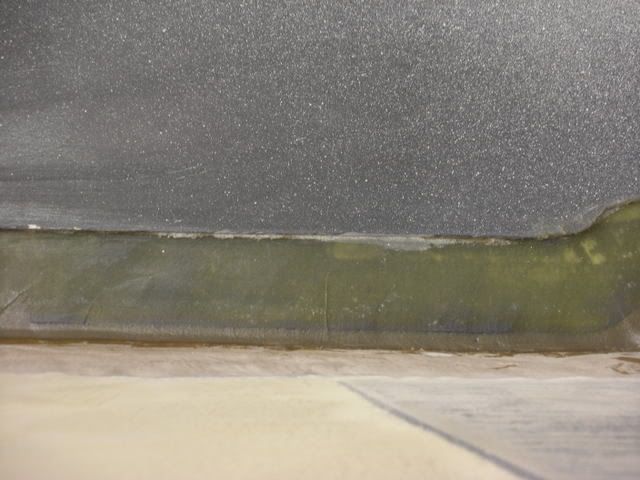 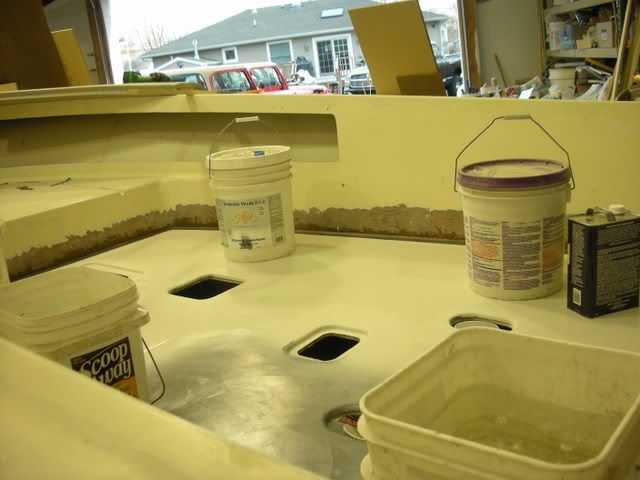 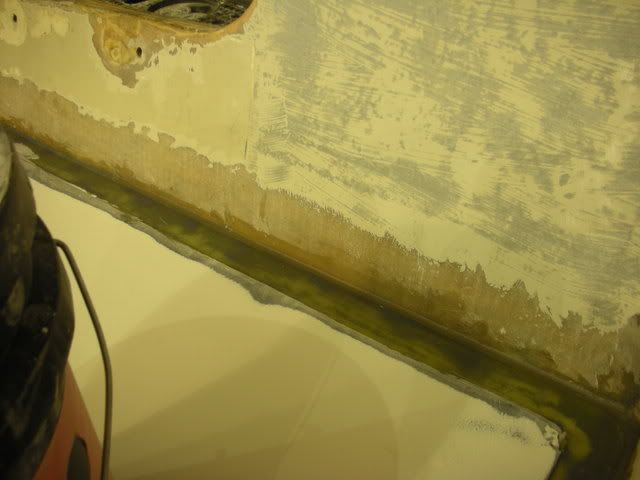 I papered the deck off and sanded any gubers off with 40 grit. I put layer of mat, layer of 1708, small layer of mat on top. 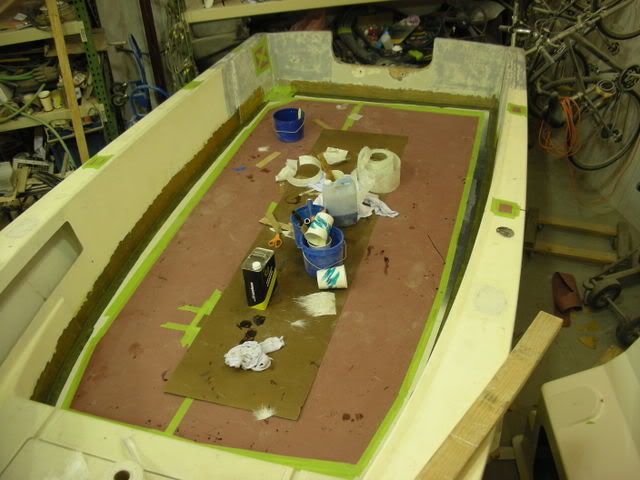 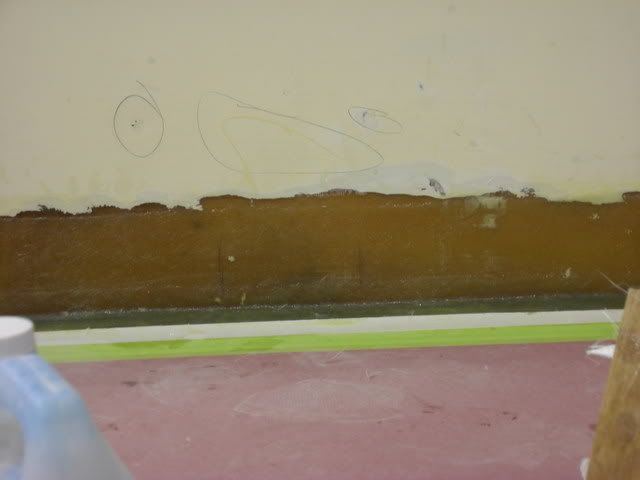 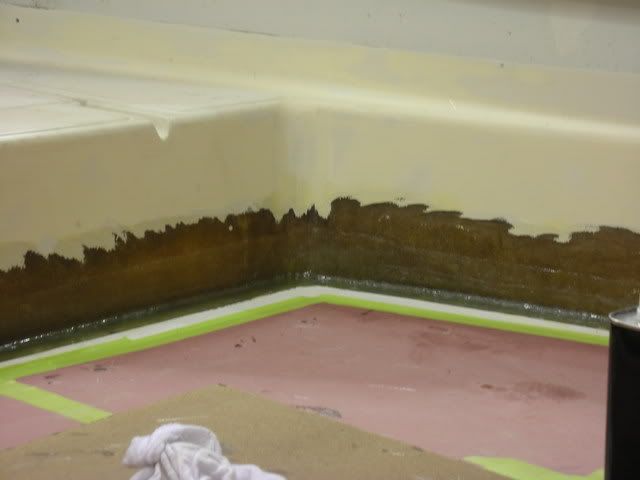 during the week before I had some help I cut some holes in the console. I got the battery switch box in from SSI here is the template 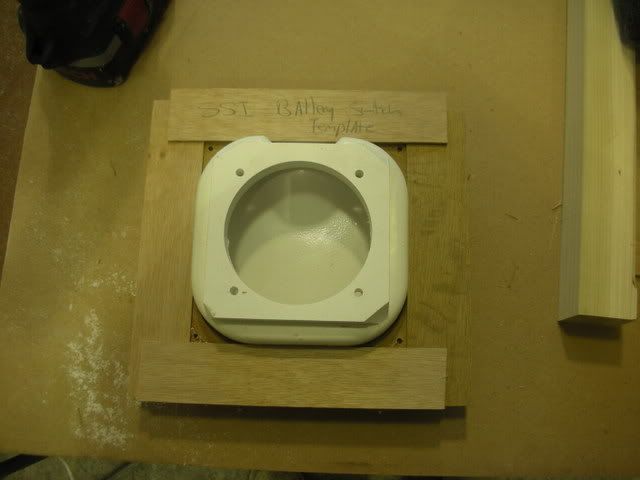 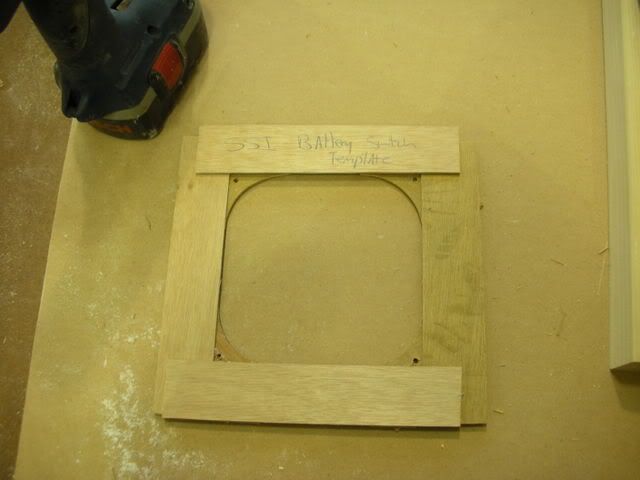 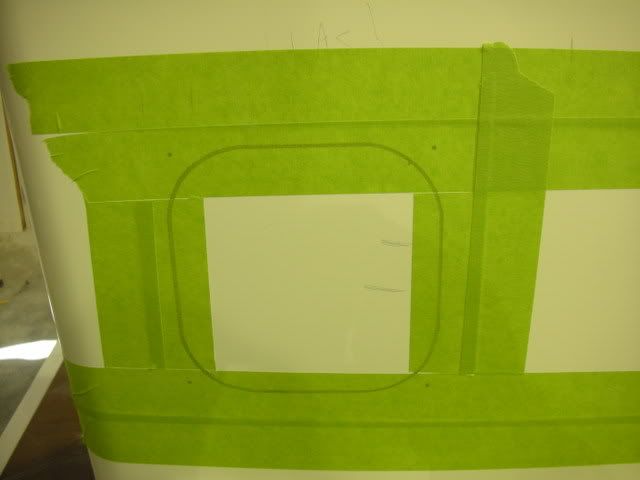 I drilled the holes for the rod holders to 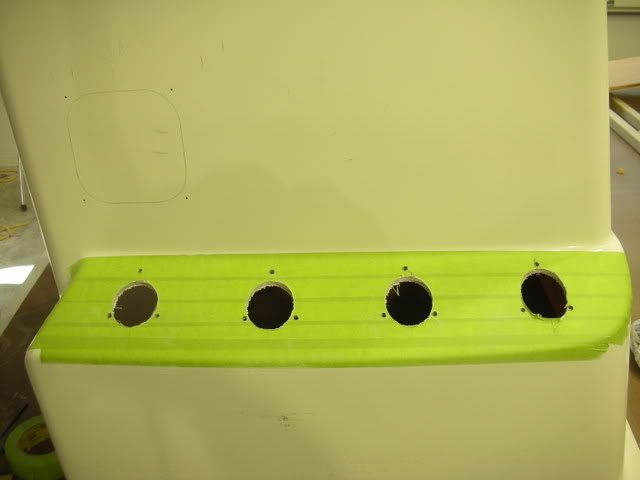 I fiberglassed some marine ply in the console for rigging, wires and saltwater washdown. 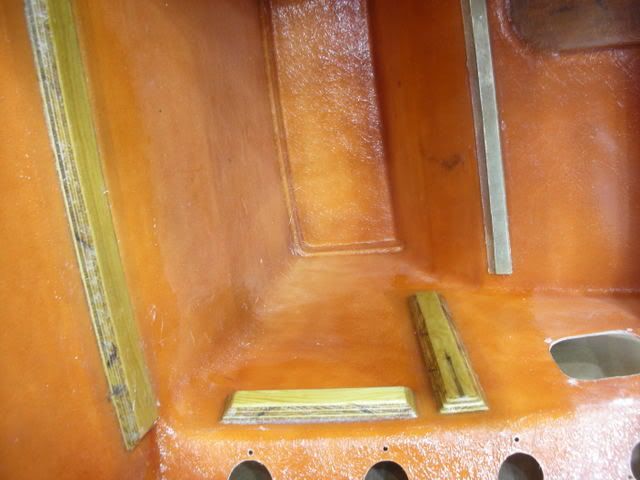 I ordered a whole bunch of sanding paper and fairing putty for this week to come.
__________________
36' Yellowfin 1972 20' seacraft 140 suzuki http://www.classicseacraft.com/commu...ad.php?t=18607 
|
|
|


 Threaded Mode