
|
|
#11
 04-02-2008, 11:04 PM
|
|||
|
|||
|
well after ordering another boat load of supplies from Merton Fiberglass in MA.(no pun intended!) Joe has helped me out alot during this project, He is always willing to answer questions, I got started on some other projects . I got some MORE sanding done and fairing.
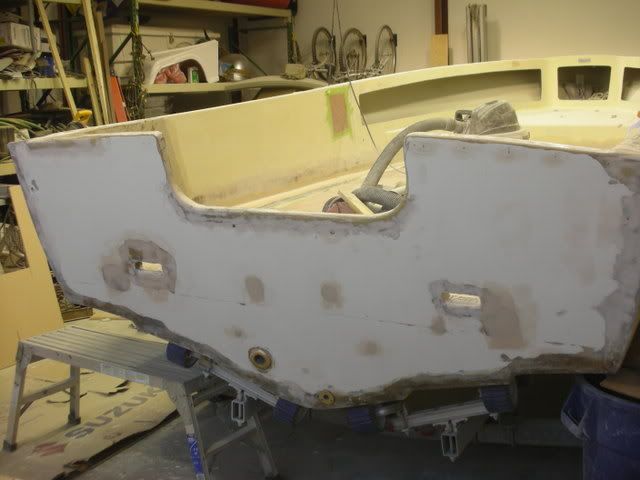 started building the hatches and the access plates for the fuel sending unit and the pick up tube 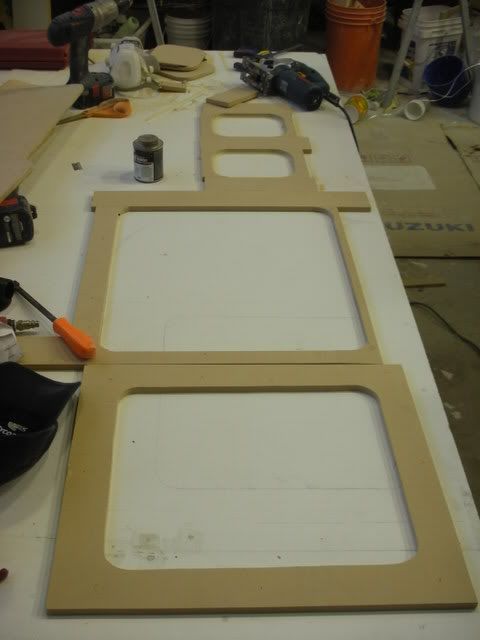 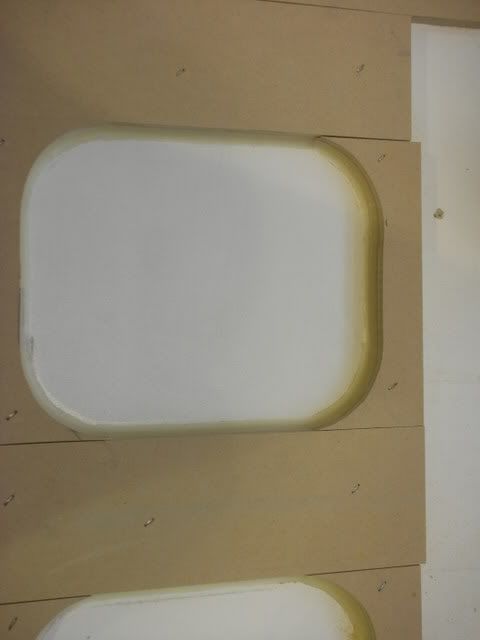 Duratec applied and first 2 skin coats of mat 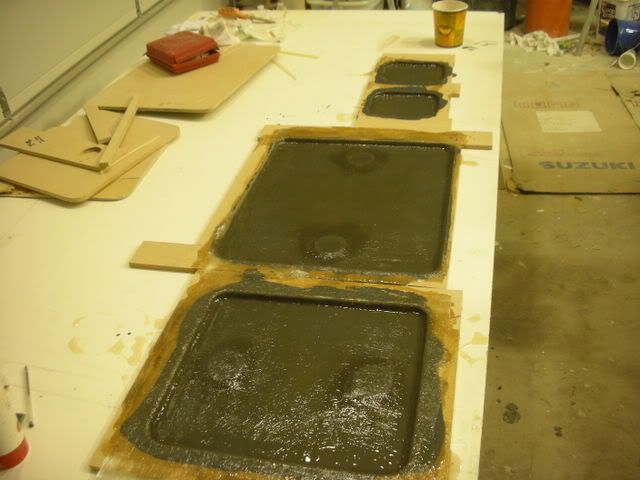 here you can see where I put the wood circles in for the latches  after I applied another layer of mat, 3 layers of biaxial I layed out where the latches for the divynecel coring. 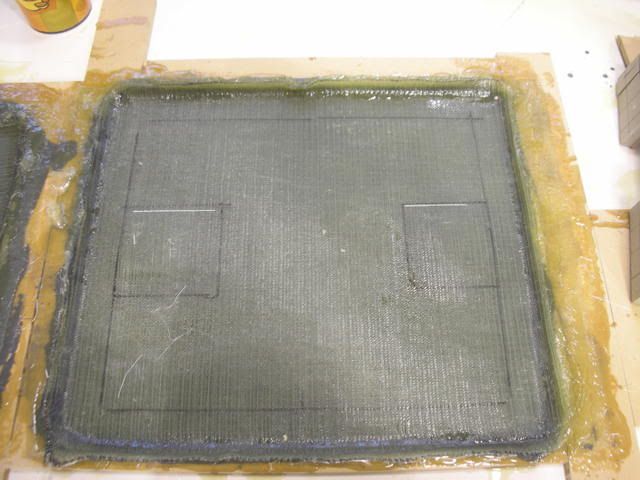 the divynacel dry fitted. I know I didnt take many pics when I was laying up the deck so I figured I would take a bunch of pics of how to layer the coring 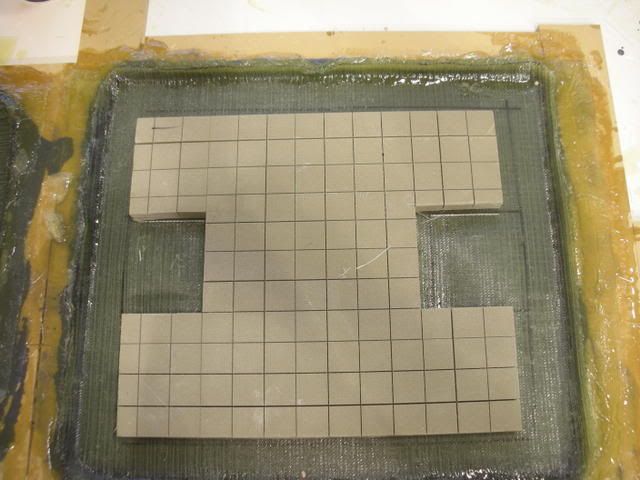 here is the tile trowel again 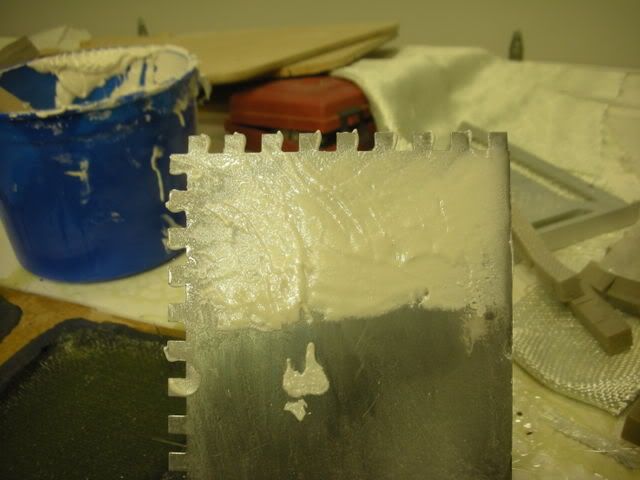 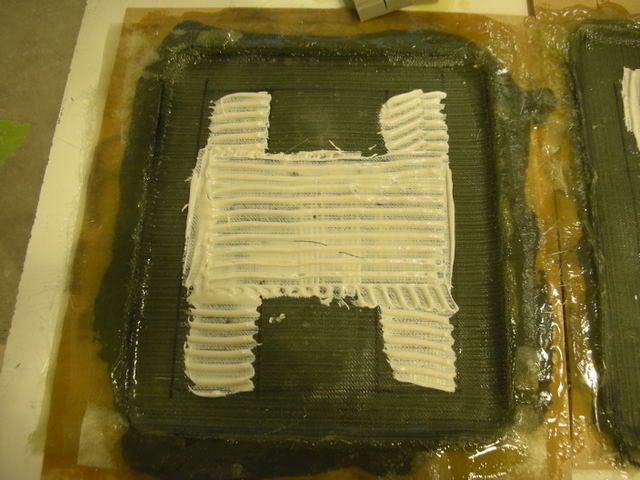 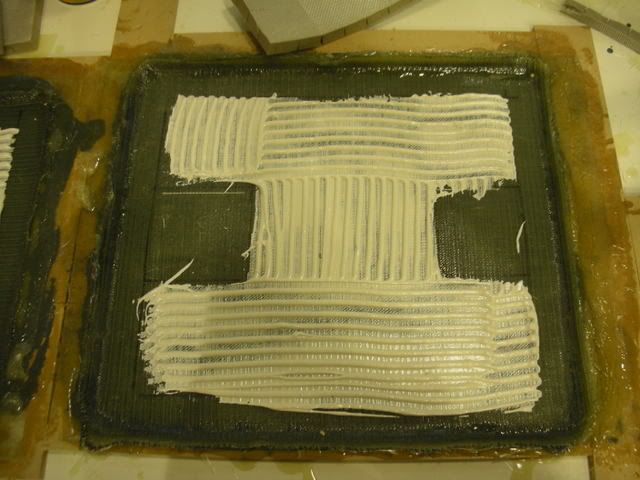 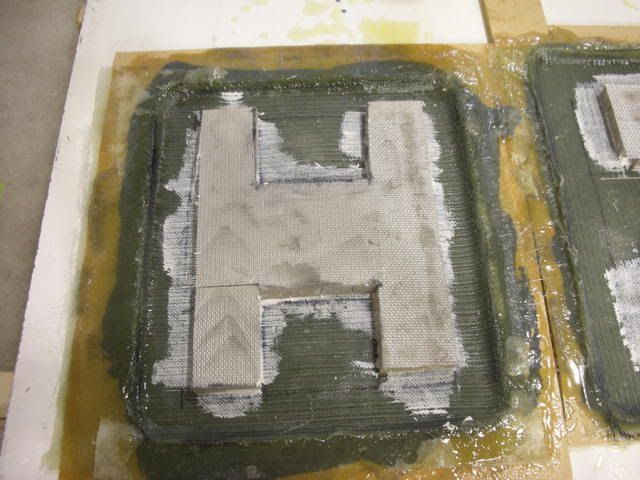 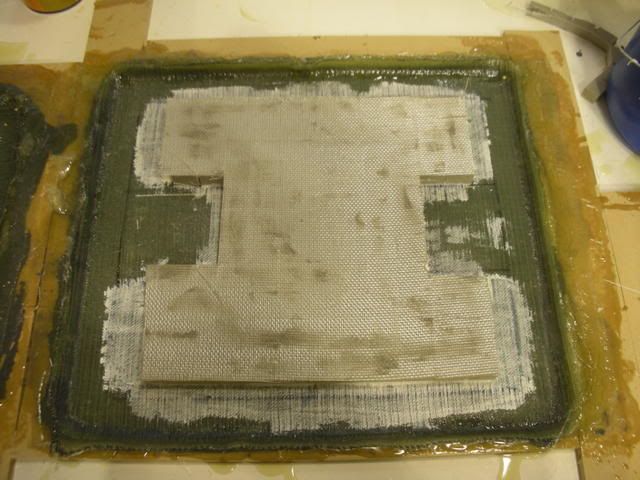 They make a tool to bed the the coring but a Fein multimaster works fine to work the devilet putty up in the coring  after I layed a layer of mat and 2 more layers of biaxal cloth I popped them out of the mold and cut MOST of the flashing off with a table saw. 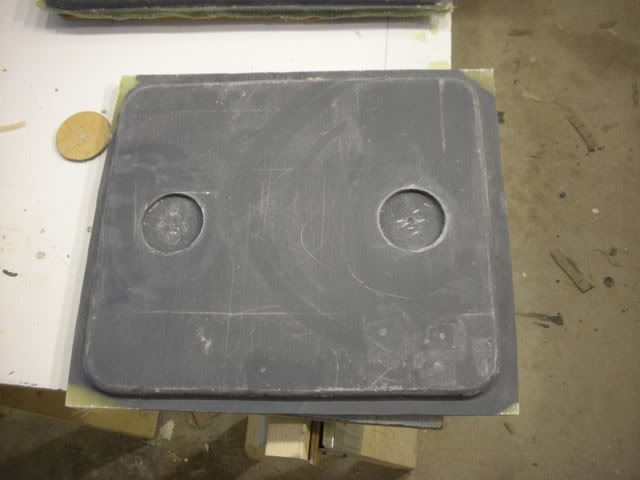 I did some research and bought a diamond tipped router wheel for my router from Bodi and went to work. This bit works perfect. You router around the top and it gives you a perfect flat surface on the bottom as it did.  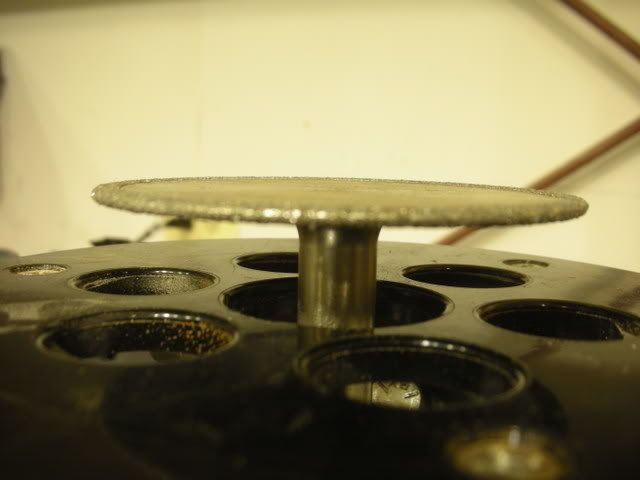 here is the flashing getting cut off 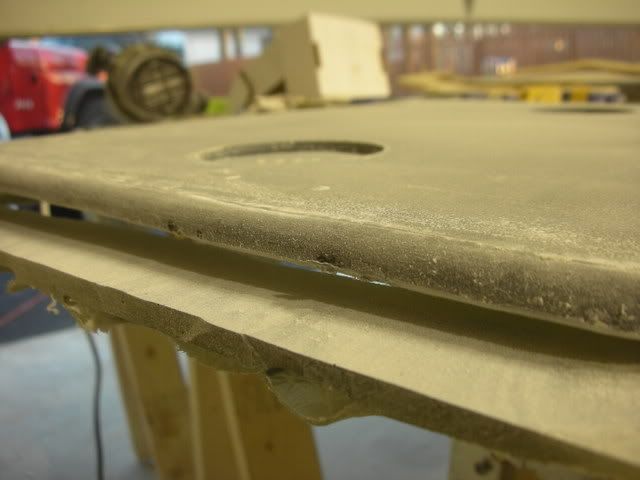 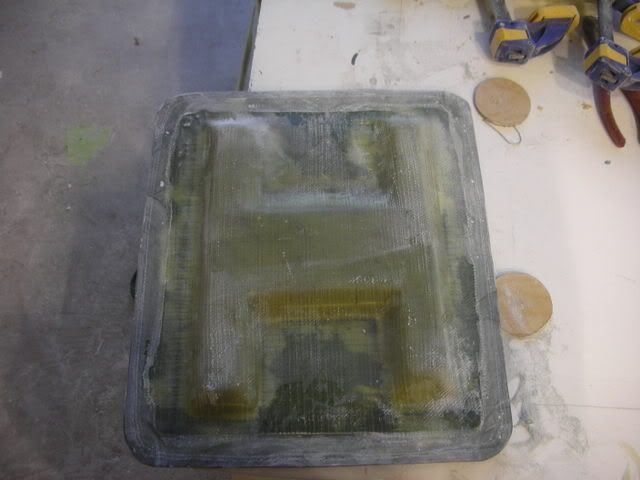 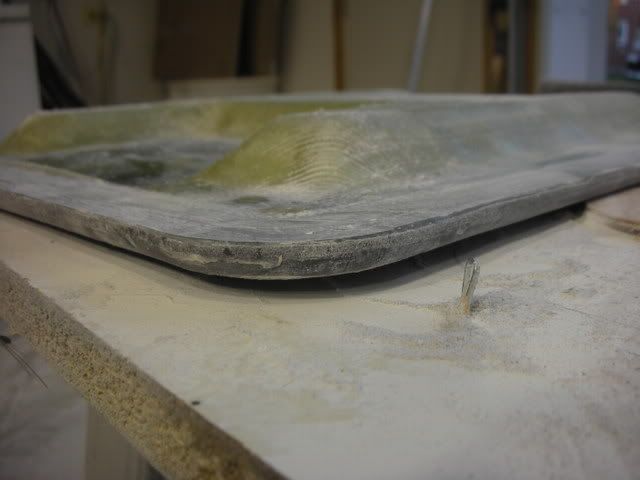 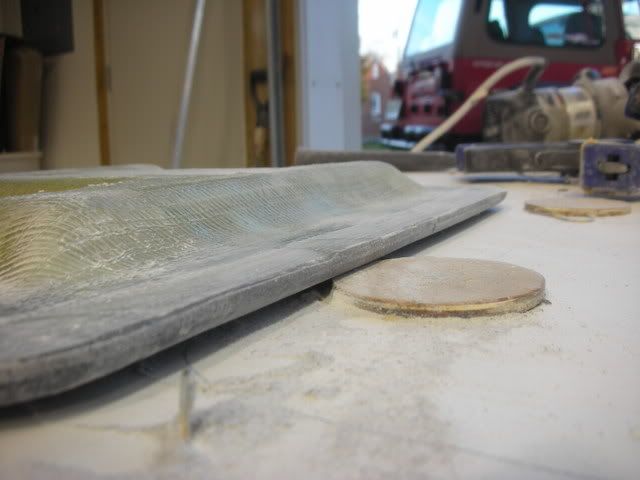 I drilled the inner hole for the latches ans did a little dry fit. I used a peice of 1/4 inch poplar ply for the circles 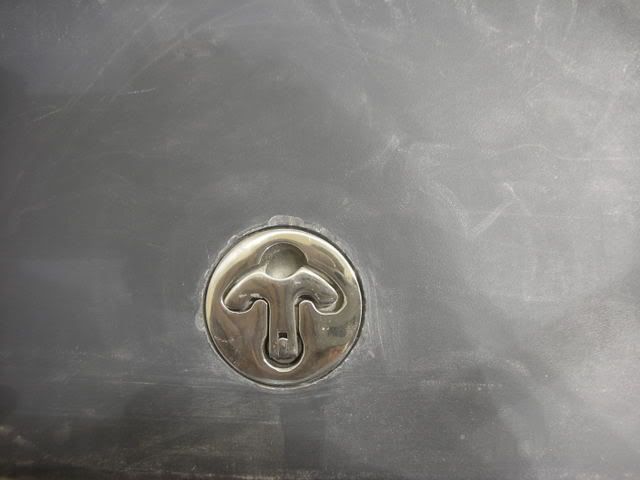 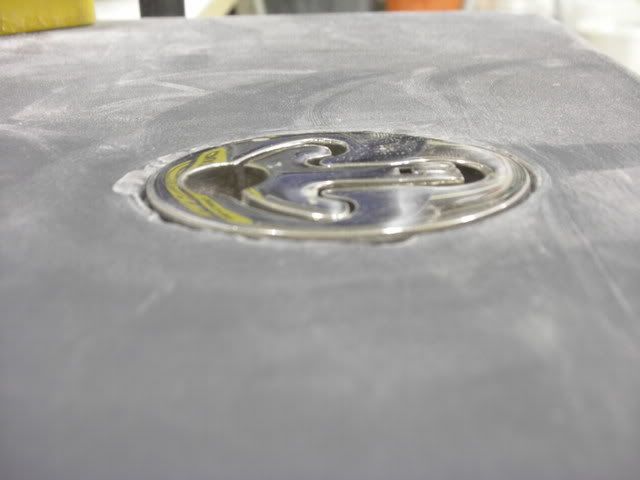 I dry fitted the hatch to make sure it was going to fit! If I were to do it over I wouldnt have use the 1/2 wax radius putty I would have used the 1/4 to have a tigher fit. I can do it on the next boat! 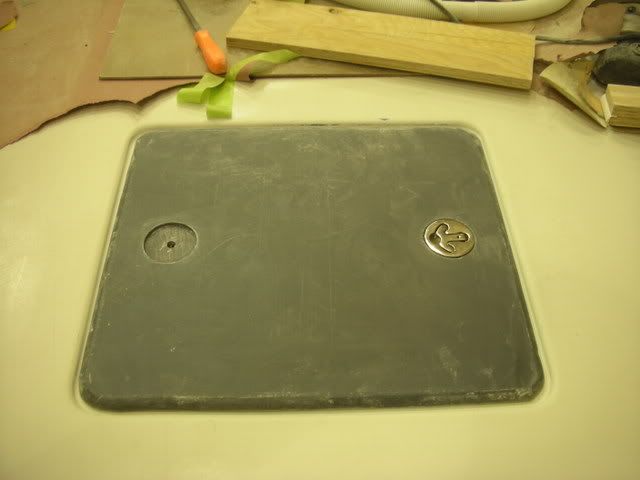 In the dry fit I still have to take a little off the bottom still to make it flush with the deck. 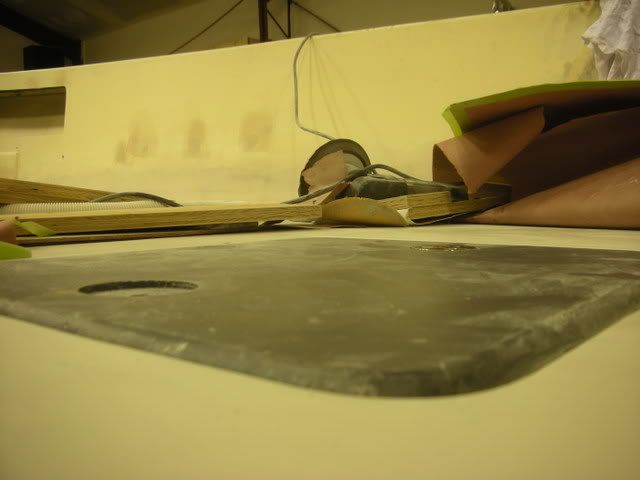 I got my livewell from Tommy at Hammerhead boatworks, it is a really nice setup. Here are some pics 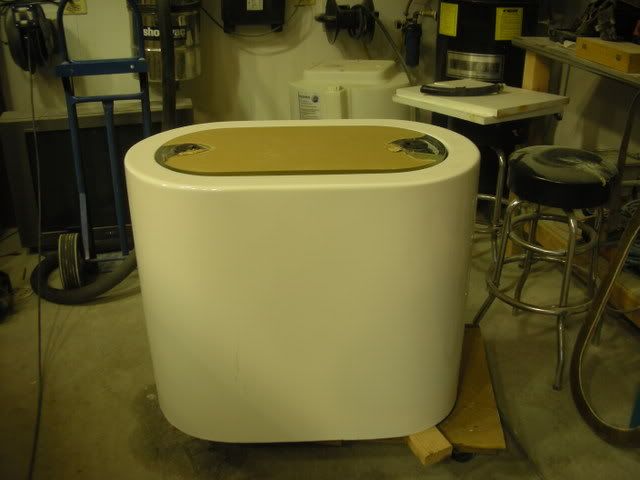 drains on both sides 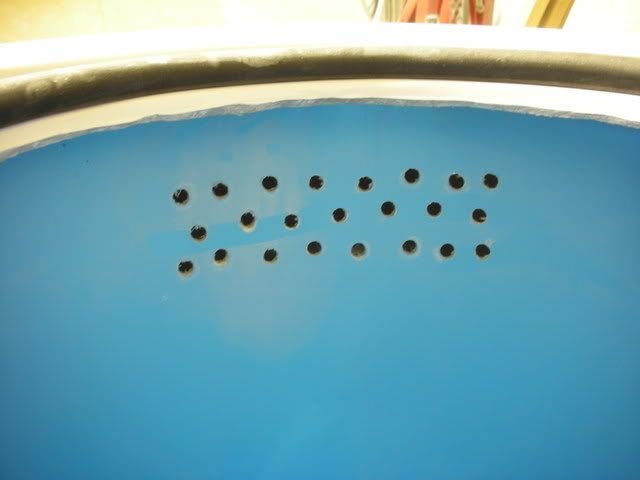 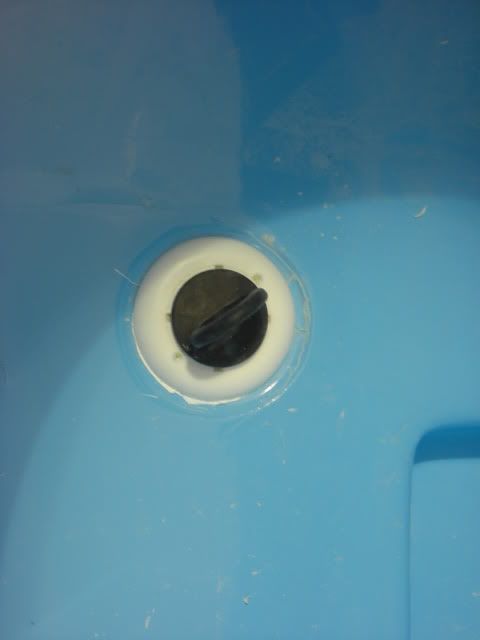 He also put a 1 1/8 fitting in for me for more volume 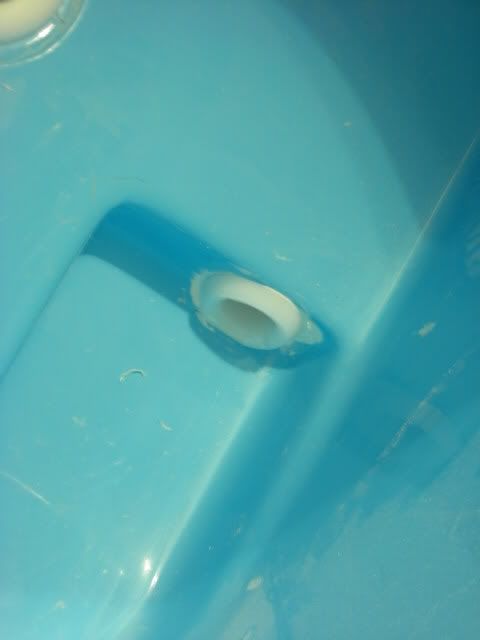 that is it for now I am trying to have the boat ready for primer after the weekend. till next time
__________________
36' Yellowfin 1972 20' seacraft 140 suzuki http://www.classicseacraft.com/commu...ad.php?t=18607 
|
|
|


 Threaded Mode