
|
|
|
|
#1
 05-02-2008, 09:51 PM
|
|||
|
|||
|
Gome some work done after real work this afternoon.I put the console down on a piece of formica to laminate against. I laid up the flange on the inside the console with 3 layers of 1708 and a 2 layers of mat. It was a pain in the ass to work inside the console laminating. I taped the outside of the console and went to work
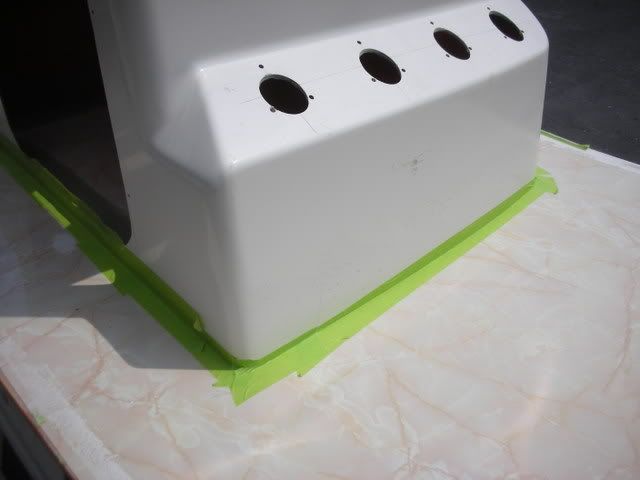 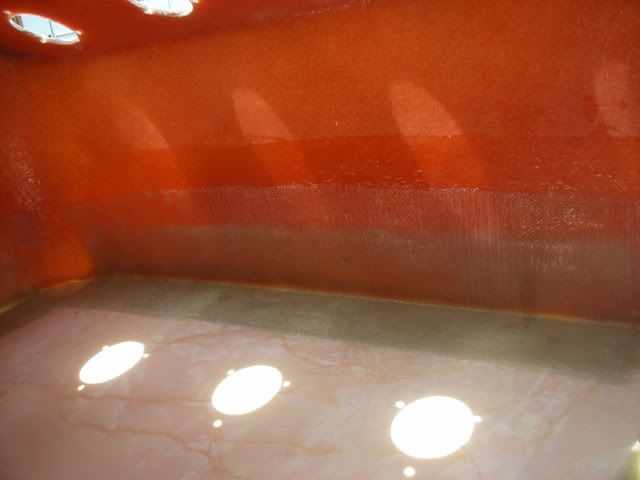 popped it off the formica. out came the diamond tipped router blade and it made shrt work of the flashing. 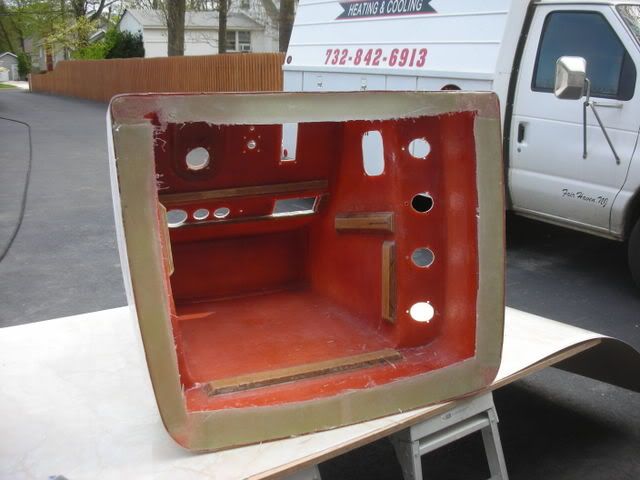 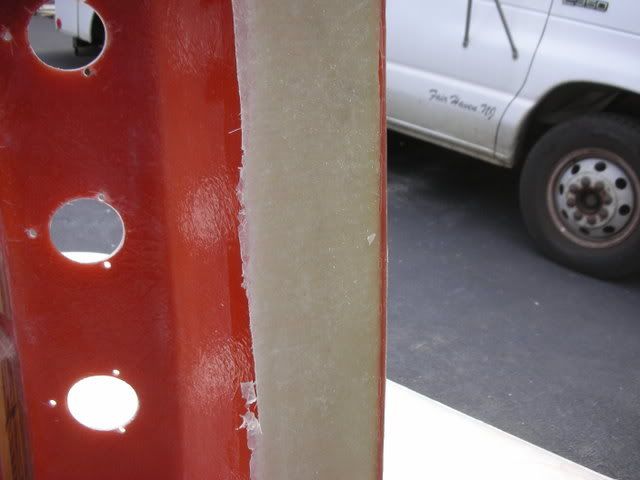 I left a little over 2 inches to screw through 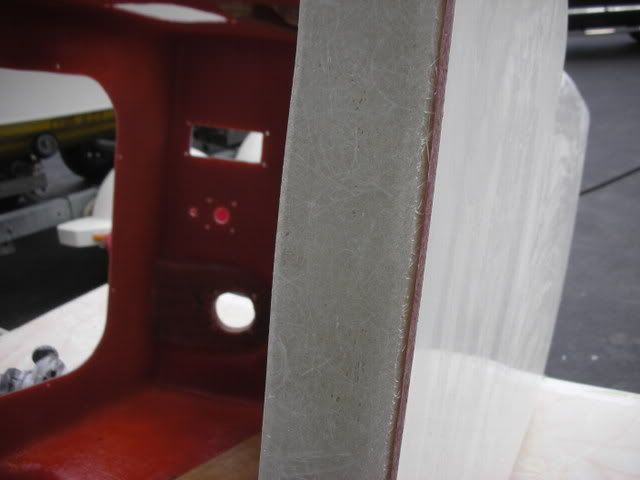 after adding a couple more mounting points inside the console I decided I wanted it white on the inside. so I taped off all the holes and mixed up a quart of epoxy primer 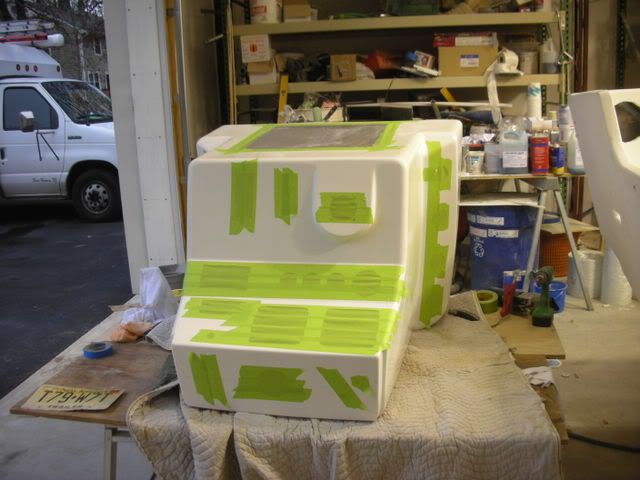   tomorrow is paint in the inside then I can non skid the floor and rig the inside of the boat.
__________________
36' Yellowfin 1972 20' seacraft 140 suzuki http://www.classicseacraft.com/commu...ad.php?t=18607 
|
|
#2
05-11-2008, 08:48 PM
|
|||
|
|||
|
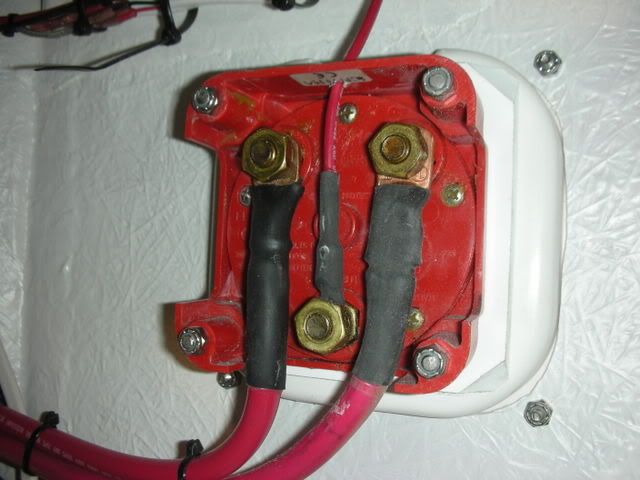
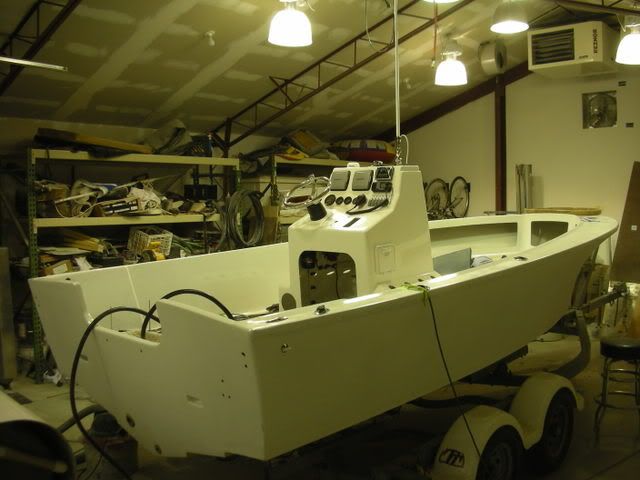
Well here we go I got alot done last week and I still had to work a 57 hour week. Alot of late hours were put in. I started with the console rigging while it was still out of the boat. I drilled and screwed the wire looms in place before I started any wiring. I have watched many boat builders do this over the years and it still makes the neatest job. After the panduit clamps were in place it was time to mount and rig the electronics,gauges,battery switch, washdown,water seperator. I also roughed in the battery cables for later.
 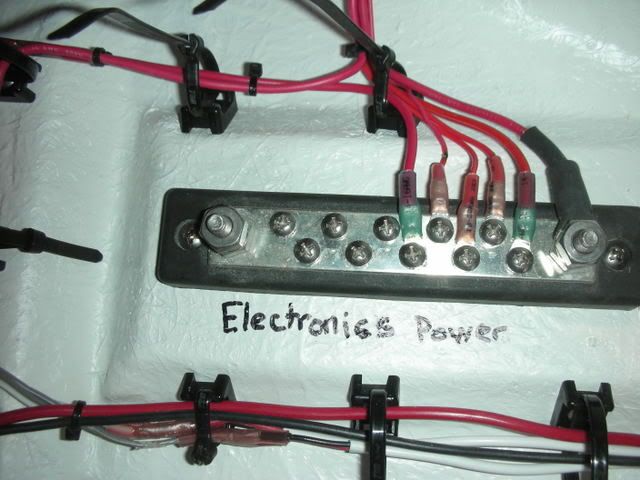 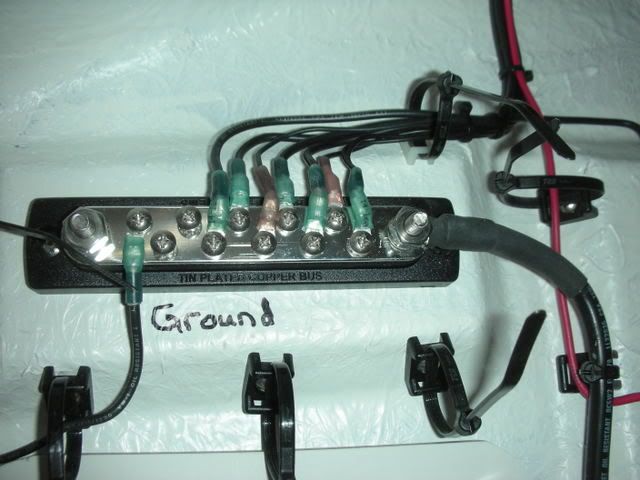 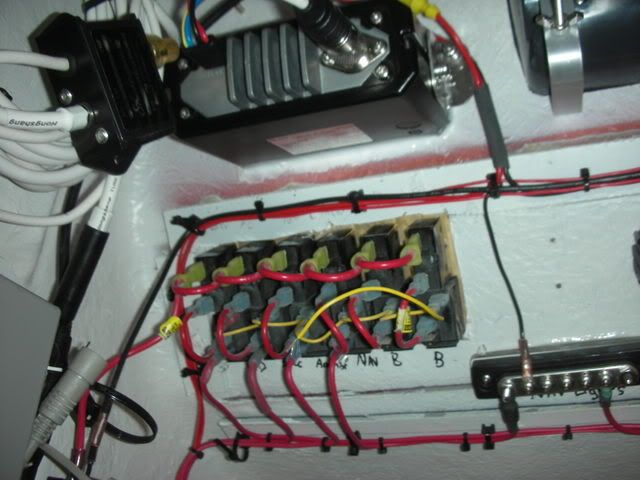  here are some of the wires all loomed up waiting for the console to be installed.  This is where it made me feel like I was making some progress. The inside liner was painted awlgrip snow white. then deck and hatches were taped off and sanded 120. The decks were painted with a contrast color awlgrip Moondust. It took about 3 hours too tape the deck off. I am not the best at taping,  but I was happy with the way it came out. but I was happy with the way it came out. 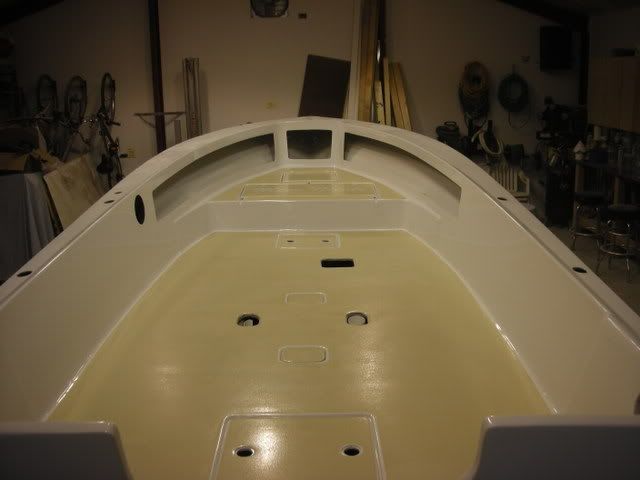 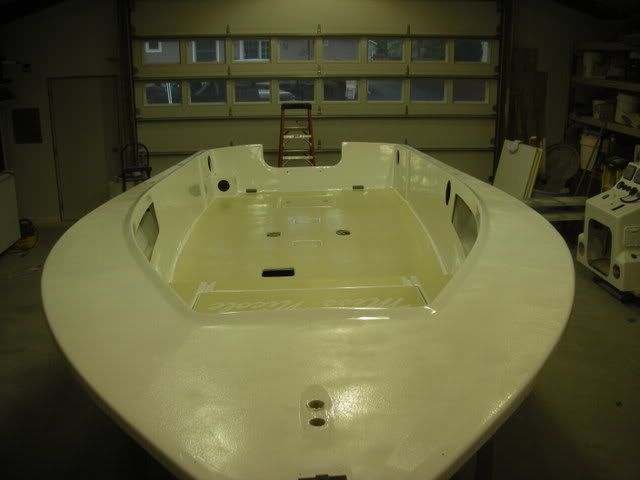 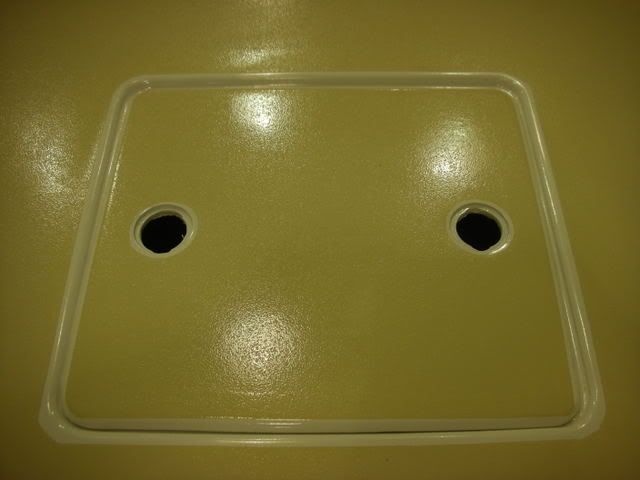 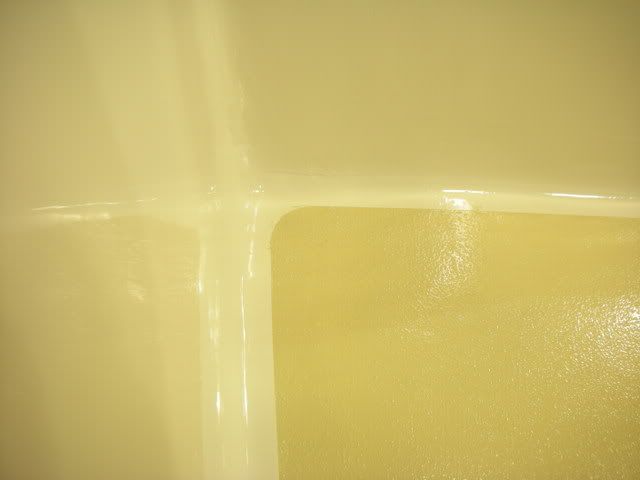 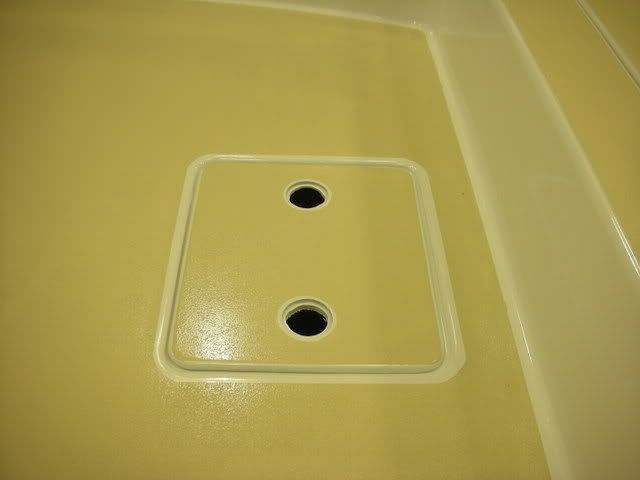 This was a special touch that I added for someone who has put up with me while the rebuild took place 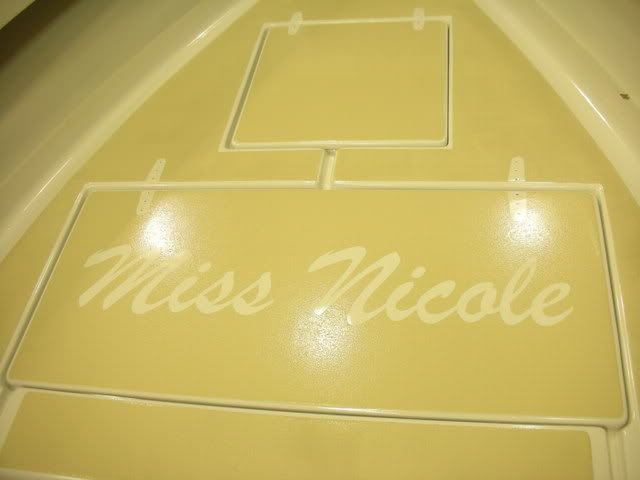 I would have the outside sprayed but awlgrip mislabeled thier paint so tuesday. otherwise the console is going into tomorrow. till next time
__________________
36' Yellowfin 1972 20' seacraft 140 suzuki http://www.classicseacraft.com/commu...ad.php?t=18607
|
|
#3
05-14-2008, 10:31 AM
|
|||
|
|||
|
Quote:
I notice you are mounting the wash down pump in the CC.... is there no room under the deck? strick
__________________
"I always wanted to piss in the Rhine" (General George Patton upon entering Germany)
|
|
#6
05-15-2008, 04:06 PM
|
|||
|
|||
|
Billy,
Great job! Are you going to put a leaning post or anything seating-wise behind the console? BTW I think I saw you running under the Sea Bright bridge in this before you started the restore...
__________________
2001 23 Regulator 2006 F250 Yamaha
|
|
#7
05-15-2008, 11:36 PM
|
|||
|
|||
|
Strick to answer the other part of the question every saltwater washdown pump I have had in the bilge has turned to rust on me. so I decided to mount it in a dry place. I will see how it works in about 4 days! Tashmoo I wear a full face mask with top end filters on it. My friend Mark was wearing just a mask. Awlgrip is bad stuff, But as long as you are not working with it day in and day out. A GOOD FACE mask is all you need, We had the ventilation going the whole time with some cheap air filters over it to keep the air clean and keep the BUGS out. You would not believe how much the bugs like wet awlgrip. I will post some more pics tomorrow. basspond that was definately my seacraft you saw running under the sea bright bridge. I am planning on some kind of aluminum bench seat or small leaning post. I will have to have something built because everything I look at it either to tall or too wide for my liking. I got the motor on and bunch more rigging done. I will post tomorrow
__________________
36' Yellowfin 1972 20' seacraft 140 suzuki http://www.classicseacraft.com/commu...ad.php?t=18607
|
|
#8
05-16-2008, 09:31 PM
|
|||
|
|||
|
Got the hull painted 3 coats of aqua mist awlgrip on the hull. Also replaced the rubrail and hung the motor on the transom. I just have the motor rigging to finish up, batteries to drop in place and livewell to install and a few more odds and ends.
 Here are the rigging runners I made between the floor and the console. 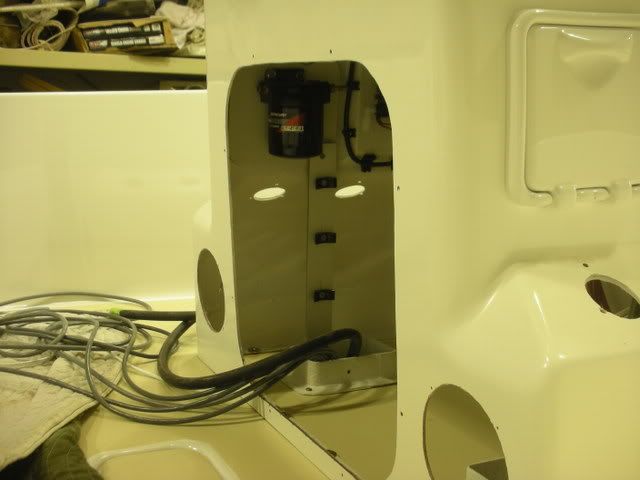 here are all the wires and hoses mounted to them 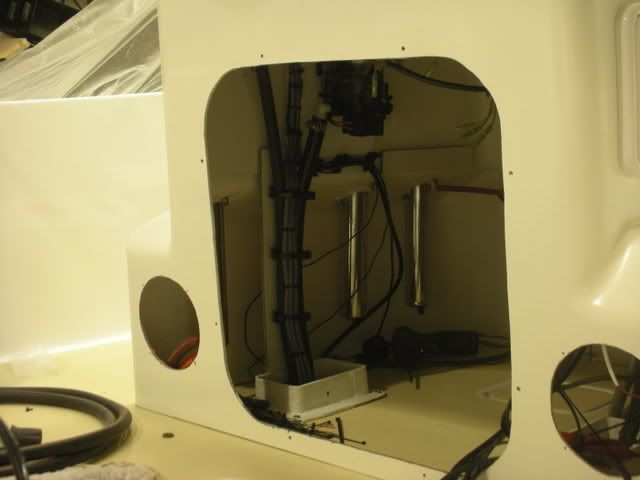 all the motor rigging and the steering mounted 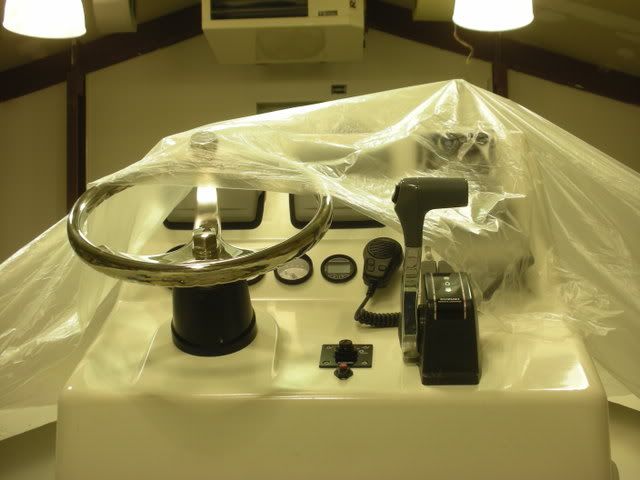 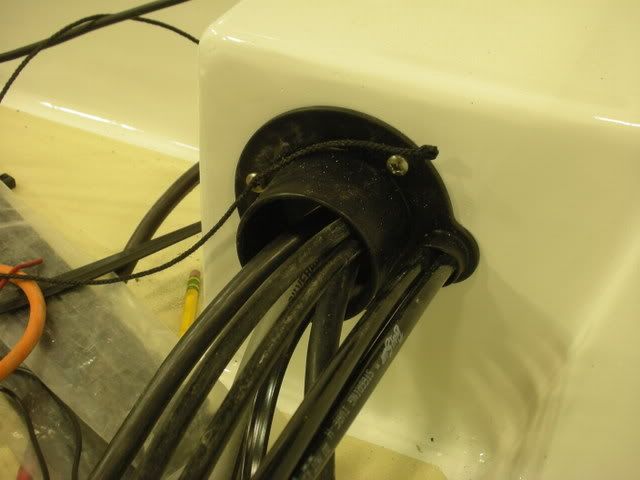 action shot! 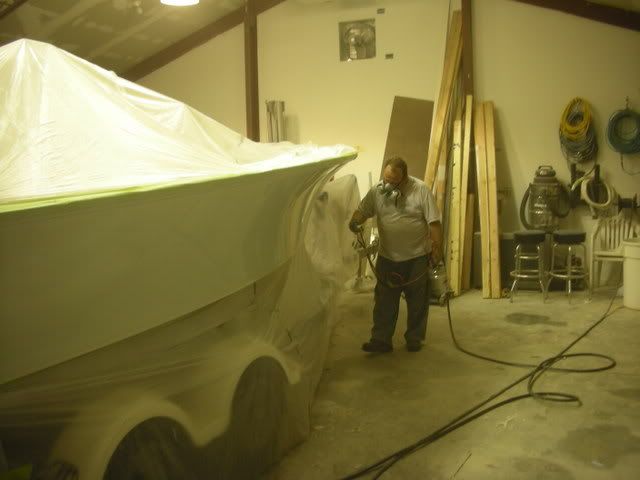 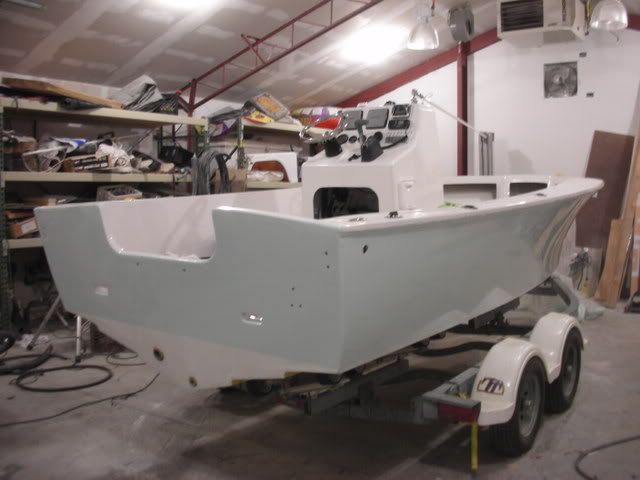 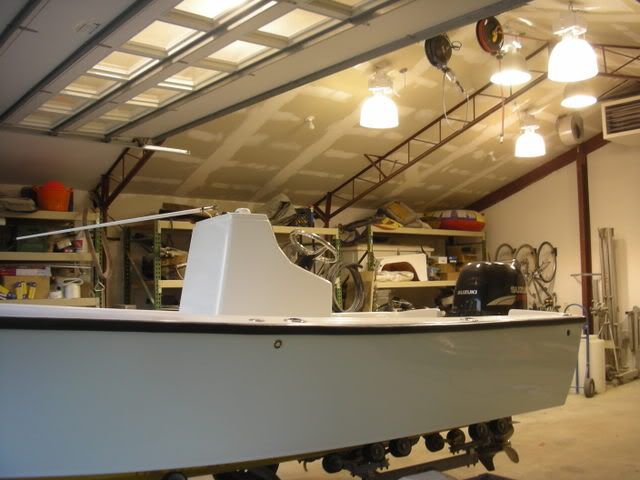 everything mounted on the back of the boat. 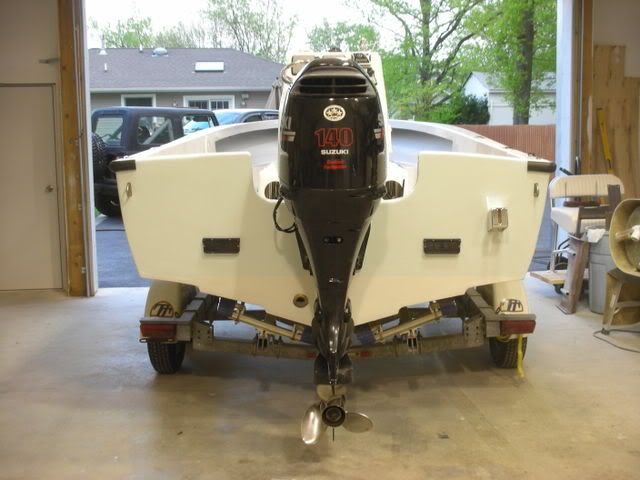 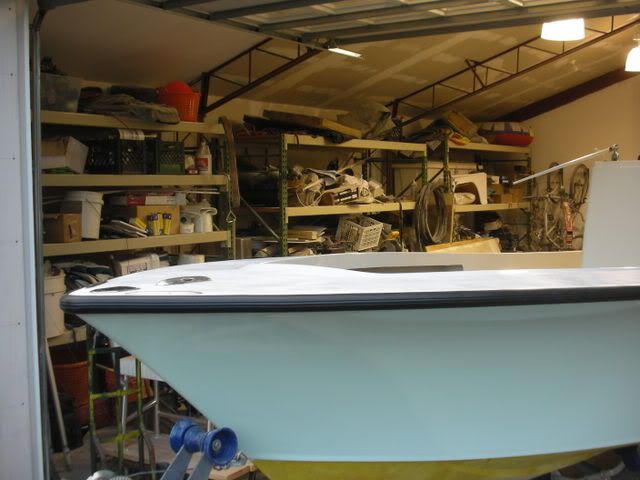
__________________
36' Yellowfin 1972 20' seacraft 140 suzuki http://www.classicseacraft.com/commu...ad.php?t=18607
|
|
#9
05-14-2008, 10:52 PM
|
|||
|
|||
|
Strick I wish I had that steady of a hand, I went to my local sign shop and had them print out the vinyl lettering. I just made sure I peeled it up before the paint dryed. I worked alot better than I thought it would, there was zero bleed through.
Mark thanks for all the positive comments. I have really enjoyed redoing the boat, The next boat I will do will be a slower project. I was really putting myself to the pins to get it in the water for the spring fishing. I painted it today and did a bunch more rigging. I will post pics tomorrow. I have a few things left. mount and rig engine, batterys, rubrail, rod locker, livewell,bottom paint. thats it for now
__________________
36' Yellowfin 1972 20' seacraft 140 suzuki http://www.classicseacraft.com/commu...ad.php?t=18607
|
 |
|
|


 Hybrid Mode
