
|
|
|
|
#1
 05-08-2008, 06:20 PM
|
|||
|
|||
|
While you're in there.....Another item on my list is a bilge pump "on" indicator light on the console. While running you see the light you know a pump is on.

|
|
#2
05-09-2008, 10:51 PM
|
|||
|
|||
|
OK making some real progress now. Had a very skilled mechanic (Tony's Mobile Marine) over to the house today to perform the annual service on the 1990 Yamaha 150. It is a pleasure to pay for something when you can sit there and watch it get done right. I learned a lot (I haven't worked on 2-stokes much) and it was a good thing I serviced the motor now. The impeller was shot, half the plugs were rusty and none of the lower unit bolts would come off with out heat and a gentle hand turning those bolts without snapping the heads off. Replaced the water pump, gear oil, fuel pump diaphrams, fuel filter, and adjusted the idle.
Best of all Tony helped me install the hydraulic steering. It went very smoothly considering I picked the unit up from Craigslist. I am thrilled with the new helm & steering wheel. Anyway, on to the pix; excuse the mess nothing is cleaned up these are "in progress" shots: SeaStar steering: 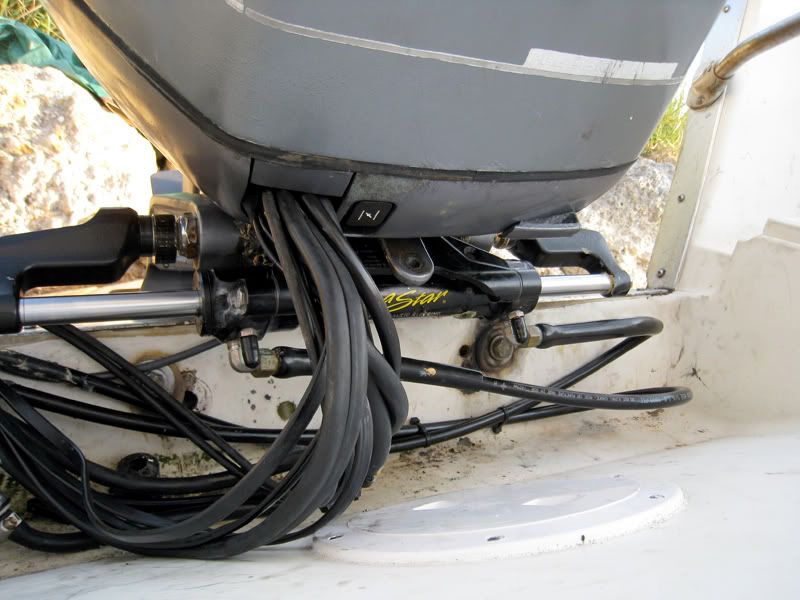 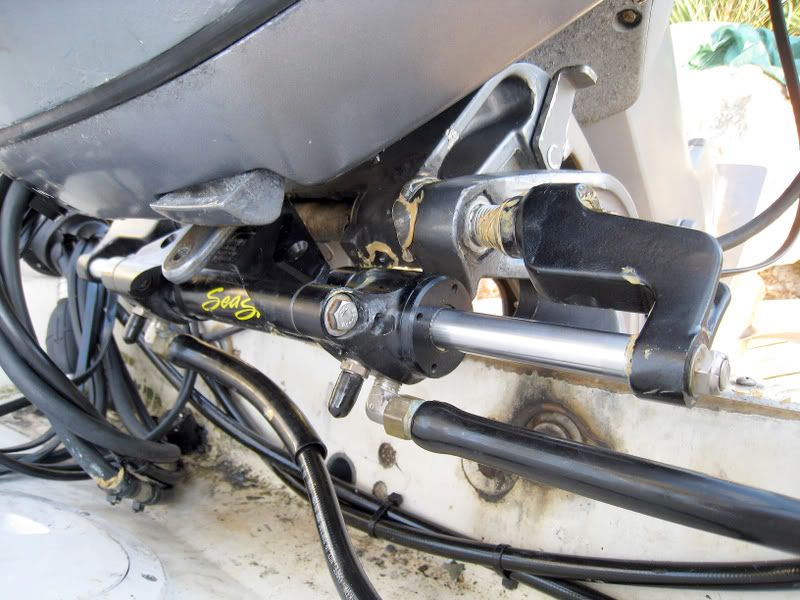 New Seachoice steering wheel, plus you can see that I mounted my other Craigslist find, the Garmin 498 GPS/Plotter: 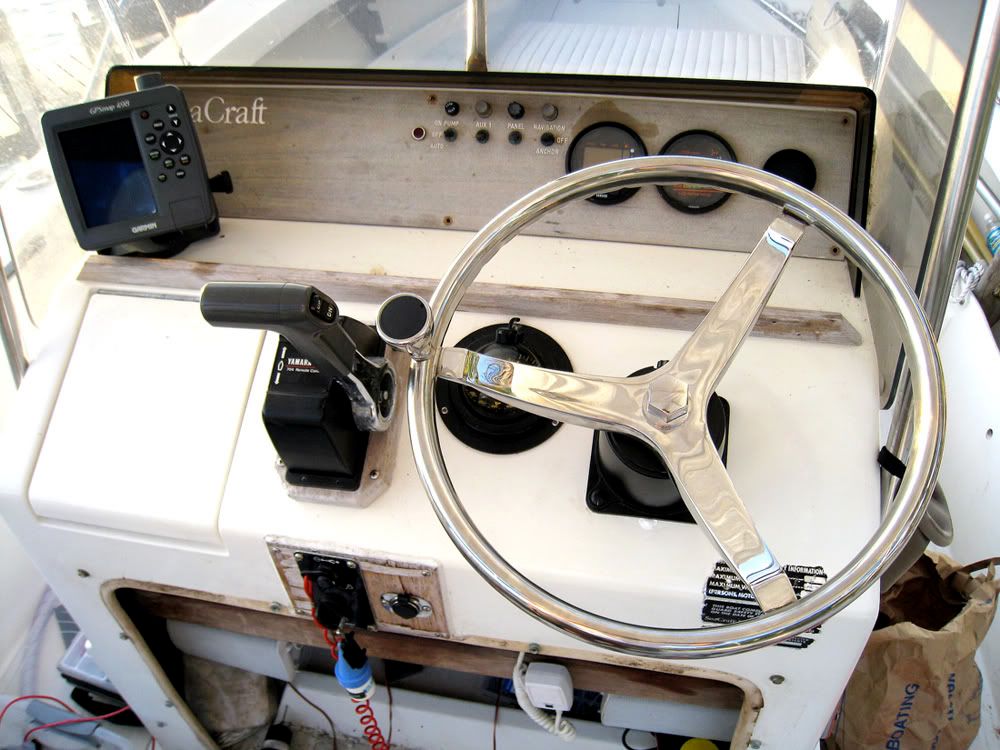 You can see the discoloration from the torch used to remove the bolts from the gearcase: 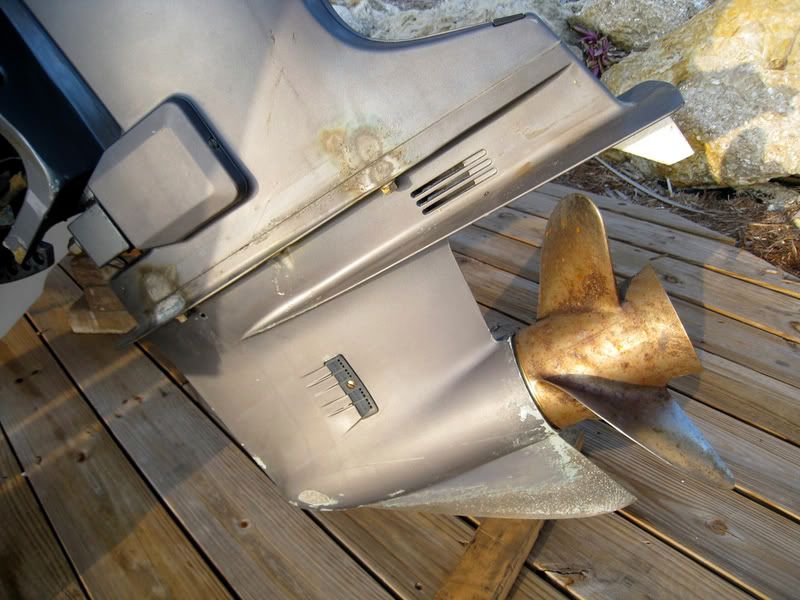 I still need to secure this boot; Tony removed all of the cables, lines etc...from the motor to feed into the new boot: 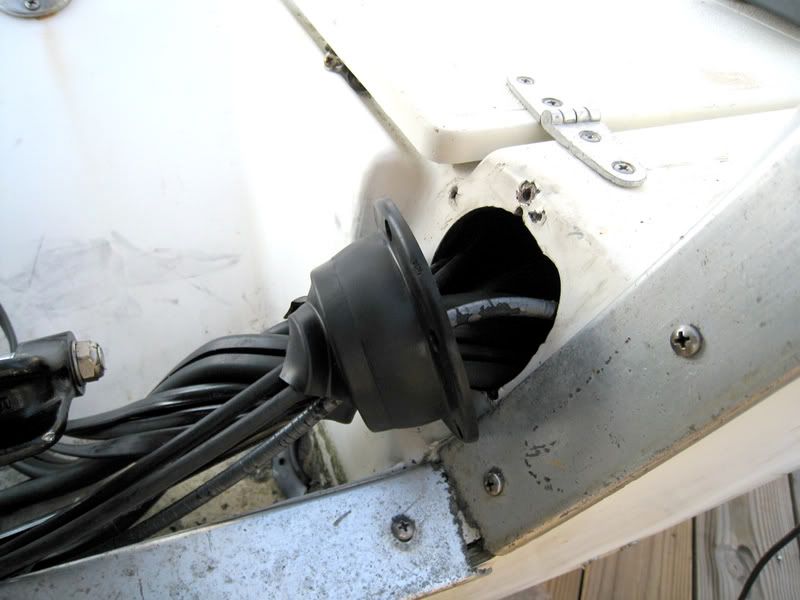 I removed the old transducer and will be filling the 4 holes properly, will install the new one next week (outta town this weekend). Bad news that hole in the transom where the ducer cable came thru-there is no core left just soaked, rotten wood. Transom time!! 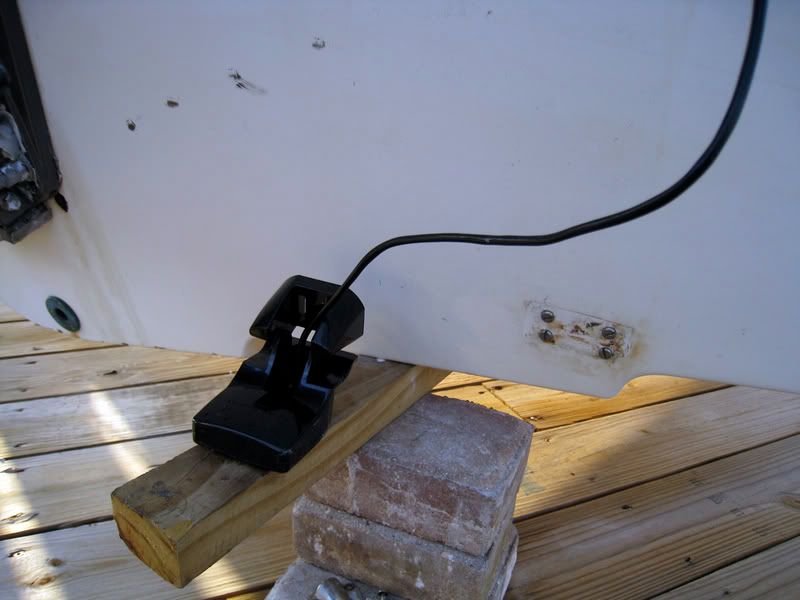 Electrical: These are the busses I installed behind the gauge panel. All of the positive wires are in-line fused for now. I am considering a new panel from ScottC on the Mako forums: 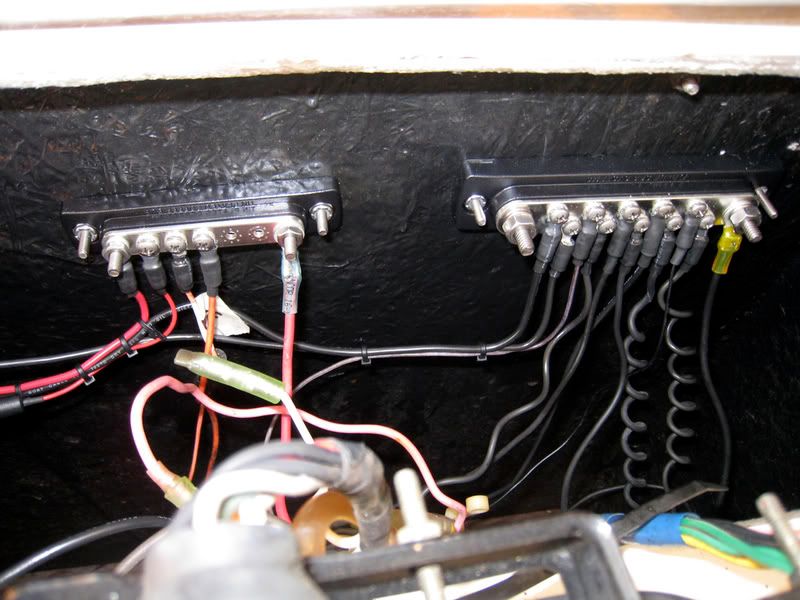 Installed this 12V plug in this crappy old piece of wood. I may put another ScottC panel here in the future: 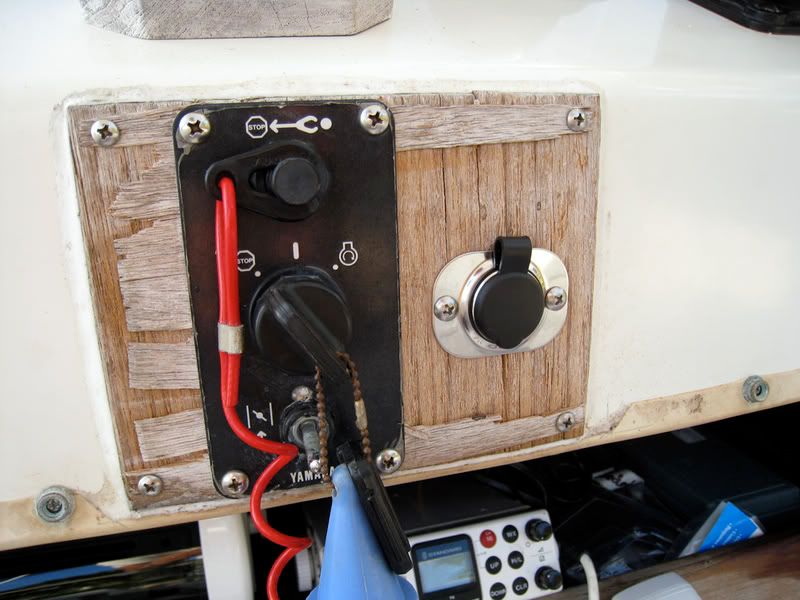 Under the dash I installed an older Jensen CD player I used to have in my 24' Blackfin, into a water resistant case. Still works great so in she goes (real-world, remember!). The speakers were in the old boat too, mounted them under the tray, they thumbscrew into their metal bracket mounts so I left some extra speaker wire if I want to pull them out and face them toward us on the beach: 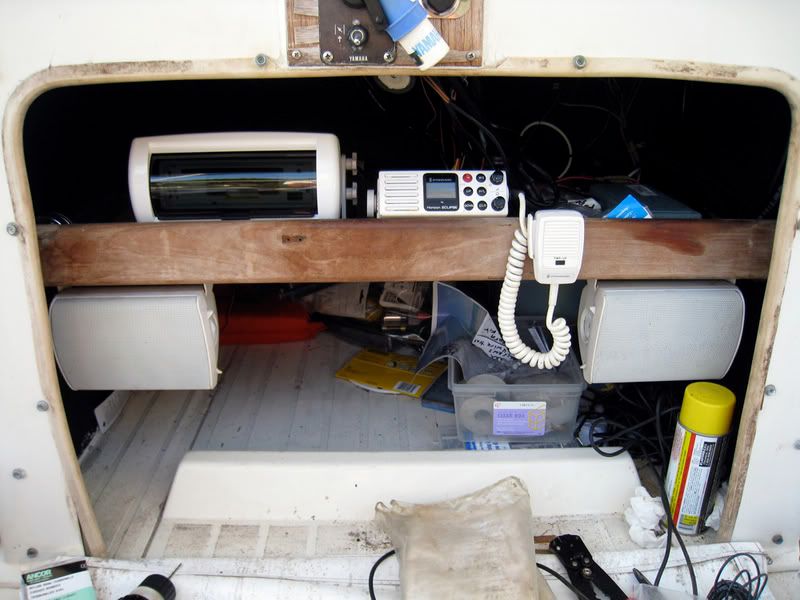 Till next time...
|
|
#3
05-11-2008, 04:09 PM
|
|||
|
|||
|
I like your real world attitude, too. Summer's here get in the water. Just a thought -- I don't think that boot will keep the cables from chafing on the f-glas; get some hose or foam or whatever, or even fold the boot back into the hatch to protect the cables at the actual chafing point -- the glas hole. My Hydraulic cables are shot because of that... Good luck!

__________________
there's no such thing as normal anymore...
|
|
#5
05-12-2008, 12:19 AM
|
|||
|
|||
|
Ledfoot - Just noticed something in that one photo showing all the cables going thru side of splashwell. The aluminum trim around motor cutout looks to be rotted away and the gap between the inner liner/cap and transom does not look to be very well sealed. THIS IS A POTENTIAL TRANSOM SOAKER! This gap was originally sealed with a polyester paste which is very brittle, gets cracks in it and falls out. Brown & Hauptner Marine, which was a SeaCraft dealer back in the 60's & 70's, used to remove the trim on NEW boats, remove the polyester and caulk the gap with a flexible sealant like Life Caulk. I bought my used boat from them and did the same thing. I believe it's one reason my transom was still dry 31 years later when I had Don Herman fill it in to install the bracket. Unfortunately you'll have to pull the motor off to fix it, but it could save your transom or at least extend it's life a few years!
If you could run all those cables thru a 2-3" diameter rigging tube like they use on brackets and transoms, it would be a lot easier to seal that splashwell. Could cover the existing hole with a piece of teak, starboard or PVC foam board and then mount rigging tube to it, as high up as possible, preferably above level of motor cutout. Might need a separate "cable clam" fitting for the steering hoses.
__________________
'72 SeaFari/150E-Tec/Hermco Bracket, owned since 1975. http://i188.photobucket.com/albums/z...Part2019-1.jpg
|
|
#6
05-14-2008, 05:04 PM
|
|||
|
|||
|
bushwacker: thanks for the heads up, I think it does indeed need a new transom. I think that will happen in July, so I won't worry too much right now. Where can I purchase a rigging tube and how much $$ is it?
Thanks Jeff
|
|
#7
05-14-2008, 05:16 PM
|
|||
|
|||
|
OK, more progress this week.
When I installed my bilge pump and got the batteries hooked up and tested it, some water was leaking back down the hose. I had to remove everything anyway, so I decided to replace the thru-hull with a new stainless one:  and a new fitting inboard:  Got all the wiring sorted and tied down, as well as the batteries:  more to come...
|
|
#8
05-14-2008, 07:20 PM
|
|||
|
|||
|
Some other projects:
Got the new antenna & base installed just how the other one was:  A quick spray bomb of this horrendous engine cover until I have time to strip and paint the whole motor:  Installed the new LED lights on the sides of the console. I am a little disappointed, I should have ordered the ones that deflect the light downwards. These send a circular glow onto the inner hullsides, looks strange. I think I will use these elsewhere, like under the console.  My aft cleats were very loose, so I cut an inspection hole in the vent area and whern I loosened the bolts, some rotten plywood fell out. It was not coated in anything...just slapped up there as a backing for the cleat:  
|
|
#9
05-20-2008, 01:41 PM
|
|||
|
|||
|
Some more progress. Hope you guys aren't getting bored because this isn't a full-blown resto!
 Anyway, here are the updates: First off, I had an experienced fiberglass guy come to the house and patch the hull and some holes in the deck & transom. He has worked at Donzi, Wellcraft, and Jupiter here locally. Sorry I don't have any progress shots, but it was hot and we were very busy that day. The hull:  The old marinium cleats were loose so we filled the holes and shot some "primer" gelcoat on the aft corners of the deck: before: after:  Also filled some holes in the transom: removed all hardware from the bow deck, drilled and filled the nonexistant core with resin and fiberglassed a resin-coated piece of marine plywood underneath for some structure:  This gelcoat is just a primer, we will roll on the color-matched nonskid next weekend. Looks SO much better without the rail, but my wife wants it on for the kids    Also tried buffing the hull, came up ok for now. Just need to look ok for this year, then I'll paint the hull & bottom this winter.  Thanks for looking...
|
 |
|
|


 Hybrid Mode
