
|
|
|
|
#1
 04-05-2009, 06:45 PM
|
|||
|
|||
|
It has been awhile since I had posted any pictures and progress.
Let me tell you it always takes longer than you think. The first thing made in this post was the below deck ice chest. I made this from 1" urethane sheet foam. Both sides were laminated with 1708 and epoxy. The parts where than cut from measurements and assembled. This is my first real OH S**t. When I did all the measuring the floor stringers where not attached. So when I went to install the box it would not fit under the stringer due to the fact I could not rotate it. Never fear, just cut one side off and then assemble inside the stringer system. What a royal PIA. Trial fit before laminating parts. 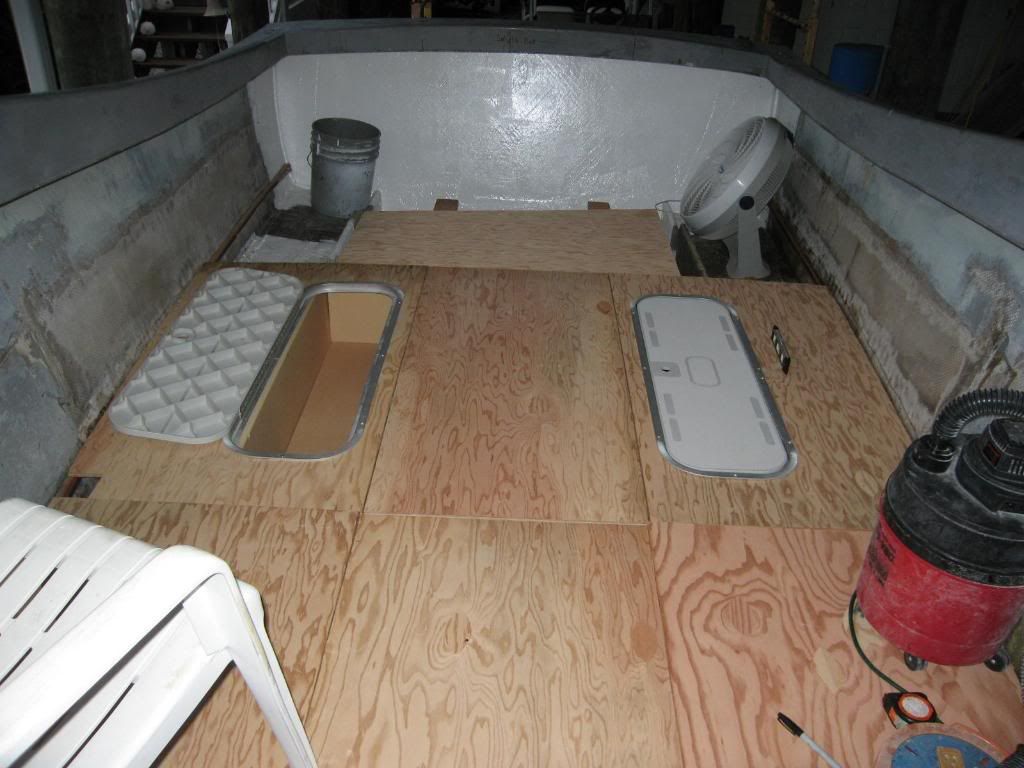 Materials being laminated. 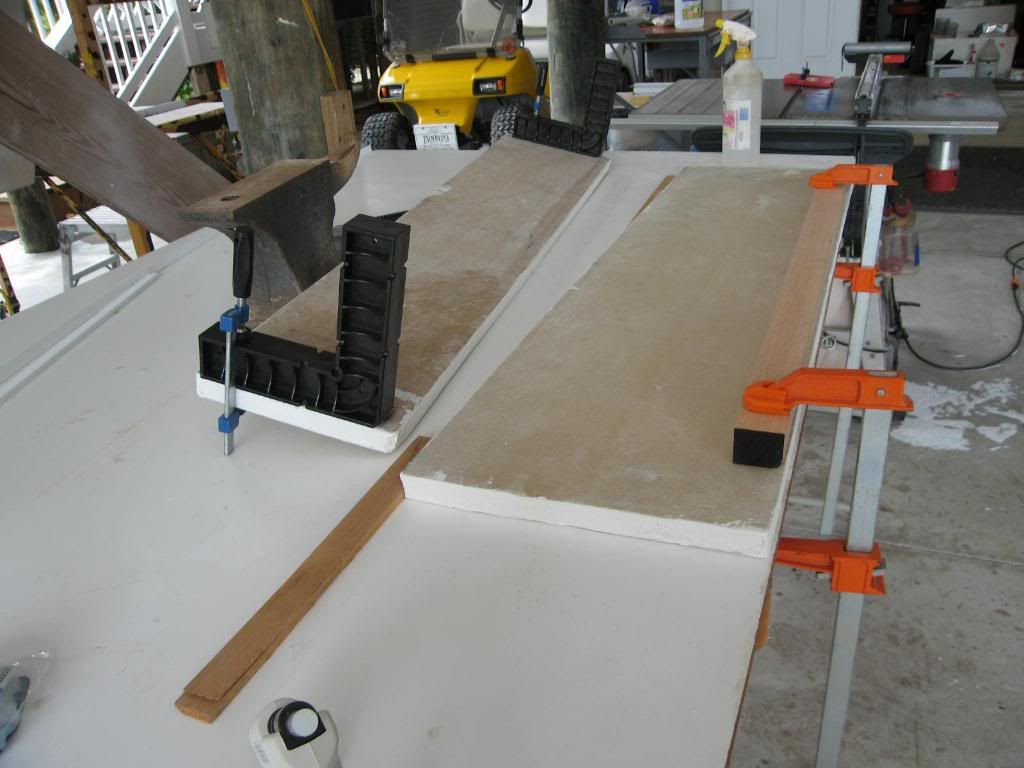 Box done with sides cut off re-fit. 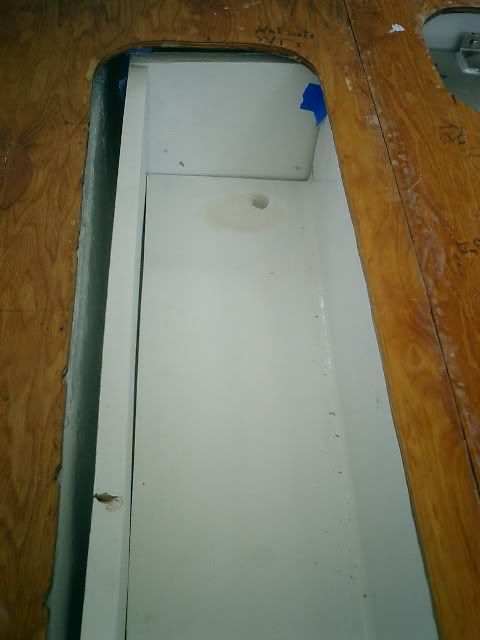 Final fit. 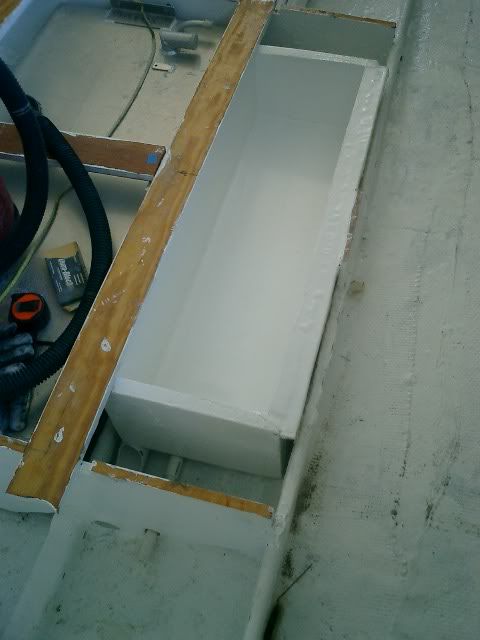 Don't ask why I put the decal in 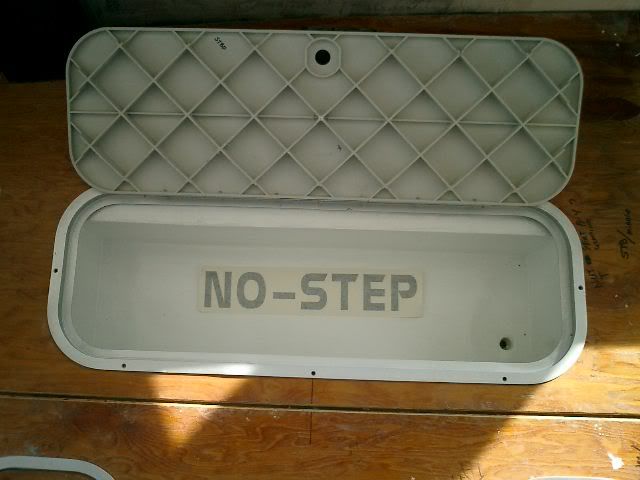 The next box to make was the live fish well box. I went below the floor to keep the original feel of the boat. Plus I am not a hard core fisherman, and only need to keep pin fish and shrimp alive. This time I made sure the box could slide under completely made. The drawing.  Trial fit of cut parts. 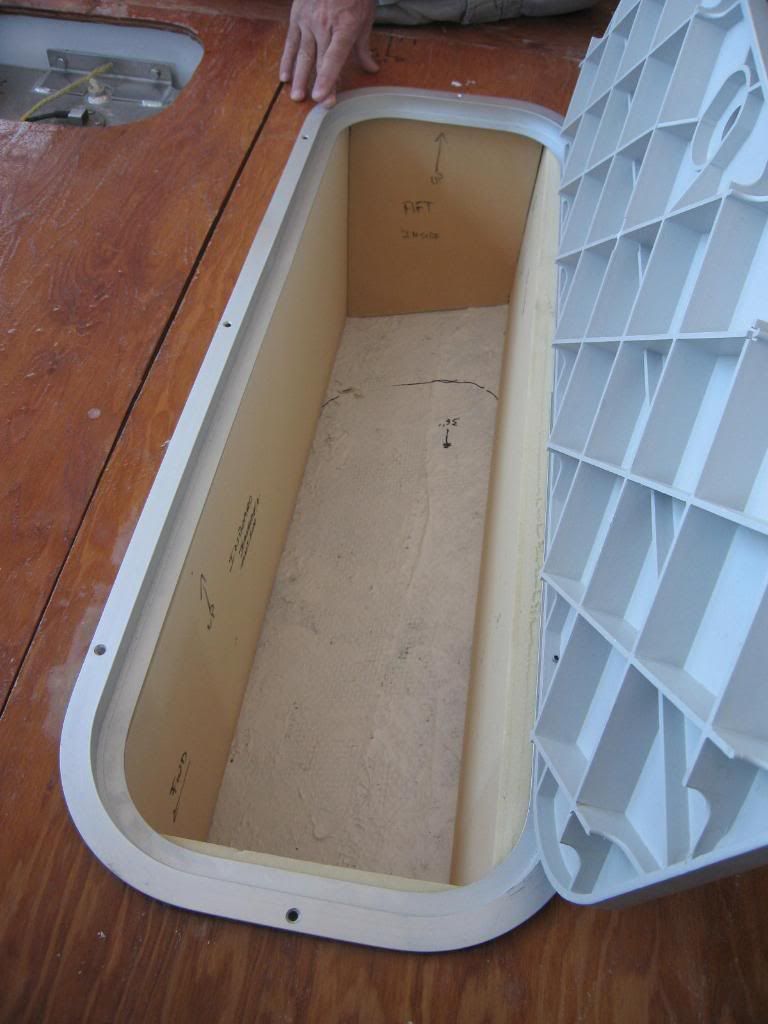 Making of the round corners. 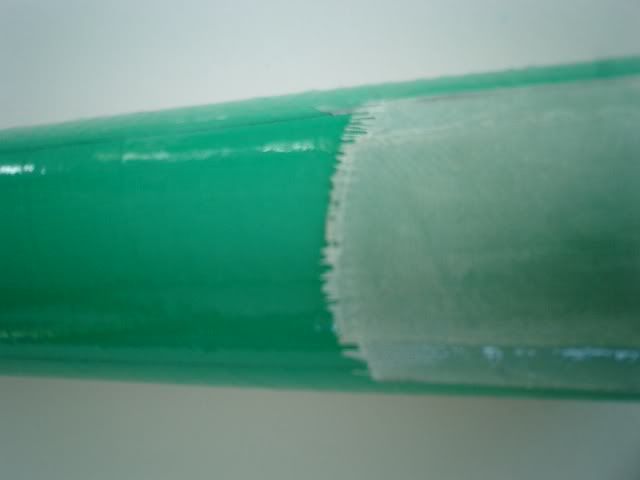 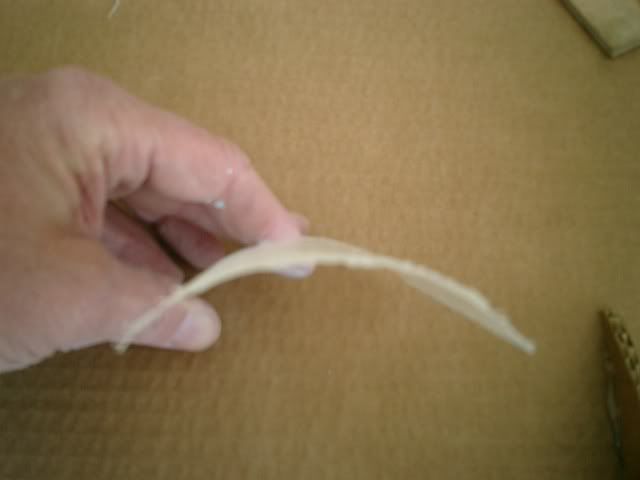 Variable Dead Rise Live Well. 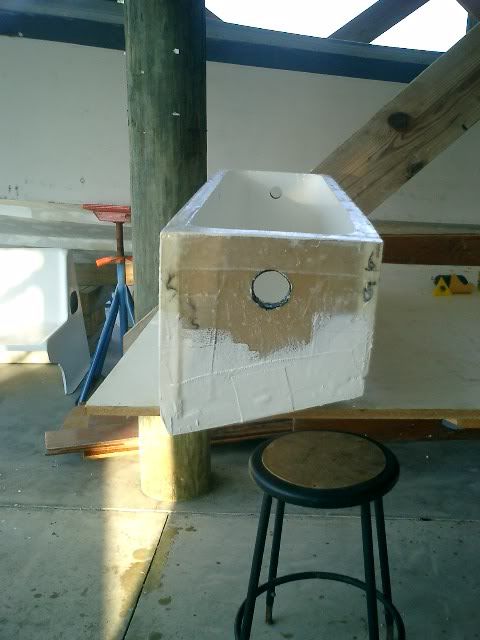 Rounded corners. 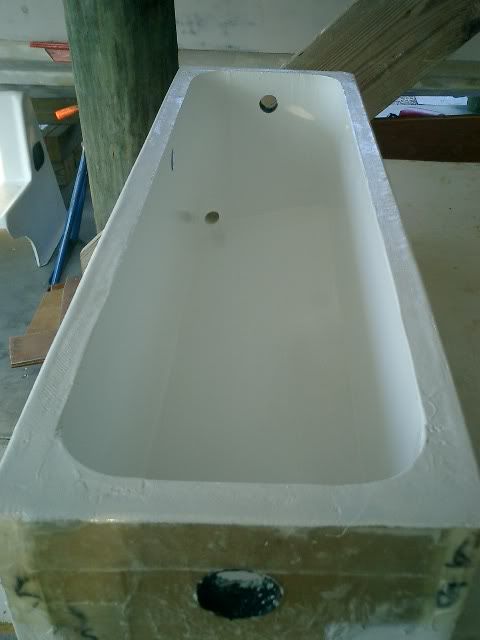 Final Fit. Over flow on left, water center and light on right.  No Step looks good in pairs.  I am just finishing up on some molds and side panels. I will post those another week when I have all the pictures in one place. That's it from the island.
__________________
[SIGPIC][/SIGPIC] "If You Done It...It Ain't Braggin" my rebuild thread: http://www.classicseacraft.com/commu...ad.php?t=18594 
|
|
#3
04-07-2009, 05:52 PM
|
|||
|
|||
|
Quote:
__________________
[SIGPIC][/SIGPIC] "If You Done It...It Ain't Braggin" my rebuild thread: http://www.classicseacraft.com/commu...ad.php?t=18594
|
|
#4
04-14-2009, 12:57 AM
|
|||
|
|||
|
I can imagine, lifted and with bigger tires they sure can scoot. I guess they're IQ cars and programmed to the top speed, correct? Sorry for all the questions, I work for CCI and am a big fan of our cars.
__________________
Boatless again!
|
|
#5
04-16-2009, 08:47 AM
|
|||
|
|||
|
Quote:
__________________
[SIGPIC][/SIGPIC] "If You Done It...It Ain't Braggin" my rebuild thread: http://www.classicseacraft.com/commu...ad.php?t=18594
|
|
#6
04-17-2009, 01:07 AM
|
|||
|
|||
|
Sounds like a good idea to me, especially in this economy. With the aluminum frame those things can last a lifetime. I have pictures of a 1963 model in which the dealer changed the batteries, tires and refurbished the seats and she's still running strong!
 Great job on the boat, can't wait to see pictures of her splashed!
__________________
Boatless again!
|
|
#7
04-25-2009, 05:17 PM
|
|||
|
|||
|
The last month was mold making for one off parts. If you never made a mold and part try it some time....because that is what it takes is time and more time.
I wanted some side and back panels for radio, rod holders, and junk. I modified a panel that I saw on the 19' bow rider. To hide the water hose and fuel lines, I borrowed Stricks idea and made a couple of towers to hide the lines. Lastly for the back part I saw how the same era Chris Crafts (23) enclosed the rear for storage so I made a couple of those. None are installed yet. Just a rough fit, and put on the back burner until the floors are completely done. Still struggling on how to attached all these parts. I think all parts were made in the semi traditional way of, make a mold. Clay the seams. Wax the sides, part all the sides, and then shoot duratech down. After that 1708 and epoxy. All of the parts came out real nice a smooth no real fairing to be done. Here is a collage of pictures hopefully you will see where I am going with this Carla's Bow Rider: 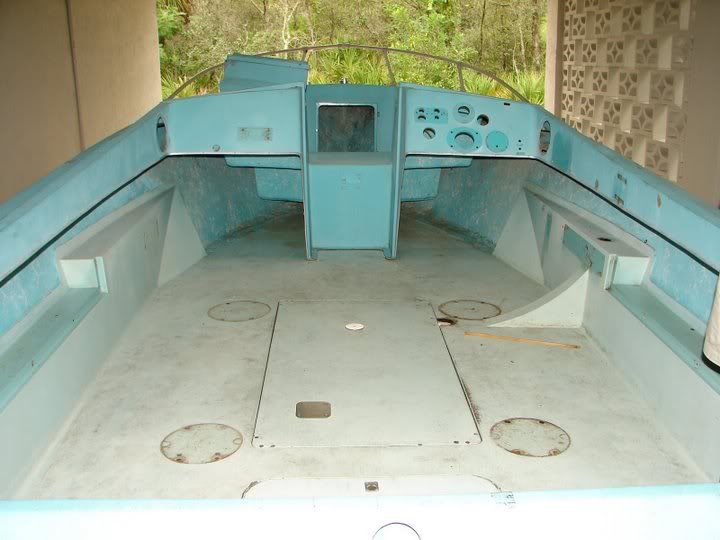 My template of the side storage: 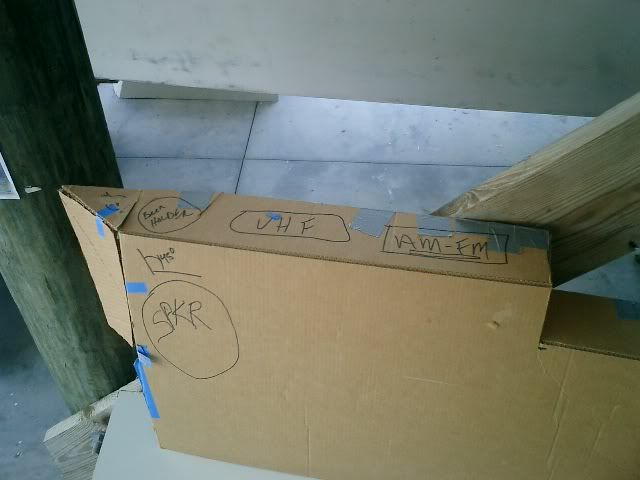 Make a two sided mold: 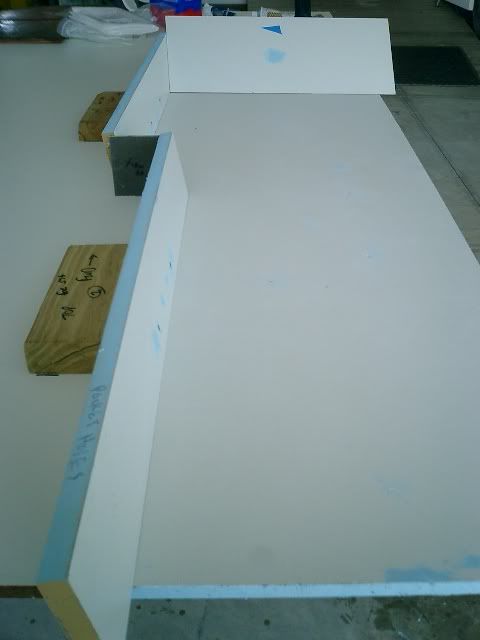 Checking pattern to Mold: 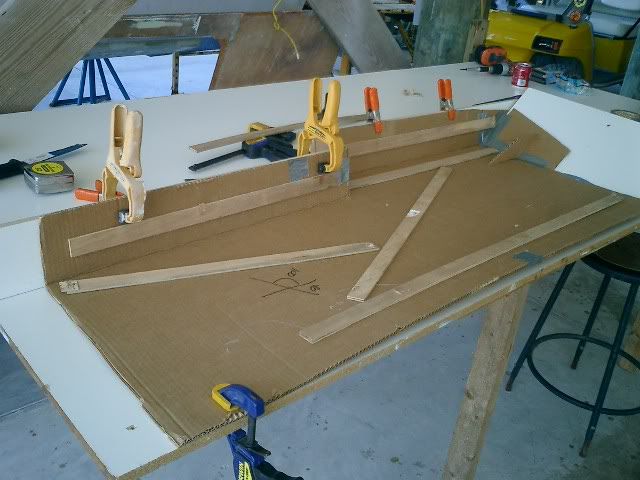 Dura tech and Lay up. 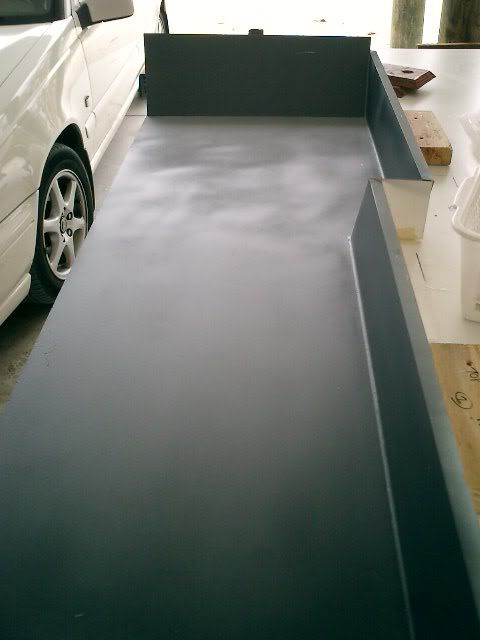 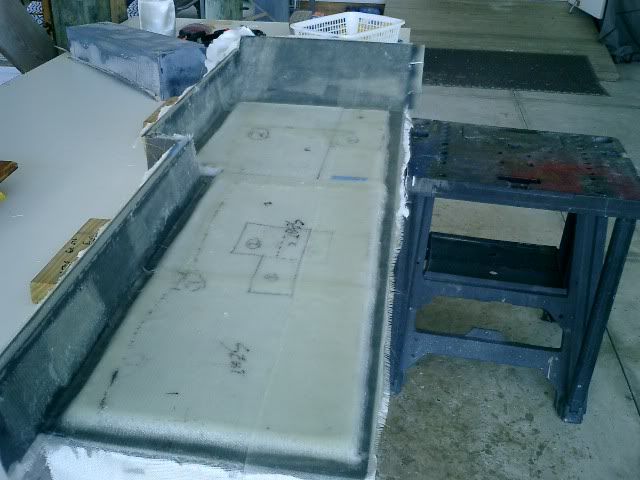 Popped out of the Mold. 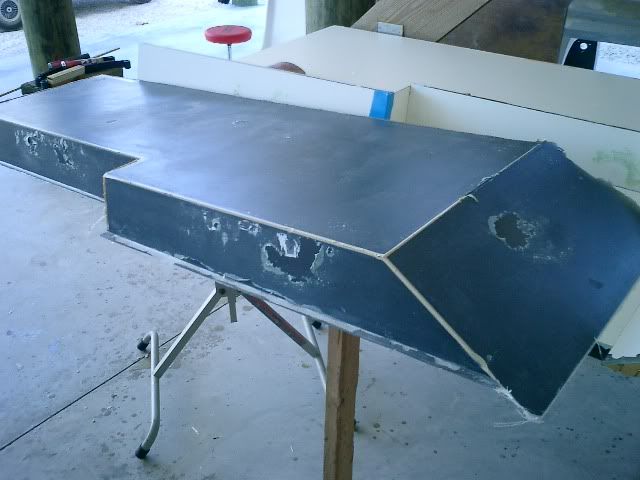 Stricks Tower: 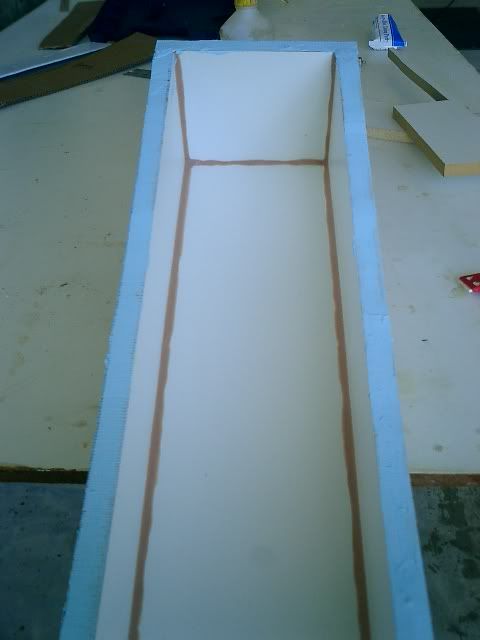 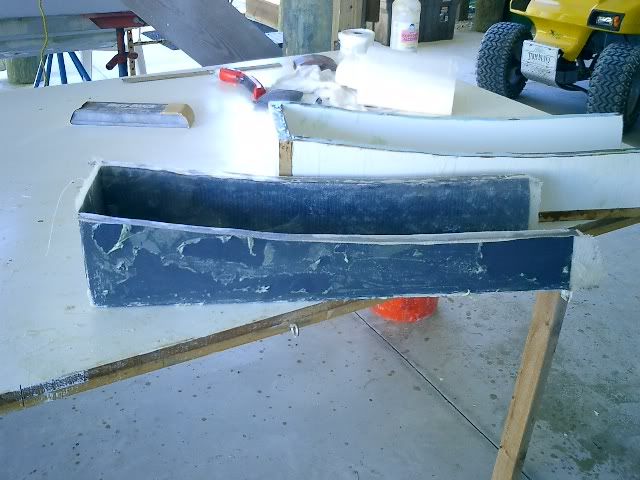 Trial Fit: 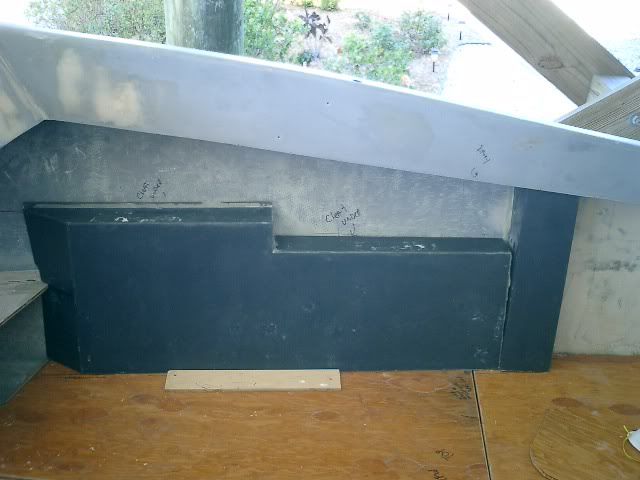 Rear open storage part: Layup and then two halves: 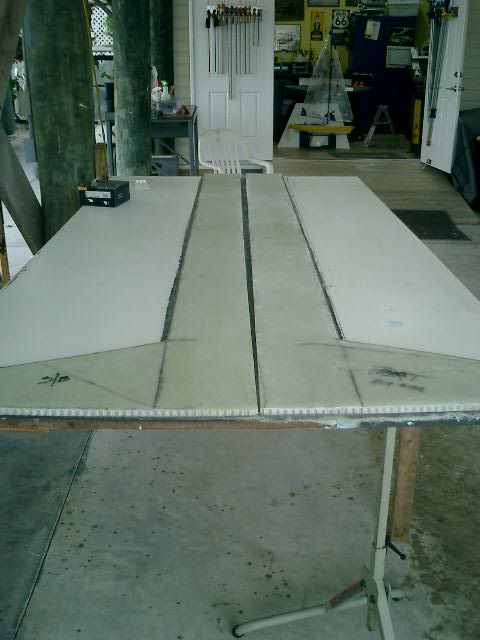 Before cutting apart: 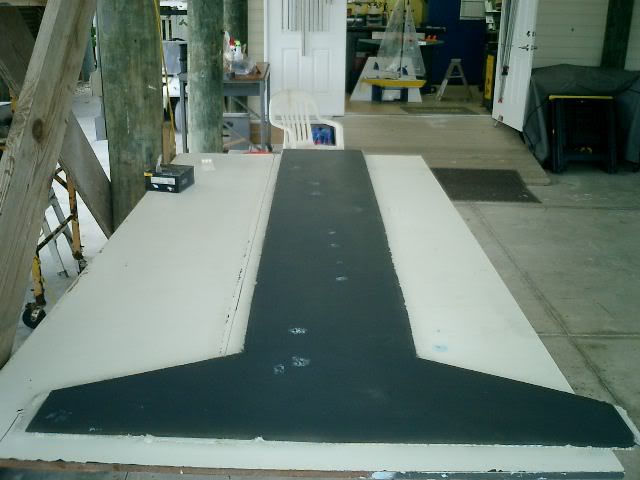 Trial fit: 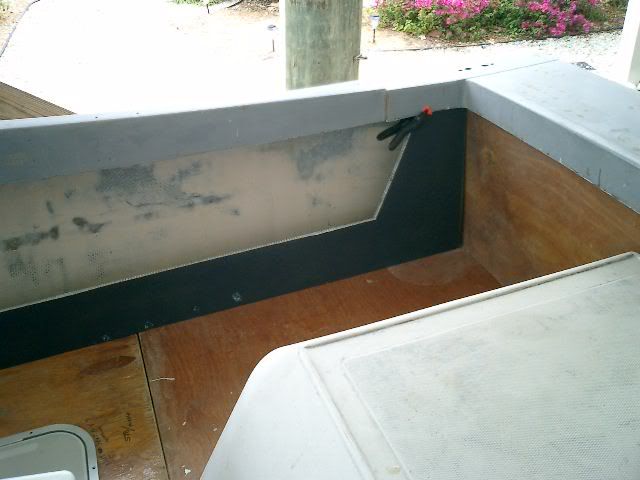 Now the real fun begins...fairing and sanding...fairing and sanding...fa... You get the picture 
__________________
[SIGPIC][/SIGPIC] "If You Done It...It Ain't Braggin" my rebuild thread: http://www.classicseacraft.com/commu...ad.php?t=18594
|
 |
|
|


")

 Hybrid Mode
