
|
|
#28
 06-07-2009, 07:27 PM
|
|||
|
|||
|
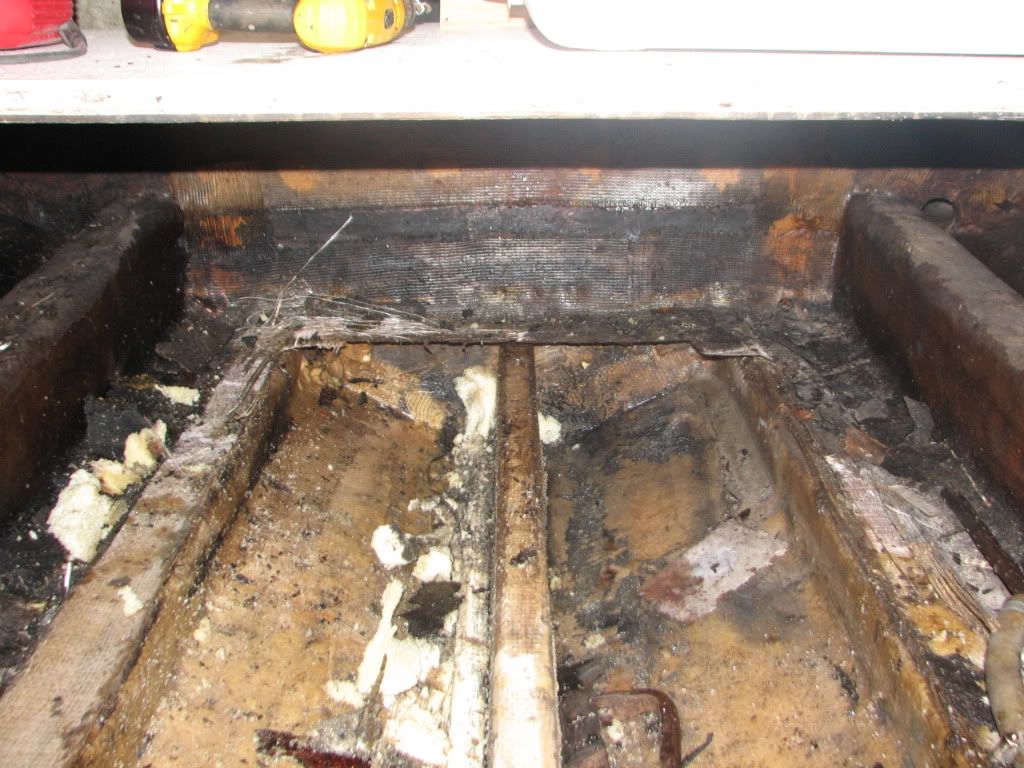
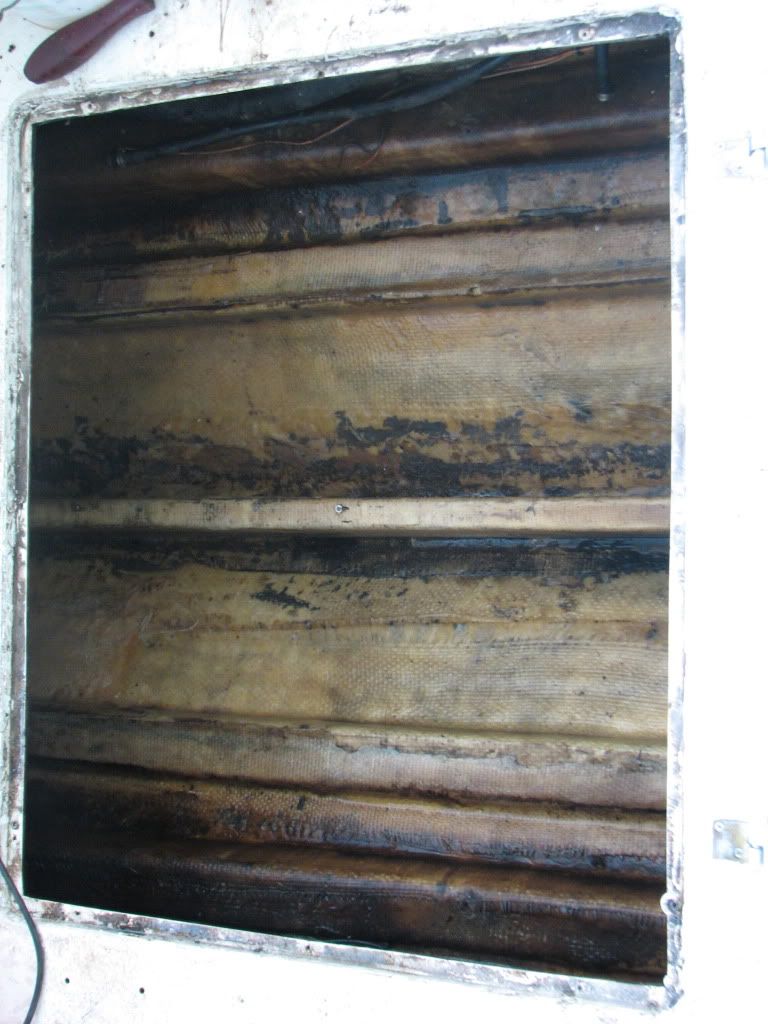
Well, I did the bilge rat thing today. I pulled the fuel tanks this afternoon, and found a small can of worms. The sole the fuel tanks sit on was squooshy and when you stepped on it, water bubbled up. Not good. So I tore it out and found it had been removed during the last redo and pourable foam was placed beneath. When they tabbed the sole back in place, they didn't do such a good job making it watertight. On the up side, this made it easier to remove. The tabbing came off pretty easily. I didn't grab the camera until I had the foam out, and was preparing to clean up the bilge. Here's the tank compartment before and after cleanup:
  Here's the foam that came out: 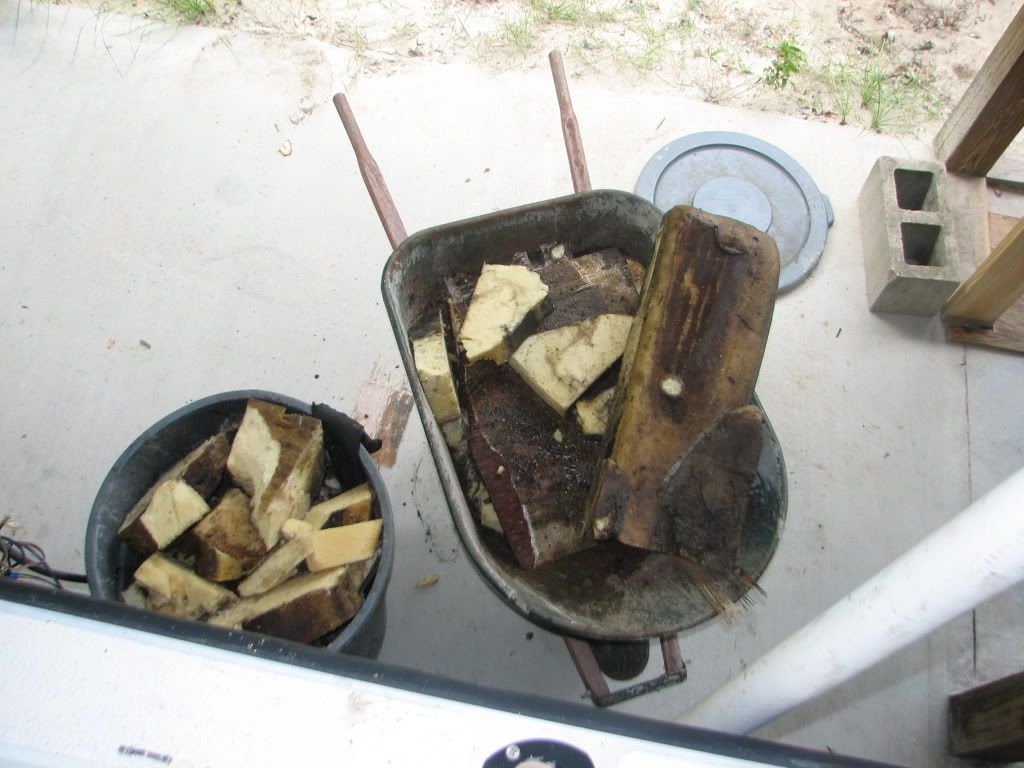 And the fuel tanks with the fresh water tank sitting on top: 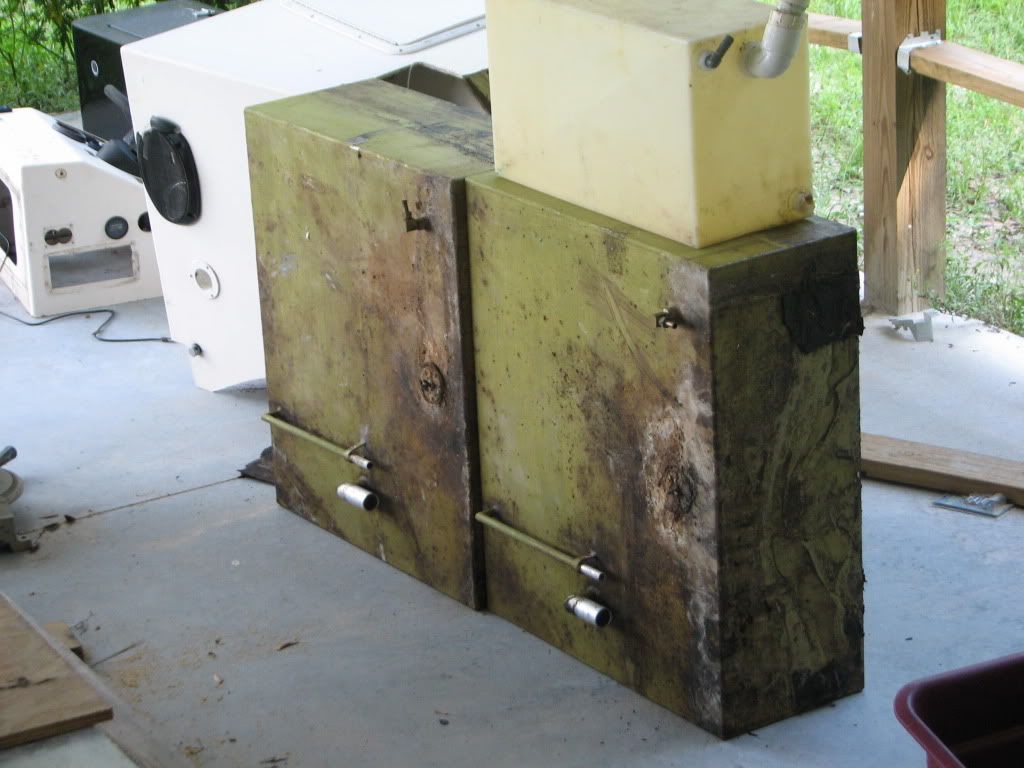
__________________
Blue Heron Boat Works Reinventing the wheel, one spoke at a time. 
|
|
|


 Threaded Mode