
|
|
|
|
#1
 03-02-2010, 02:38 PM
|
|||
|
|||
|
I just went back and review pics of my inboard project and here's what I remember. When recoring I asked about the squares as well and did not go that route. I used Peske board (which is good IMO) and did not cut it into squares. What happened was I would get small air voids no matter how hard I tried to evenly squeeze the pieces together. Then I cut a grid pattern 3/4 the way through the material to make it shape better. If I were to do it again I would consider the grid or squares. With the squares you are more likely to get the air out and form better to the shape of your skin (like tiling). Mine had mahoganney~ strips laying over the fuel tanks for struts. It did not go back together this way! P.S. Check your tanks.

|
|
#2
03-02-2010, 03:22 PM
|
|||
|
|||
|
What Strick says in entirely correct. The coring probably will absorb moisture over time. No matter what you use it should be properly sealed. I look at it in a different sense, weight to strenght ratio. That same hatch in wood or coring is probably a 30-50 difference, do that around the boat and it adds up. All comes down to how much you want to spend and how light you want it, Truth be told, if done properly, either way will outlast how long you or someone else will own the boat.
|
|
#3
03-02-2010, 07:16 PM
|
|||
|
|||
|
Quote:
Exactly why the core is cut into squares! One of my first jobs at Sea Vee Boats back in early 80s was to reduce 4x8 sheets of 3/4" ply to 5" squares on the table saw. 
|
|
#4
03-03-2010, 10:11 AM
|
|||
|
|||
|
Here is a picture of Penske type board scrimed an scored ready to be put down.
I used this on my front deck. 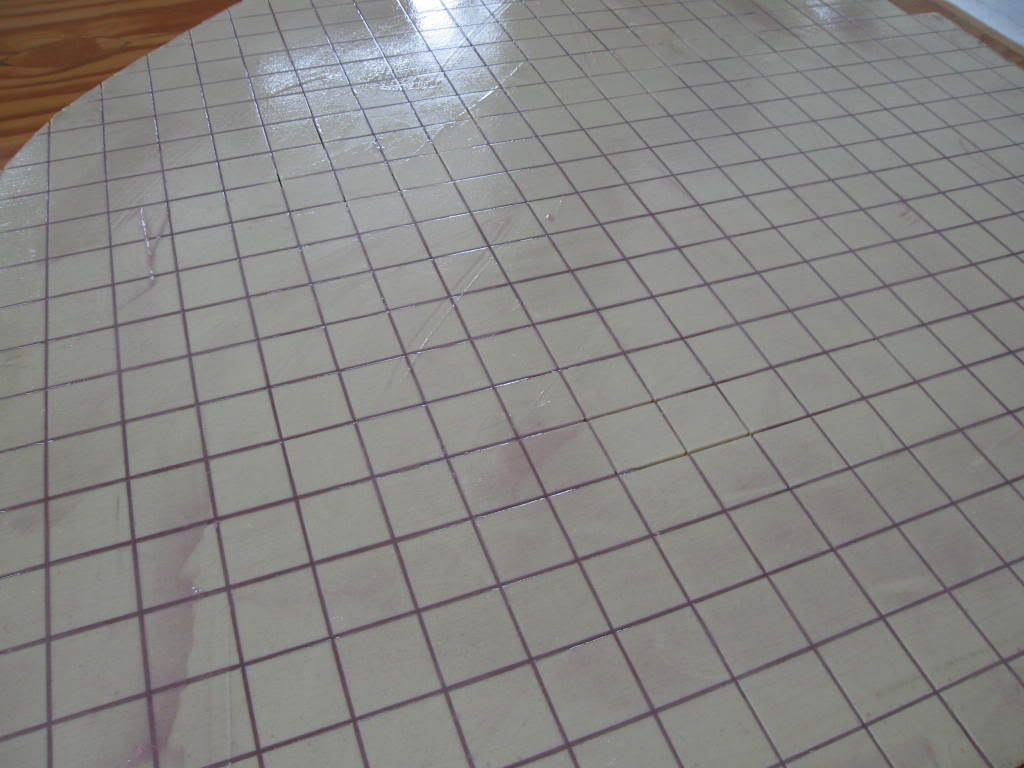 The squares are smaller for more contour. But I think you get the idea.
__________________
[SIGPIC][/SIGPIC] "If You Done It...It Ain't Braggin" my rebuild thread: http://www.classicseacraft.com/commu...ad.php?t=18594
|
|
#6
03-04-2010, 07:29 PM
|
|||
|
|||
|
Got it cleaned up
[image] 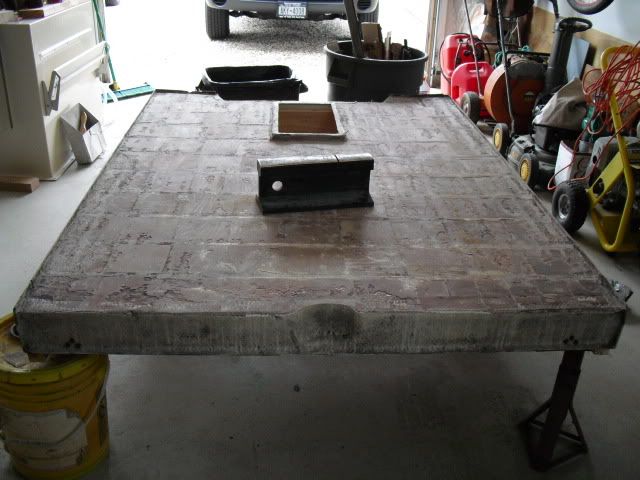 [/image] [/image]Any thoughts on building up the stringers adjacent to the muffler to the bottom of the floor height so the floor has less of a span? Any reason this was not done originally? 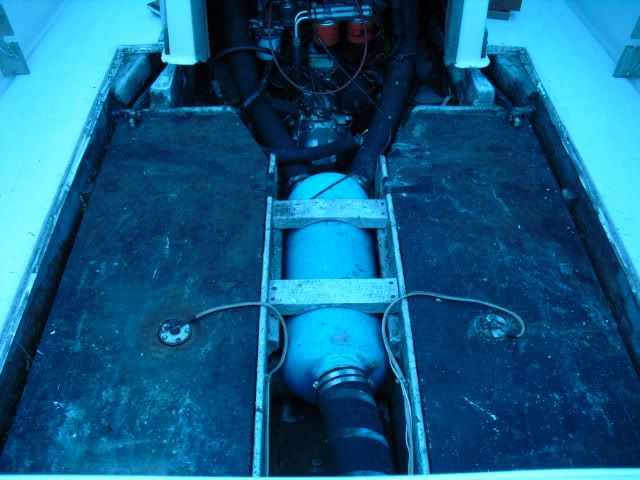
|
|
#7
03-04-2010, 08:37 PM
|
|||
|
|||
|
What you could do at this point is take 2by stock and notch it out 1/2 or 3/4 by 2 inches depending on how wide the "stringer" is next to the tank. Now the notched out area sits down on the existing stringer and extends up past deck, snap a chaulk line at desired height. Its kind of confusing but I hope this helps. Just one method of many. I'll try to post a pic of the concept but I think it may be tiny ( can't resize)
|
|
#9
03-08-2010, 08:17 PM
|
|||
|
|||
|
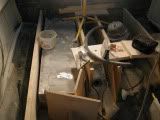
Did my grinding and clean-up. 2 pails worth of soggy plywood and fiberglass! Then I laid out a plan. I would love some feed back from guys who have done this before I start. Here goes:
It starts with 3 pieces of Nidacore cut as shown by the dotted lines on the left diagrams. I picked the Nidacore because it is light, they can ship it in 2'x4' pieces and three will work out perfect.(note two different thicknesses.) In the area where I thought I should use 3/8" there are stringers and fuel vents below. I am hoping to eliminate the struts by using the 1" material. The mahogany works for bolts for my leaning post and to allow me to use the least number of Nidacore and seams(I think) Questions: Will the 1" product be enough support for the floor? Will the 1.5 oz cloth go around the corners okay? Is but-seaming the Nidacore okay?Does the edge shown in the section make sense? Should I try to put a slight crown in the floor to help drain water or go perfectly flat? [image]  [/image] [/image]Thanks!
|
|
#10
03-08-2010, 08:39 PM
|
|||
|
|||
|
Fred, contact Jeff Bootz at Nida-Core. His cell # is (772) 486-2680... He will know best.
|
 |
|
|


 Hybrid Mode
