
|
|
|
|
#1
 07-03-2010, 11:01 AM
|
|||
|
|||
|
Well I finally got to shoot some primer on the boat and engine box.
I am using an epoxy high build primer. The boat itself got 2 coats (needs 2 more), and the engine box got four. I blocked sanded the engine cover by hand and will do the same to the boat after I get more primer on it. Boy after you shoot the primer do the little things show up etc. pin holes divots and deep scratches. THE BEST VIEW 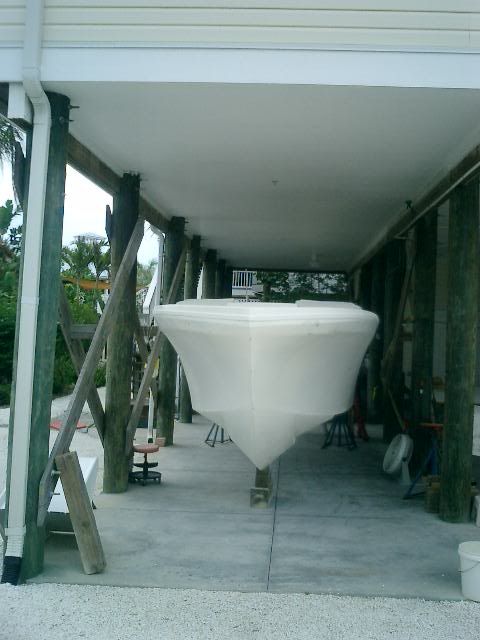 Not bad either 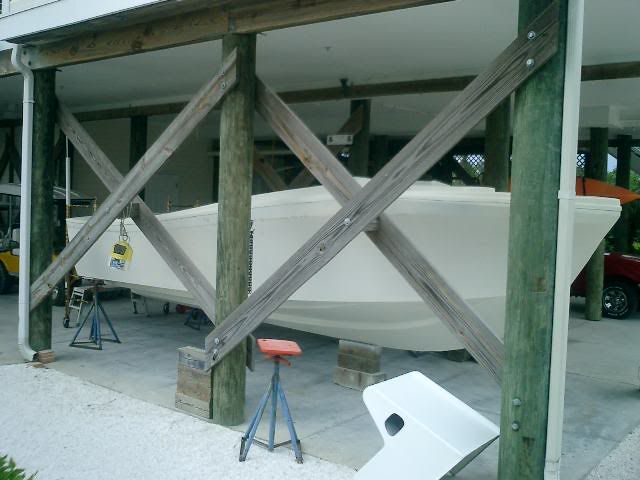 Still Nice  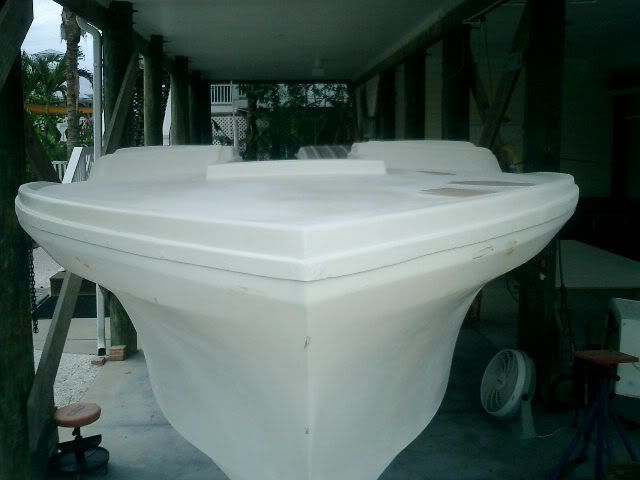 Engine Box with Zebra Stripes 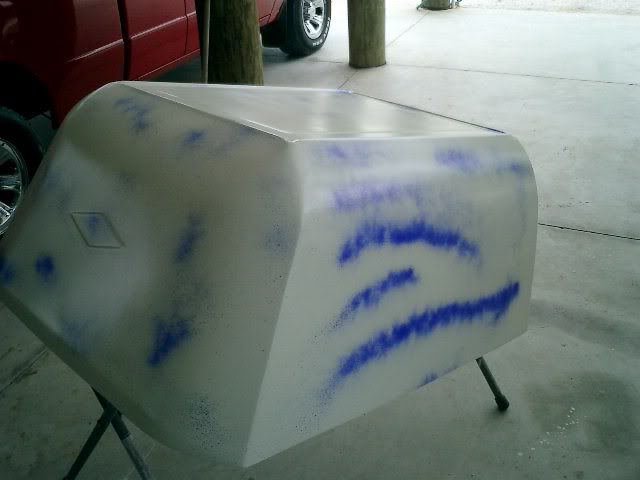 Mostly Blocked out 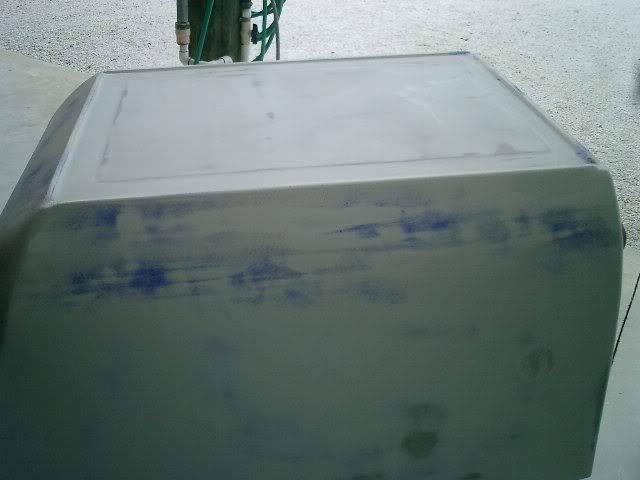 The fun part when you get done is to do the water test and see how the paint would look. 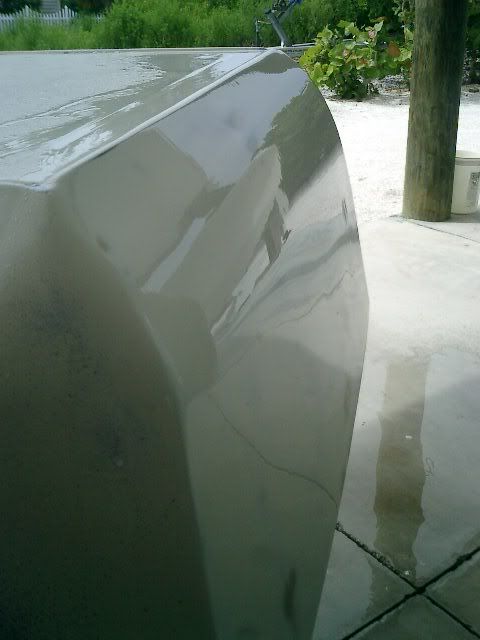 Now waiting for more primer so I can get the hull and topsides done. Happy 4th to everyone. 
__________________
[SIGPIC][/SIGPIC] "If You Done It...It Ain't Braggin" my rebuild thread: http://www.classicseacraft.com/commu...ad.php?t=18594 
|
|
#3
07-07-2010, 11:40 PM
|
|||
|
|||
|
Looking good!! Is the picture in your signature a new possibility? I liked the red and black, but love the blue with the red bootstripe. Are you closer to a final color combo or is the misses going to trump that too?

__________________
1975 SF18/ 2002 DF140 1972 15' MonArk/ 1972 Merc 50 http://i833.photobucket.com/albums/z...photos/SC3.jpg
|
|
#4
07-08-2010, 09:39 AM
|
|||
|
|||
|
When bored I go to photo shop and put another color combination in.
I am with you...leaning towards the Red. When anybody asks my wife what color is it going to be? Her answer is..."Do you want the color of the week or the color of the month"
__________________
[SIGPIC][/SIGPIC] "If You Done It...It Ain't Braggin" my rebuild thread: http://www.classicseacraft.com/commu...ad.php?t=18594
|
|
#5
07-12-2010, 06:26 PM
|
|||
|
|||
|
Excellent Job Terry, i am envious, good work. The epoxy is the way to go- lot of work- that's why my 21 had the rough interior fishing boat finish vs. the factory mirror finish. You will be glad you made that choice later on. I do know the Interlux Perfection(2pt. Aliphatic,Urethane) is awesome stuff- Aliphatics are tough and have superior UV resistance, and excellent adhesion characteristics.
Ironically Carla and i were discussing your original paint scheme, the red and black. Was that design intentional, based on a paint scheme off one of Moesly's old prototype boats? We visited this weekend and i was flipping through her albun and noticed the uncanny resemblance, and asked her. She was not sure- so how bout it ole' boy?
__________________
I heard it on the coconut telegraph..........
|
|
#6
07-14-2010, 12:39 PM
|
|||
|
|||
|
Quote:
The short answer no...Just looking for something that was retro to that period in time. Most likely will just keep it stock. White top...belt line a complimentary color to the hull color. Still have a way to go before any color decision is made.
__________________
[SIGPIC][/SIGPIC] "If You Done It...It Ain't Braggin" my rebuild thread: http://www.classicseacraft.com/commu...ad.php?t=18594
|
|
#7
08-07-2010, 10:28 AM
|
|||
|
|||
|
I know it has been hot around the country so I will not get much empathy when I say it is hard to get up enthusiasm for sanding and fairing. The difference here in South West FLA. is that when you go to sleep its 87 and when you wake up its 85 and then around noon the heat index is 108.
With that said I have put off major sanding till October [img]/forum/images/graemlins/tongue.gif[/img] Too keep going on the project I have been in the process of recessing my receivers and making 3 different size hatch covers. First...I know this is getting anal however I did not like the look of the receiver sitting on top of the sole cockpit (it the ridge sticking up). 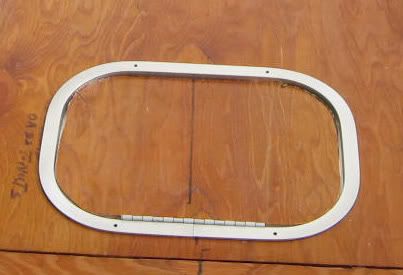 The first thing to recess is to make a template that is the same shape except larger than the receiver. Same technique I used in recessing the high speed pick up. 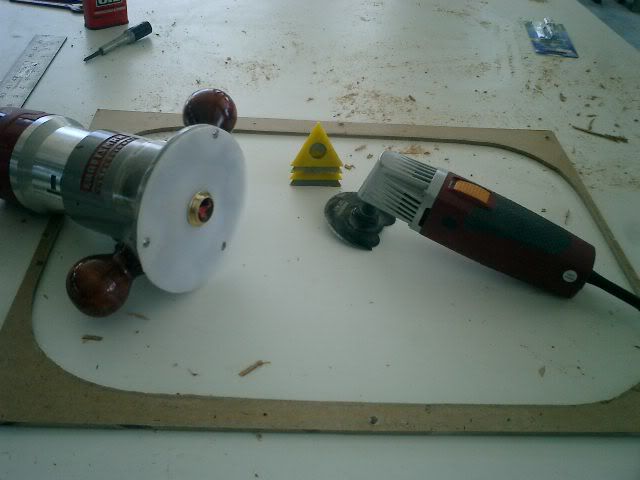 Route and clean up 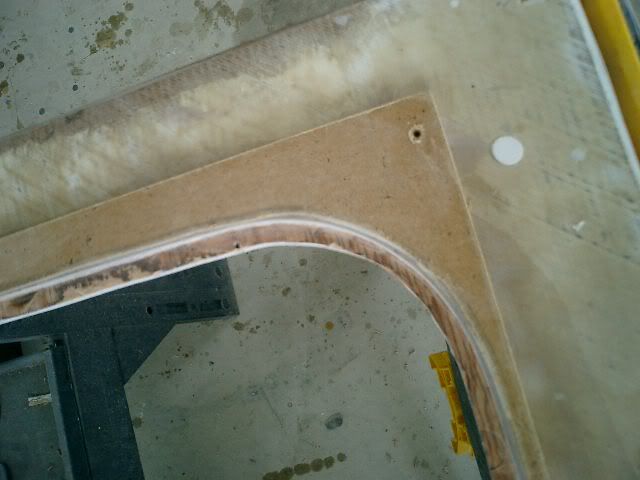 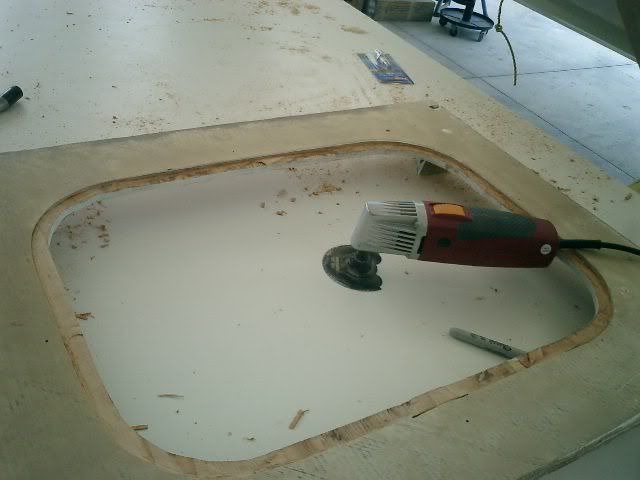 Check the fit before removing TP 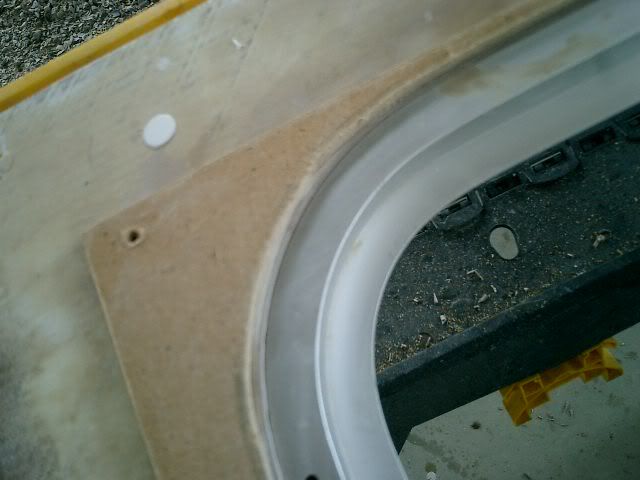 Final fit 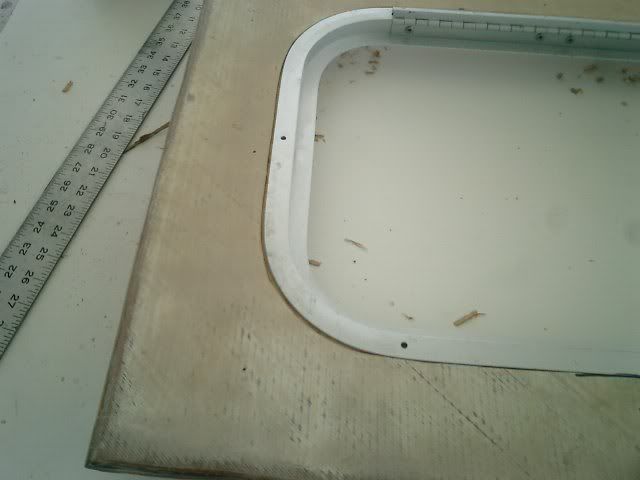 After that was done ( 4x ) 3 different size receivers. I then needed to make the hatch covers. This has been well documented before but I will give you the short on how I do it. After the female mold is made. Products Used 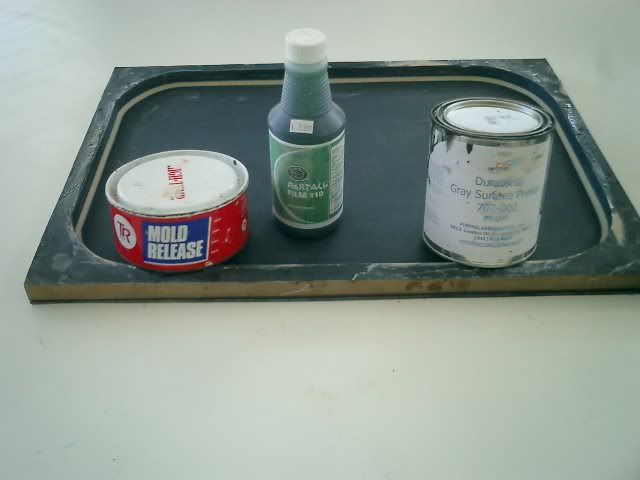 A. 4 coats of dura tec B. Sand mold with 120 C. Radius with clay D. 5 coats of mold release wax E. 3 coats of PVA F. 3-4 coats of dura tec G. Resin and then glass and core Mold after Step D 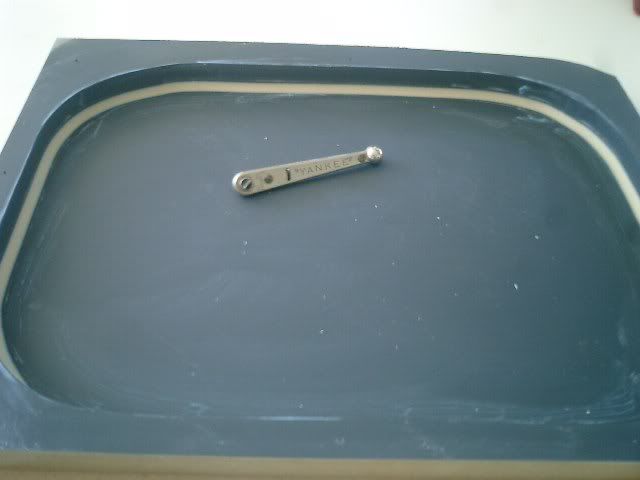 When it is popped out everything should be perfect....WRONG After step 4 on the first hatch cover I stopped and put the part aside for the next day (forgot the reason why). When it came time to lay up the glass I noticed that the PVA was lifting away from the mold. I thought that I could lay up anyway and put more weight on the core and press it back down. This did not work and as you see in the picture I have a few air pockets and a nice void around the edge of the hatch. This only happened on the first hatch, since the rest of them I laid up as soon as the dura tec was dry. Ready to Pop 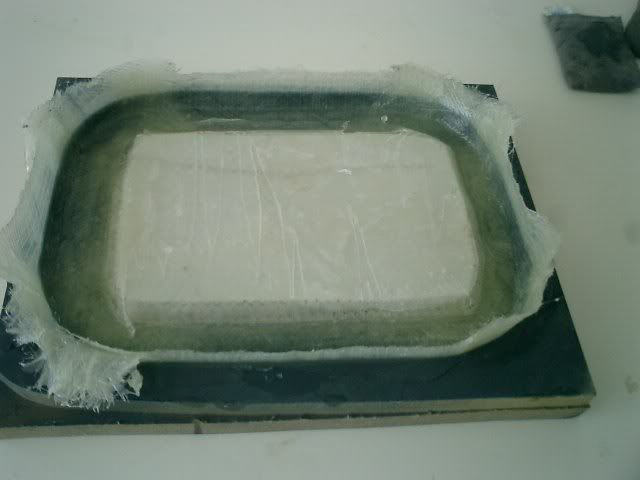 We have a problem  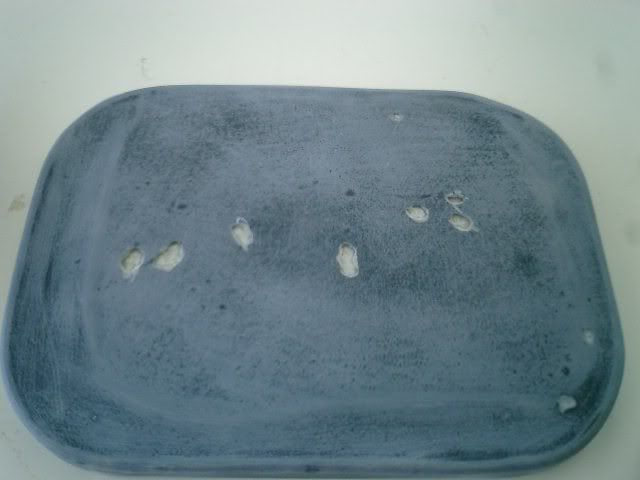 First hatch faired and Second Hatch Good 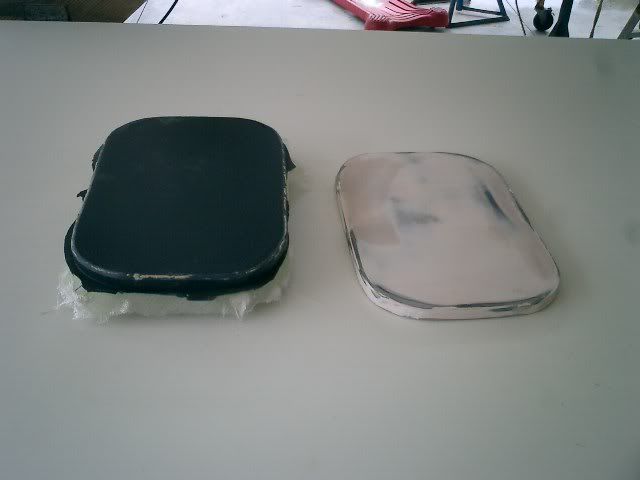 Three size of hatches 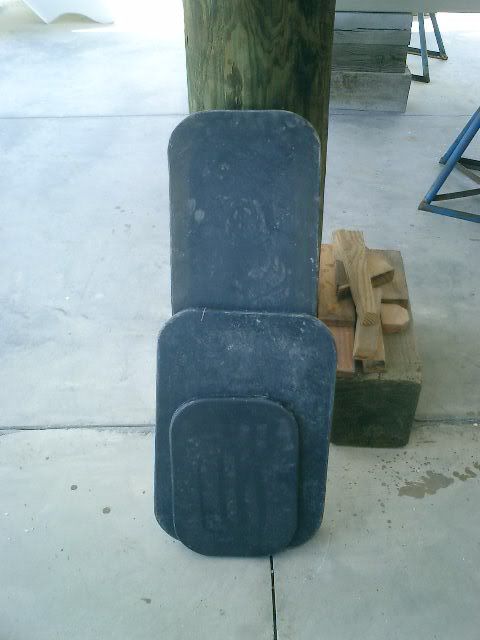 For my Ice chest hatch I made the core out of Urethane Foam 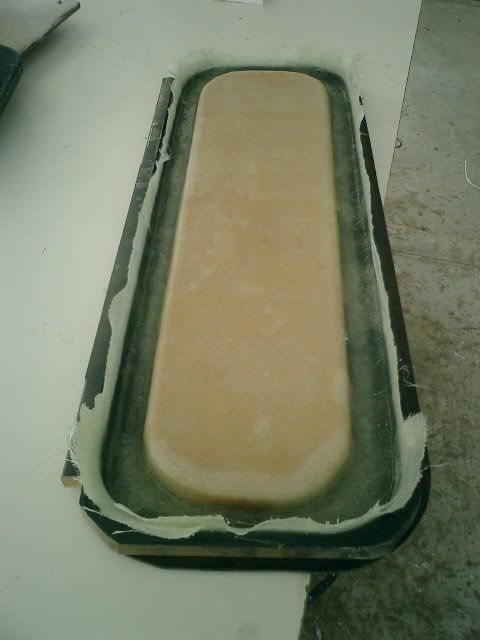 Finally I could set the receivers in place with 5200 and call it a day (more like a week). Back side of receiver with 5200 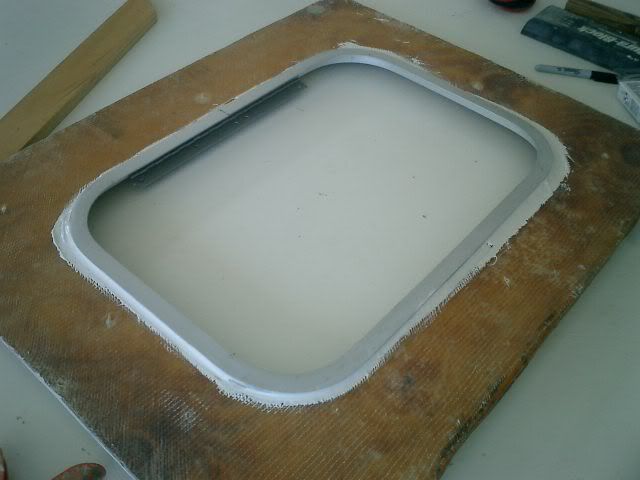 Front side cleaned up and smooth 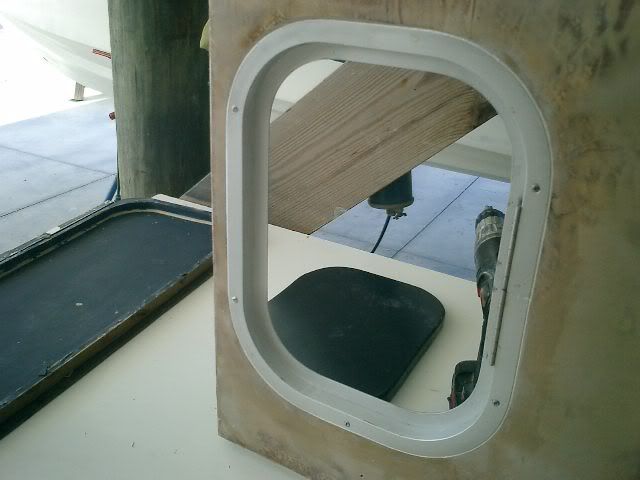 Trial fit with hatch and hinge 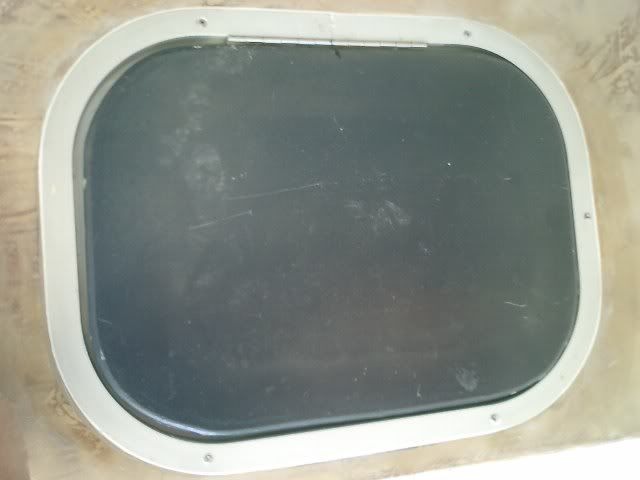 Hopefully I can get the floor in before Labor day ")
__________________
[SIGPIC][/SIGPIC] "If You Done It...It Ain't Braggin" my rebuild thread: http://www.classicseacraft.com/commu...ad.php?t=18594
|
|
#8
08-07-2010, 01:12 PM
|
|||
|
|||
|
Thanks for your reply and advise on my post. I see how your way made better parts then mine. I respect your work. You have a true classic.
You mentioned a high build epoxy primer. What brand? I found some valspar VS 50 on clearence for under $40 a gallon and after some research found most epoxy primers will work most 2 part polys. Any insite? Kyle
__________________
www.lionheartlandscapes.com Design, install, and concrete pavers. Will travel
|
 |
|
|


 Hybrid Mode
