
|
|
|
|
#1
 10-20-2010, 09:13 AM
|
|||
|
|||
|
Quote:
If you look at the picture you will see a tick mark that will be a 90 degree bulk head right behind and to the side to help them channel water (this will be a stern bulk head and side storage compartment that will run forward). Last how much water is going to come over board. The boat will sit on a lift during rain storms and I don't think all the extra work will be worth the result. 
__________________
[SIGPIC][/SIGPIC] "If You Done It...It Ain't Braggin" my rebuild thread: http://www.classicseacraft.com/commu...ad.php?t=18594 
|
|
#2
10-20-2010, 03:01 PM
|
|||
|
|||
|
Quote:
__________________
'72 SeaFari/150E-Tec/Hermco Bracket, owned since 1975. http://i188.photobucket.com/albums/z...Part2019-1.jpg
|
|
#3
10-21-2010, 03:34 PM
|
|||
|
|||
|
Quote:
The scuppers do not have a check in them. I plan on crossing the lines and maybe be able to raise the thru hulls a little higher. The thru hulls have a flapper. On my previous boats a set up like this worked well. FLAPPER... 
__________________
[SIGPIC][/SIGPIC] "If You Done It...It Ain't Braggin" my rebuild thread: http://www.classicseacraft.com/commu...ad.php?t=18594
|
|
#4
11-06-2010, 11:16 AM
|
|||
|
|||
|
I think I have had my floor panels done for a good year or two but hesitate to epoxy them down because I think I am forgetting something...however it is getting closer.
Painted both gas tanks with Tile Clad epoxy paint and put 1/4 inch Azek runners on the bottom. 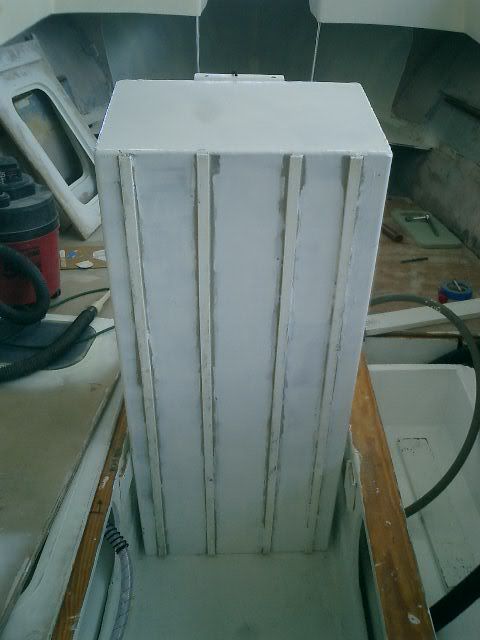  When checking the forward tank I found out that it rocked too much (v-type tank) and I had to pull it out and take it back to the welder and put some side tabs on it. New tabs.  Three way valve for 2 tanks. 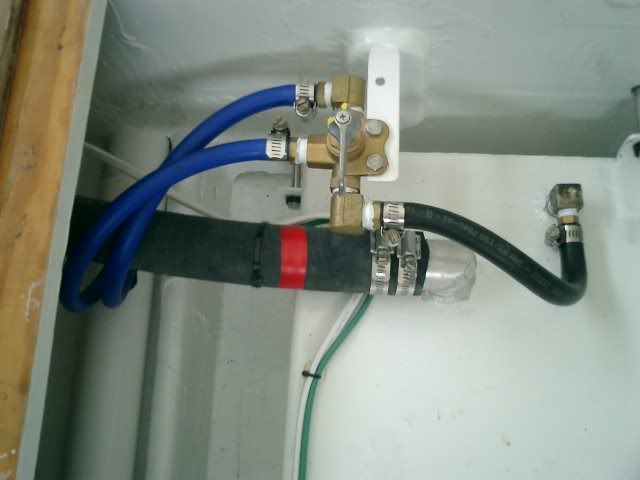 Misc. fish box, cooler and shower hose connections. 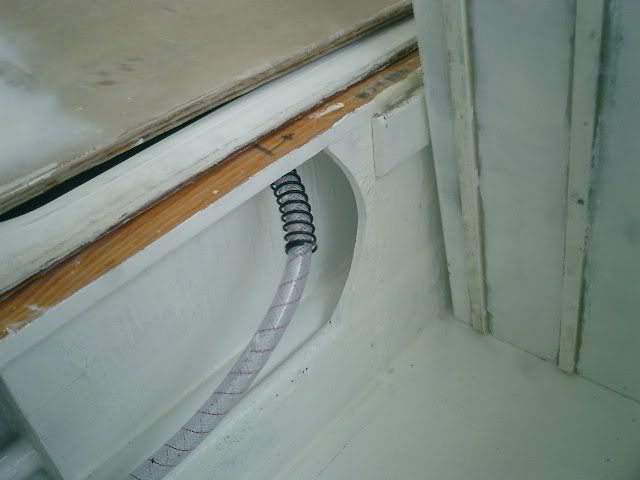 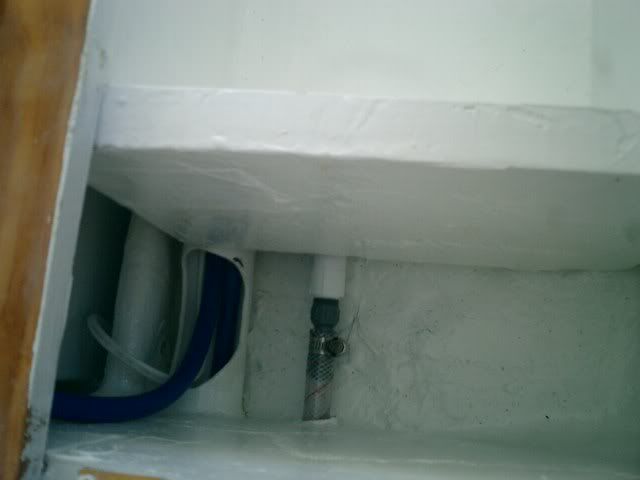 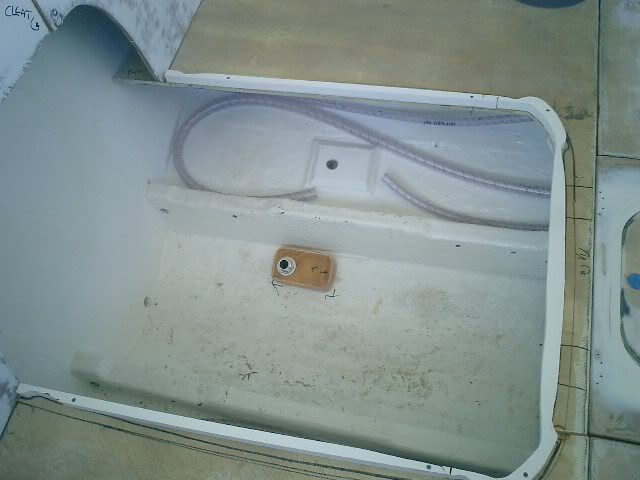 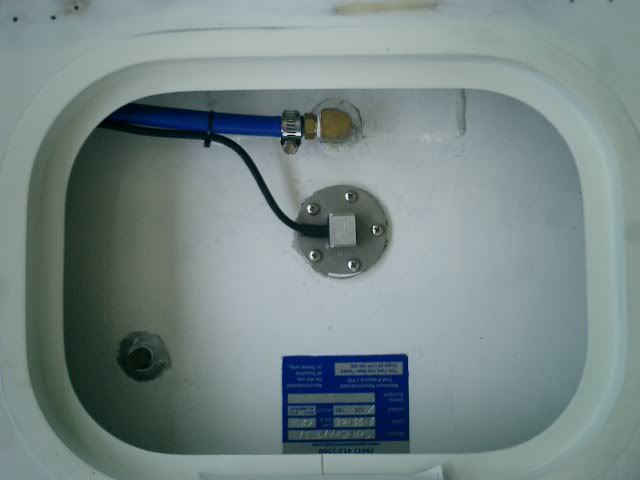 Then I did a little wiring using these neat little wire tie holders. 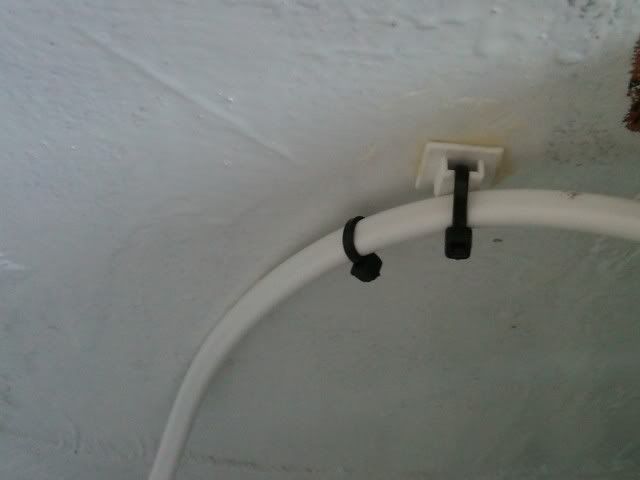 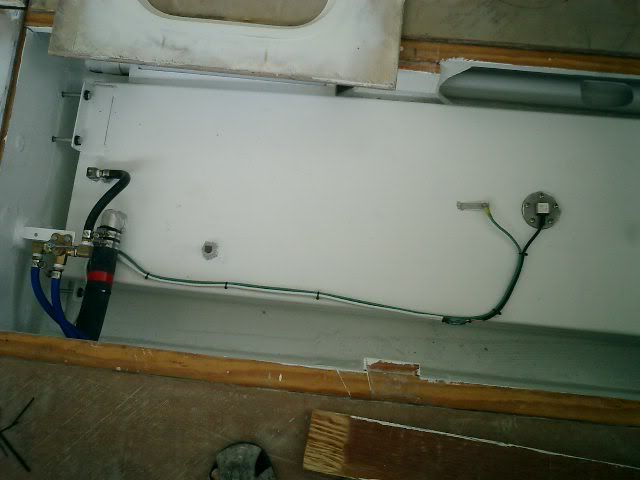 Now I remembered that I am going to use pedestal type seats, so floor out again and beef up the area of attachment. 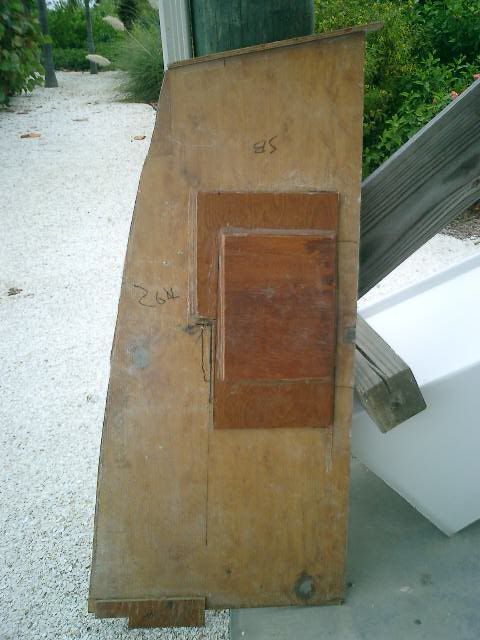 Lay floors back down, see if fuel lines fit in openings. 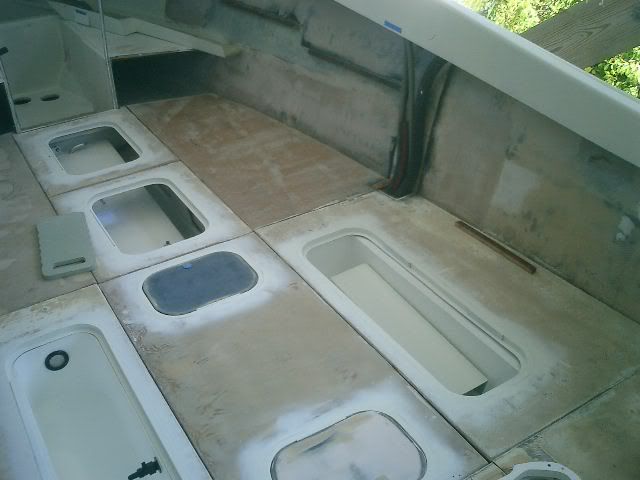 Now doing a final check I discover that the bulk head is in the way of thru bolting the engine box hinges. So a little grinding and sanding...this should work. 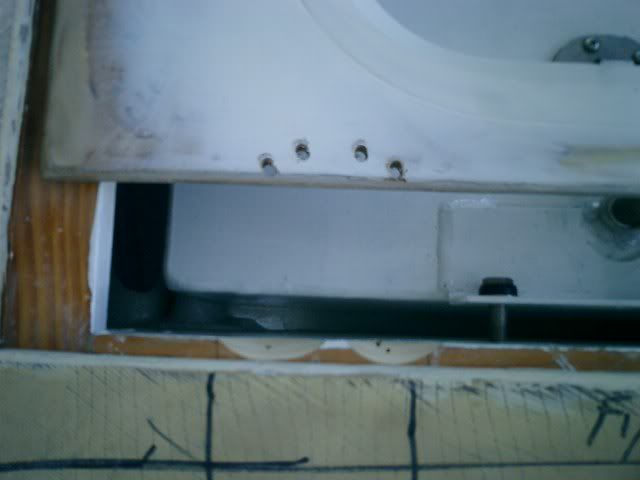 Finally check out the Foam Flotation. 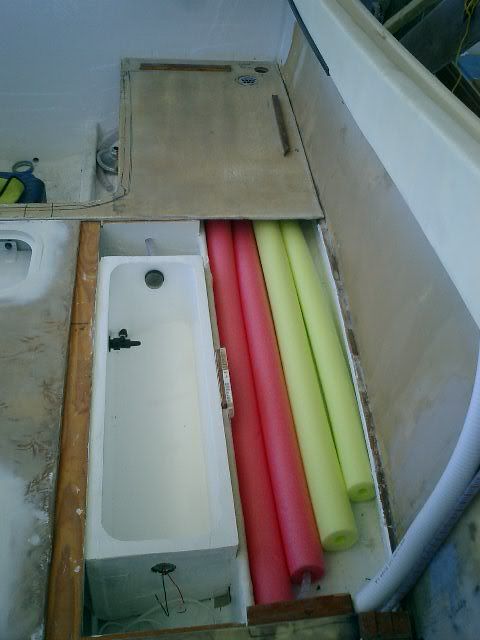 Floors should be going attached in the next couple of weeks. So if you see something that stands out that I missed please let me know. Then it will be back to sanding and fairing again. ")
__________________
[SIGPIC][/SIGPIC] "If You Done It...It Ain't Braggin" my rebuild thread: http://www.classicseacraft.com/commu...ad.php?t=18594
|
|
#5
11-06-2010, 12:23 PM
|
|||
|
|||
|
First class work Terry! Looking really good! Sounds like holding off on final deck attachment was a wise decision!
How will you attach the front floor panels that support the seats? (Just thinking out loud here, but since the panel width is much less than length, the vertical reaction loads along the panel edges, required to balance the side loads on the seats when the boat starts rockin & rollin, will be much higher along the sides than on the ends. However you'll also have more surface area along the sides for screws/adhesive, etc. so likely not a problem, especially if you have a substantial cleat along side of hull.) On the flotation foam - most boats that sink end up capsizing and floating upside down because all the foam is in the bottom. I've always thought that it would be better to use a lot of the space below the cockpit sole for stowage, fish boxes, bait well, etc., and put all the foam up in the coaming/gunnel area so if the worst happens, it'll float upright! There's a fair amount of volume in the coaming on a Seafari. Inflatable air bags might be another option. Denny
__________________
'72 SeaFari/150E-Tec/Hermco Bracket, owned since 1975. http://i188.photobucket.com/albums/z...Part2019-1.jpg
|
|
#6
11-07-2010, 10:16 AM
|
|||
|
|||
|
Denny thanks for the input...to answer your 2 questions I was originally going to just tab the front floor piece down since the sides have a fair amount of solid contact. However your comment gave me and idea and what I will do is bond a cleat down and then attach the front lip to the cleat and then tab.
See pictures below. Front Lip of floor 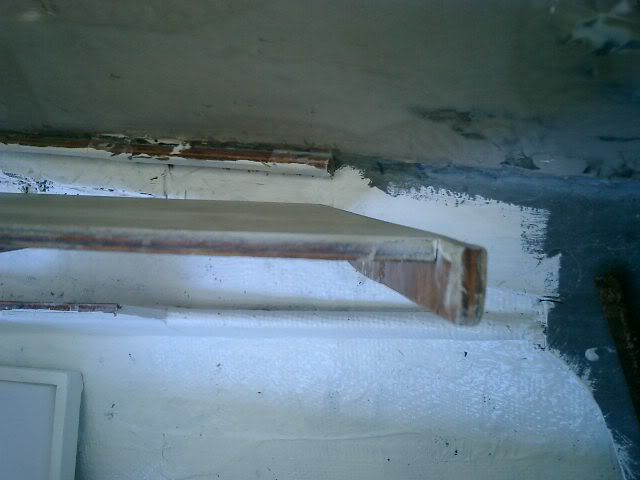 Cleat 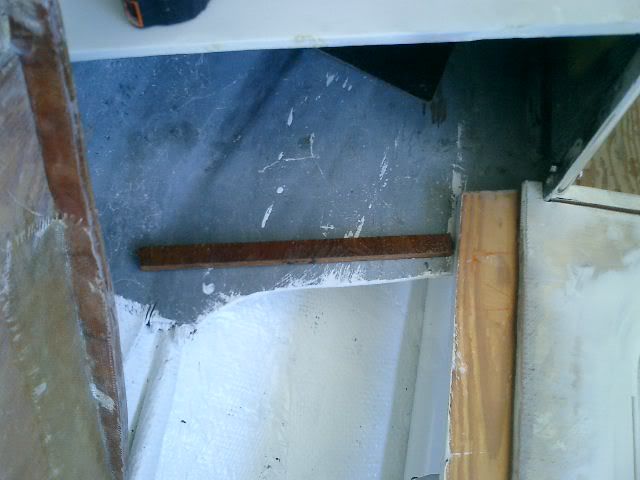 Tab and bond 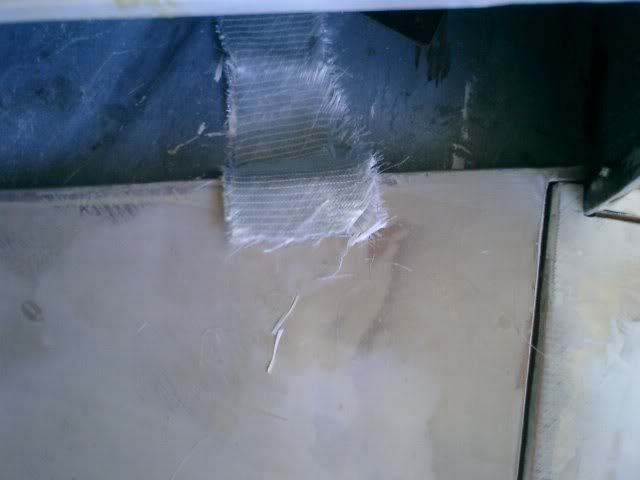 As far as the flotation where the noodles are very little usable space. However after all the rod holders,cleats and etc. are installed I will cut up a few more noodles and put them under the gunnels....another good idea. Also there should be a ton of space under the rear cap. With that and hopefully a couple half full tanks the boat should not go to the bottom if a disaster happens.
__________________
[SIGPIC][/SIGPIC] "If You Done It...It Ain't Braggin" my rebuild thread: http://www.classicseacraft.com/commu...ad.php?t=18594
|
|
#7
11-08-2010, 02:47 AM
|
|||
|
|||
|
Hey Terry,
I'm having trouble getting myself oriented on those latest pictures you posted, I guess because they're such close ups. (all I can see is trees and roots, can't see the forest!) Anyhow, let's see if I can explain my concern a little better. If I understand you correctly it looks like you're planning to secure that front panel that'll hold the pedestal just at the front and rear and maybe at the cleat on the hull side, but what about along the inside above the gas tank/stringer? I know how small boats can rock and roll when you're offshore in the slop, and I'm sure that 21 will be more stable than my 20. However, my concern is dynamic loads and the twisting moment that pedestal will put into a relatively thin (1/2"?) flat panel that, by itself, is not very stiff in torsion. The loads can get real big really fast! (Connor's comment about his pedestal breaking off at the weld on his last Bahama trip started me thiking about this!) Let's say your pedestal is 3' tall and it's mounted in center of a floor panel that's 4' long and 2' wide, assume that you weigh 200 lbs, and that you get hit by a freak wave or wake while you're trolling along offshore that rocks the boat suddenly enough to impart a snap roll of about 2g's. (I've done a 2g barrel roll in a T-34 and it's not that violent; I'll bet 3 or 4 g's is not unrealistic, and as high as 8-10 g's in fore & aft pitching motions! For reference, USN carrier aircraft are designed for 10g vertical loads during landings, generally considered to be controlled crashes!) A 2g dynamic load means you'll temporarily weigh 400 lbs x 3' = 1,200 ft-lbs of torque going into that floor panel! Let's say the panel is only fastened at the sides, just to simplify things. To balance the 1,200 ft-lb twisting moment the pedestal is putting into the panel with an equal and opposite load along the sides, you'll have to have 600 lbs of load along each side of the panel, pushing up on one side and down on the other. The point is, I don't think it'll break, but it might feel surprisingly "wimbly"! I think it wants to fastened down along all 4 sides. The loads on the pedestal screws will be even higher for the same reasons, but I think you've added enough beef under the panel for that. You might even try mounting a pedestal seat on that panel and temporarily mounting in boat and rocking it around to see if it feels solid enough. For comparison, I discovered when I installed my galley seat that the entire area under the box where the pedestal originally was (about 2'x2') is 3/4" plywood even though the rest of the deck is 1/2" balsa core, AND it has about 1 layer of glass on the bottom and 2 layers on the top AND it's laying on top of TWO stringers that are about 1' apart! Good Luck, Denny
__________________
'72 SeaFari/150E-Tec/Hermco Bracket, owned since 1975. http://i188.photobucket.com/albums/z...Part2019-1.jpg
|
 |
|
|


 Hybrid Mode
