
|
|
|
|
#1
 10-28-2010, 12:10 PM
|
|||
|
|||
|
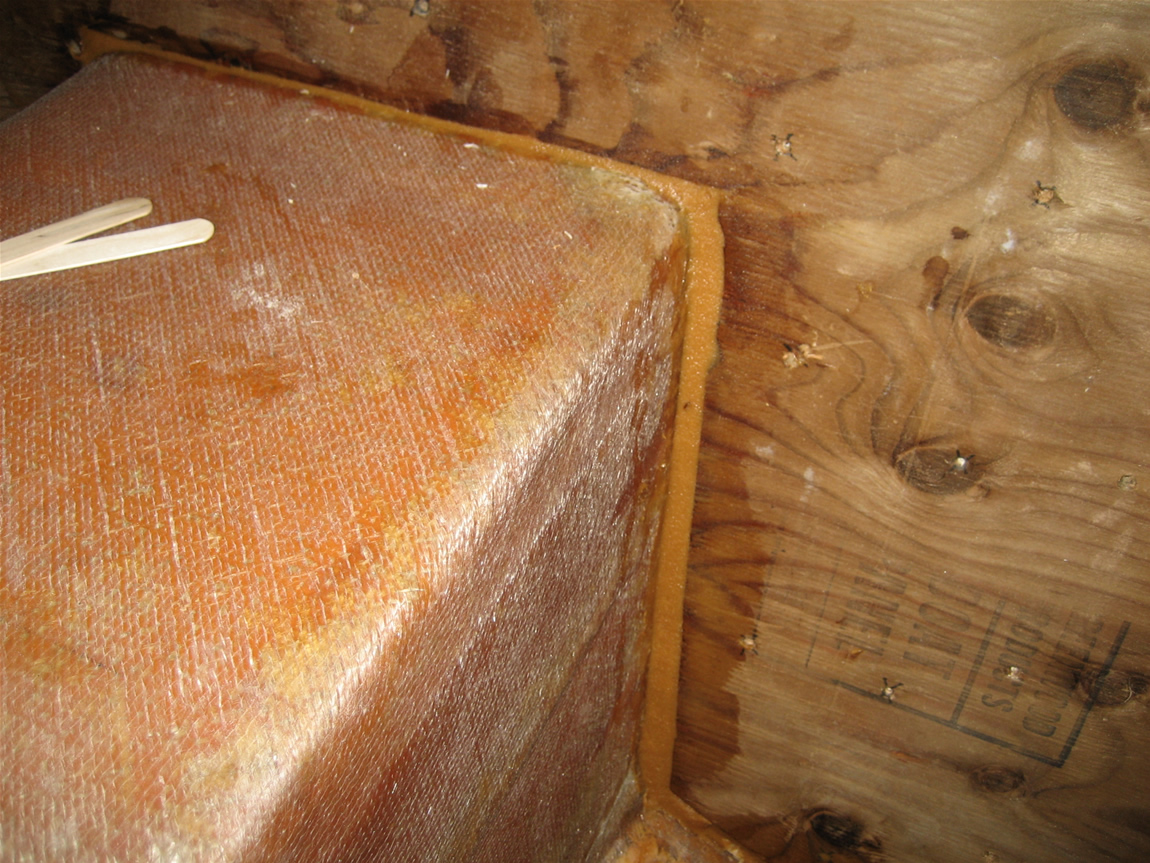
additional layer of 3/4" ply epoxied into place, tabbing of 3 layers of tape are in, now we are cutting the wide biax for the new inside skin. Found a 109 gallon tank that will work, have not bought it yet, still want to find two tanks that will fit (without having to pay $500+ for each one !)
__________________
http://www.boatbuildercentral.com/ my rebuild thread: http://www.classicseacraft.com/commu...ad.php?t=22090 
|
|
#2
11-08-2010, 03:33 PM
|
|||
|
|||
|
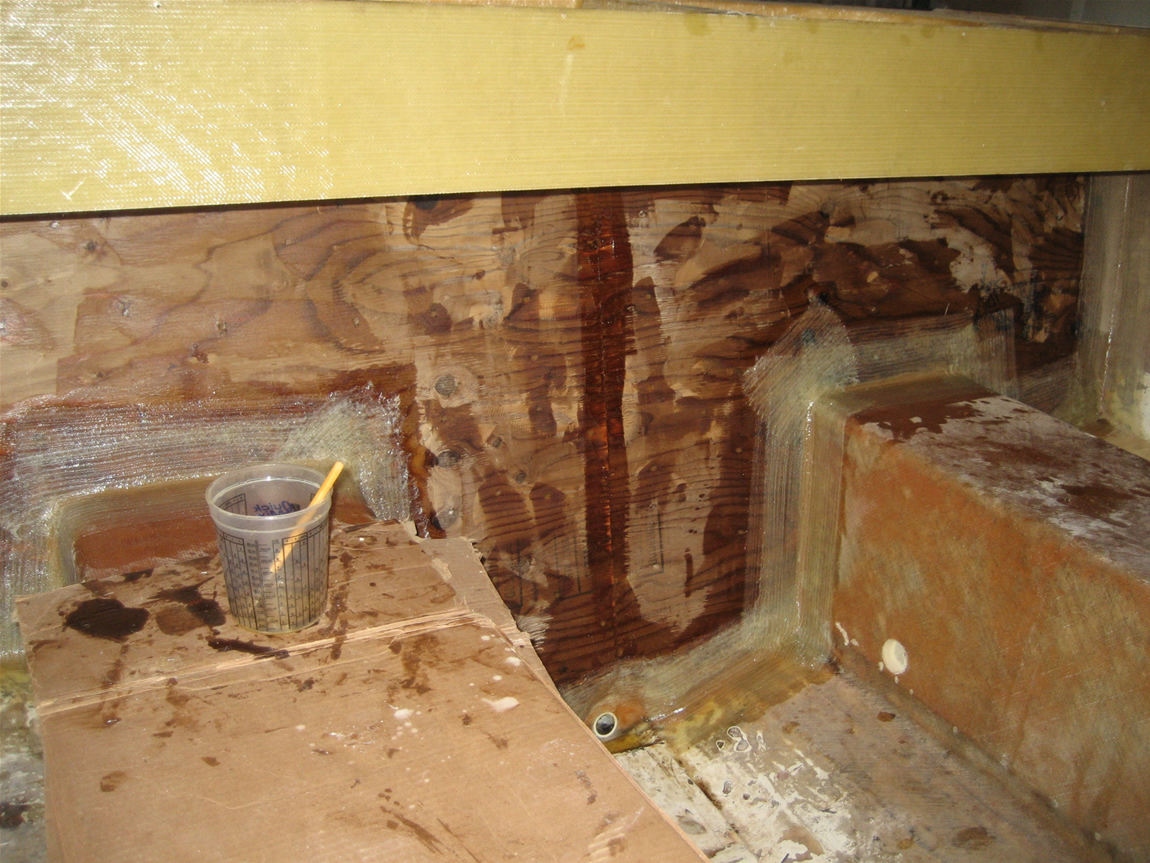
reinforcing stringers (building thickness to 3/16" minimum everywhere). what you see on the stringers in these shots is 3 layers of 1810, all wet on wet. Will do other side this afternoon. I am going to add a couple layers of tabbing also (stringers to hull).
  We still have two more layers of 1810 to go on transom.  8O 8O
__________________
http://www.boatbuildercentral.com/ my rebuild thread: http://www.classicseacraft.com/commu...ad.php?t=22090
|
|
#4
11-09-2010, 12:50 PM
|
|||
|
|||
|
Quote:
After building the required thickness, i will re-tab the inside of each stringer. There are no signs of delam, but the glass job was not the best, so for peace of mind Im going to re-tab.
__________________
http://www.boatbuildercentral.com/ my rebuild thread: http://www.classicseacraft.com/commu...ad.php?t=22090
|
|
#5
11-09-2010, 02:40 PM
|
|||
|
|||
|
Looking good! I was reading over prior posts and have to agree with the question about the "flat butt". I know it wouldn't be practical as far as shedding water, but for aesthetics, I was thinking you could glass in a piece behind the fishbox hatches on the cap to match the arc of the factory boats just to give it the same appearance. Kinda like a spoiler. From any given angle, at a glance, it would have the curve most people have grown accustomed to seeing without having to rework the rest of the stern. Just a thought. Keep up the good work!
__________________
1975 SF18/ 2002 DF140 1972 15' MonArk/ 1972 Merc 50 http://i833.photobucket.com/albums/z...photos/SC3.jpg
|
|
#6
12-06-2010, 04:40 PM
|
|||
|
|||
|
rest of the stringer tops have been reinforced, capped with 3/16" of extra glass. Have ordered two 55 gallon belly tanks, these will fit low enough that I will be able to run some extra chases over the tanks and down the center. Tanks are going to be epoxy coated, bolted to stringers, foamed in, then glassed over.
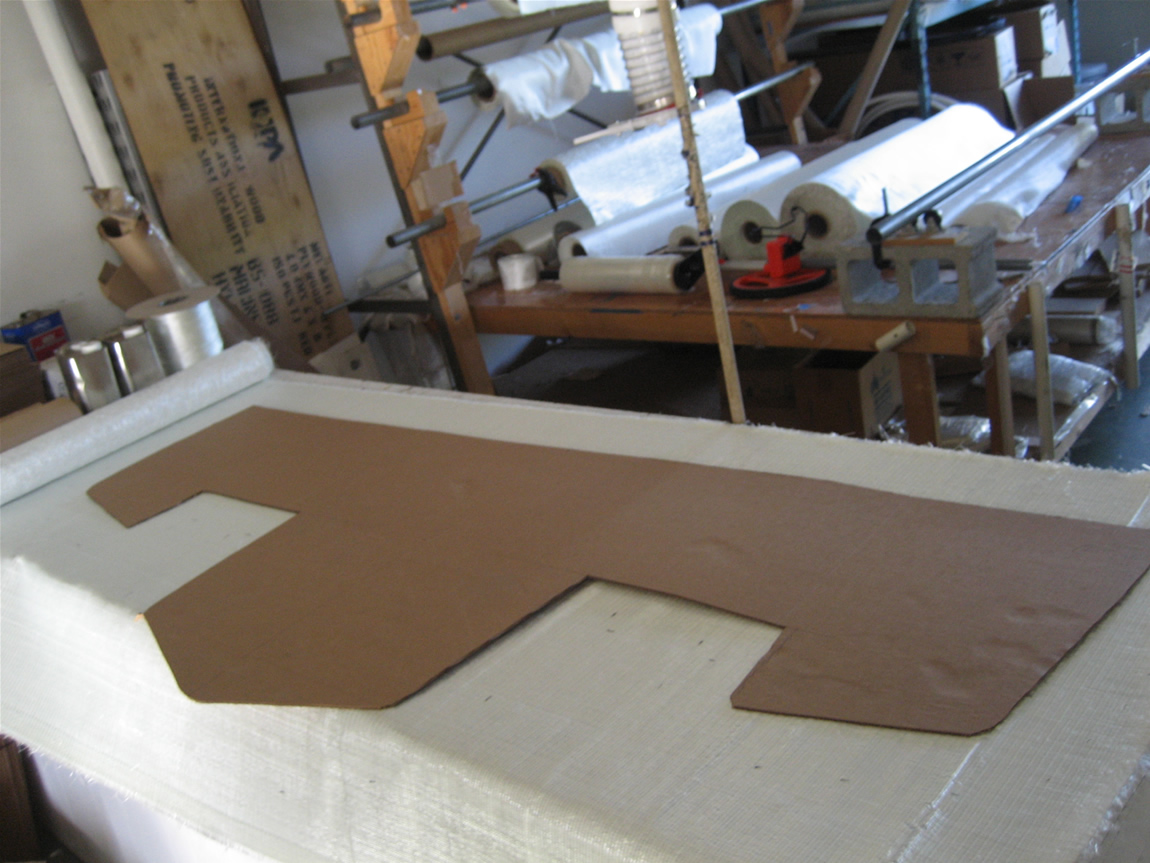
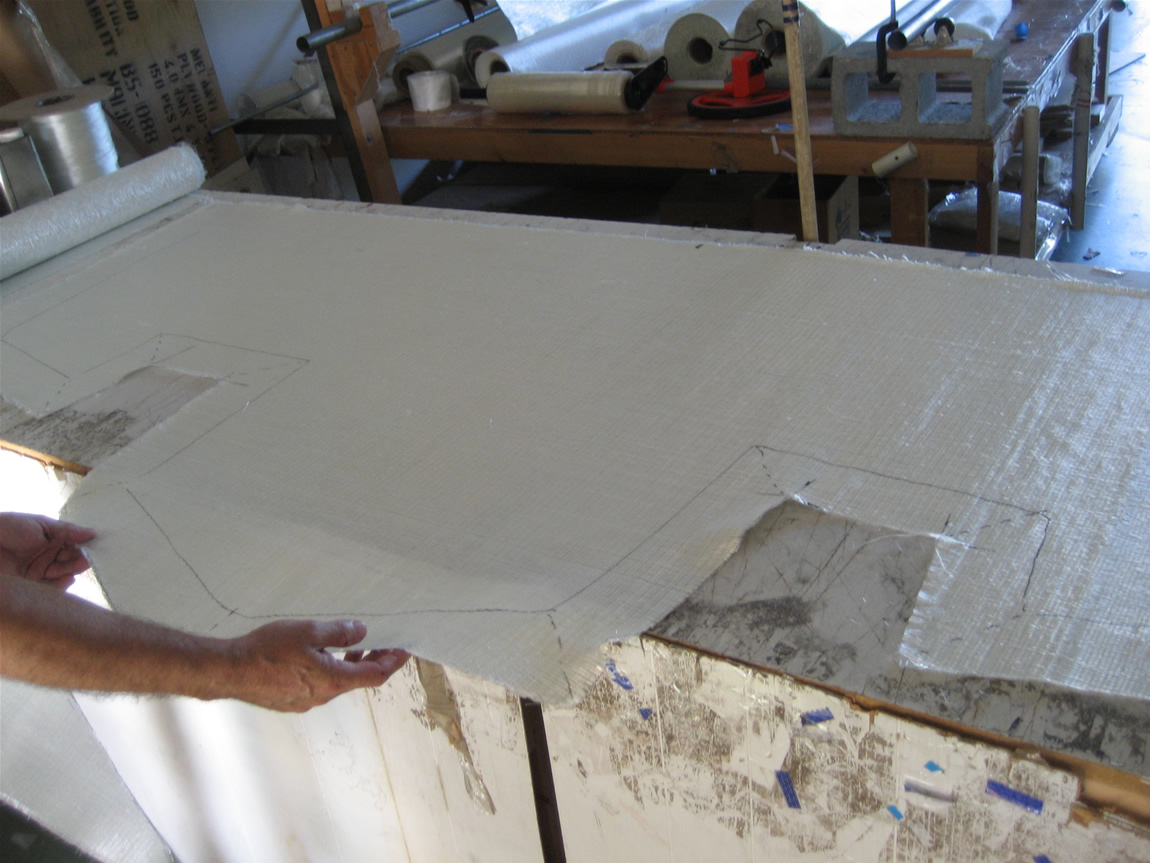
Have decided against a livewell/leaning post combo in favor of just the leaning post, not enough cockpit room. Will probably build an extra 30-40 gallon well under the sole, to go along with 30 gallon in transom. Will probably rarely use the extra big well in deck, but its easy to build and will be nice to have as extra capacity. Added tabbing of two layer 1708 added all around the transom.  Center stringer/drain put in. This is light 4" drain field PVC, covered with 3 layers 1708. fillet putty:  glassed in: 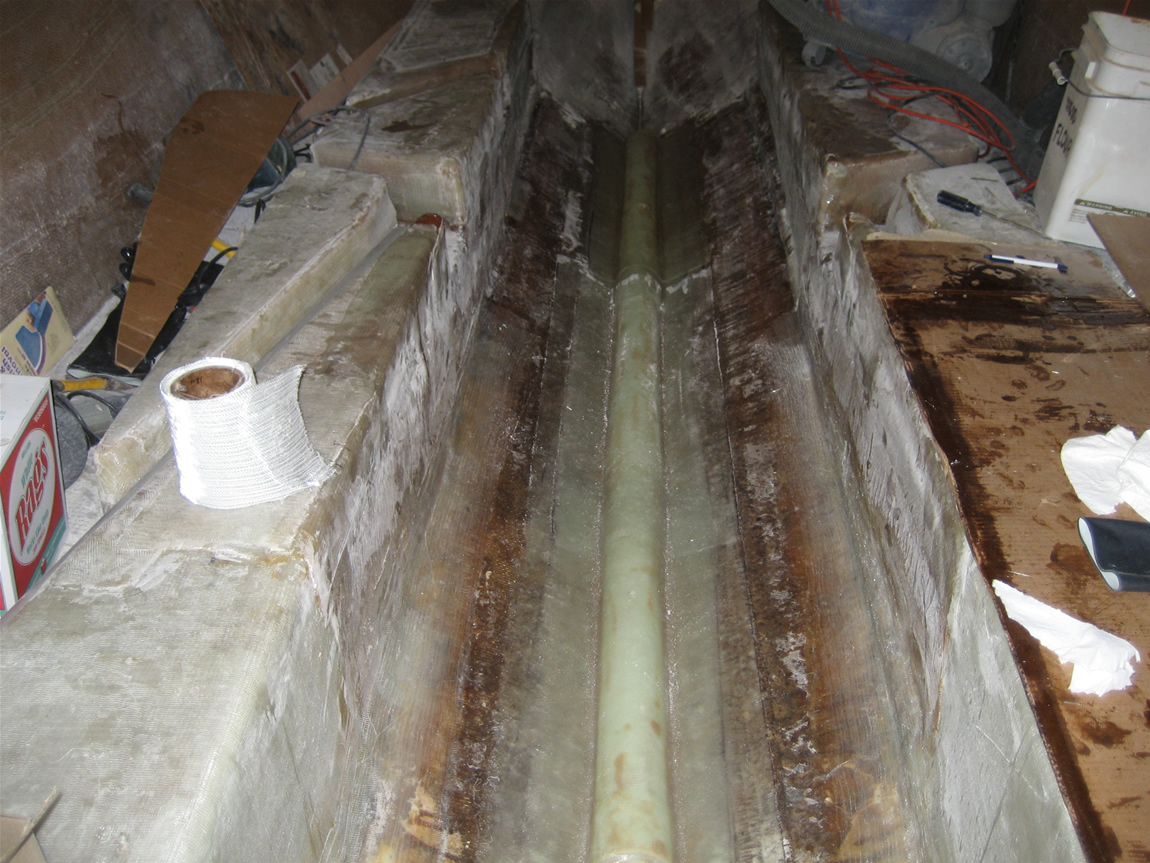 Began working on molds for hatches and hatch lips/frames. Below is the rough cutout of the mold for a 20" square hatch. The hatch flange will fit flush into the top of the deck/sole, glued into a 3/16" recess that will be cut into the deck surface. There is enough room for the hatch to fit into the lip along with a 1/4" gasket. Should be pretty close to waterproof. Mold is CNC cut out of MDF, still have to round off the corners and add some fillets on the inside turns. Will cover with high-build primer, sand, then make parts. Will make a couple others for the rest of the boat. Large 20" square will be for bilge, in deck live well, and front fish box. A rectangle (maybe 13"x25") for front seats, console, and rear transom bulkhead. Also a triangle hatch for the anchor. 2 layers MDF glued up   rough cut of hatch lip mold  
__________________
http://www.boatbuildercentral.com/ my rebuild thread: http://www.classicseacraft.com/commu...ad.php?t=22090
|
|
#7
12-13-2010, 03:19 PM
|
|||
|
|||
|
good day for picture uploading, 40 degrees in south FL :?
progress on the hatch mold. Did not leave enough room to allow for router collete to fit :? so I had to manually round over the edges with profile sander. Was actually very easy and only took a few minutes. Sealed the MDF up with a coat of epoxy, then added fillets on the inside turns. Next will be high build primer    Tanks arrived. Two 55 gallon belly tanks. These will sit between the stringers. Positioned with at least 1.5" clearance all around to give space for foam. Epoxied mounting blocks to side of stringers. With tanks located, we made frames and glassed them in. Tanks get two heavy coats of coal tar epoxy    two of the three frames.   tanks are sanded with 80 grit immediately before the epoxy coating. Aluminum oxidizes so fast that you have maybe 20 minutes to get the epoxy on and have a good bond.     Chase tubes: With the additional glass covering the stringers I no longer have the room to fit in a 2.5" tube in the stringer notches. It was close, but could not get the sweep position where I want using regular PVC. Decided to try 2" flexible electrical conduit for the side chases. Fits very nice. I will have a couple other chases down the center along with these two 2" down the side. 
__________________
http://www.boatbuildercentral.com/ my rebuild thread: http://www.classicseacraft.com/commu...ad.php?t=22090
|
 |
|
|


 foam filling?

 Hybrid Mode
