
|
|
|
|
#2
 10-21-2012, 11:04 AM
|
|||
|
|||
|
Lookin` good. Does the rub rail go on prior to paint?

|
|
#3
10-21-2012, 01:22 PM
|
|||
|
|||
|
Quote:
Short answer no...I wanted to get the transom part done and drill the holes before paint. In case there was any F/UP'S  and there was. and there was.So now I will take the rail off fair in a few wrong holes and be ready for paint.
__________________
[SIGPIC][/SIGPIC] "If You Done It...It Ain't Braggin" my rebuild thread: http://www.classicseacraft.com/commu...ad.php?t=18594
|
|
#4
11-11-2012, 09:30 AM
|
|||
|
|||
|
Well I finally got the last piece of the windshield puzzle solved.
Awhile back I posted this picture and asked for some ideas on supports. 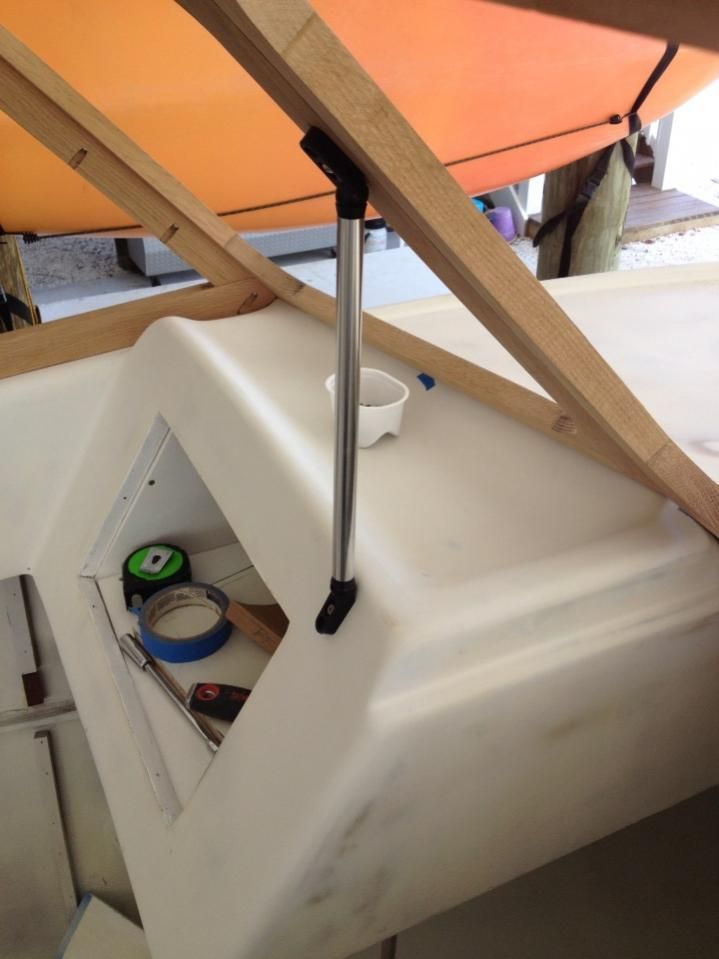 The best one was to copy Blue Herons idea. Dave was kind enough to make me two supports. Unfortunately when I got them they did not fit because after I routed the rabbet for the glass the support was a little to wide . Back to the drawing board. The support had to full fill 2 criteria. 1. support the windshield and 2. provide a strong hand hold. So here is what I came up with...3/4 inch S/S rod compound miter cut then drilled and tapped. Again it is nice to have a friend in the machine shop business. The rod drilled and tapped. 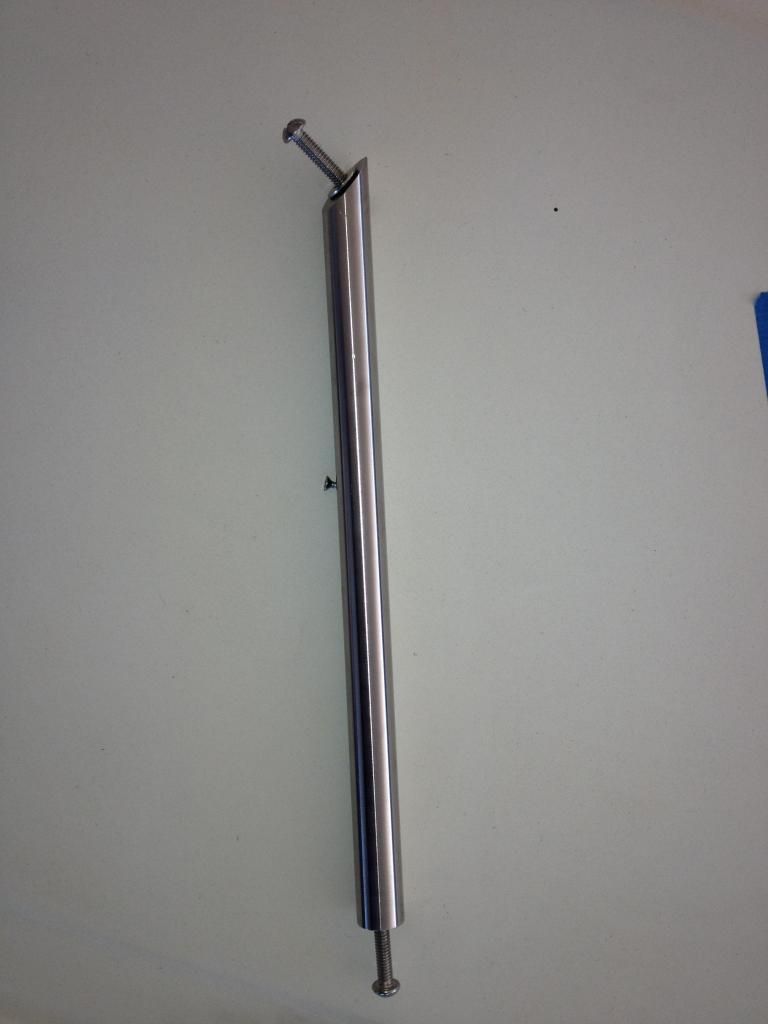 Close up of angle cut 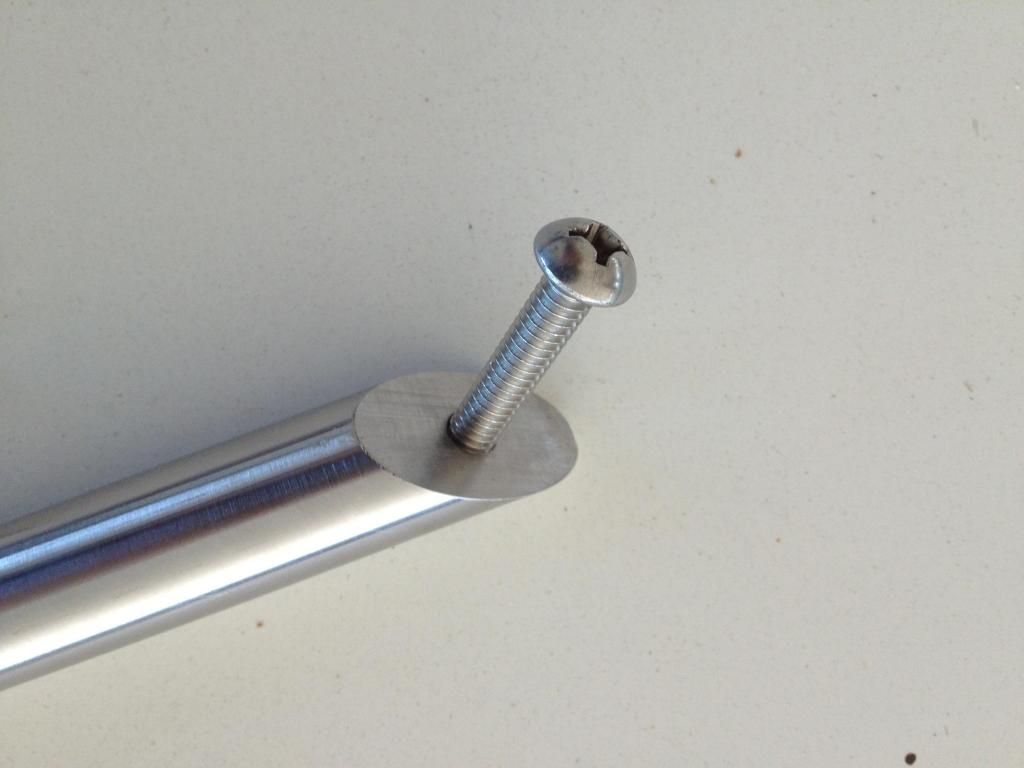 Nice tight fit 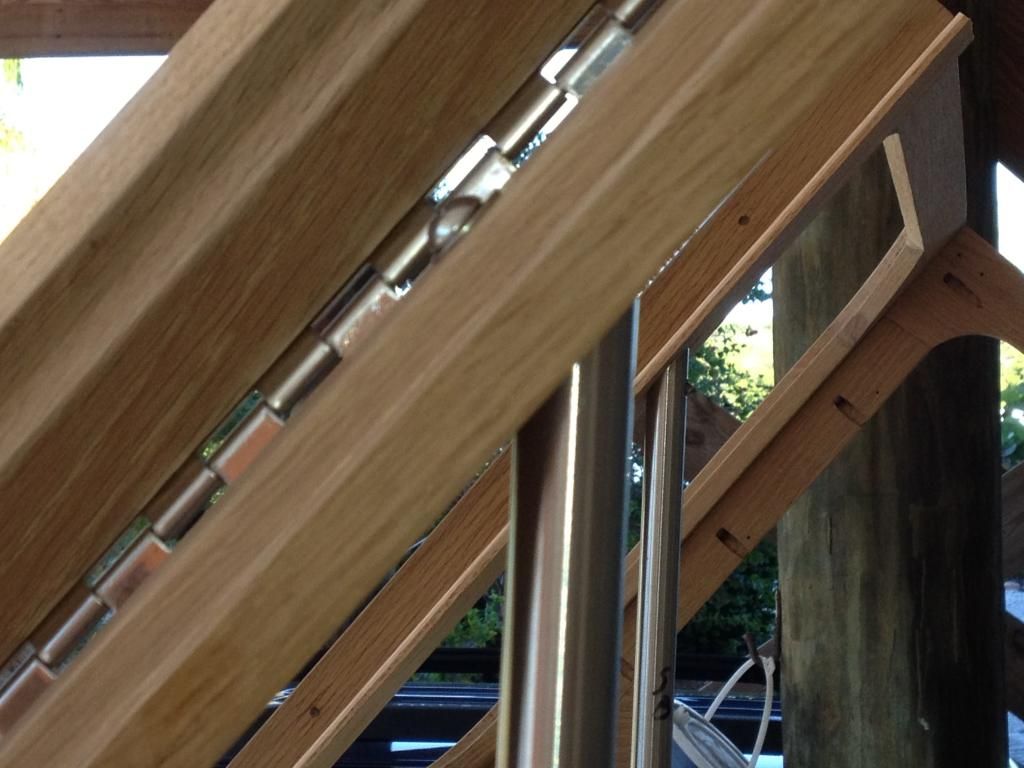 Front View 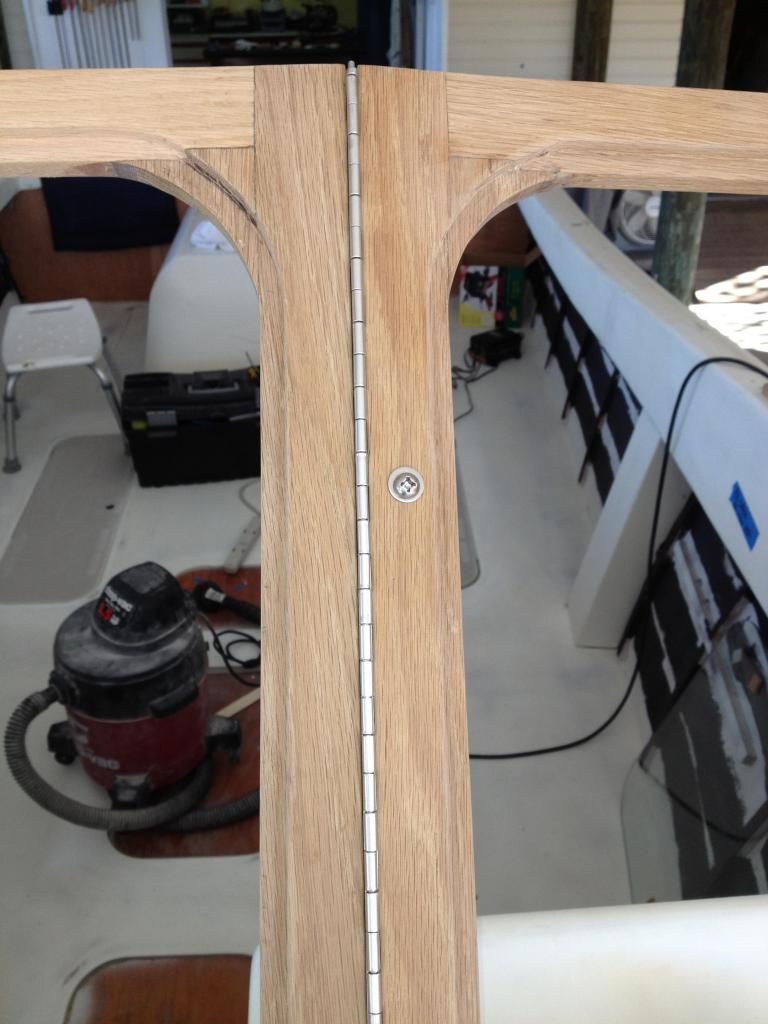 Both 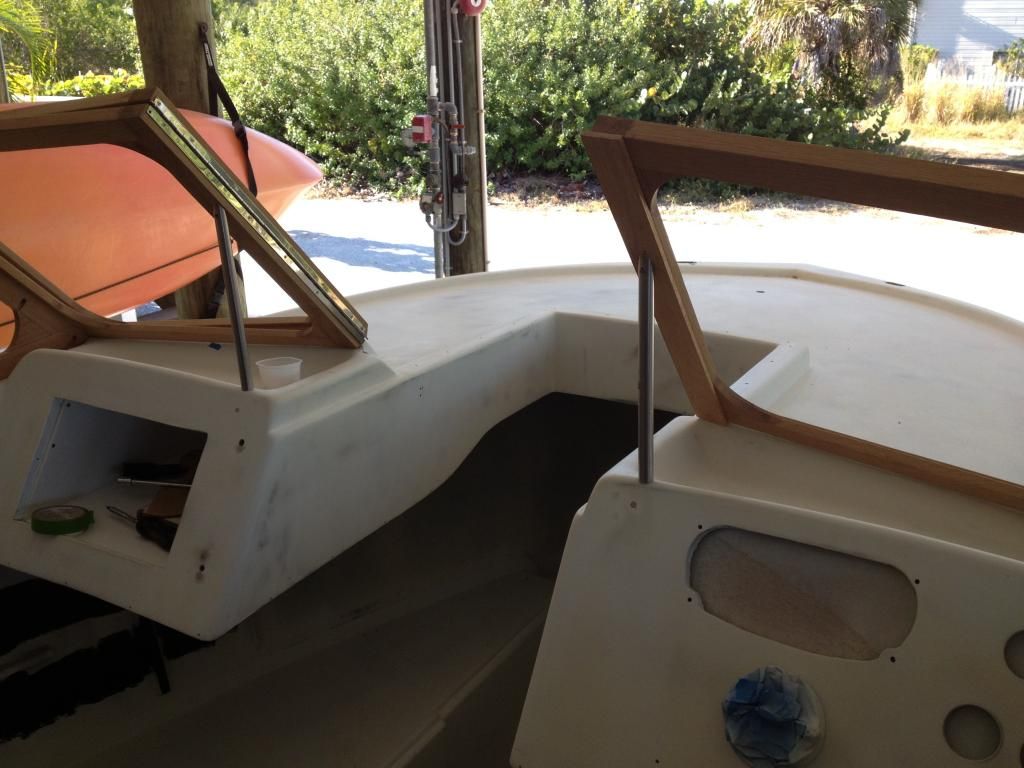 Extra Hand Grip and Glass 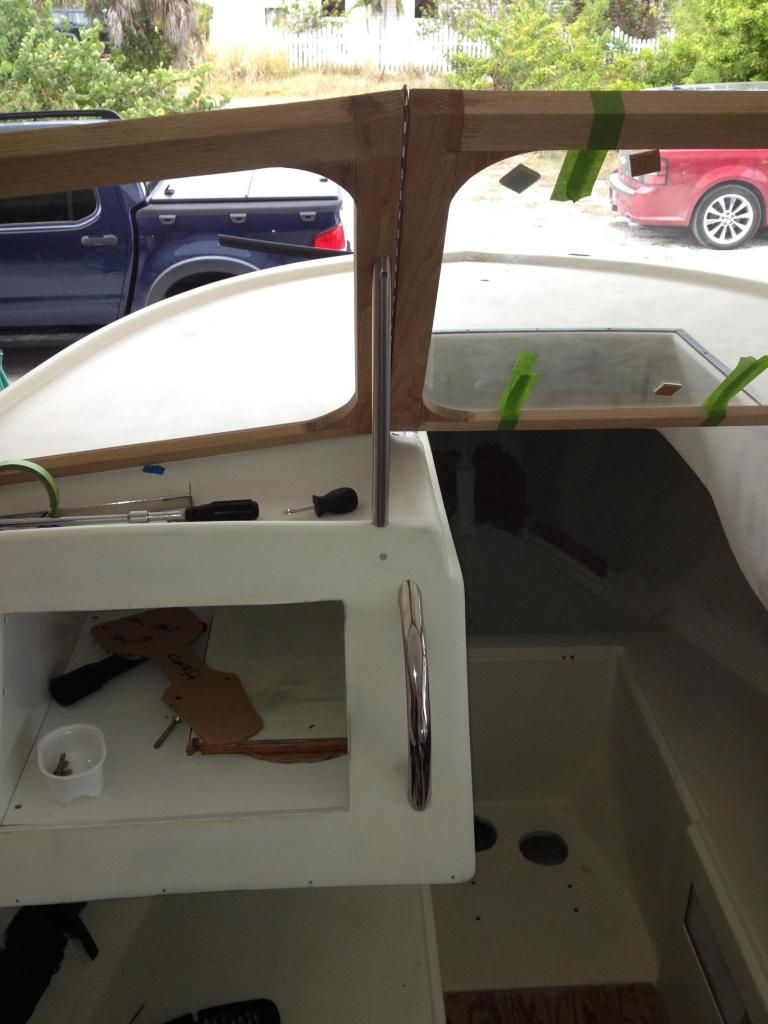 I think this is the final hole drilling and fitting before going to paint... 
__________________
[SIGPIC][/SIGPIC] "If You Done It...It Ain't Braggin" my rebuild thread: http://www.classicseacraft.com/commu...ad.php?t=18594 Last edited by Islandtrader; 11-11-2012 at 09:35 AM.
|
 |
|
|


 Like the color choice on the bimini also. That is an incredible boat. Thanks again for having us....well be back!

 Hybrid Mode
