
 |
|
|
|
#1
|
|||
|
|||
|
I'm glad you decided to finish it. There are lot of rebuilds going on, but only a few with this level of quality. I'll be watching to see what you core the deck with.
Dave
__________________
Blue Heron Boat Works Reinventing the wheel, one spoke at a time. |
|
#2
|
|||
|
|||
|
I got sometime this afternoon to work on the boat and got some work done. I flipped the cap back off and and glassed in the gunnel, where it was cut.
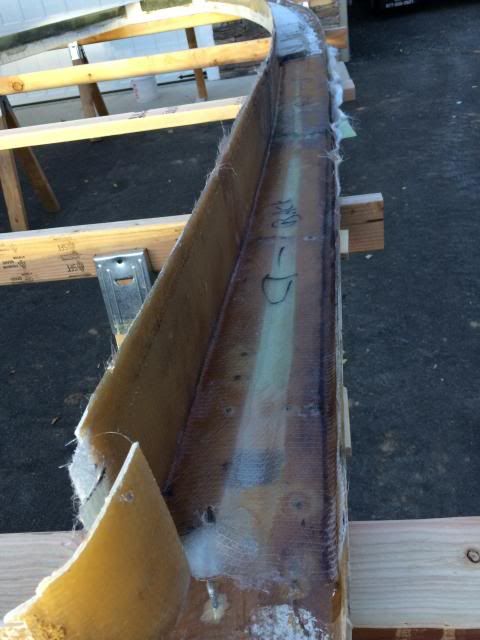 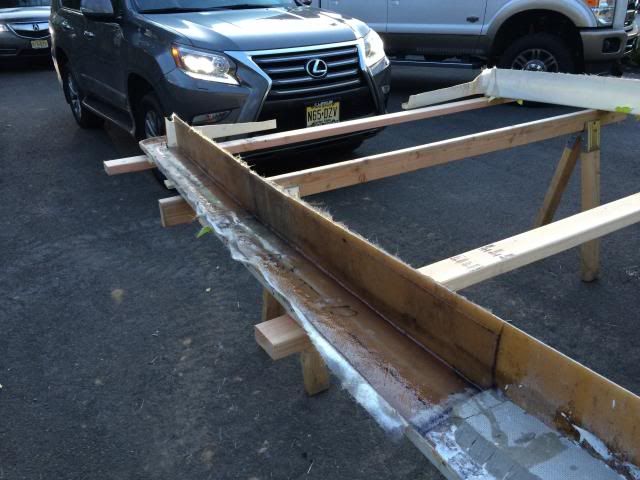 I got the cap cored and ready for glass, I used dyvinacell, corecell and aircell I think was the name of it? anyways, I show a series of pics on how I dry fit the coring material.  I guessed and figured there was 2"-3" of curve so I oversized the with by three inches to get the curvature in the coring  I cut the scribed curve, then fit it back and cut the squares out to make it fit. 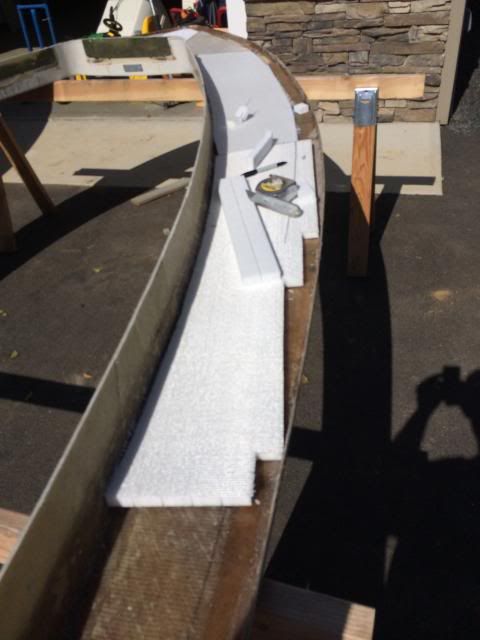 I then take a tape measure and and a marker and hold it at 2.5" against the outside and and scribed the coring with my marker. then cut it and fit. 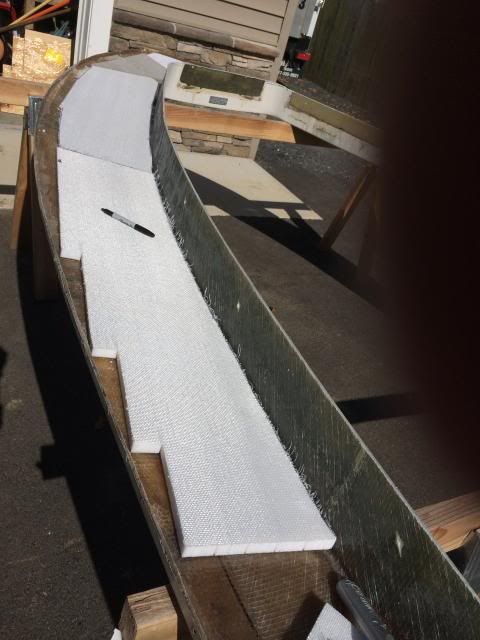 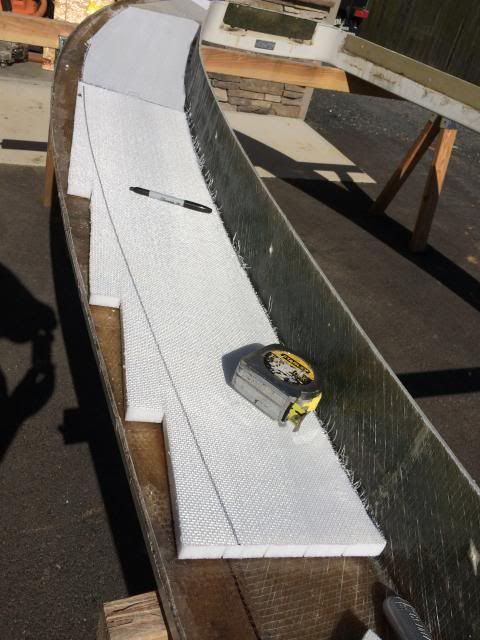 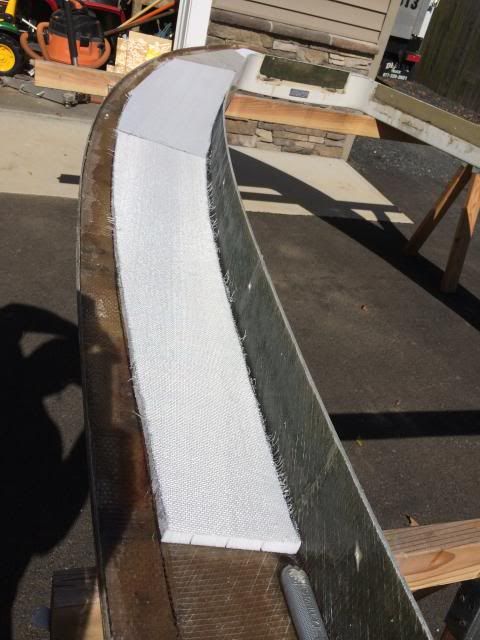 well after I got done I mixed up about 2 qts of divilette putty and trawled it in with a 1/4"x 1/4" tile trowl. you can see the corecell in the center bow, this is where the bow cleat goes. 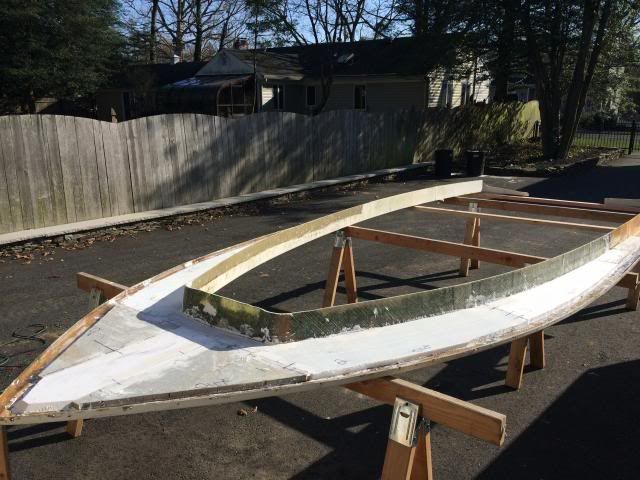 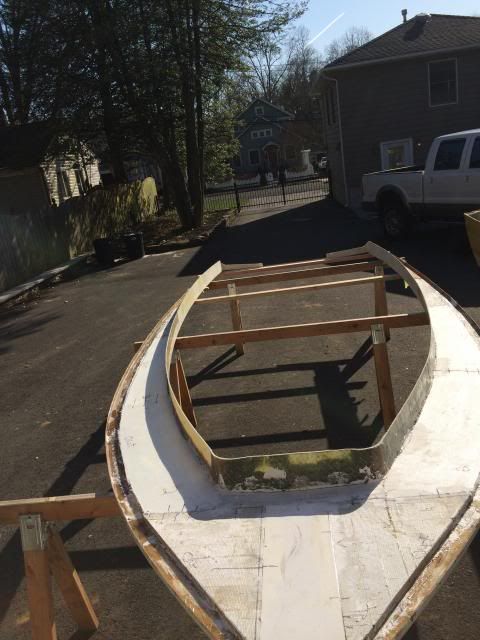 I let it kick for about 2 hours and went back with the multimaster and put a 45 degree bevel on the coring so the glass will flow smoothly off it. 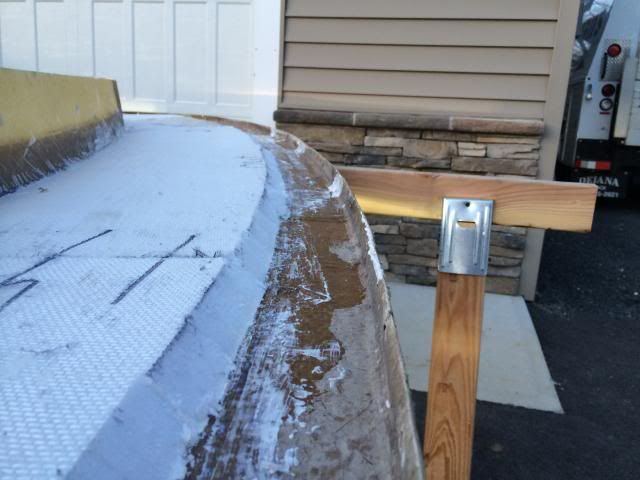 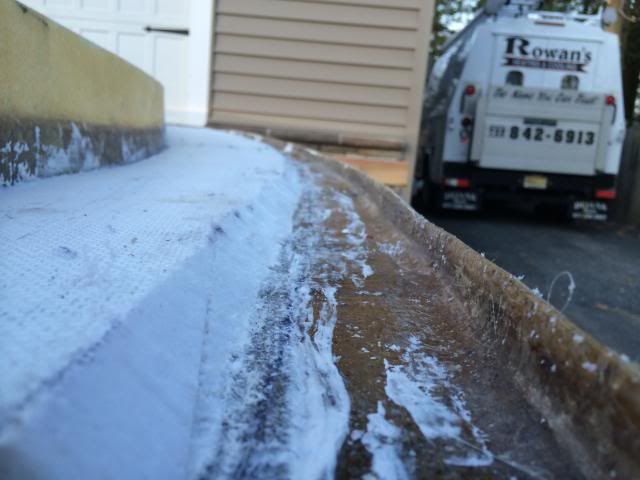
__________________
36' Yellowfin 1972 20' seacraft 140 suzuki http://www.classicseacraft.com/commu...ad.php?t=18607 |
|
#3
|
|||
|
|||
|
I glassed the coring today, it takes longer to dry fit the glass then it does to lay it! I put a layer of mat and a layer of 1708 over it. In some spots where the rivet holes were reallymessed up I left the glass long and rolled it up the inner edge to beef it up.
I cant believe how strong the cap is now. 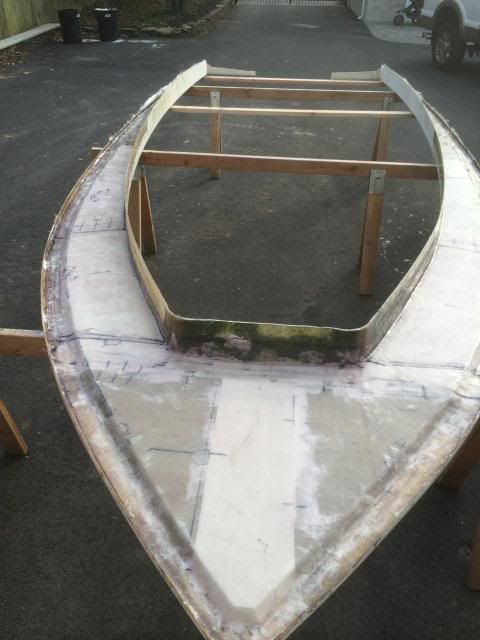  I also layed two more layer of glass over where I split the gunnel. gonna try to get the template done for the floor tomorrow afternoon. also someone asked me how I got the dynaglass in between the bulkheads and the stringers, I packed an empty caulk tube full of material and made it really easy to squirt into the joint. I got the empty tubes from aim tubes from sj discounts 
__________________
36' Yellowfin 1972 20' seacraft 140 suzuki http://www.classicseacraft.com/commu...ad.php?t=18607 |
|
#4
|
||||
|
||||
|
Yo Billy
I'm glad you took my advise and got back at it : your kids are not too "Young" to watch and pass a wrench....enjoy brother  BTW: Get out of that NJ weather & come on down to Fla and take care of some deck issues I have....I love your work capt chuck
__________________
   1978 23' Superfish/Potter Bracket 250HP -------- as "Americans" you have the right to ...... "LIFE, LIBERTY and the PURSUIT of a Classic SeaCraft" -capt_chuck |
|
#5
|
|||
|
|||
|
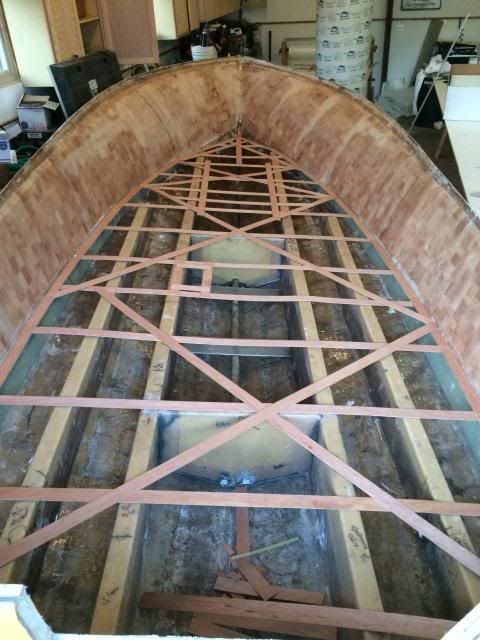
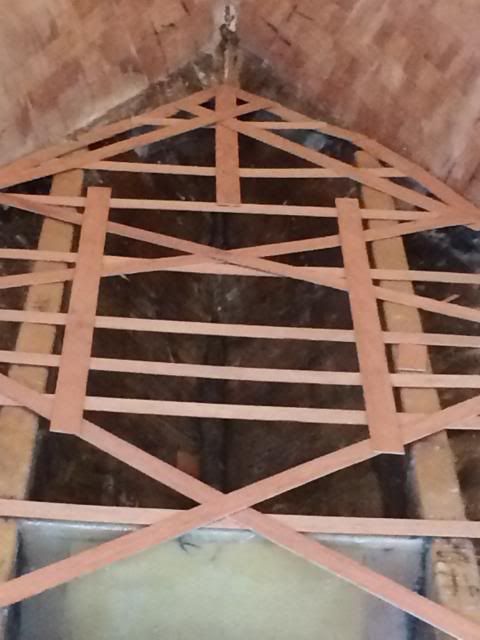
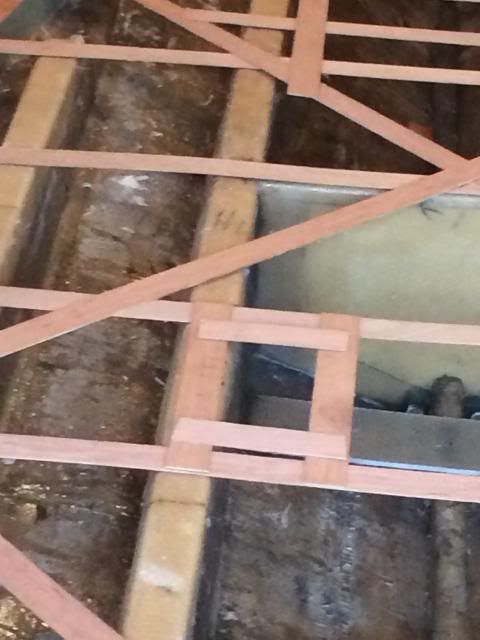
I had an hour of sunlight left when I got home and went to work. I was determined to finish the floor template. I got 90% done when I was called in for dinner. tomorrow I will finish up where the bilge hatch is going and the fuel sending unit, pick up tube pie plate will go. trying to start laminating this weekend.
__________________
36' Yellowfin 1972 20' seacraft 140 suzuki http://www.classicseacraft.com/commu...ad.php?t=18607 |
 |
|
|