Classic SeaCraft Community  

Go Back   Classic SeaCraft Community > General Discussion > SeaCraft Photos
FAQ Community Calendar Today's Posts Search

Notices

Reply
 
Thread Tools Search this Thread Display Modes
  #31  
Old 05-07-2014, 03:30 PM
zendora zendora is offline
Senior Member
 
Join Date: Jul 2011
Location: Boston, MA
Posts: 130
Default

Quote:
Originally Posted by flyingfrizzle View Post
Wow, that looks so much better with out the boxes and now stripped. Nice!
Thanks Frizz, and I'll add that I admire your craftsmanship and refit resume.
__________________
1978 23' Savage I/B

ZEN http://s1080.beta.photobucket.com/user/mfeenan/library/
Reply With Quote
  #32  
Old 05-08-2014, 10:42 AM
zendora zendora is offline
Senior Member
 
Join Date: Jul 2011
Location: Boston, MA
Posts: 130
Default Non-skid rookie mistake

I'm sure most guys already knew this, and I should have asked and done my homework first, but just a quick heads up to anyone applying non-skid using the paint-sprinkle-paint method: leave the tape down before applying the second top coat over the dried non-skid particles! I made the mistake of removing the tape pattern after the first coat had cured to the particles and prior to applying the second top coat. That second coat is apparently essential to seal 100% of the the particles in place. Even though I did a thorough vacuum job with the brush fitting on my shop vac, I still ended up spreading a small amount of particles where they shouldn't be. It's not a lot, but enough where I'll now have to do some tedious sanding on the glossy parts of the pattern before final top coat. Total rook move. Aside from that, the Intergrip texture came out great and even with the one top coat, it feels very durable.

Mike
__________________
1978 23' Savage I/B

ZEN http://s1080.beta.photobucket.com/user/mfeenan/library/
Reply With Quote
  #33  
Old 06-03-2014, 11:41 AM
zendora zendora is offline
Senior Member
 
Join Date: Jul 2011
Location: Boston, MA
Posts: 130
Default

Well, another rookie mistake set me back a couple days. A friend had some polyester resin available which I used to glass polystyrene foam insulation panels to the underside of the deck panel and hatch of the forward fish box. The foam basically turned into soup so I had to redo the entire thing with old reliable epoxy. Dumbass. Here's attempt #2 which was a success.


Other progress since last post - wired new macerator pump for fish box, installed Garmin GSD10 fuel sensor, new senders on both tanks, lots of wiring clean up, re-patched/glassed muffler, installed new intake hose and through hull drain out the stern for livewell. Drain system is CG approved reinforced hose to bronze through hull with a flange and flapper valve similar to the exhaust port - safe, clean, and hopefully it works! Will take some pics tonight.

Tonight's punch list on the fish box insulation project - install thru hull drain, plumb to new macerator pump, apply Interlux epoxy primecoat.
__________________
1978 23' Savage I/B

ZEN http://s1080.beta.photobucket.com/user/mfeenan/library/
Reply With Quote
  #34  
Old 06-10-2014, 07:10 AM
zendora zendora is offline
Senior Member
 
Join Date: Jul 2011
Location: Boston, MA
Posts: 130
Default

Finally launched last Saturday. Went out for a 30 min shake down and spent most of the day cleaning her up. I actually accomplished more than I thought I would for once, and hopefully with one more day of misc tinkering and clean up, this boat will be damn close to exactly how I want it.

Cheers,
Mike


__________________
1978 23' Savage I/B

ZEN http://s1080.beta.photobucket.com/user/mfeenan/library/
Reply With Quote
  #35  
Old 09-03-2015, 11:20 PM
zendora zendora is offline
Senior Member
 
Join Date: Jul 2011
Location: Boston, MA
Posts: 130
Talking Savage Saga Continues

A quick look back at my boat the day I took delivery 4 years ago:


I've chipped away at projects every year, which have included a new custom leaning post, powder coated aluminum doghouse, various electronics upgrades, custom electronics box, livewell installation, complete overhaul of electrical system, cap rail core replacement, rub rail replacement, new bootstripe, complete interior paint and non-skid application, and many more add-ons and modifications I'm probably forgetting at this point. Clean, simple systems has been the goal, and I'm happy to report we've now achieved that from stem to stern. Thanks again to everyone on here for the endless knowledge and inspiration.

Here are a few shots as she sits today, the product of pure obsession:


Cheers,
Mike
__________________
1978 23' Savage I/B

ZEN http://s1080.beta.photobucket.com/user/mfeenan/library/
Reply With Quote
  #36  
Old 09-04-2015, 12:33 AM
otterhound otterhound is offline
Senior Member
 
Join Date: Oct 2011
Location: Shelter Island, NY
Posts: 242
Default

Very nice, they sure are worth it in the end!
Rod
__________________
The older I get the faster I was!
Reply With Quote
  #37  
Old 09-04-2015, 06:56 PM
Ed Ed is offline
Senior Member
 
Join Date: May 2002
Location: Boston
Posts: 1,014
Default

Feenan-

The boat looks great. Who did the wiring, Chris Walsh?

The big question is...after all that work are you catching any fish?

Ed
Reply With Quote
  #38  
Old 09-05-2015, 09:41 PM
zendora zendora is offline
Senior Member
 
Join Date: Jul 2011
Location: Boston, MA
Posts: 130
Default

Quote:
Originally Posted by Ed View Post
Feenan-

The boat looks great. Who did the wiring, Chris Walsh?

The big question is...after all that work are you catching any fish?

Ed
Thanks Ed, yea Chris's guys up at Crockers.

Havent fished nearly as much as I'd like this year with a 1 year old daughter at home, but we've had her on the boat a handful of times working on her sealegs.

How's your 27 coming?
__________________
1978 23' Savage I/B

ZEN http://s1080.beta.photobucket.com/user/mfeenan/library/
Reply With Quote
  #39  
Old 09-06-2015, 12:37 PM
Ed Ed is offline
Senior Member
 
Join Date: May 2002
Location: Boston
Posts: 1,014
Default

Hi Mike-

The 27 is coming along nicely. Full engine tuneup (injectors, plugs, waterpumps, filters, belts, etc) followed by a complete repaint of the engine cowlings and chaps. Boat runs great and is fast...53-55mph depending on conditions. This fall I will be having a new hardtop made and will be recoring some hatches. New electronics in the works too.

Your boat looks fantastic. Chris' guys did an excellent job on the wiring. Well done.

I hear you on the baby thing - we have a 10 month old - so it is not always easy to get out.

Did you do your paintwork or did you sub it out?
Reply With Quote
  #40  
Old 09-08-2015, 05:50 PM
zendora zendora is offline
Senior Member
 
Join Date: Jul 2011
Location: Boston, MA
Posts: 130
Default

Awesome, that is some serious speed. You'll be lapping me, that's for sure.

I had Loc Vo from East Boston do the fairing, primer and finish paint, and I did the non-skid with Kiwi Grip.

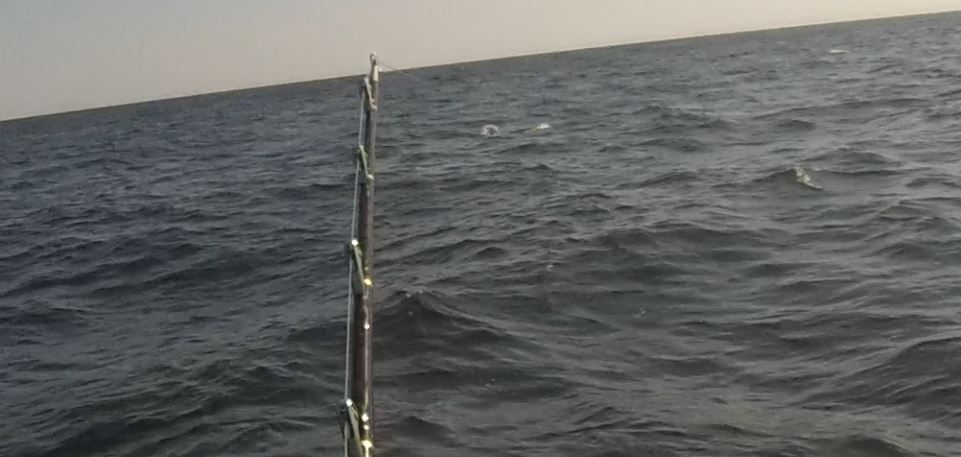
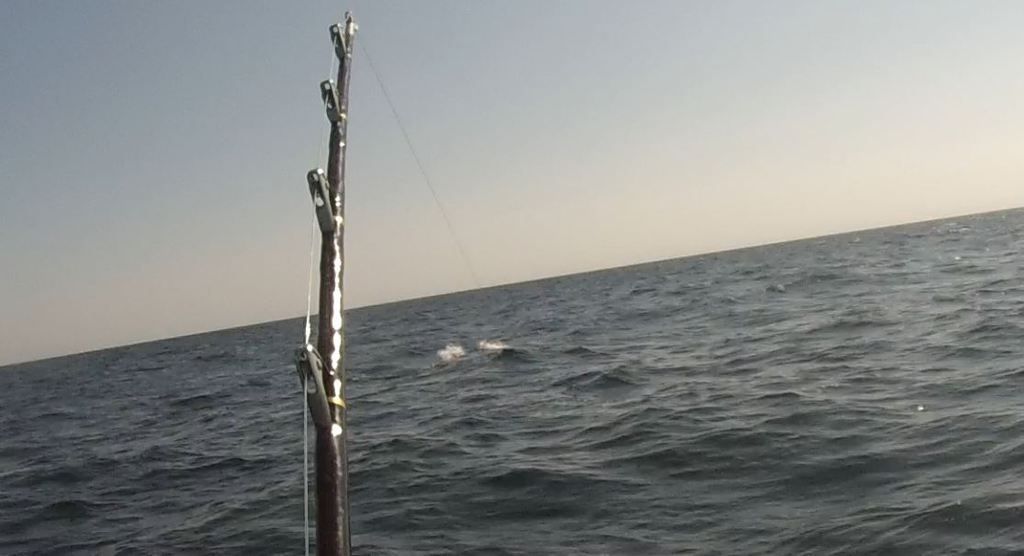
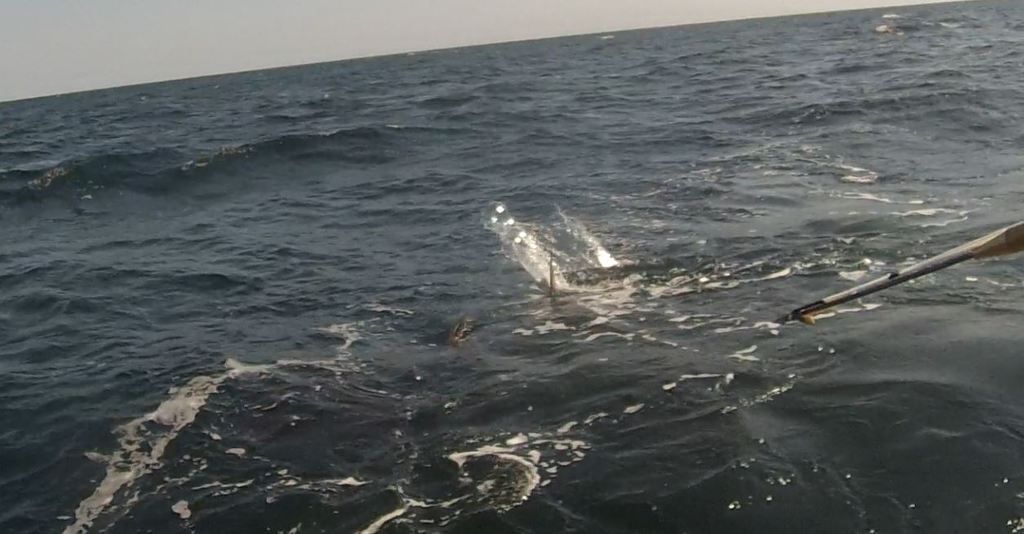
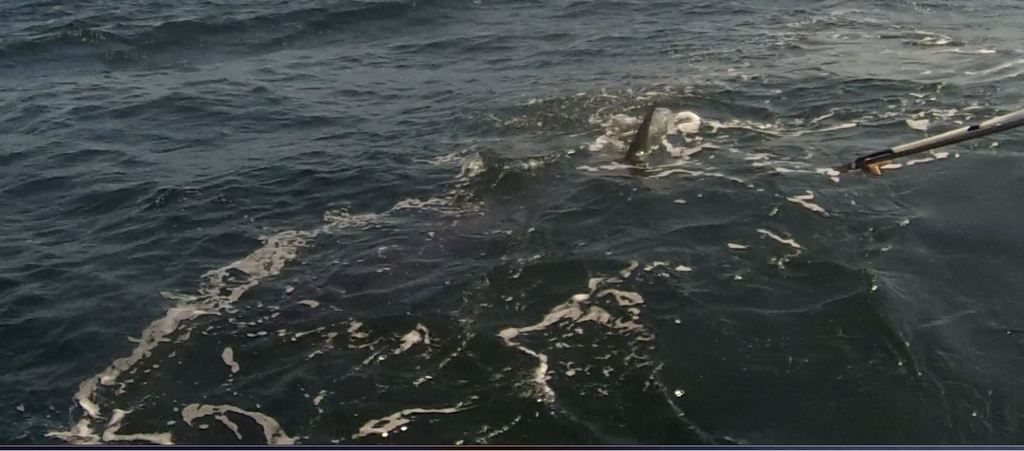
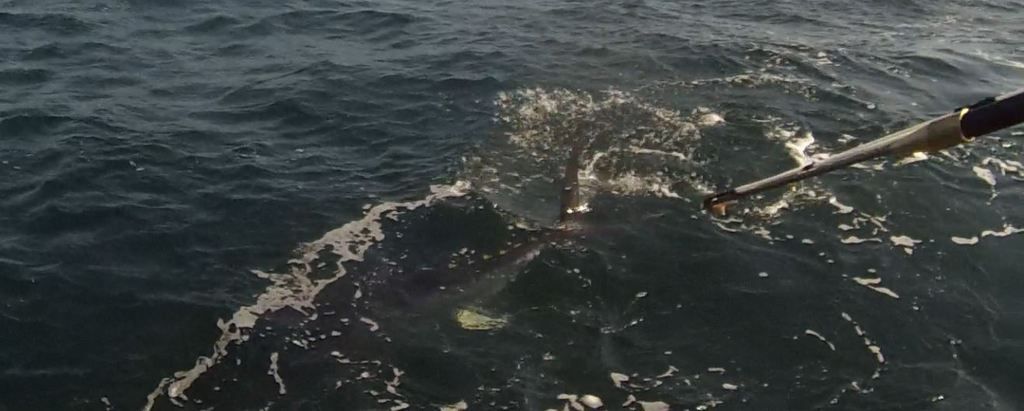
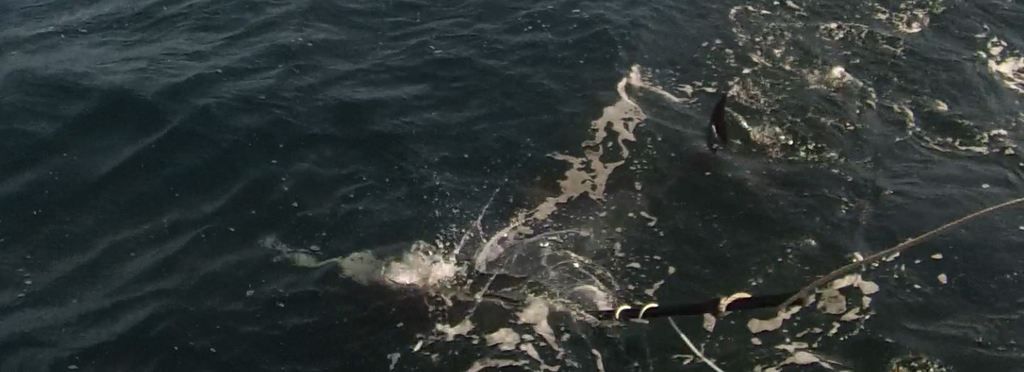
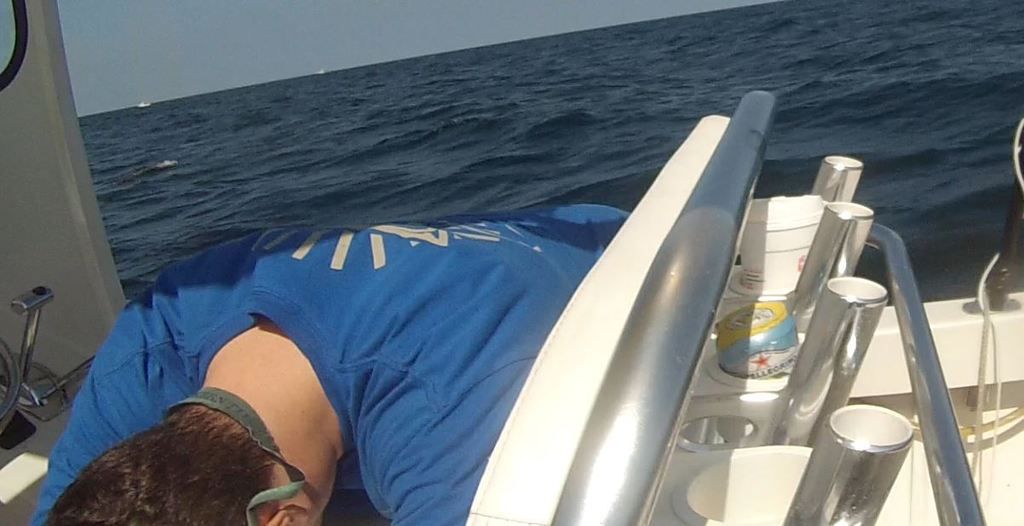
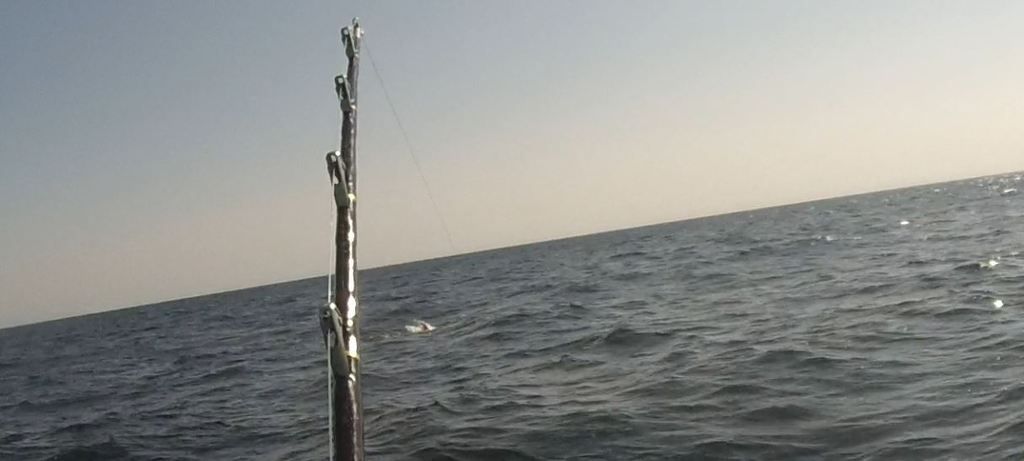
To follow up with a rare fishing report, we hooked up yesterday and lost a 2 hr battle with a fish I believe was in the 100" ballpark. Had one good opportunity and whiffed on the harpoon shot. The fish took another run after the miss, we got back to the leader a second time but he darted under the boat and broke off. Here are the heartbreaking pics:


__________________
1978 23' Savage I/B

ZEN http://s1080.beta.photobucket.com/user/mfeenan/library/
Reply With Quote
Reply


Posting Rules
You may not post new threads
You may not post replies
You may not post attachments
You may not edit your posts

BB code is On
Smilies are On
[IMG] code is On
HTML code is Off

Forum Jump


All times are GMT -4. The time now is 03:29 PM.


Powered by vBulletin® Version 3.8.7
Copyright ©2000 - 2025, vBulletin Solutions, Inc.
All original content © 2003-2013 ClassicSeacraft