So this project is complete and I'd like to thank everyone for there input answering my questions along the way and offering some much needed advise and guidance!
So I drilled out the existing holes in the hatch cover and re-countersinked them where needed. I then spot filled some dings w/ gel coat while I had the hatch off. I noticed that the original arch in the plywood translated to a now-rigid and visually arched (front-to-back) hatch cover

. This made me very nervous, but turned out to a non-issue, as the two center screws pulled the hatch flush into position with ease and/or snugging them with my bodyweight on the hatch...it's rock-solid, but compliant.
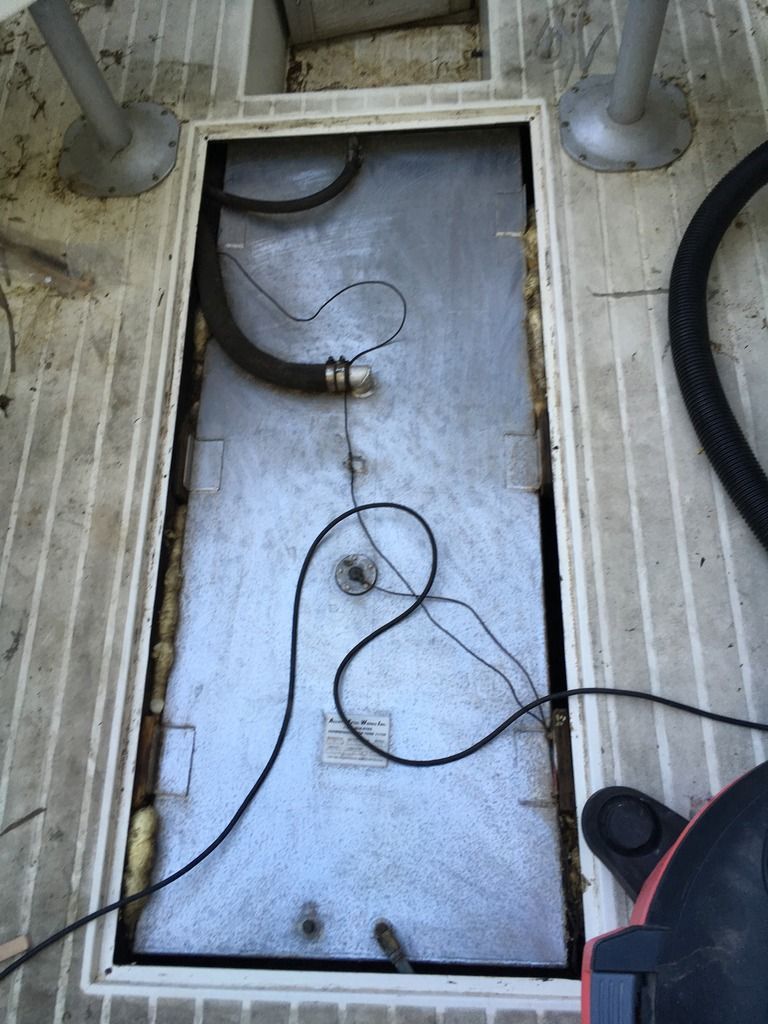
So I cleaned the flange to a reasonable degree, and while the hatch was open, I cleaned up the tank with a wire brush and also cleaned the electrical contacts on the tank while I was at it. That funky oxidation appearing earlier in my thread was just
surface deep and cleaned up with relative ease:
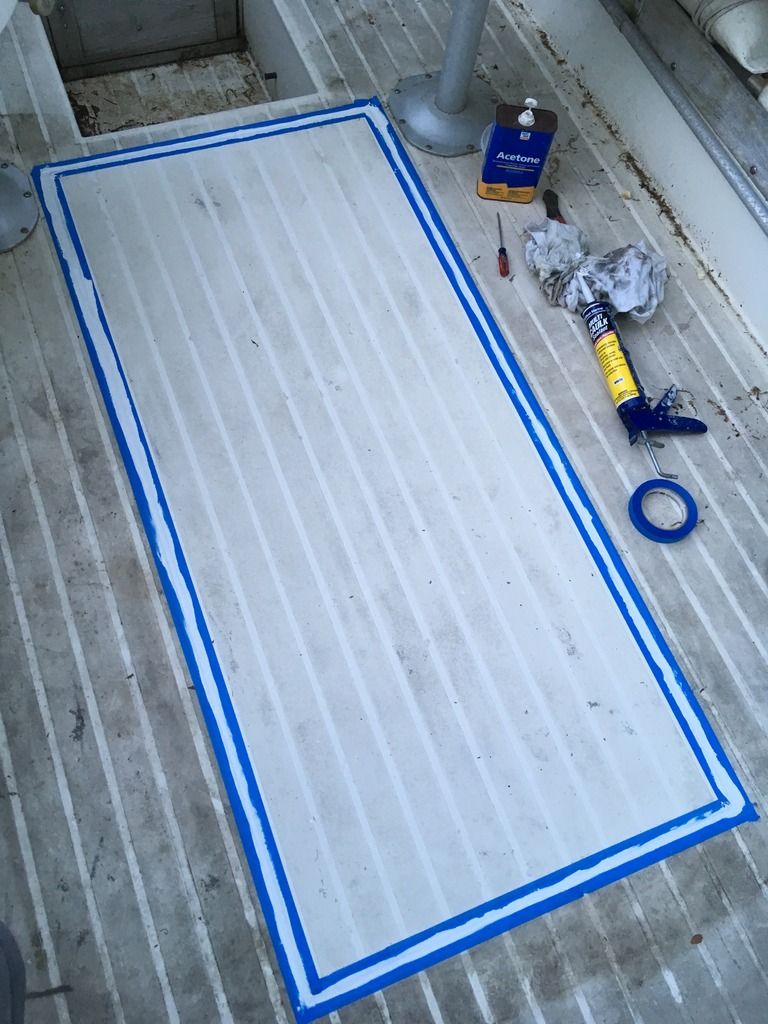
I took bushwacker's and gofastsandman's advice and used the WM multi caulk, depite the trepidation of spending $30 on a tube of goop. I also bought and installed 40 lbs monofiliment as a "zipper". This took a while, as it was frustrating keeping it down in the crack all the way around where it needed to be. I jammed some blue tape down in a few spots and taped the starting loop end so as not to move.

I repolished the screw heads, checked the health of the threads (all good!) and sealed her up!
This was the next day so those specs of tree gunk, bugs ect sprayed off of the caulk, thankfully! Please pardon the appearance of the rest of the interior; It will be cleaned up soon! I was able to move the boat out from under some trees yesterday, wash the upper/outer deck and hull and start compounding her. The interior cleanup will be next.


 06-05-2017, 09:07 AM


 Threaded Mode