
 |
|
#31
|
|||
|
|||
|
Just some more progress photos.
Fillets made so the 1708 can wrap the stringers: 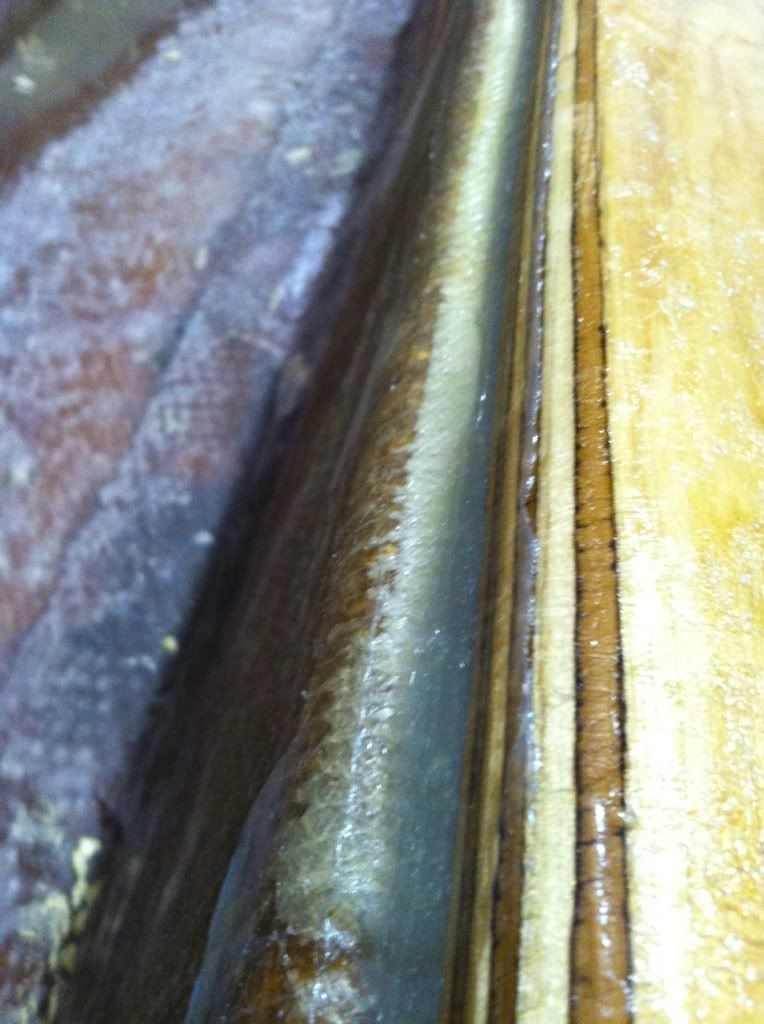 A little blurry, but this is just after the stringers with plywood were capped with a final layer of 1708: 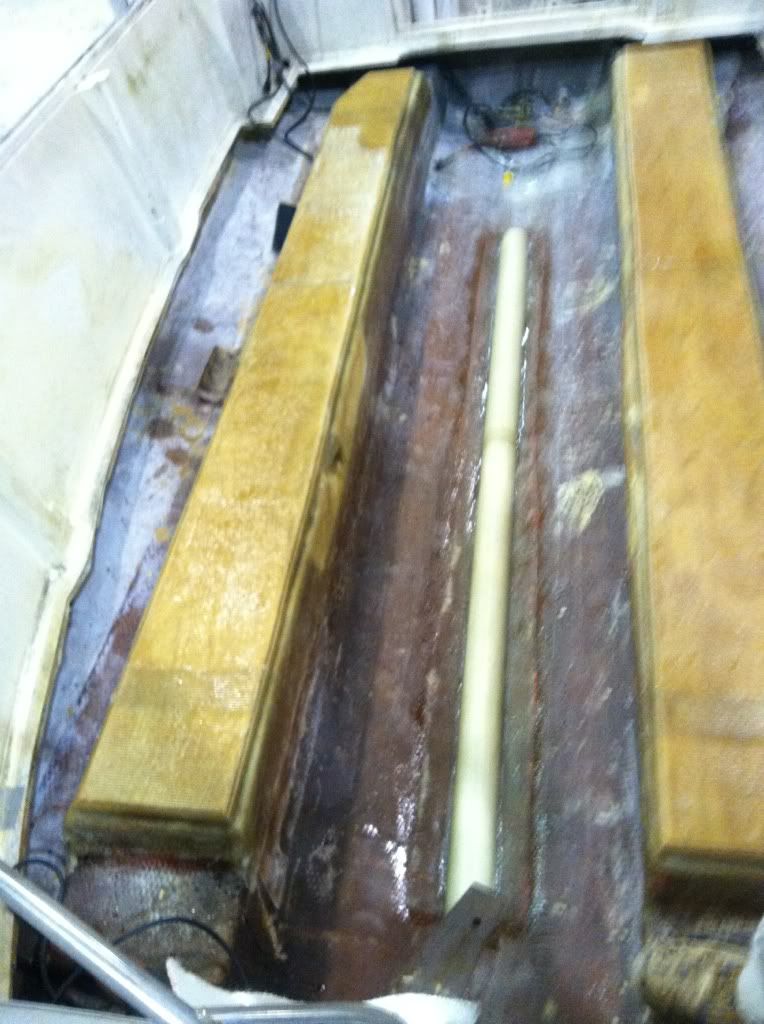 The next photos show the bullet proof material I used at a lip for the tank to sit on. One edge was radiused in order for it to conform to the angle where the stringers and hull meet. I made up a big batch of cabosil, milled fibers and resin to bed the pieces properly. I then laid strips of 1708 on top and back up the stringer for added strength. 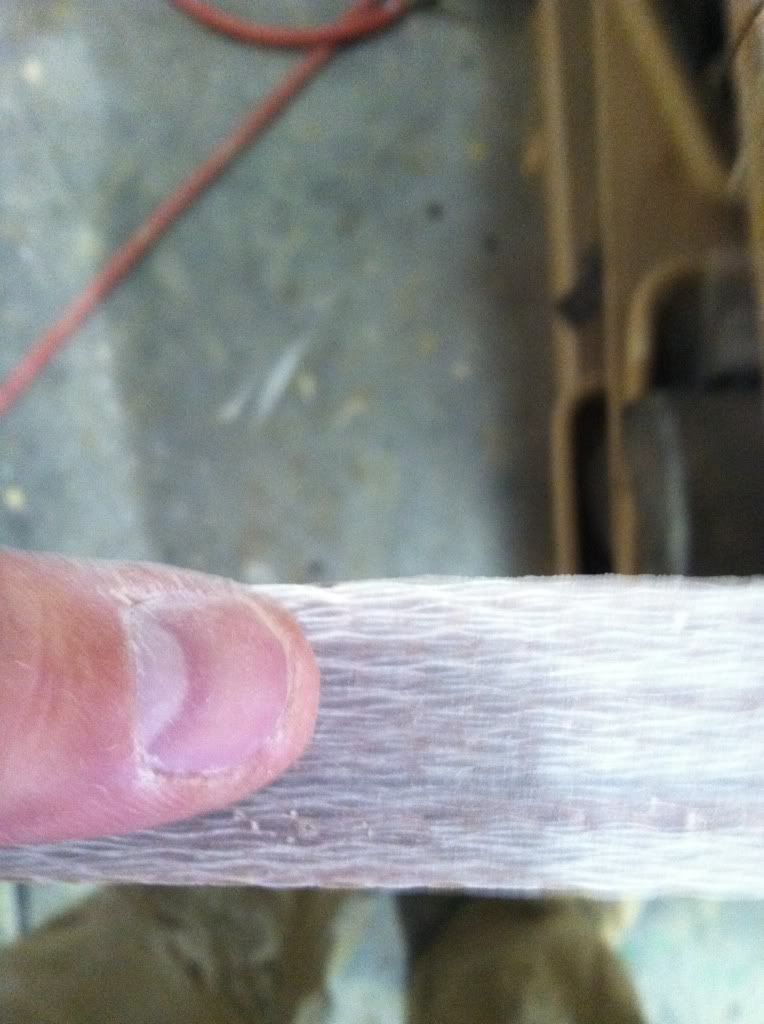 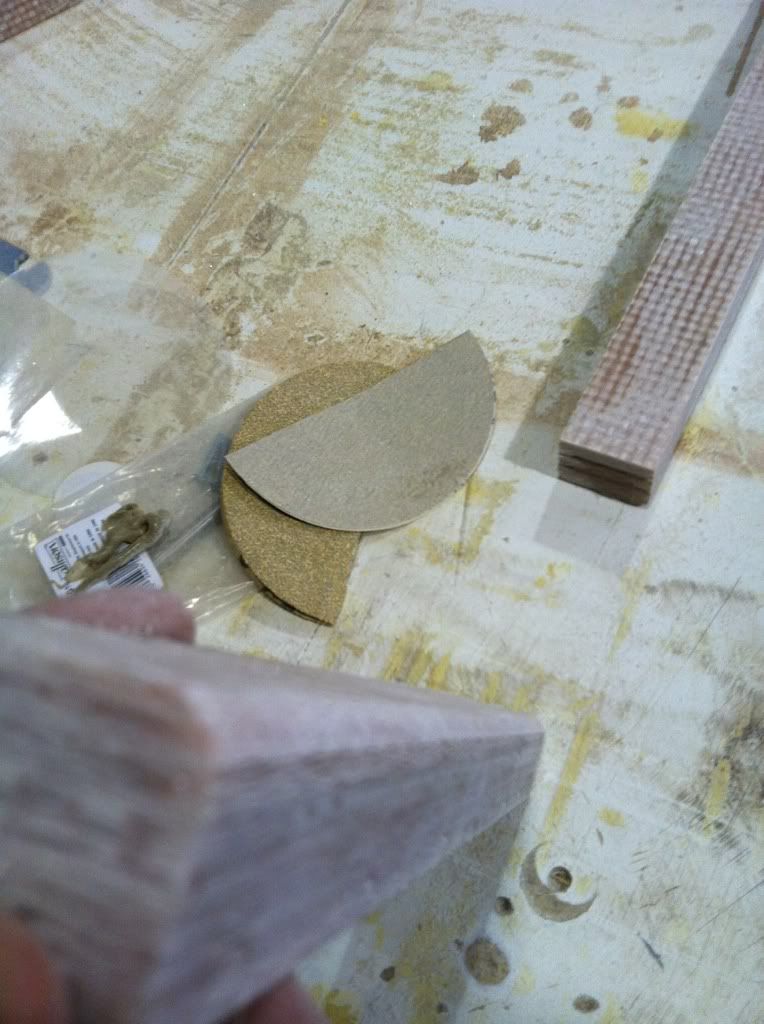 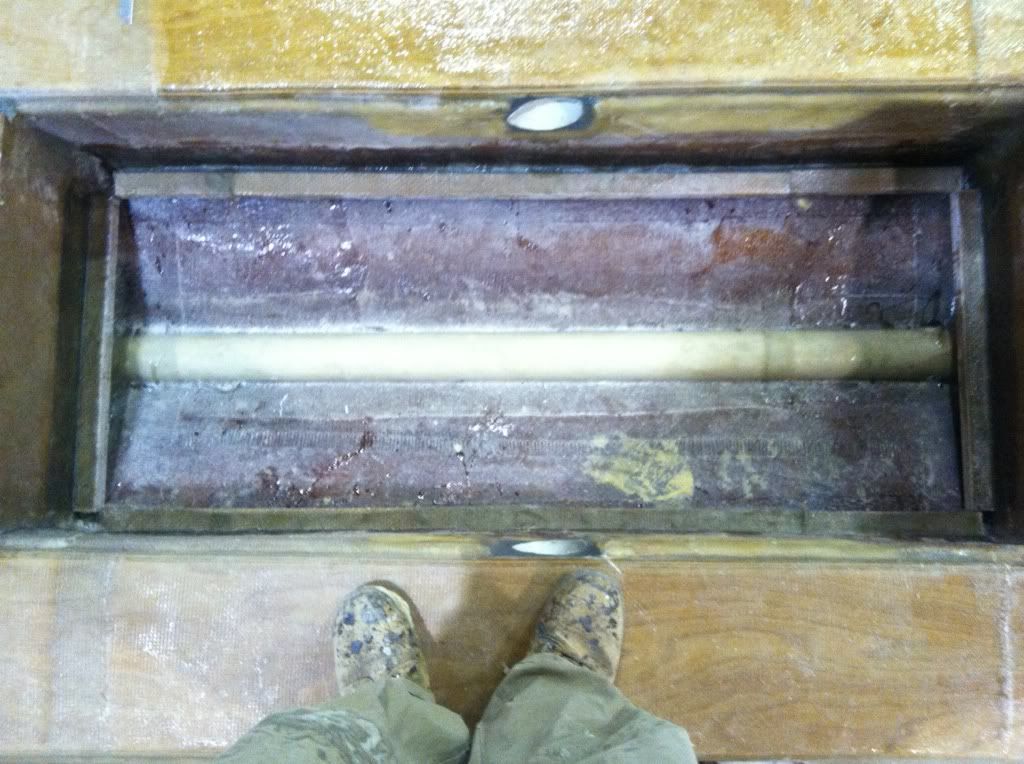 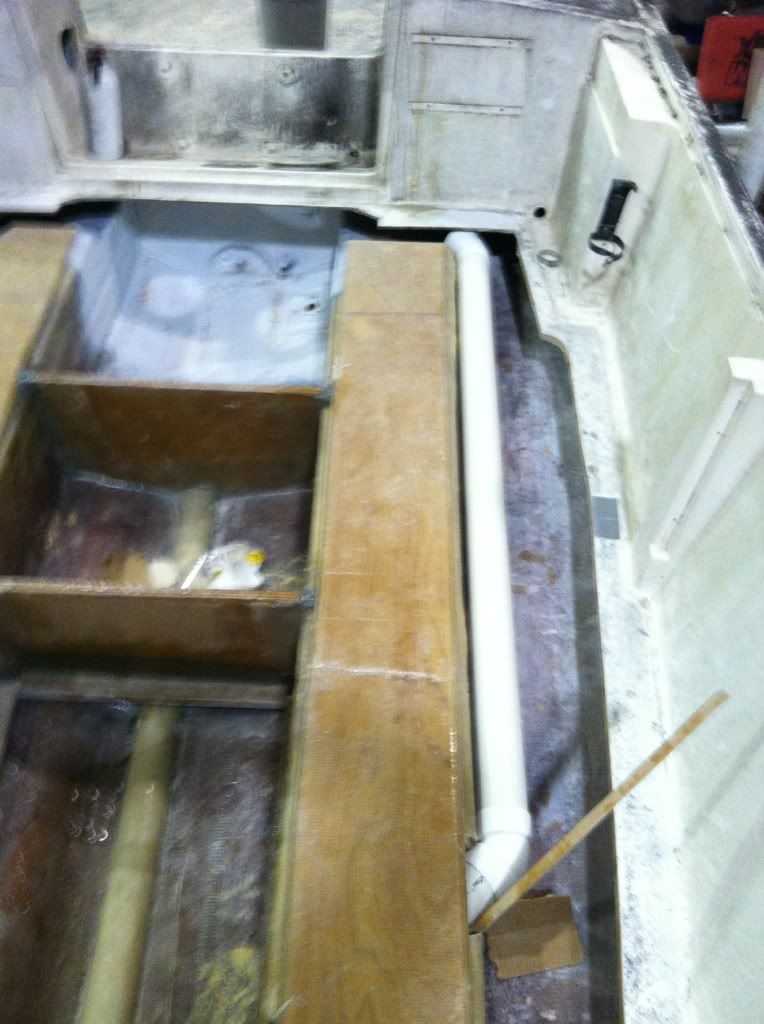 The pvc pipe chase is not fastened in yet, but will be shortly. I primed/painted the area in front of the tank and bilge area with urethane paint. The front area will have the hatch shown and act as the anchor locker. The pvc along the keel starts at the bulkhead and runs to the bilge for drainage. 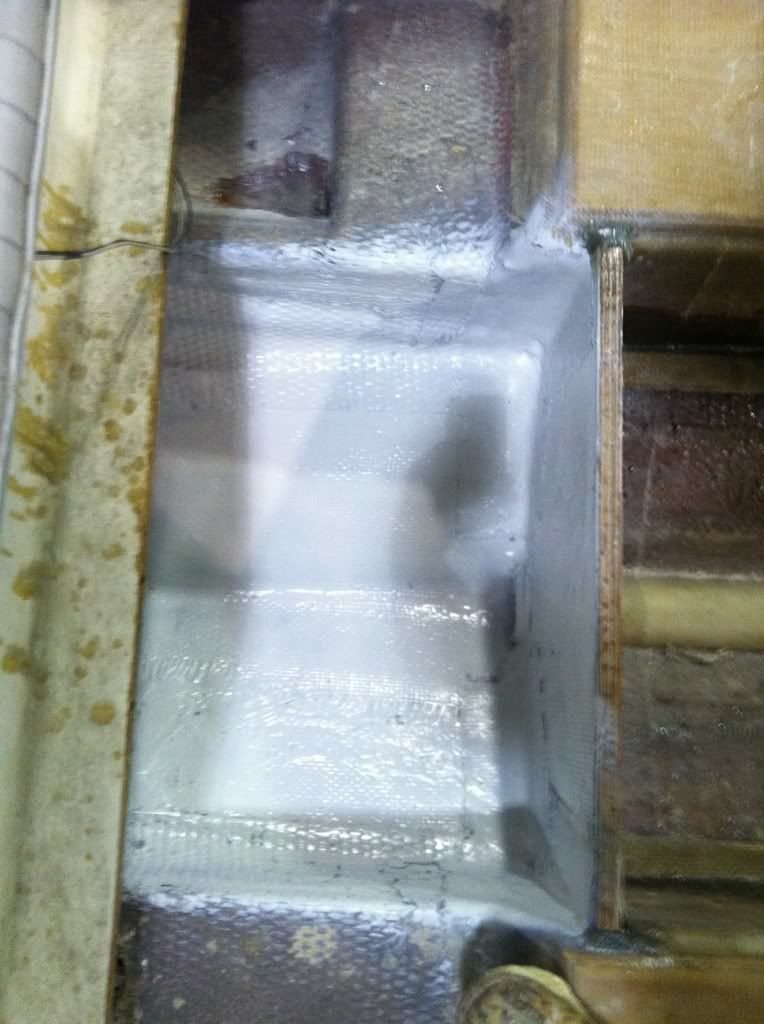 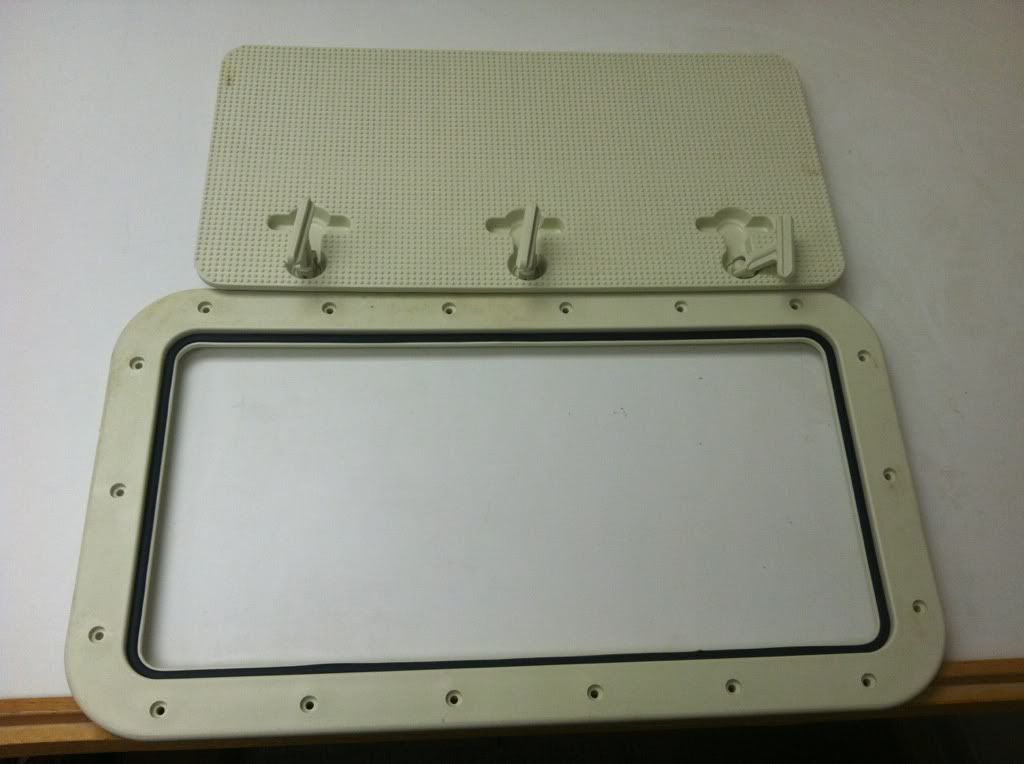 The thru hull pad was bedded and covered in 1708 before the urethane paint. I over drilled the holes and refilled them thickened resin, in hopes of eliminating any chance of water intrusion. 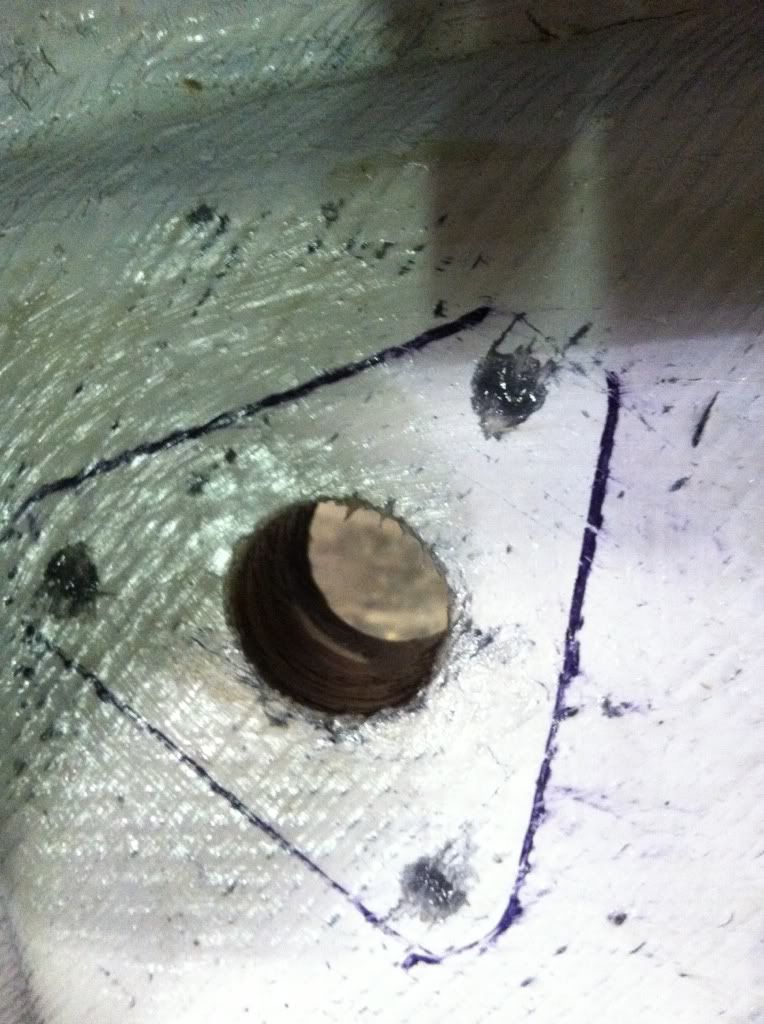 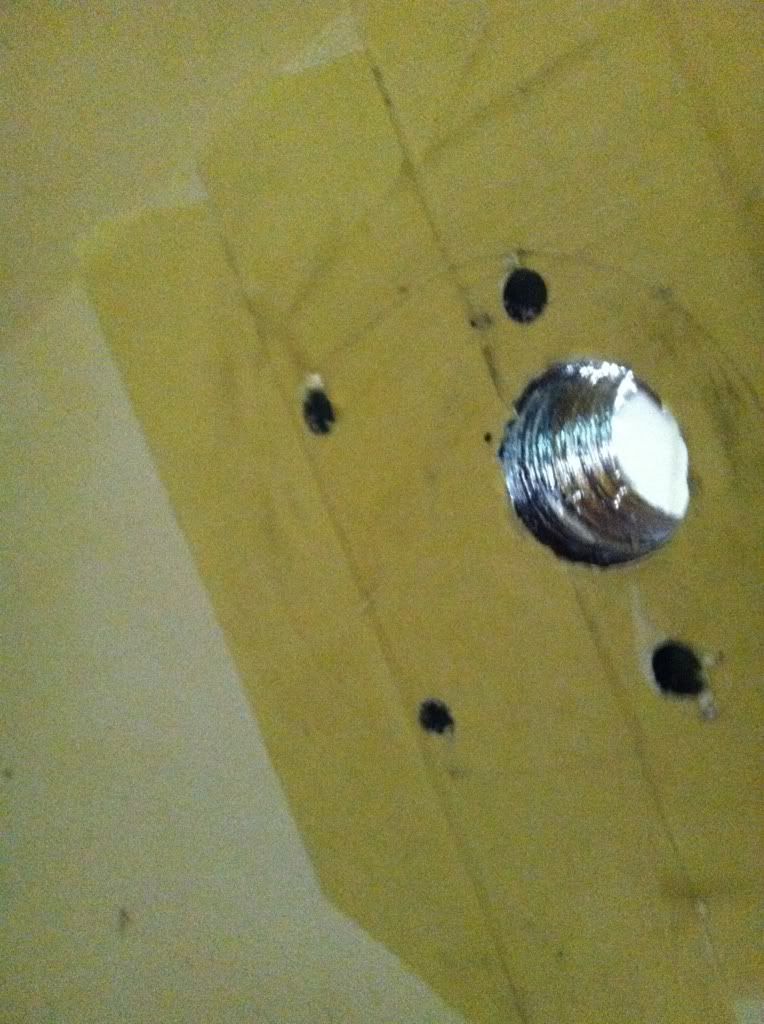 Ill pull the tape on the inside area of the scoop once the resin is hardened. I'm following the same process as shown on boe marines website for installing a thru hull transducer. The tank is ready to be set, but I'm not going to do that until Ive got the areas outside of the stringers foamed in. Fuel lines are on the way. |
|
#32
|
|||
|
|||
|
Templated the deck and got it cut out with extra blocking where there are seams/cutouts. Still awaiting a date for the foam to go in (hopefully this week).
Template made from scrap 1/4" material. 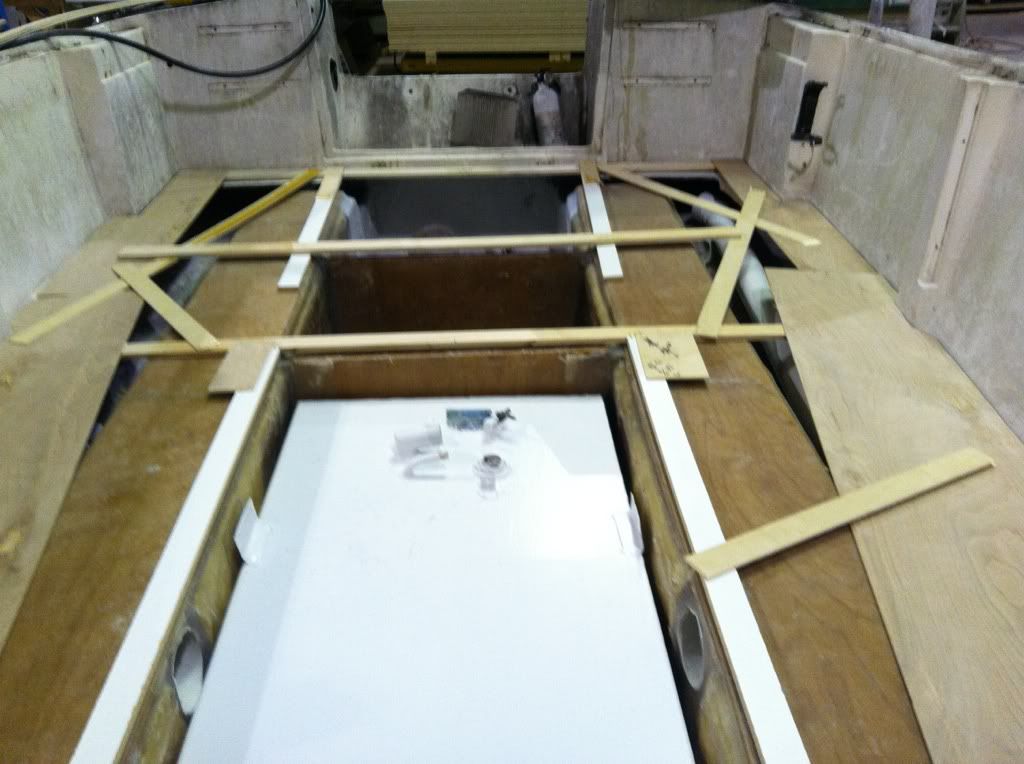 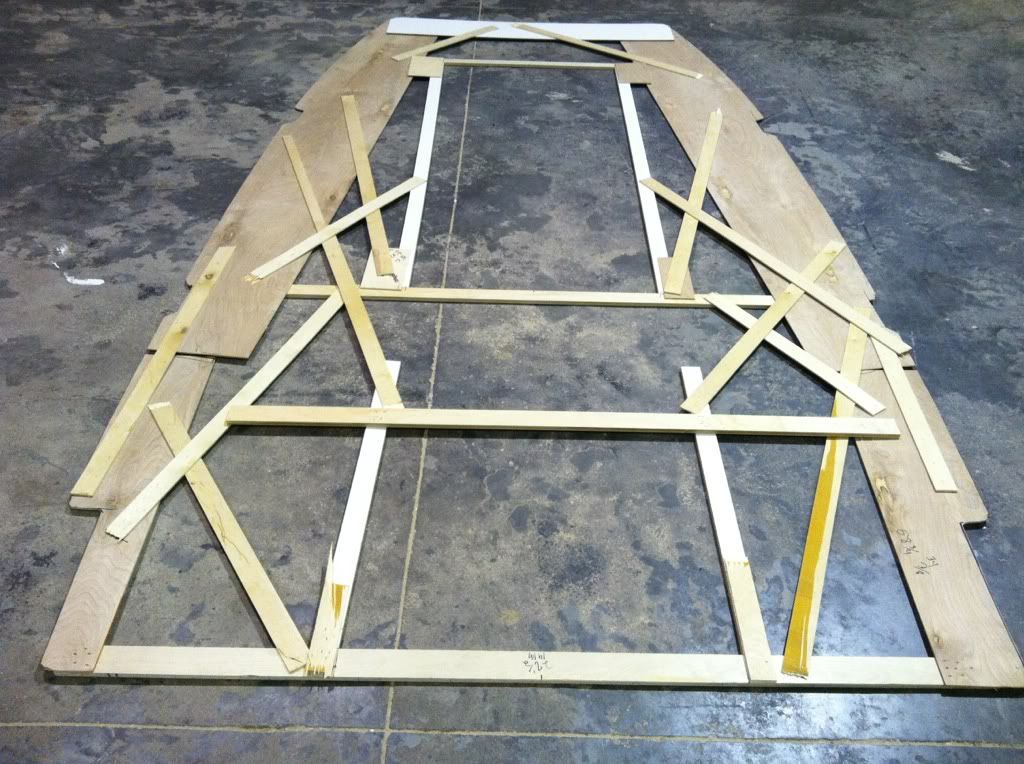 spraypainted the outline onto 1/2" MG ply. 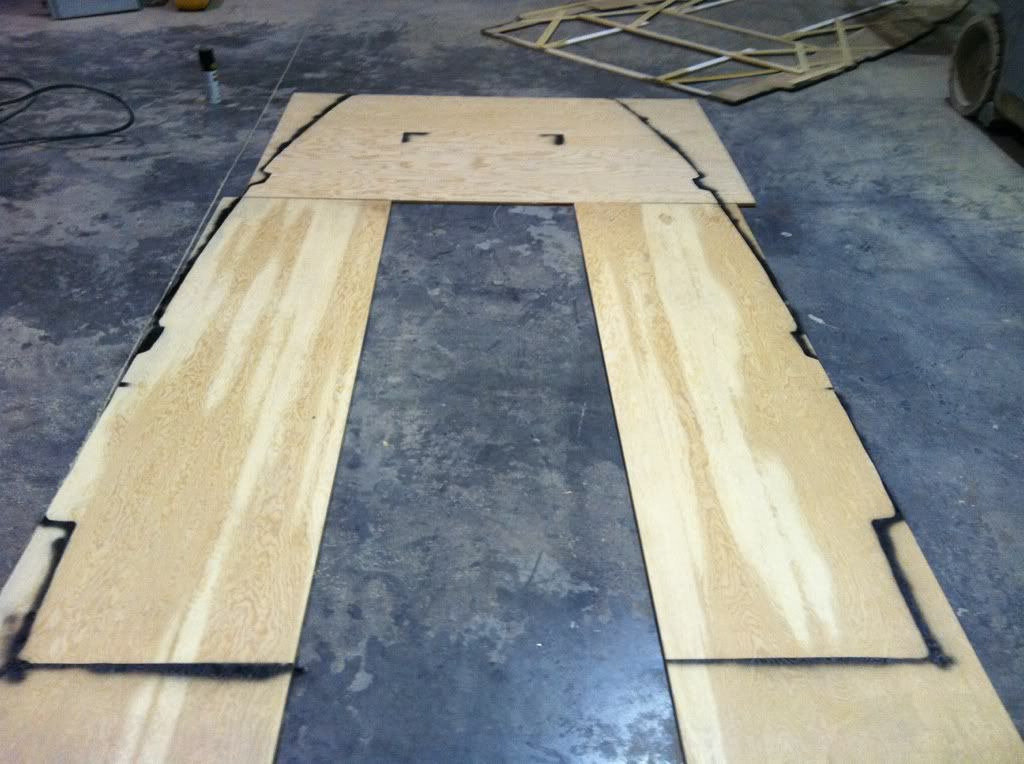 cut out, with a 3/8" radius on the underside @ the perimeter, and test fitted. 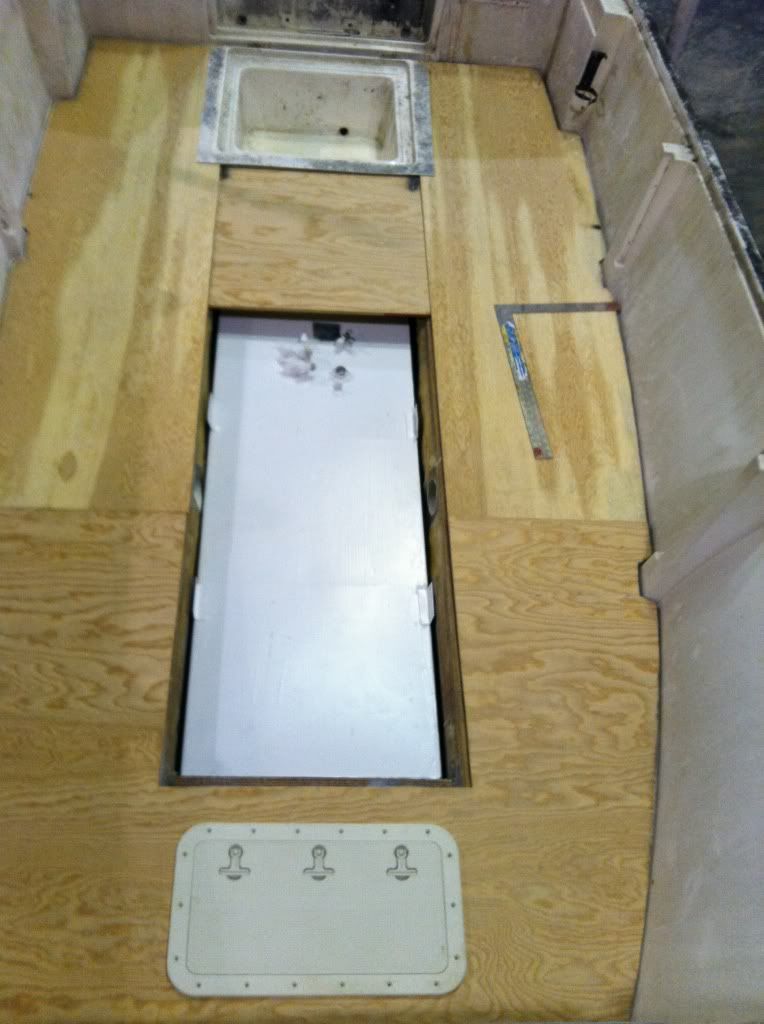 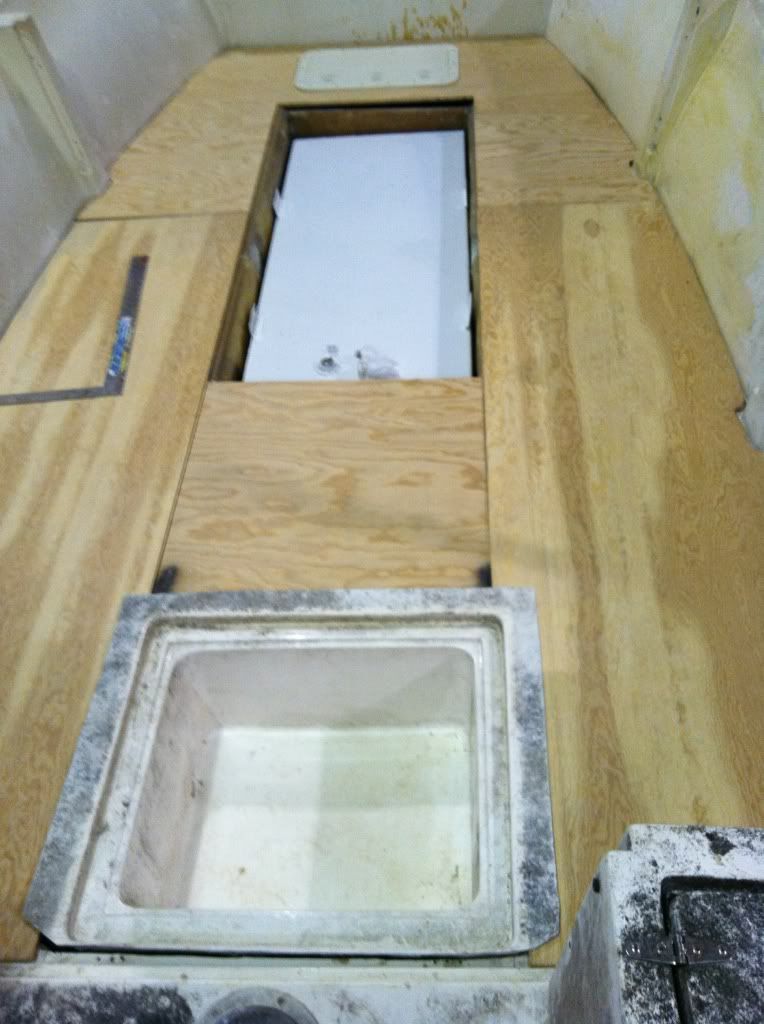 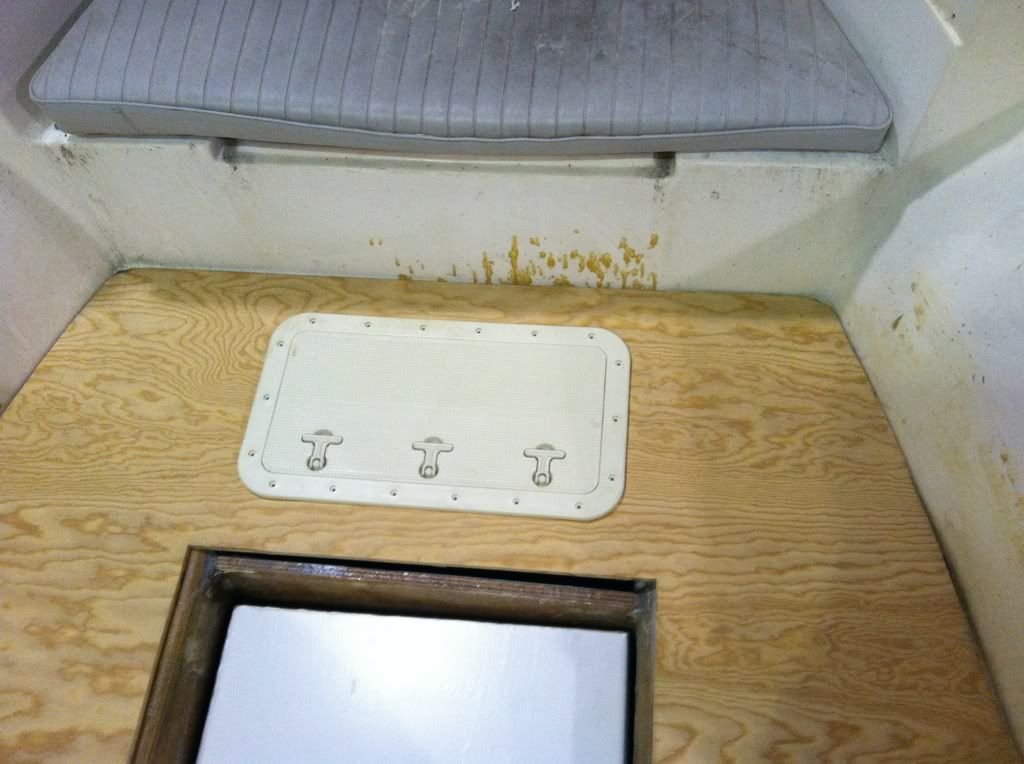 The above pic shows the area for anchor storage and the hatch. The piece of ply in the middle right behind the fuel tank was swapped for a wider piece so it can get plenty of support from the stringers. As it is in the picture shown, there isn't enough support left/right of the wood, as it barely touches the stringers. This pic shows the available room for the wire chase, something I was originally concerned with, but its fine. 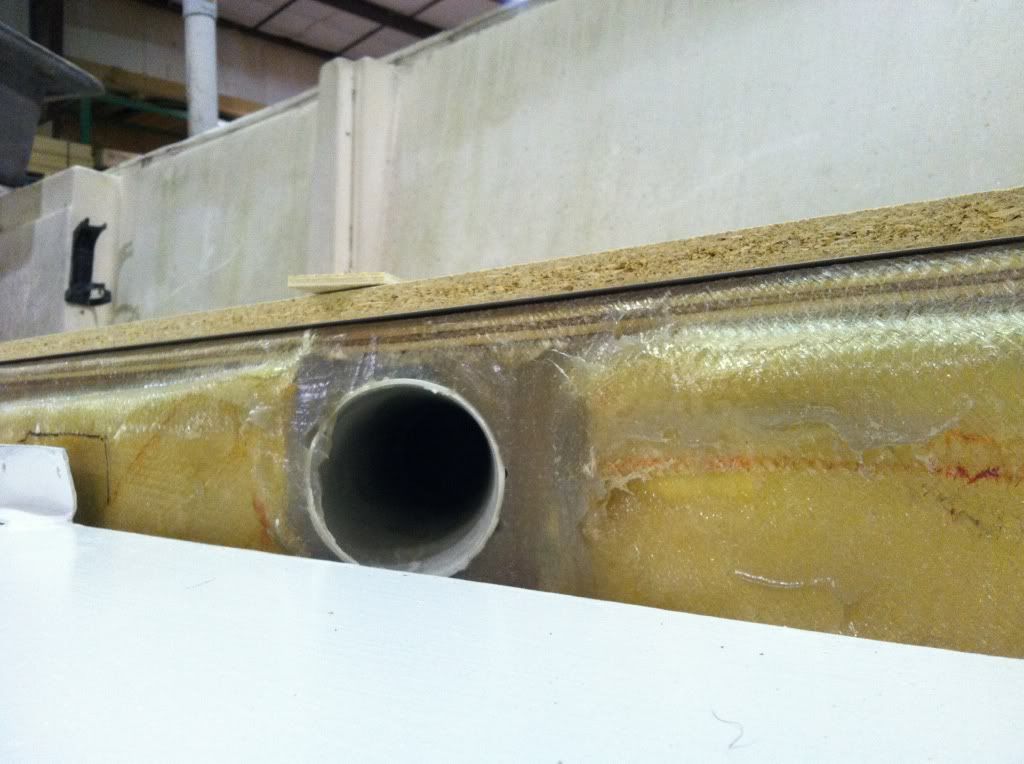 Hotcoat and glass the underside is on the agenda this week. Pretty busy with a lot of other stuff, so we'll see what gets done. |
|
#33
|
|||
|
|||
|
Can you please explain what you meant by " fillets made so the 1780 can wrap the stringers " in post # 31. I can't really get a good visual to figure it out from the close up picture.
|
|
#34
|
|||
|
|||
|
Quote:
The stringer tops were cut out to remove the old foam. I made sure to cut inside the radius of the stringer top, because I feel the roundover of the fiberglass add to the rigidity of the stringer. Once it was refilled, I glassed over it, then the placed the plywood on top. The plywood was narrower than the stringer due to the roundover @ the top of the existing stringer. In order for the fiberglass to lay easily between these transitions, I made a fillet with thickened resin. (milled fibers and cabosil) The pdf will better explain what I am saying. |
|
#35
|
|||
|
|||
|
Gotcha ! thanks.
|
|
#36
|
|||
|
|||
|
Got a lot done this weekend. The last of the hull was prepped for foam and everything else needed before the deck went on.
Made some pads to level up the old scupper channels flush with the old deck. 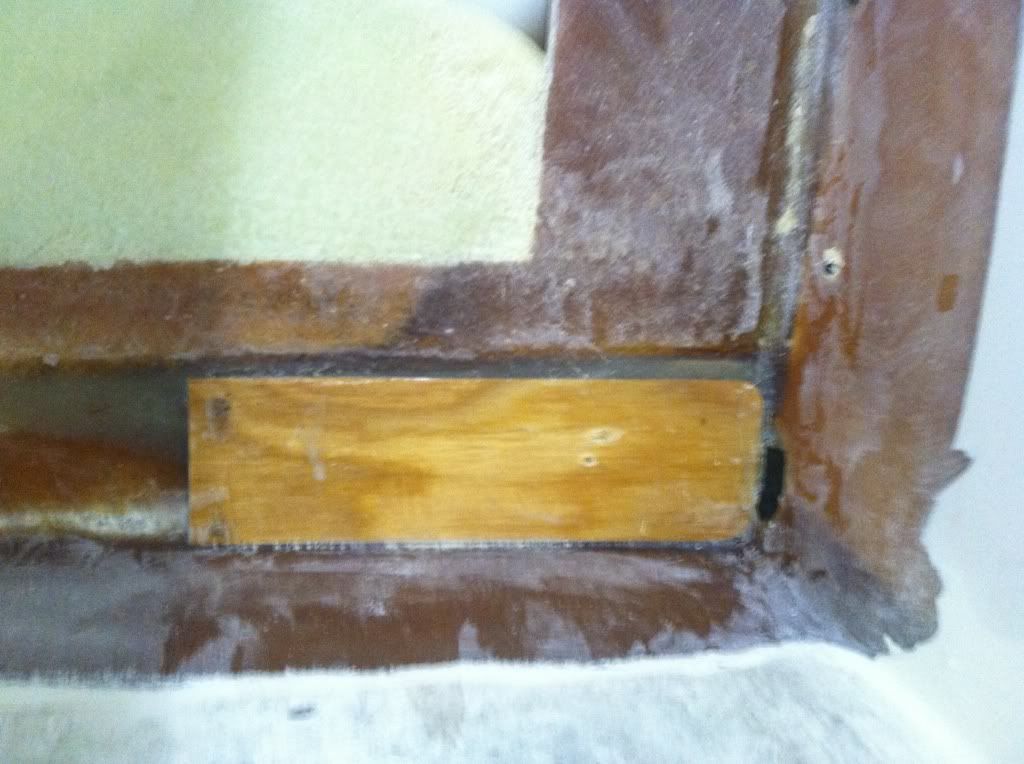 added 3/4" cleats front and back to support the deck/fuel hatch better 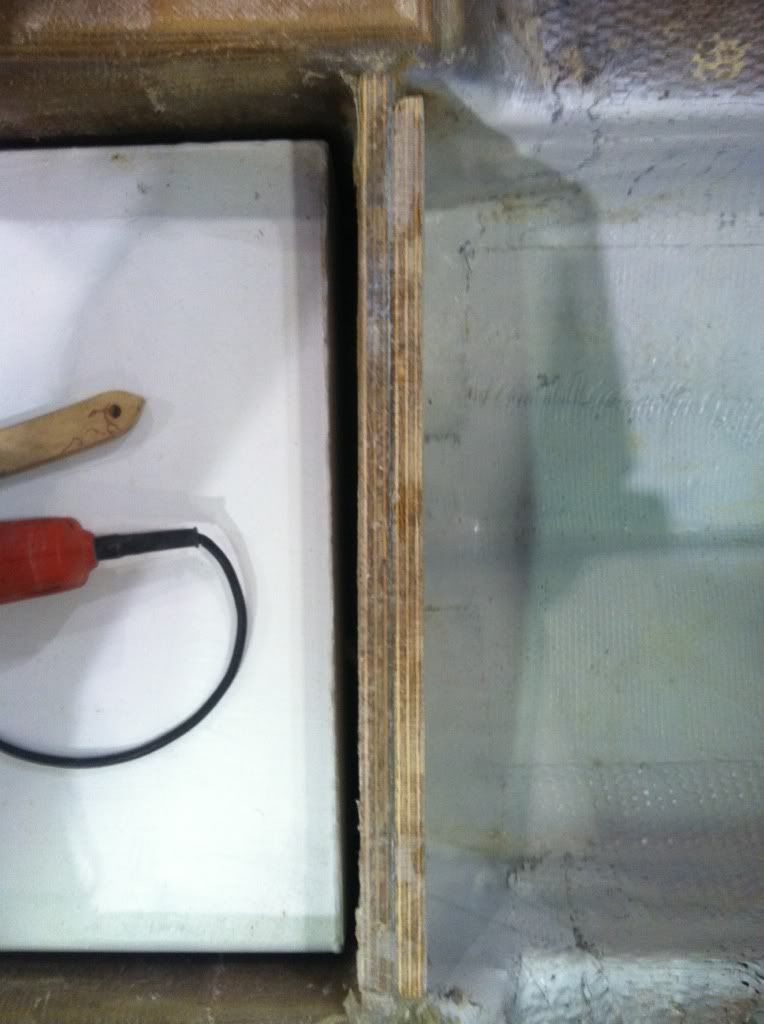 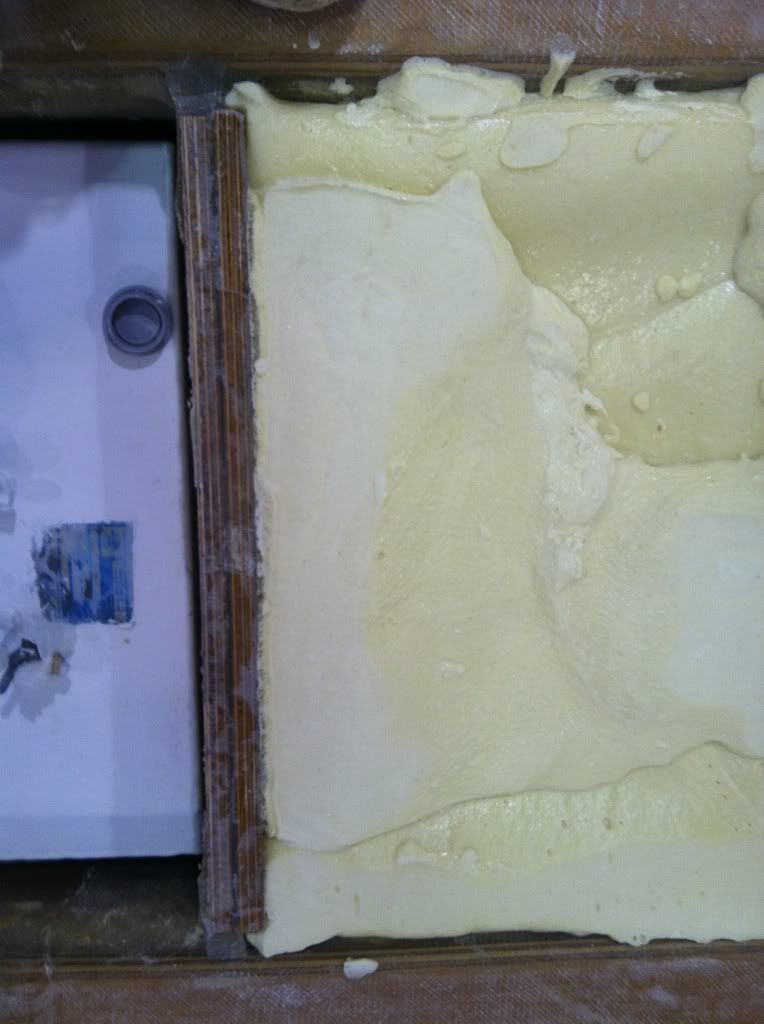 rolled on some PVA to the underside of the new deck pieces and screwed them in place temp. while the 2lb foam expanded into place. removed the deck once it was set and hit a few spots the foam never got to. Some people install the deck and then use create openings throughout the deck and pour the foam in, but I wanted to be sure that the foam was everywhere, so this route seemed to make more sense. Just make sure to remove the PVA once you are done. 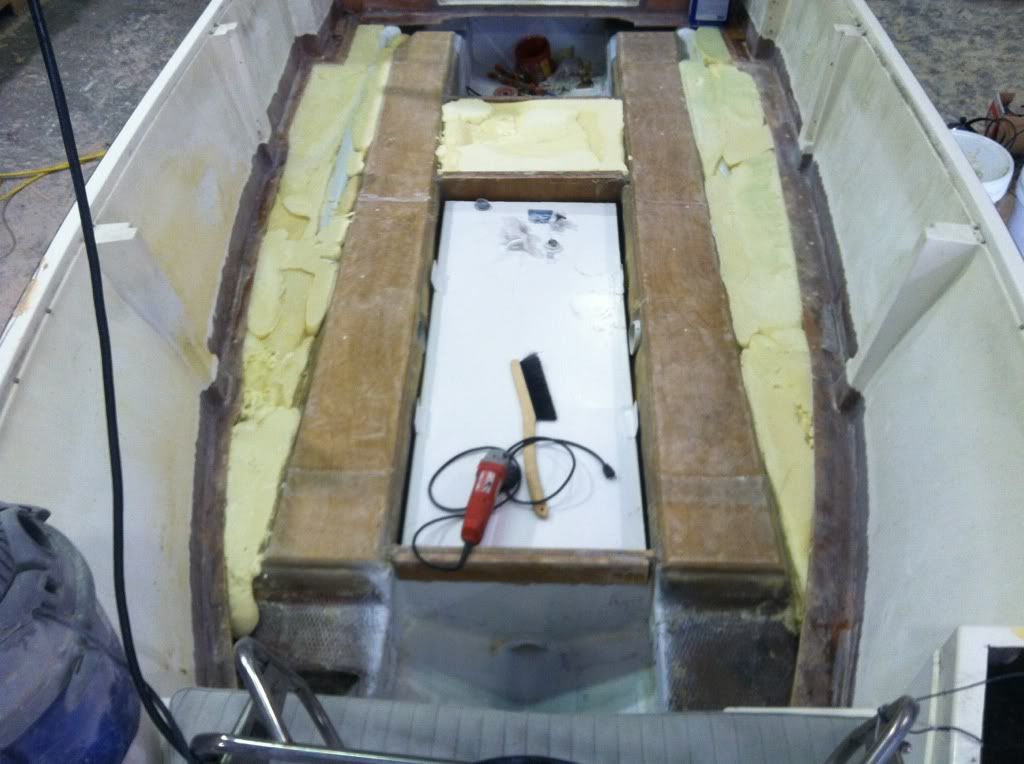 I also added a perimeter around the front deck hatch to stiffen it up: 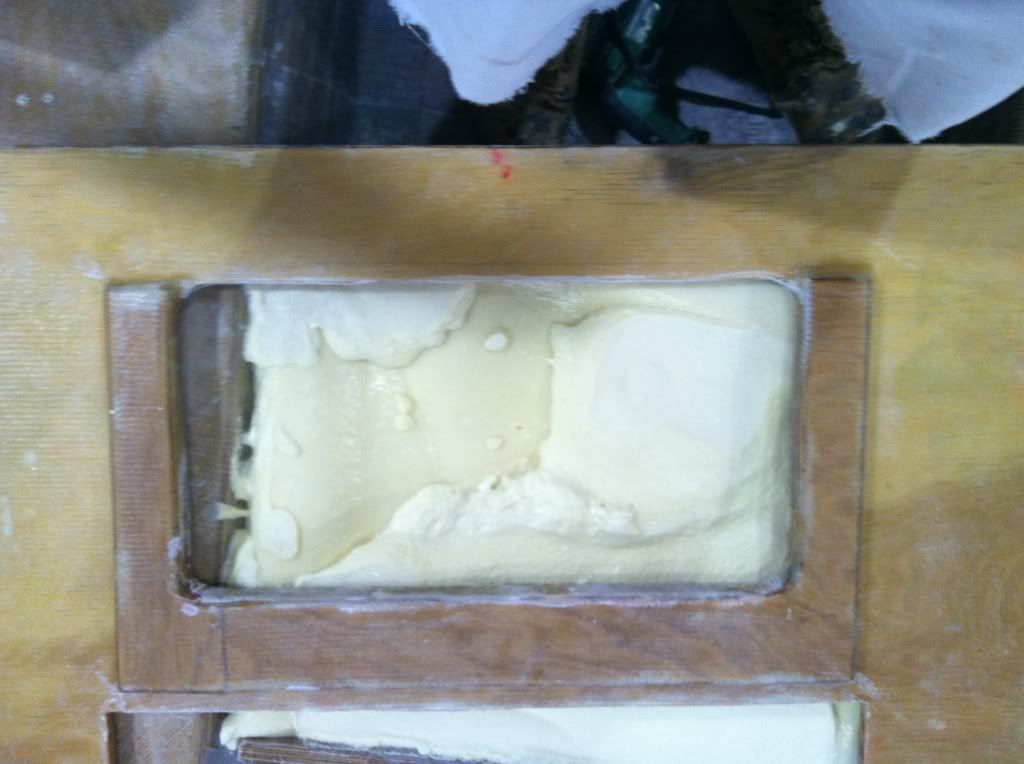 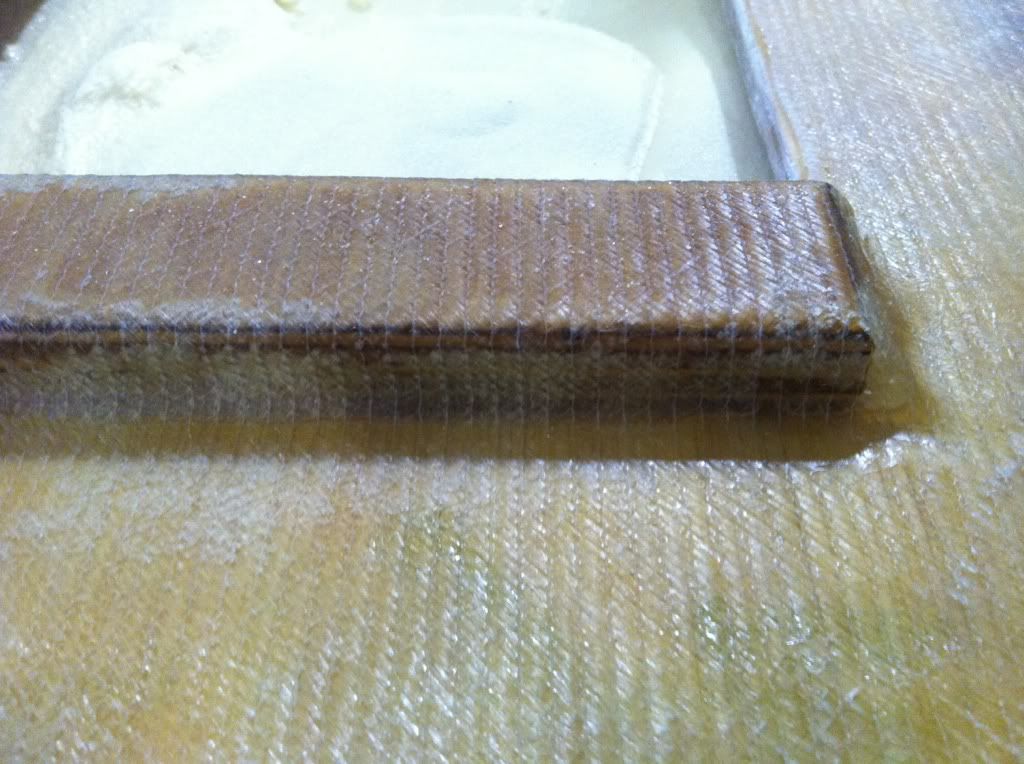 Sat evening I got the deck bonded/screwed down, and yesterday I removed all the screws and filled all the holes, and made a fillet where the deck meets the hull. Ill cover it in glass this week. |
|
#37
|
|||
|
|||
|
Put a layer of 1708 over the deck and up the sides a few inches. Now I'm spending most of the weekend fairing the transition between the existing gelcoat and new glass. Its actually going a lot easier than expected. I used a grinder with a 40 grit wheel to knock down the edge, and then a DA with 40 grit to smooth it out even more. All of the inside corners at the gunnel supports and bow/stern were much easier than expected. I used a dremel tool with a stone attachment to create the radius I needed, and then used a square DA to get inside and knock down all the high points level with the radius made. Still have a ton of fairing to do this weekend, but its going better than I figured, SO FAR.
Pics: 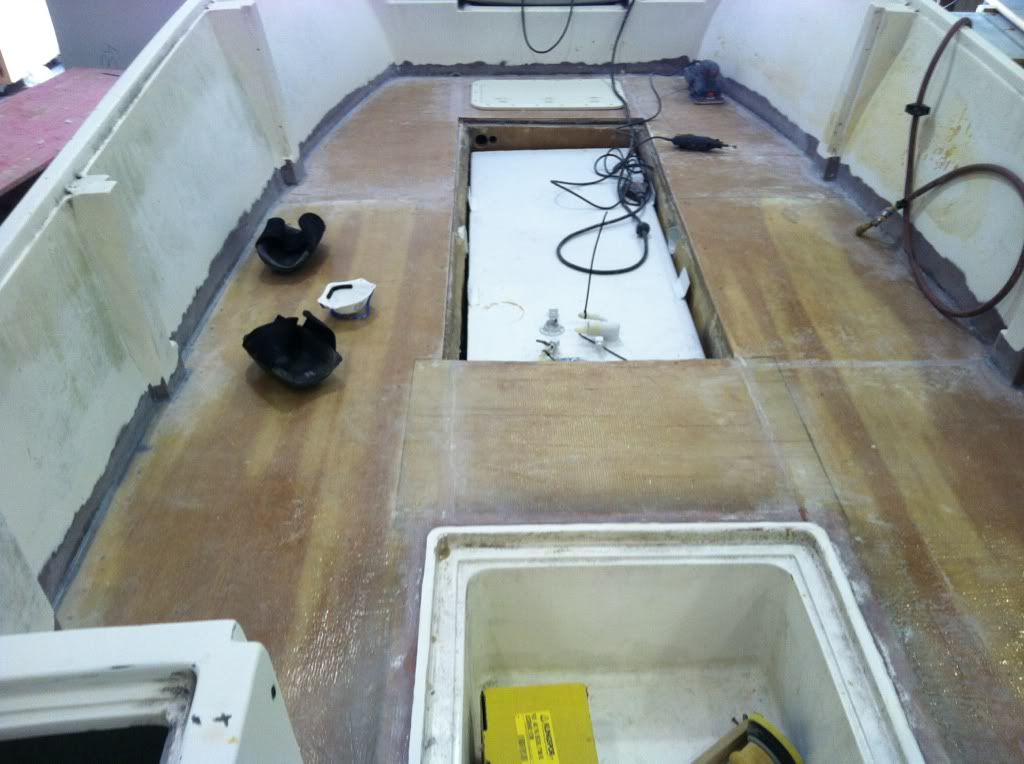 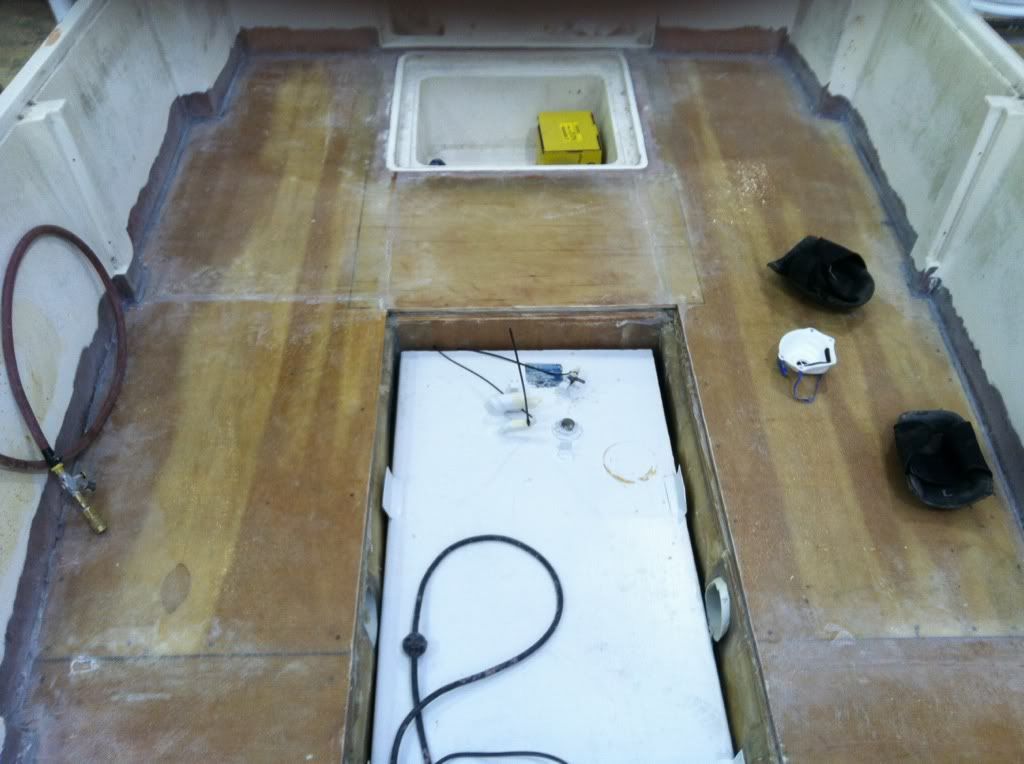 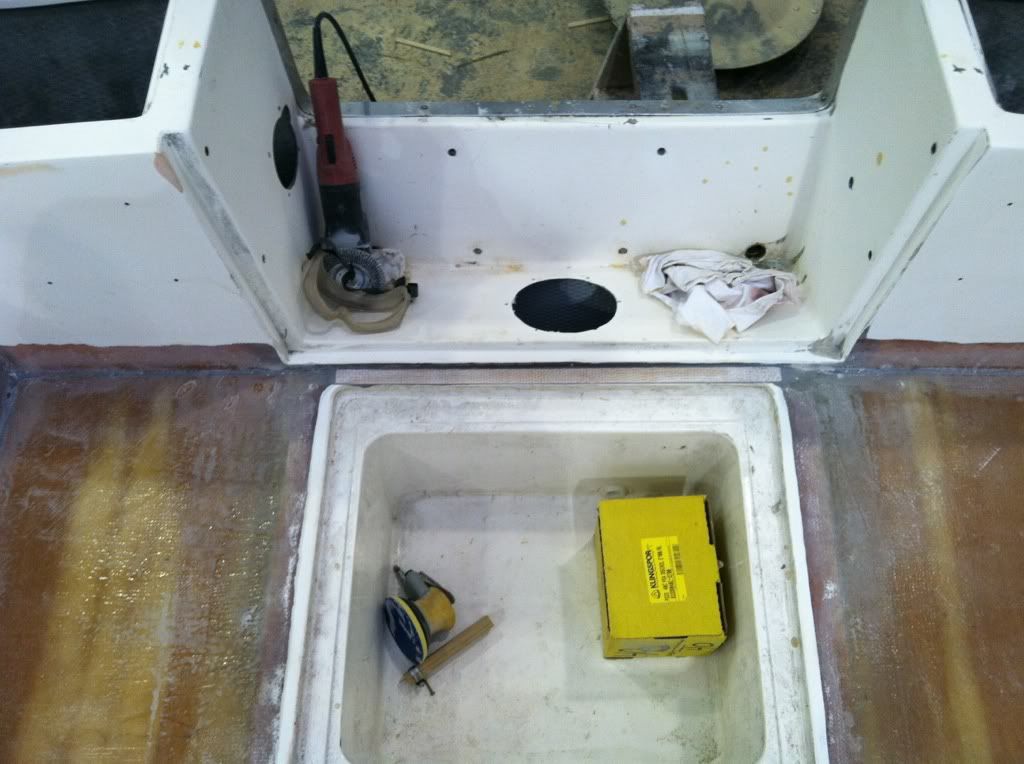 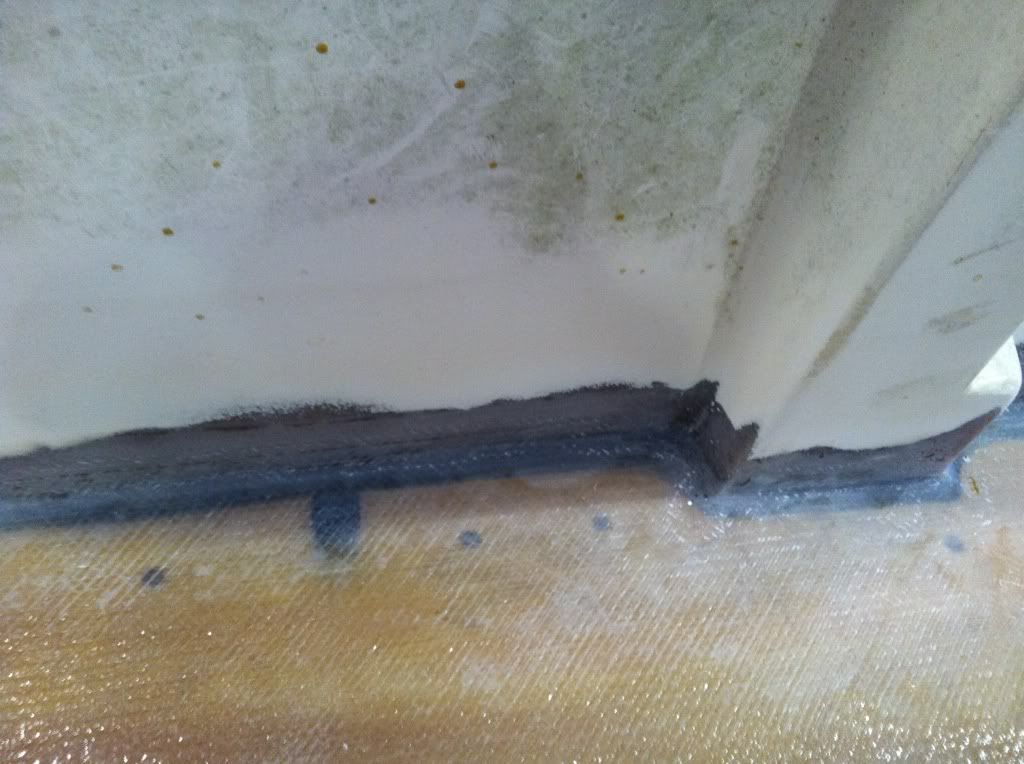 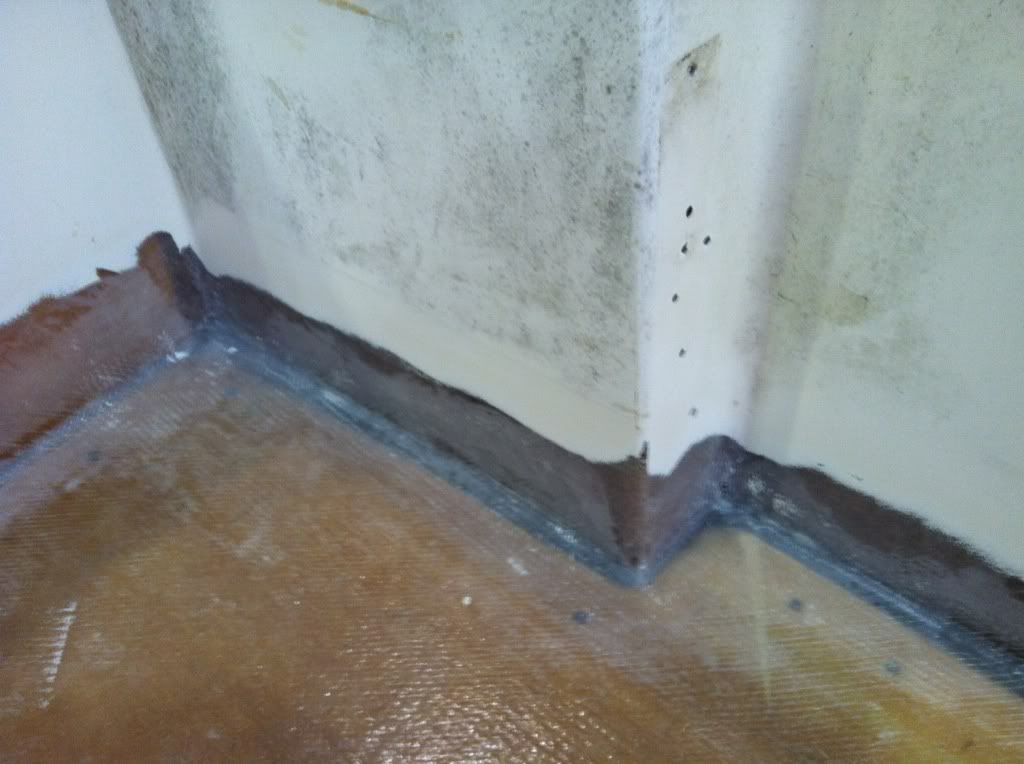 Some plumbing done. Larger, 1 1/2" scuppers were added, along with plumbing for a second bilge pump. 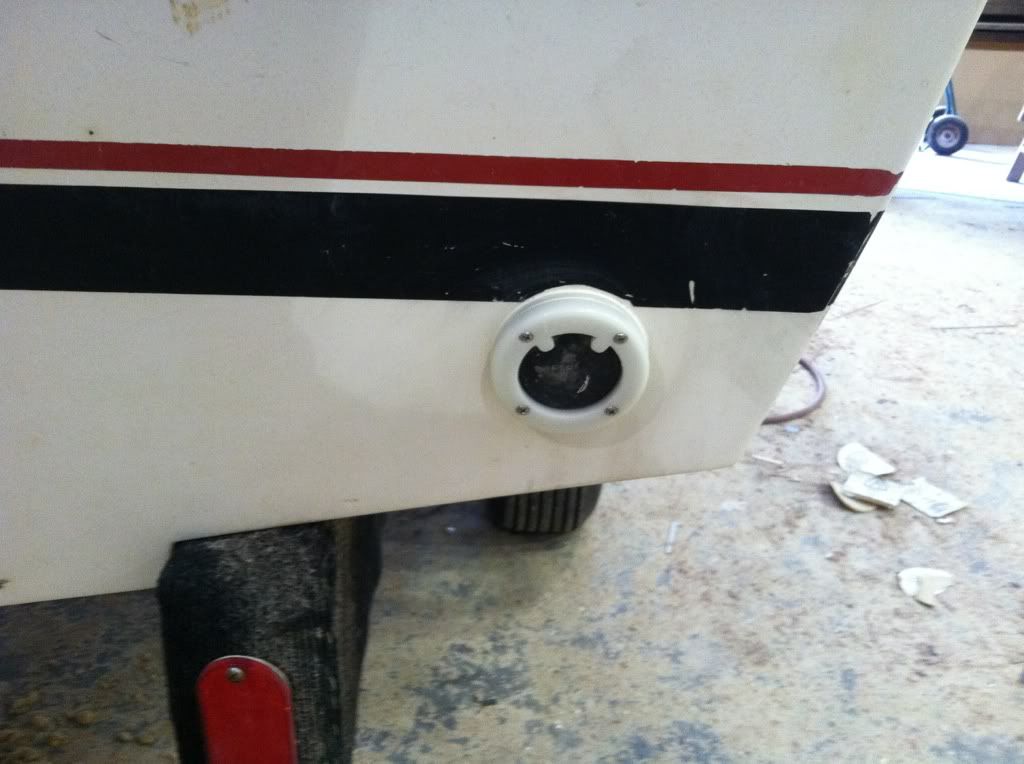 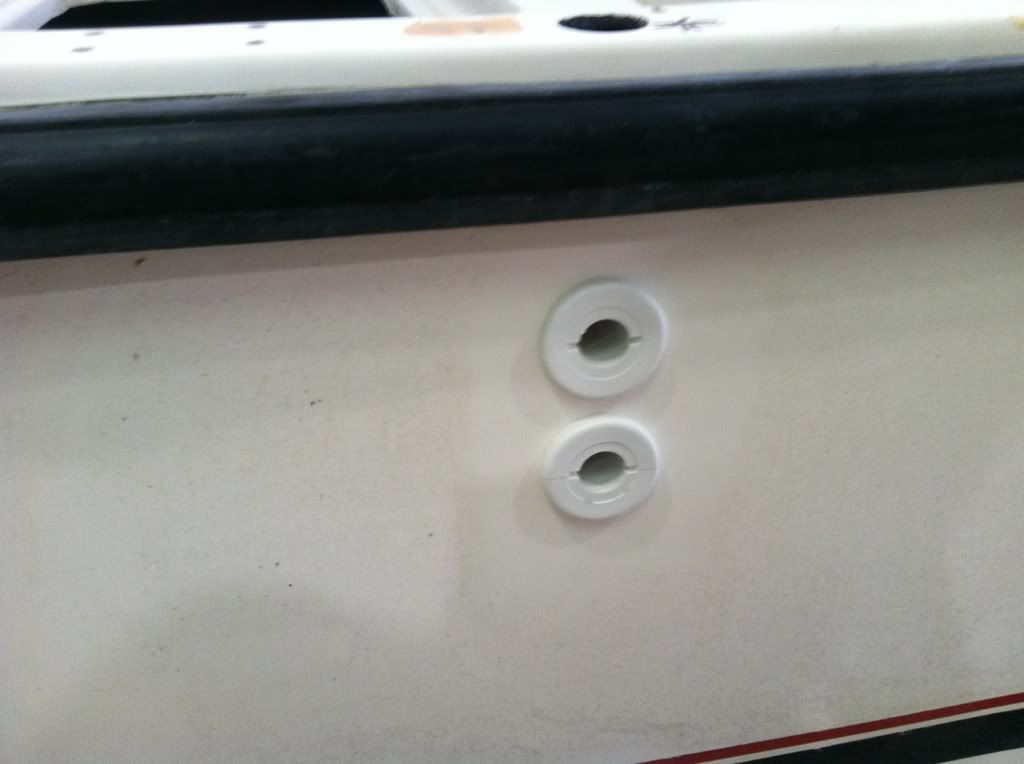 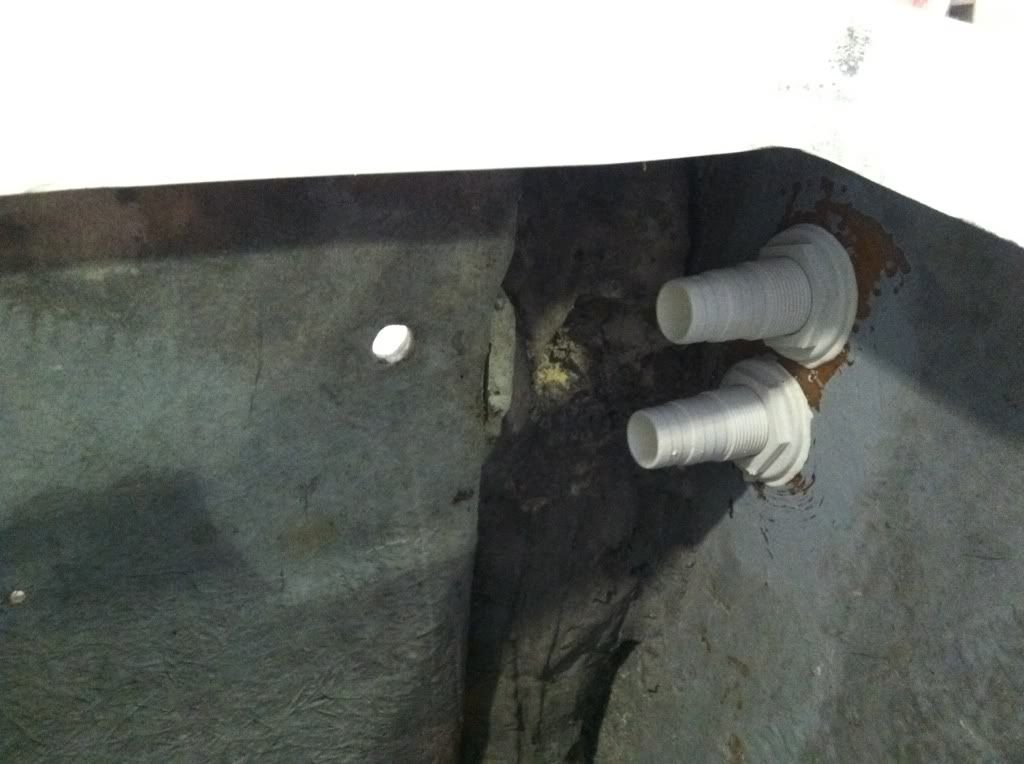 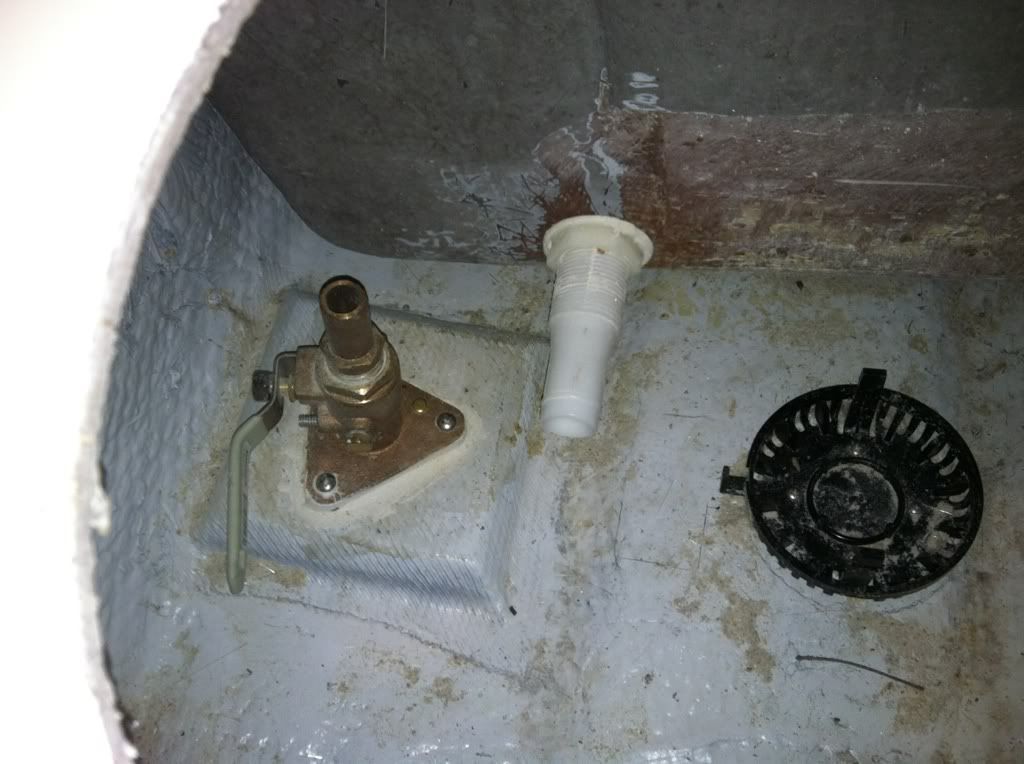 Second bilge pump will be added once a new base comes in. (lost the previous one somewhere along the way) Ideally, I would like to have a LOT of the boat ready for primer by the end of this weekend. |
|
#38
|
|||
|
|||
|
all last weekend/this week nights has been spent fairing. I'm gonna get happy with it by this Friday evening and hopefully have the topside primed this weekend. The hull gelcoat is fine, I need to wetsand it at some point, but that will probably happen once its finished and I find some time.
I'm using HMG paints; I haven't heard a lot about them but what I have heard, is good. Im spraying an epoxy primer, which they say does not need to be sanded before topcoat (minus imperfections) Topcoat is a twopart polyurethane paint (Acrythane XSC) Matterhorn White, with kiwigrip gray for nonskid. I'm going to flatten the shine to a semigloss, because I dont want a) every imperfection standing out, and b) I think it will look like crap if its not kept spotless c) I dont want it to be blinding. The pics below of the hull is just the first of many layers for fairing...I'll get some final pics of it ready for primer tomorrow. 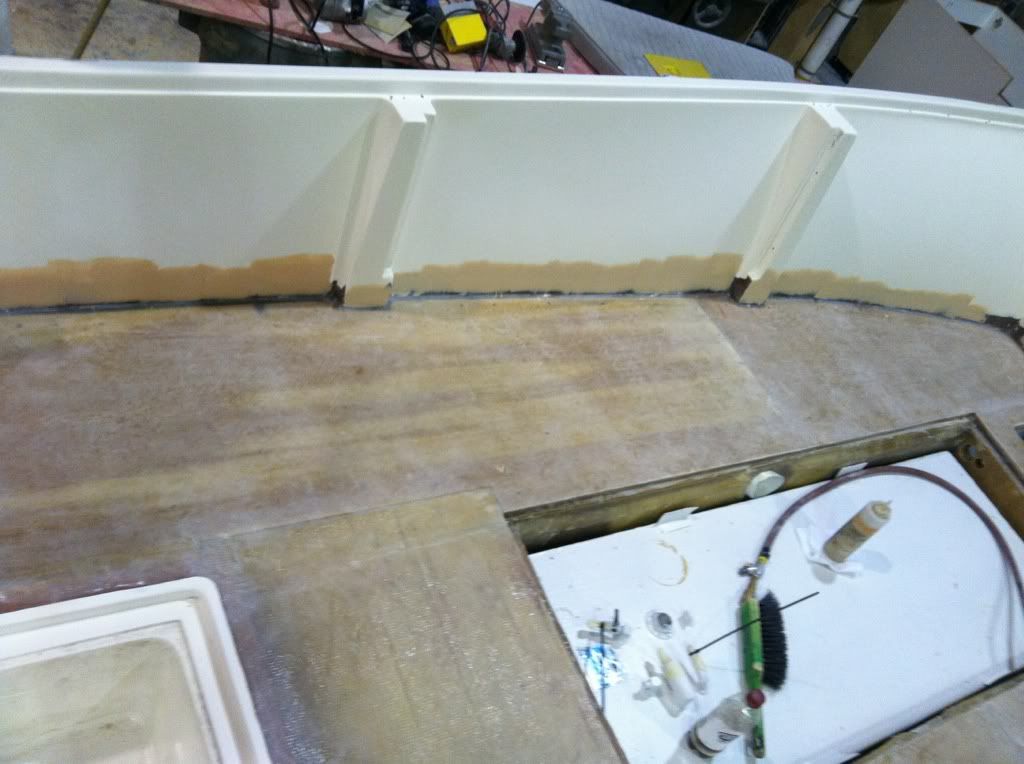 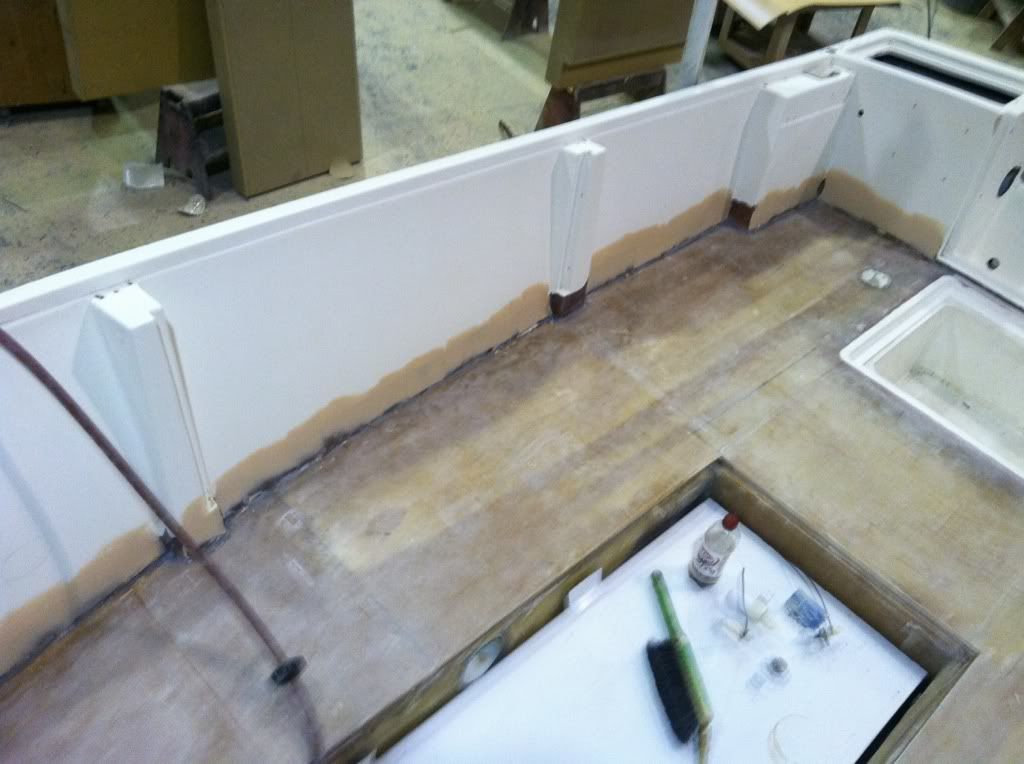 The console took a pretty good hit at some point in its life, but the trim will cover most of this up: 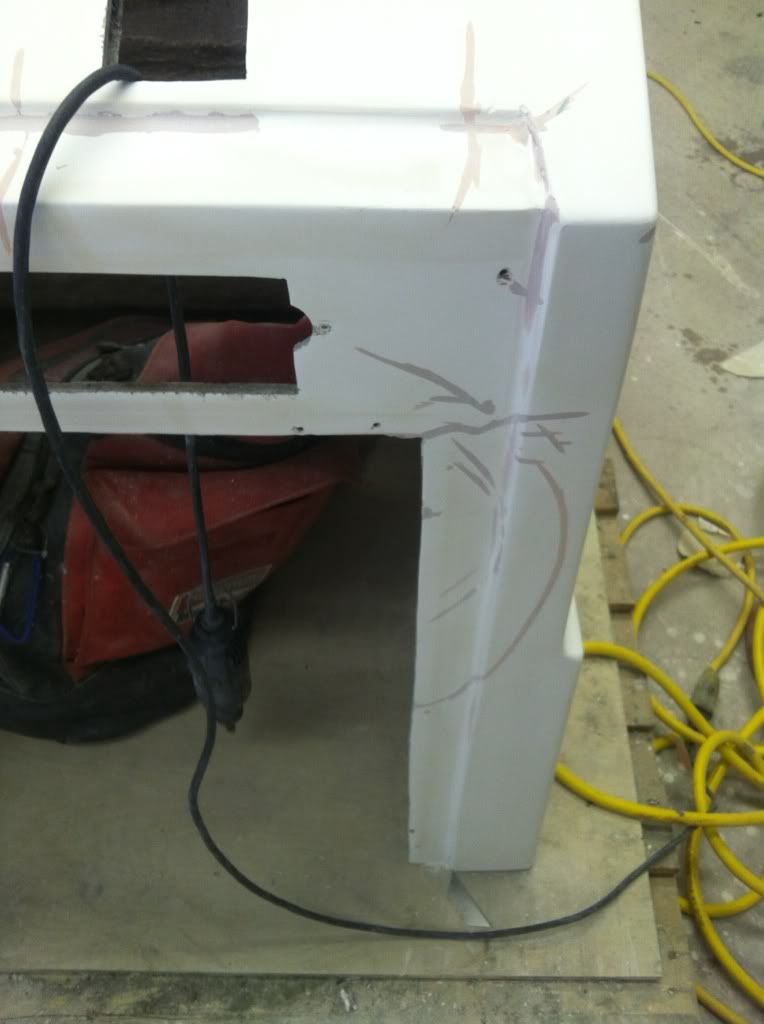 I also removed the lip, ill need to make an inside cleat for the console to mount to the deck 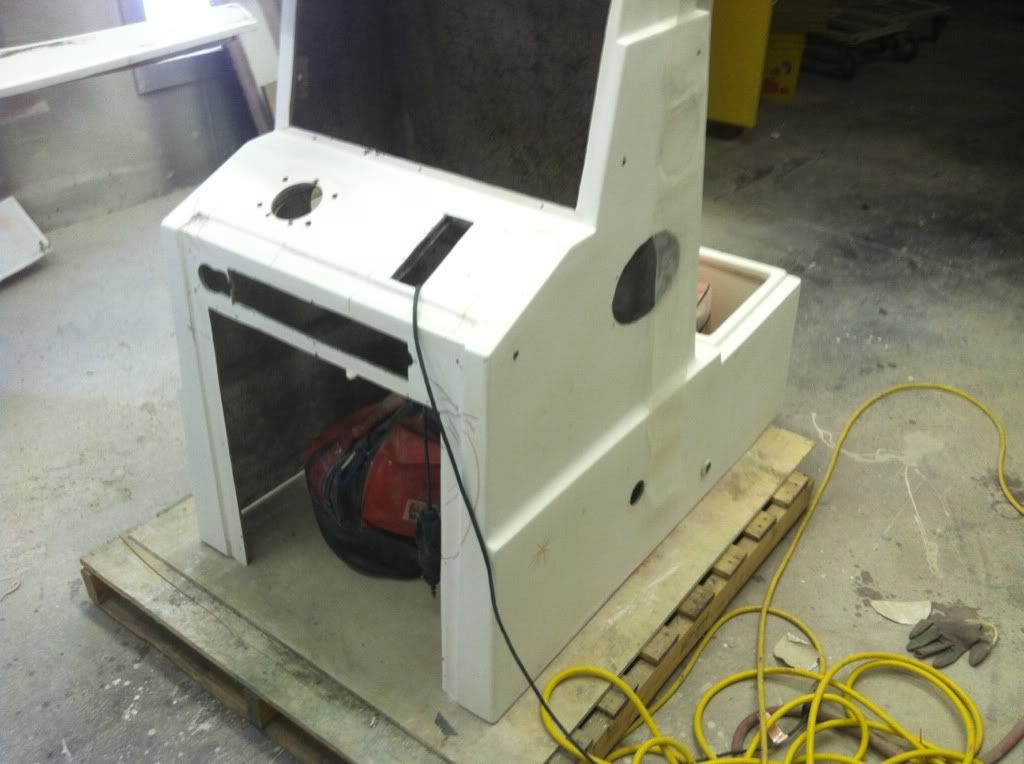 Hatches ready to go: 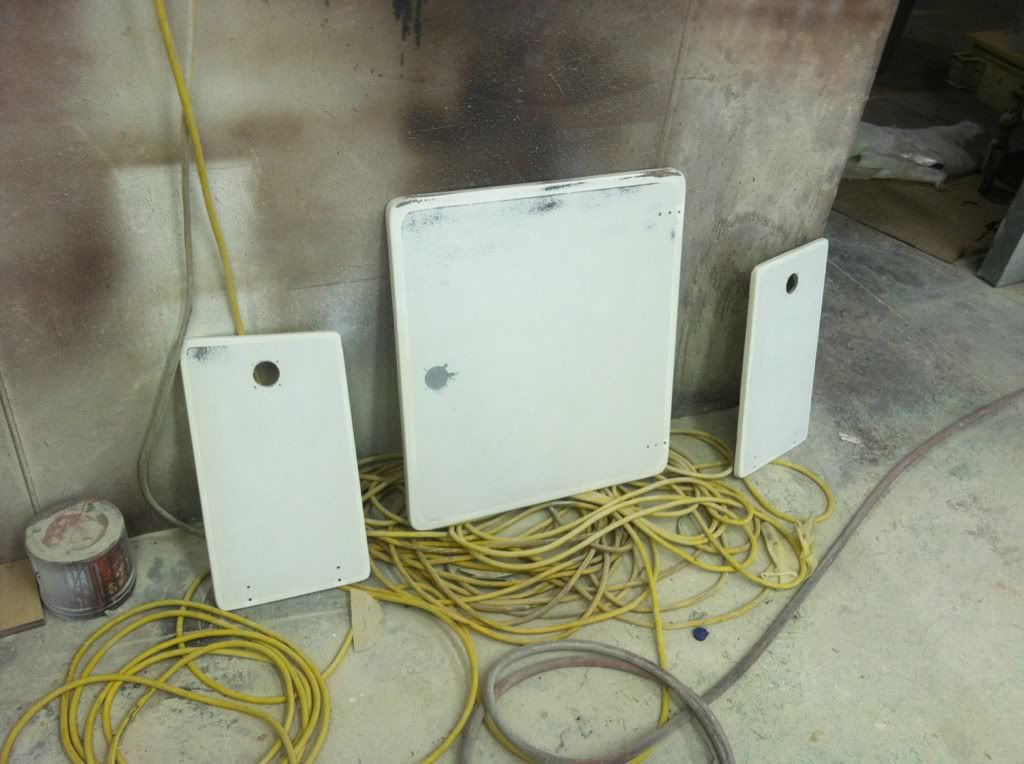
|
|
#39
|
|||
|
|||
|
Just got the shot the boat with primer. Cup gun wouldn't lay heavy enough, so I switched to the pot and it went on much better. I have lots of pinholes to cover with glazing compound before the hull gets a second shot, as well as some runs to sand out. Still hope to have the second shot done by Sunday evening.
More fairing yesterday as well as drilling for scuppers. 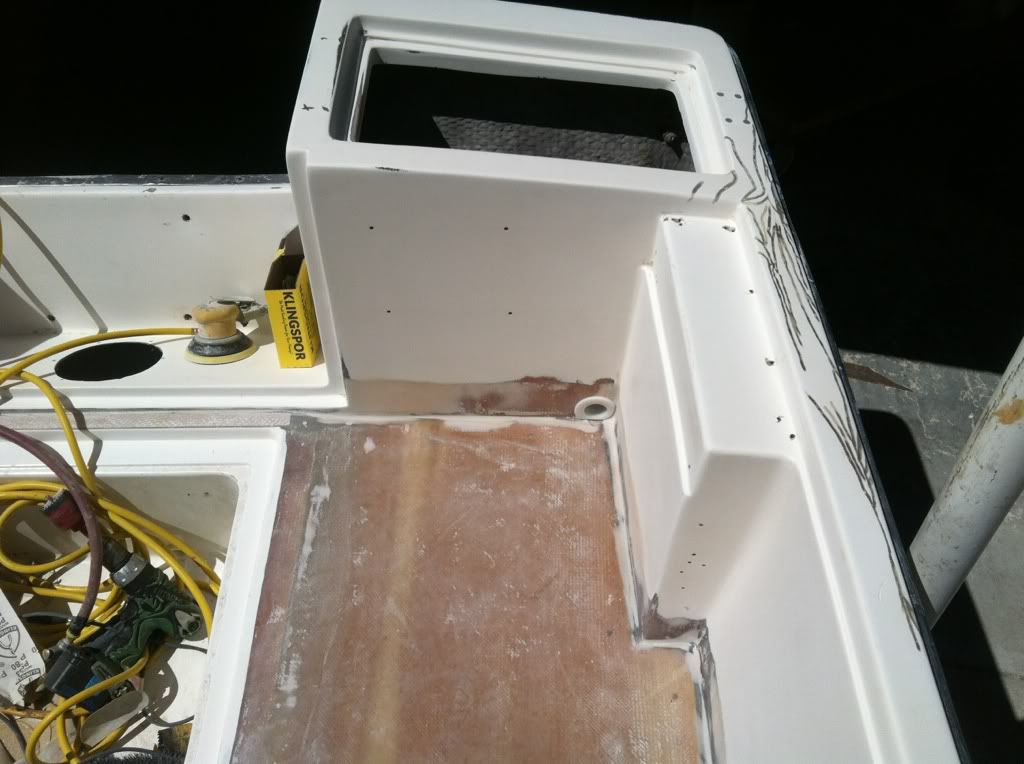 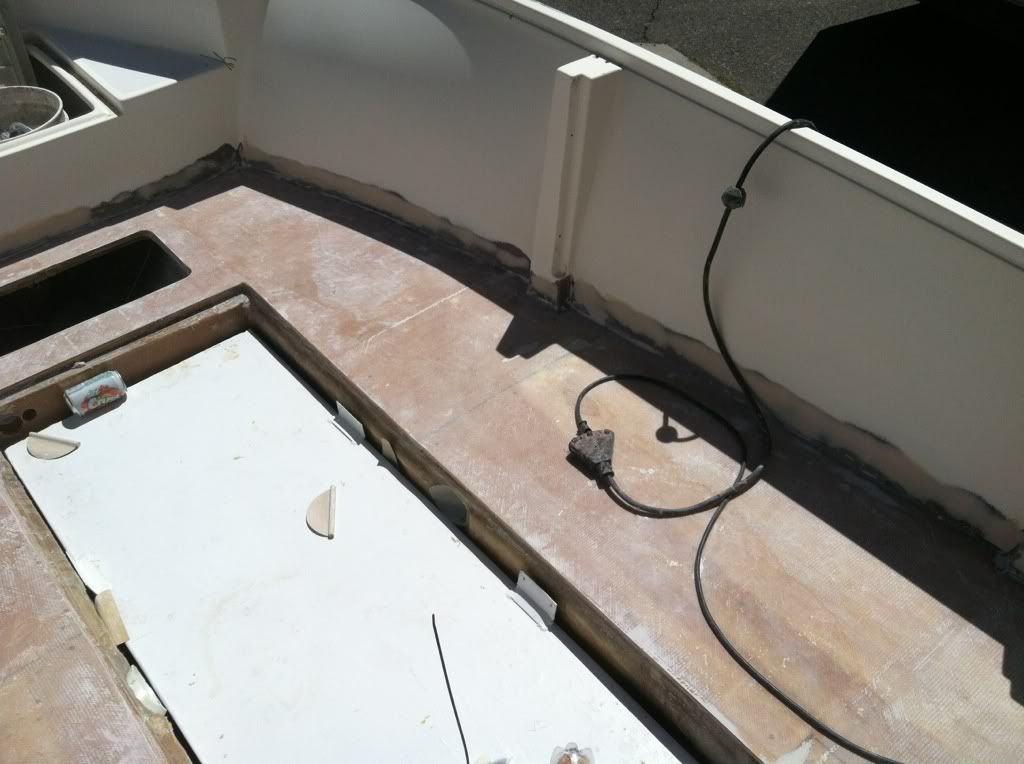 Washed it down first thing this morning. 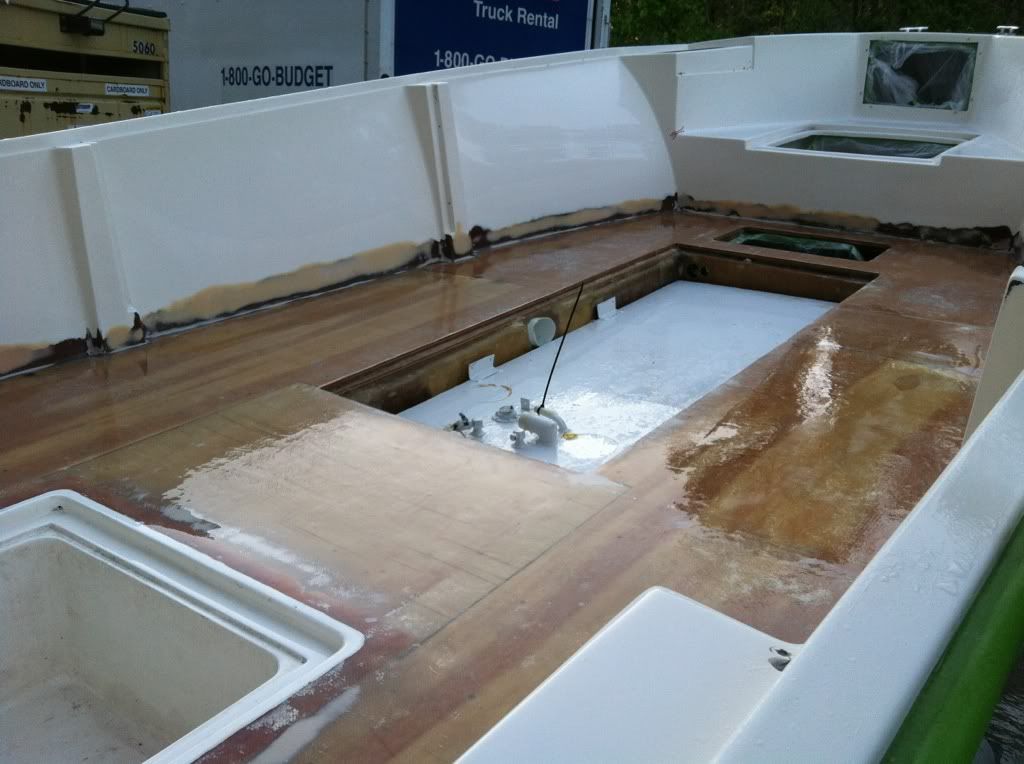 put a fan on it to dry, and wiped the hull down with acetone/tackrag and then shot it. 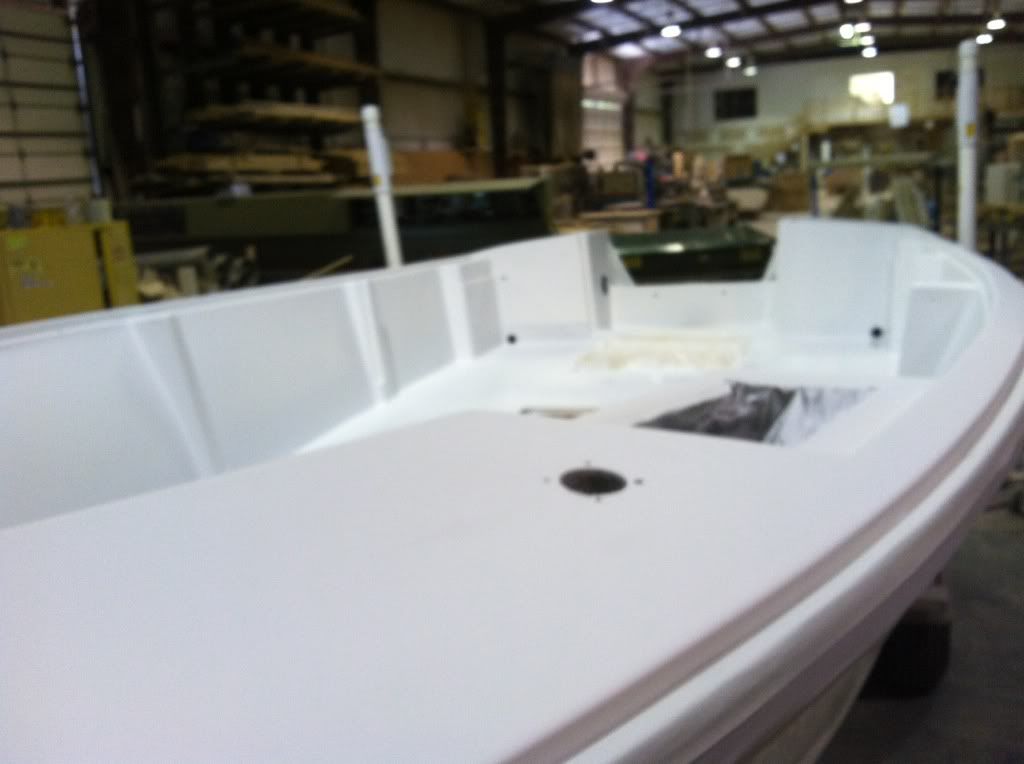 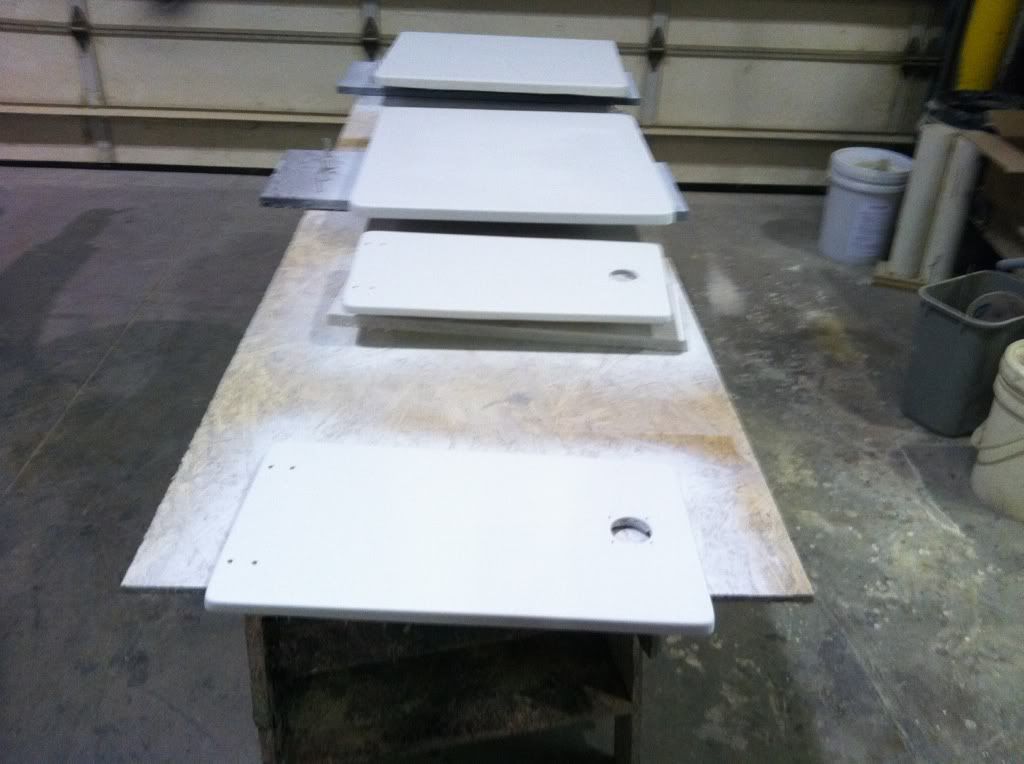 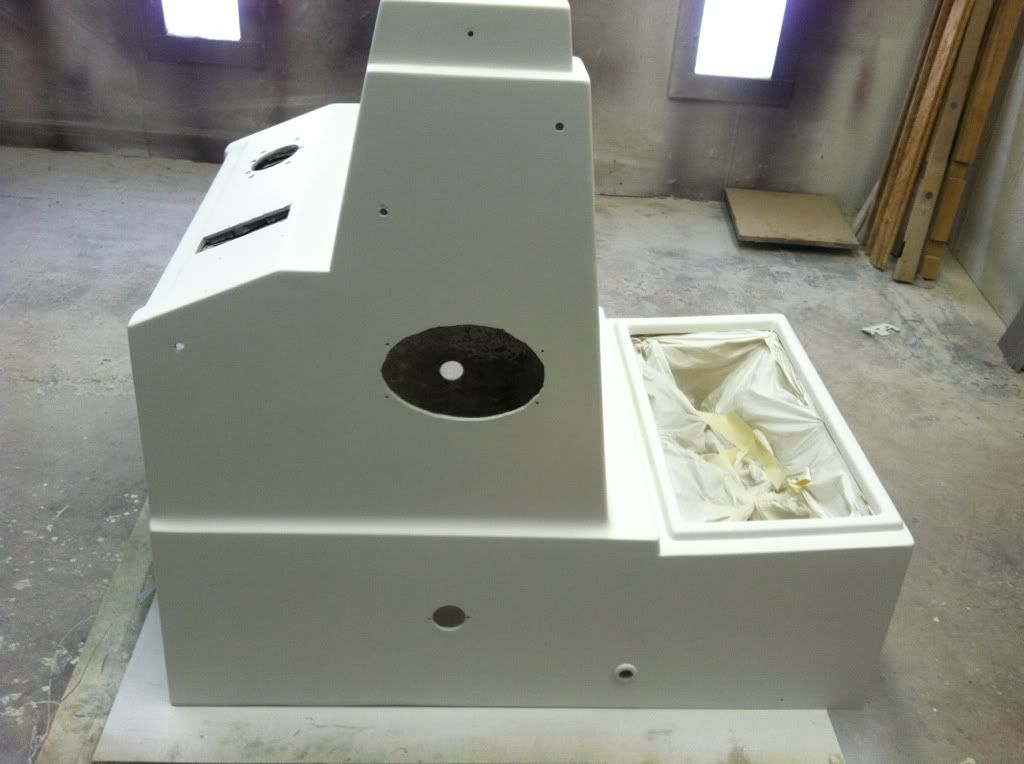 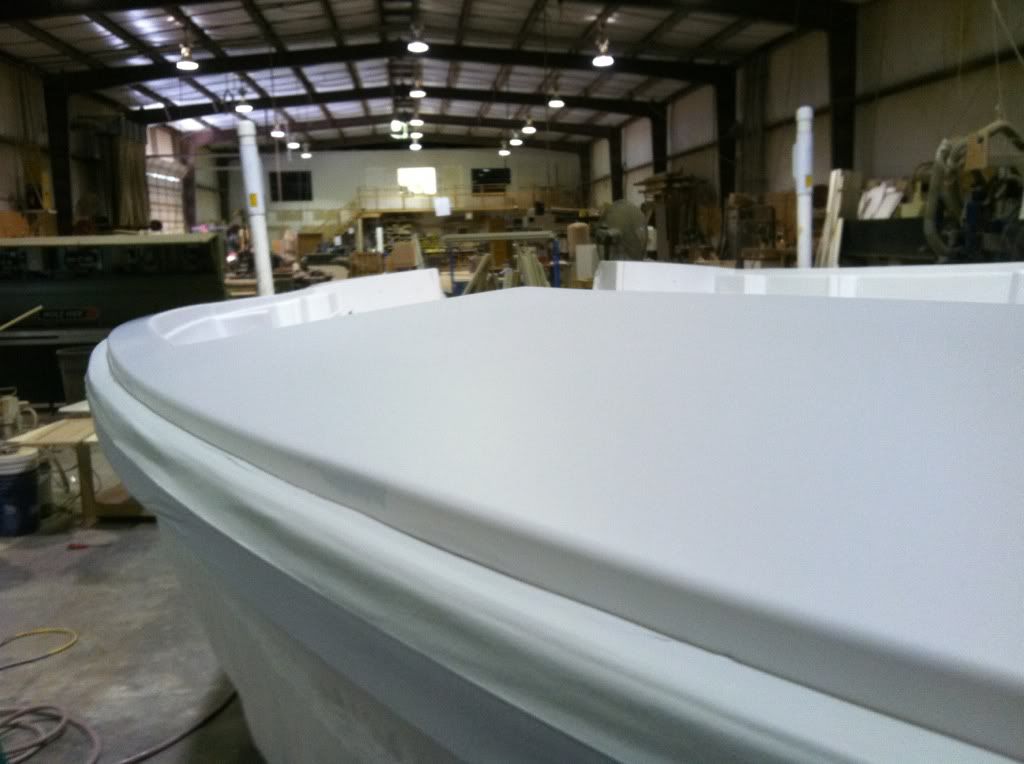 gunnel cap still wet 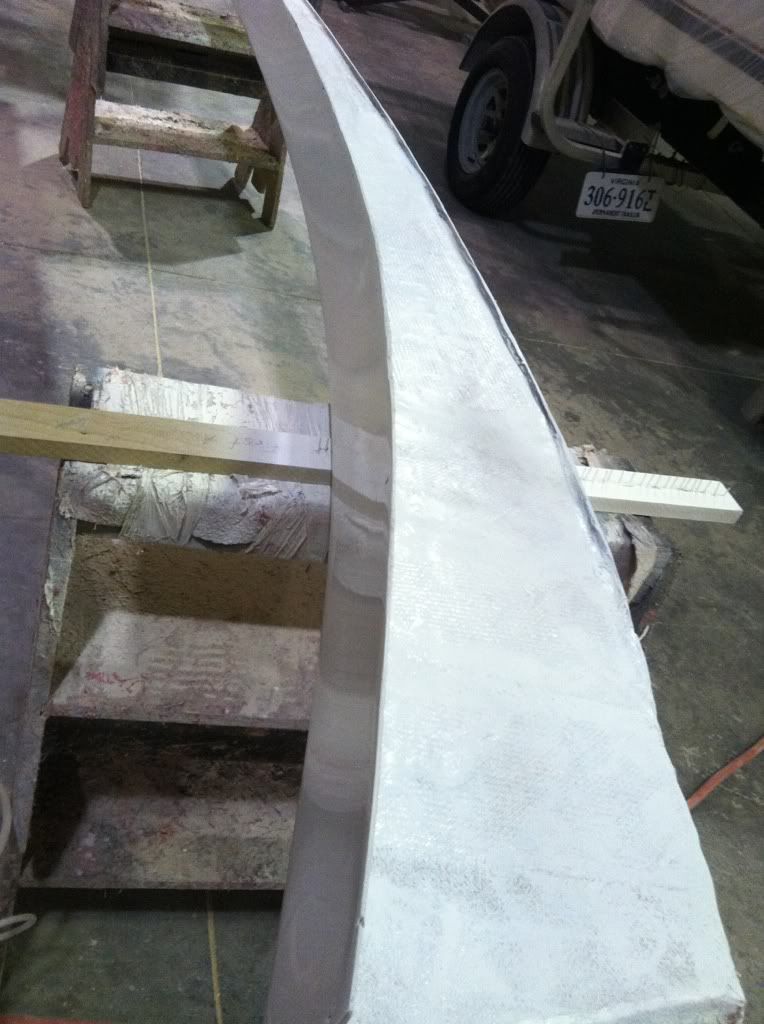 upclose pinholes. 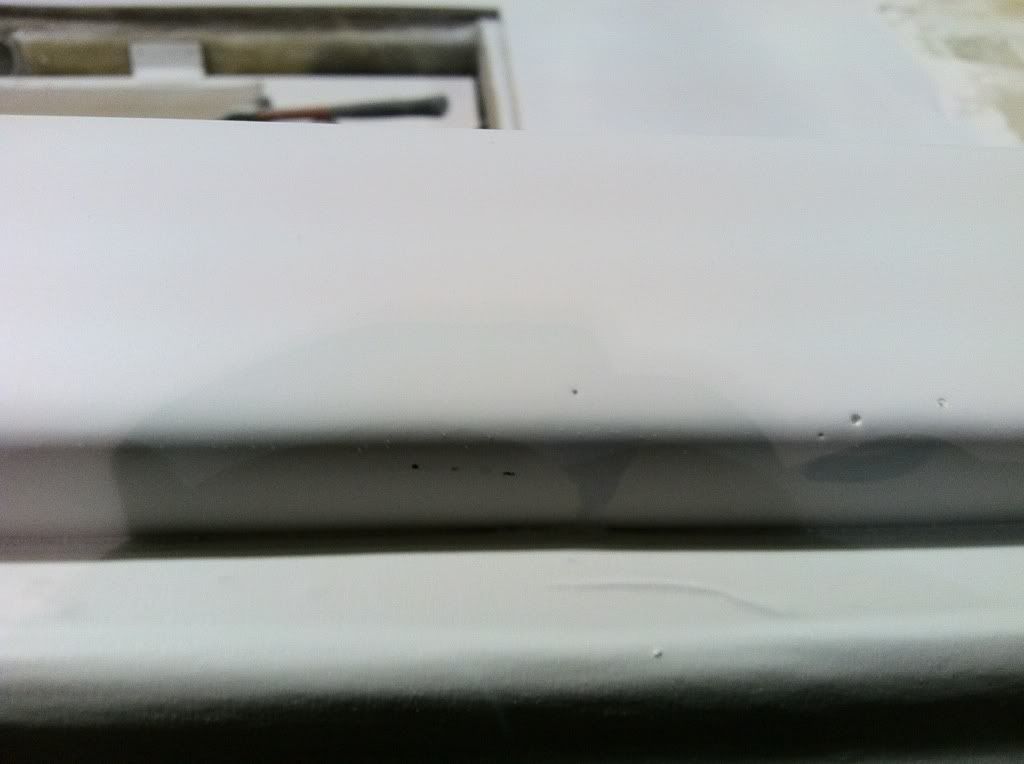 console  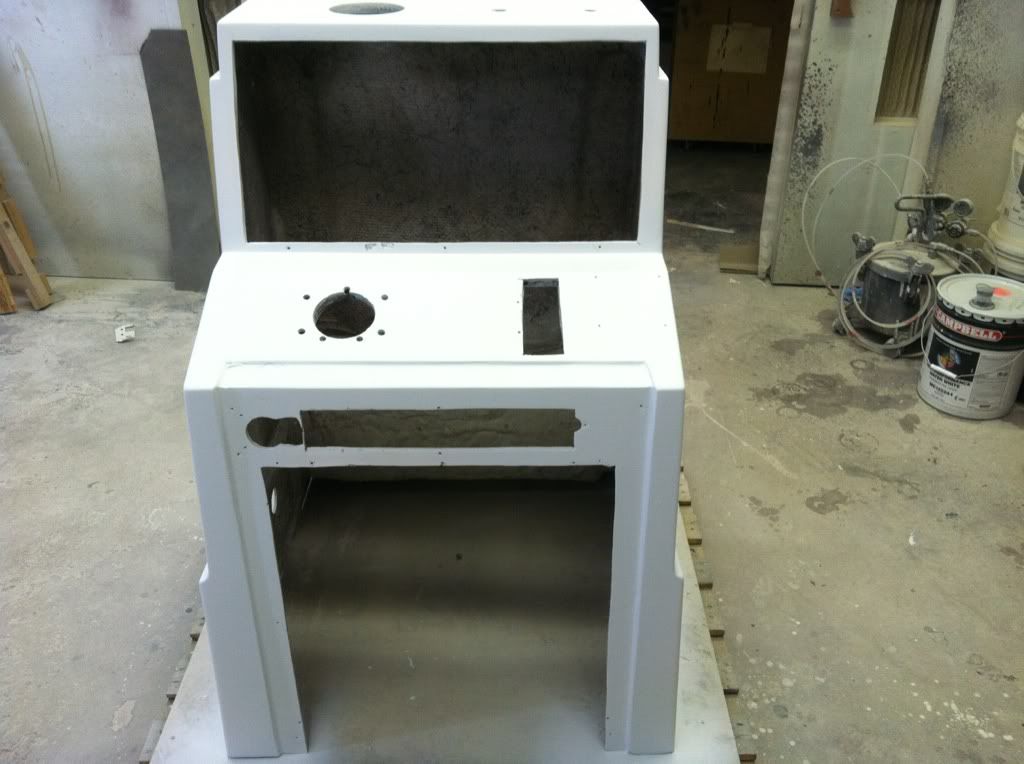
|
|
#40
|
|||
|
|||
|
Ended up only shooting the topside once with primer sat. and sunday I spent the day sanding and filling pinholes. The HMG epoxy primer didnt sand very good at all. The DA and pad sander would gum up almost instantly. Even using sheets of 320 by hand it would still gum up almost instantly. The only thing that wouldn't gum up were sanding pads. Not sure why this was, but it is what it is. The primer had sat almost 20 hours before touching it.
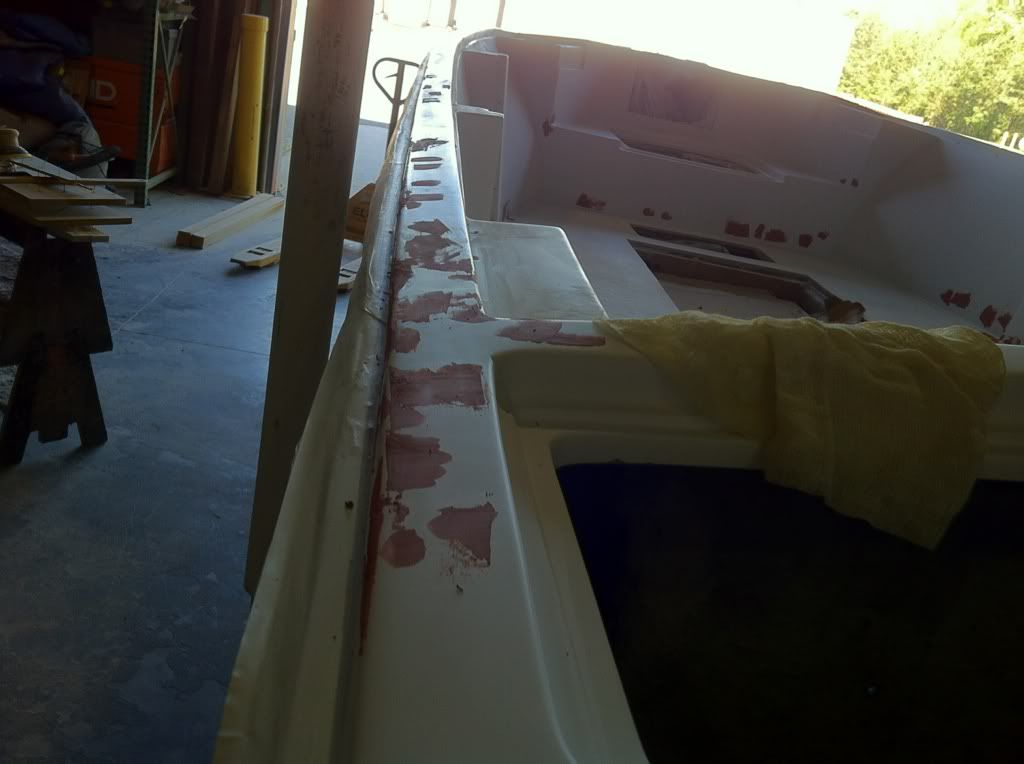 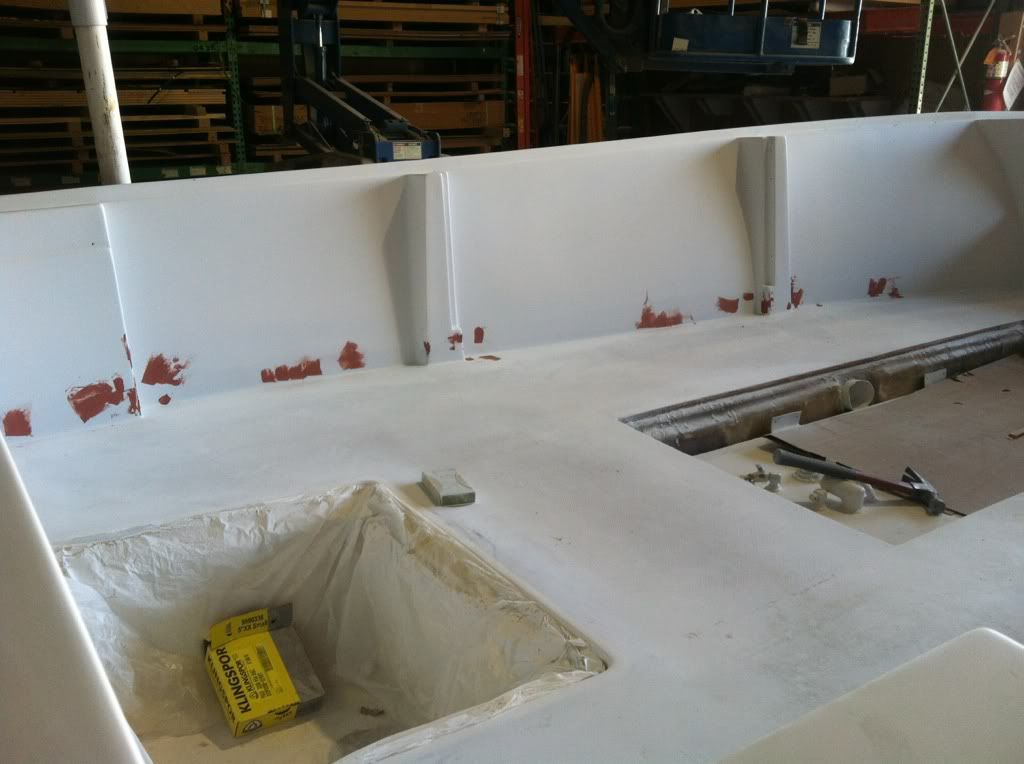 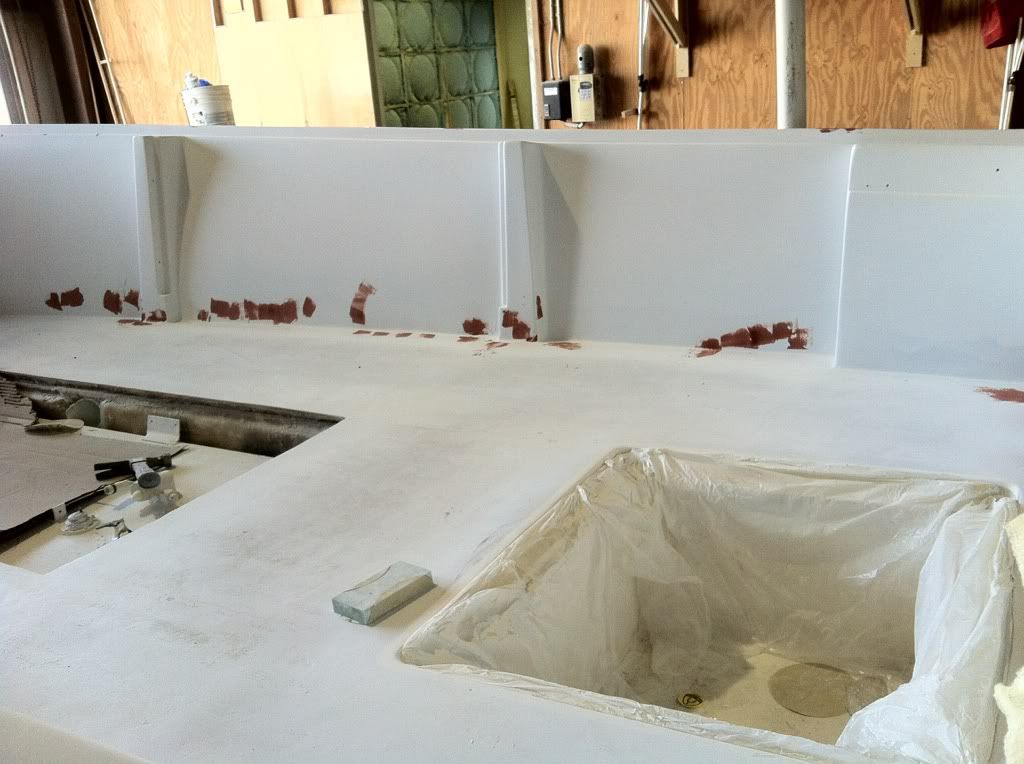 all filled in: 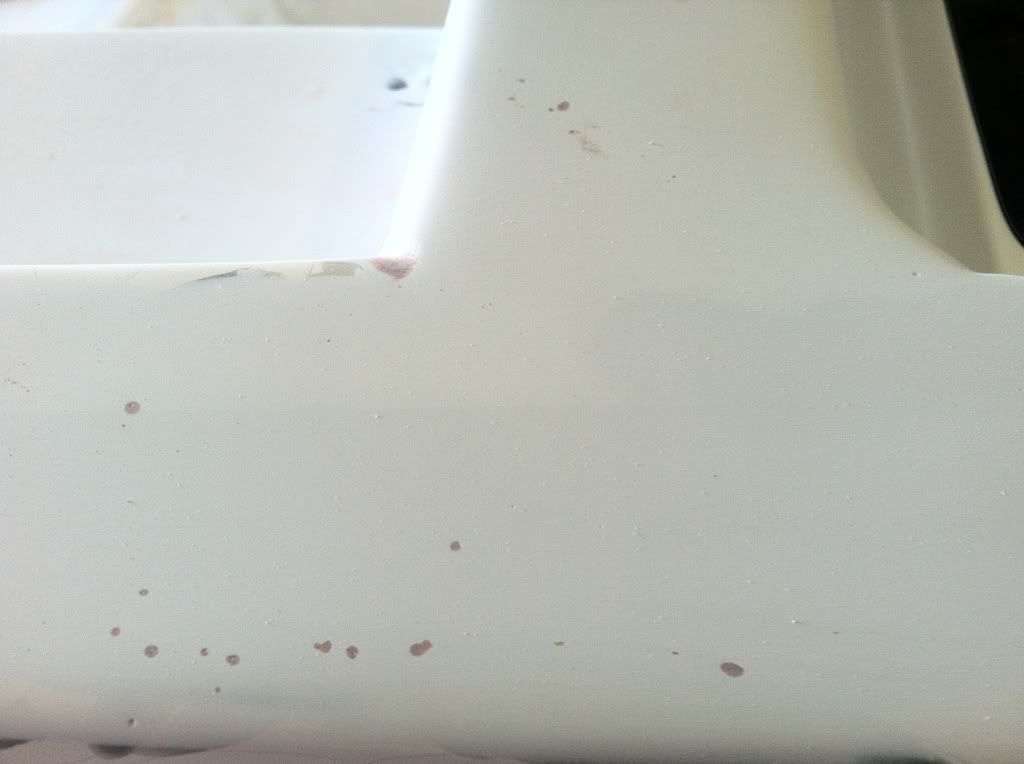 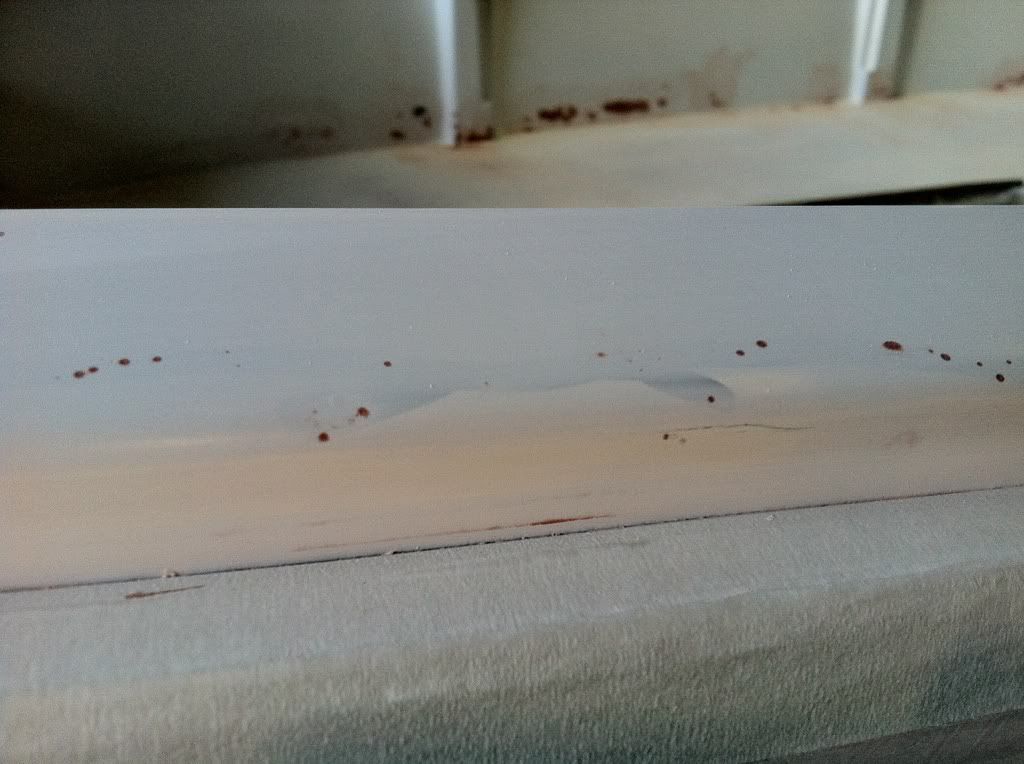 Just picked up a leaning post last week, and this week I need to buy Kiwigrip, and get an order together for genuinedealz.com I should be putting the boat back together by this time next week. |
 |
|
|