
 |
|
#1
|
|||
|
|||
|
I have a 71' 20 SF that I have been working on for a while. I figured I would share the pics. I opened a photobucket account and transfered the pics, but I can't seem to get them posted. I know this topic has been gone over alot, but I could use some help. My computer software is vista if that makes any difference.
__________________
If it isn't deer season I'd rather be in a SEACRAFT |
|
#2
|
|||
|
|||
|
open the photo bucket pic and right click on the photo,hit properties and copy the link up to the ? mark. when you are posting on here just hit image and paste the link in the little box.
__________________
36' Yellowfin 1972 20' seacraft 140 suzuki http://www.classicseacraft.com/commu...ad.php?t=18607 |
|
#3
|
|||
|
|||
|
__________________
If it isn't deer season I'd rather be in a SEACRAFT |
|
#4
|
|||
|
|||
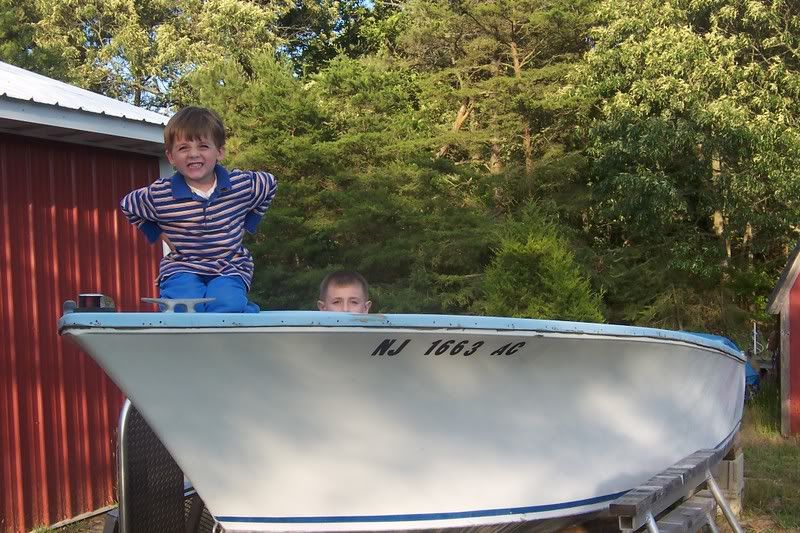 Okay got one full size Okay got one full size
__________________
If it isn't deer season I'd rather be in a SEACRAFT |
|
#5
|
|||
|
|||
|
Billy the kid thanks for the help. I am guessing by the pictures that you posted that you live around Ocean city or maybe Sea Isle. I guess that's why I weld for a living instead of writing computer software for NASA. Well here is the story behind my 71' 20sf. I was given this boat in 1999. At the time I had no idea of how well liked these boats were. It just looked like a real sweet hull with great lines. When I first got the boat the engine was already gone and it had no center console. After some thinking I decided to cut out the deck and close in the transom. It was an I/O orginally.
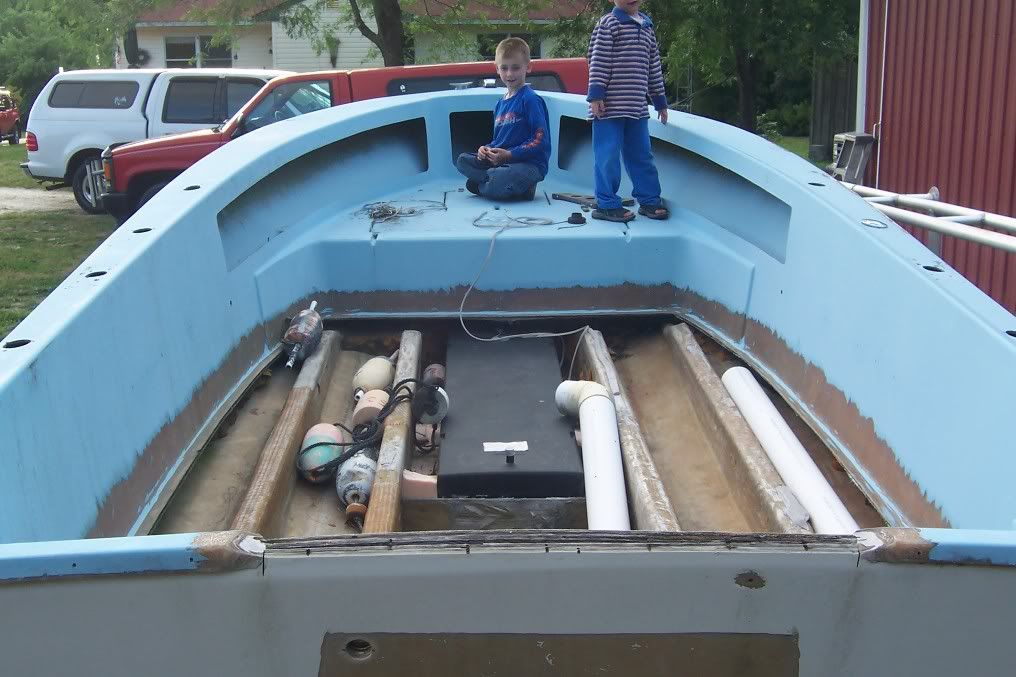 After cutting out the deck and transom the boat sat for about six years. I towed it around to two different homes and my wife and I had the crewmembers you see above. At which point I got the itch to work on the boat and this is also the time I stumbled on this great website. After looking at alot of restorations on CSC I thought I knew what I wanted, so I began replacing the transom. 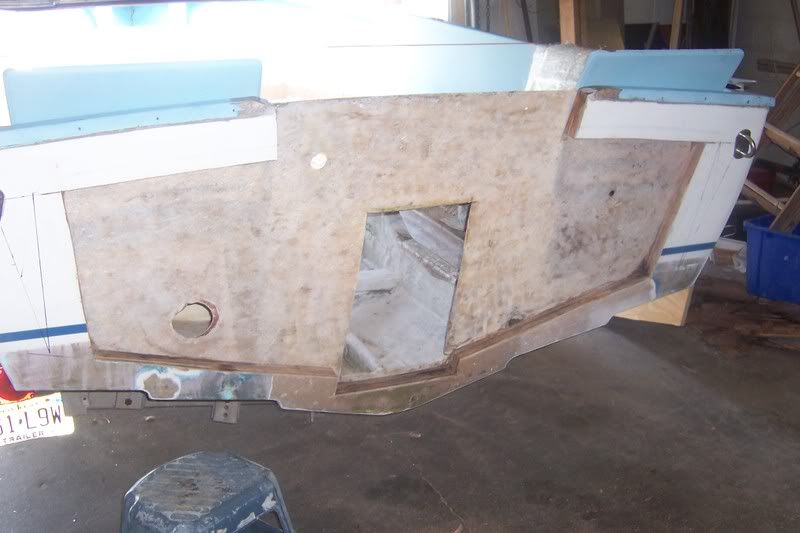 The center portion of the transom was mush from the outdrive and six years of being left open. I cut it back until i found good wood and still had enough space left for a solid glass job. 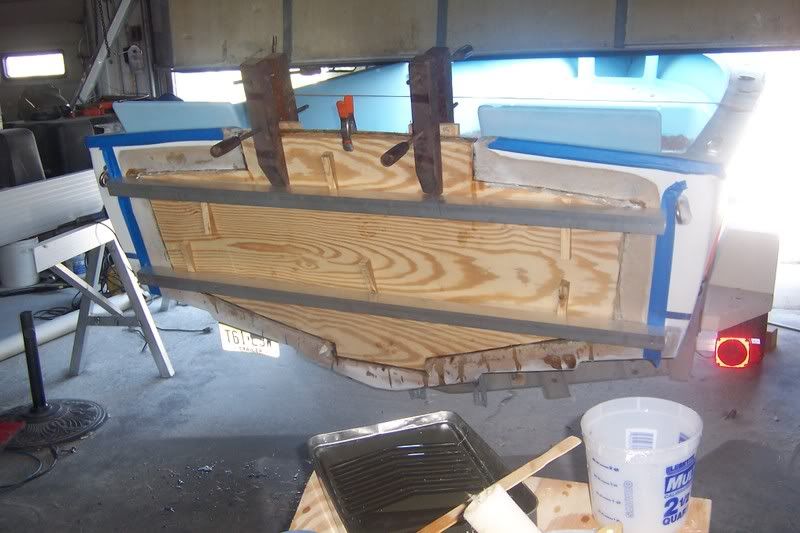 I laid in two layers of 3/4" marine ply with 3/4 ounce matt inbetween them and the interior transom glass and a mixture of epoxy and cabosil wherever there were any gaps. 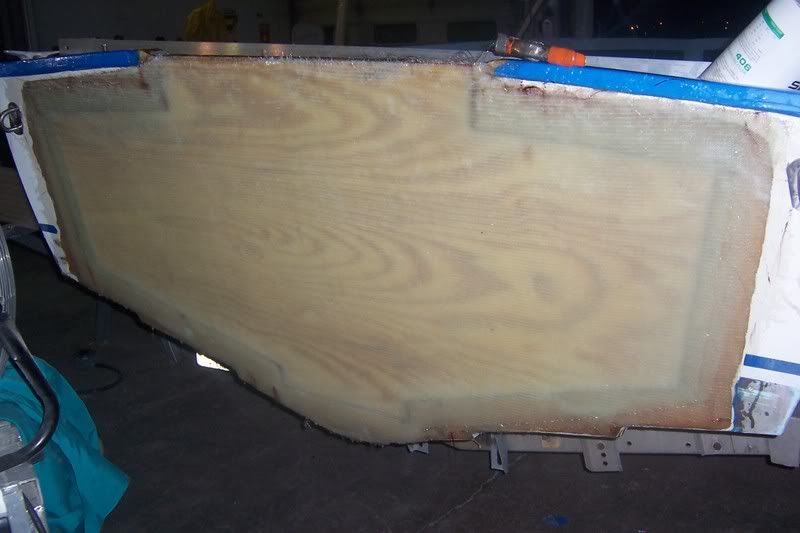 After a bunch of layers of 1808 this is how it looked. 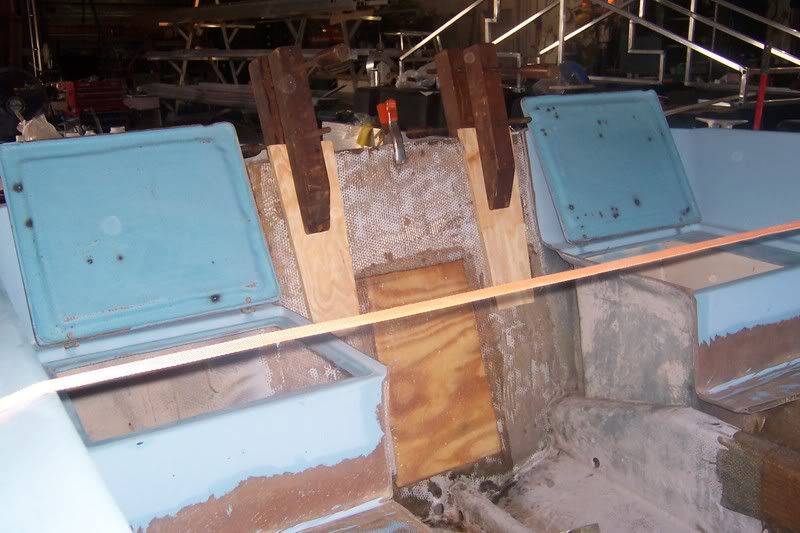 Here is any inside picture of the glueup. Notice the orginal rear seats. After everthing cured, I layed up all the laers of glass at once, I layed out the cut for a 25" motor and made the cut. 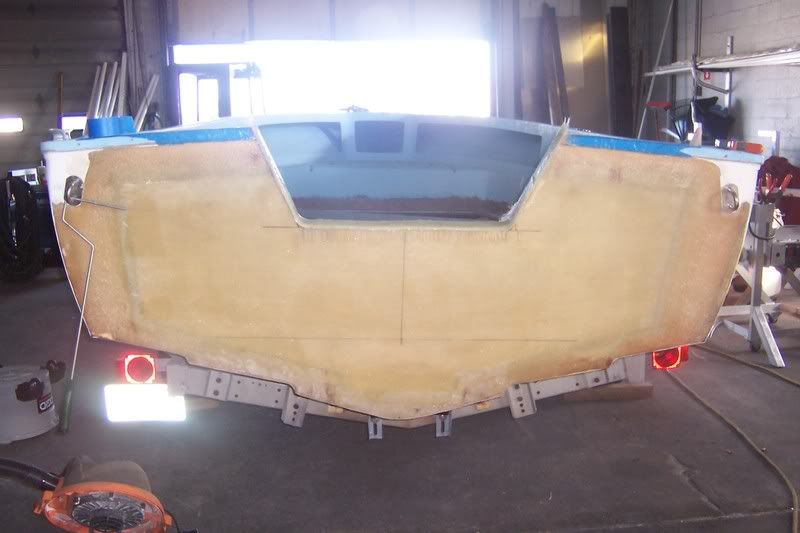 Here is the piece from the cutout. Notice the amount of glass on the left side, this is probably overkill but I only wanted to do this once. 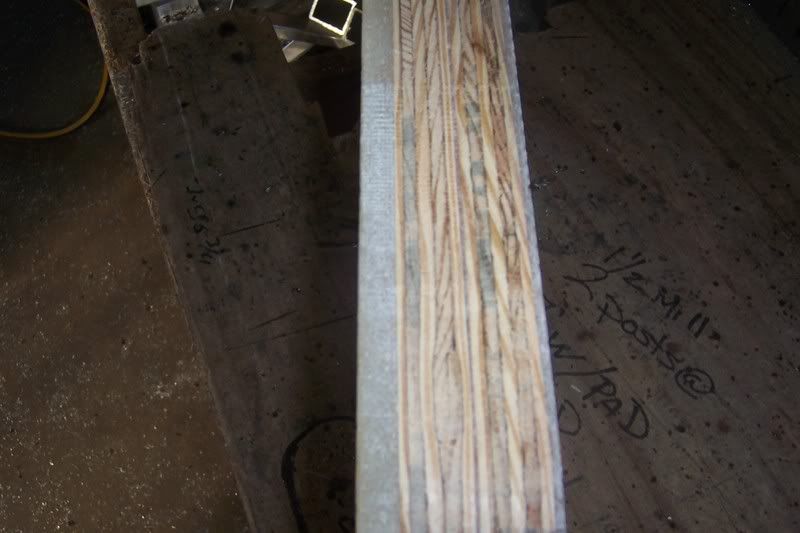 At this point I started raising the stringers, which were all in good shape, and filling in the areas near the transom that were low because of the I/O. The idea to use dock foam is not mine I saw Strick do it in his jobs. 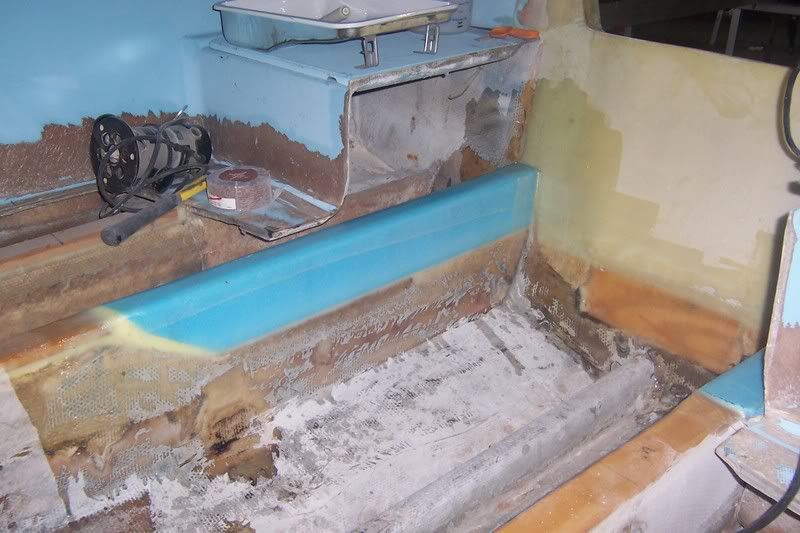 Here is another shot of the raised stingers. 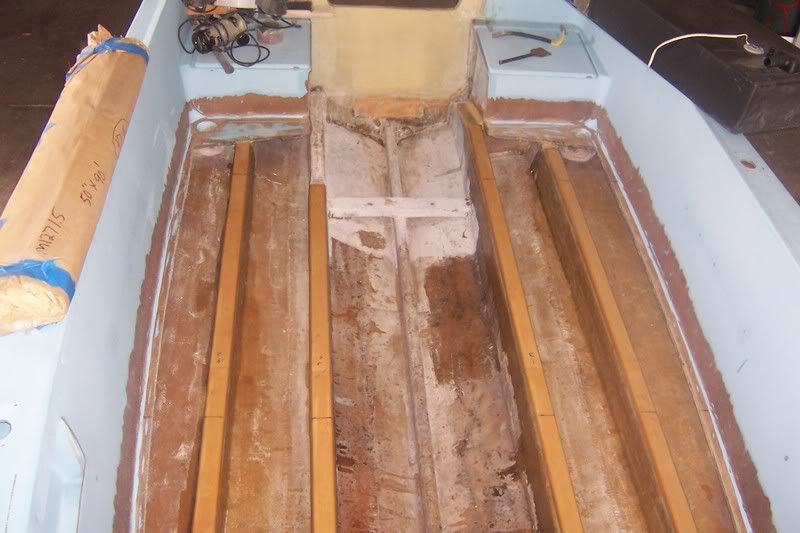 This is when I realized what smart people mean when they say plan ahead. If I really planned this project out from the beginning I could have saved myself a lot of work. I could have cut out the rear seats from the start and replaced the transom from the inside. Which would have saved me a ton of work along with 7 gallons of epoxy and I don't want to say how much 1808. 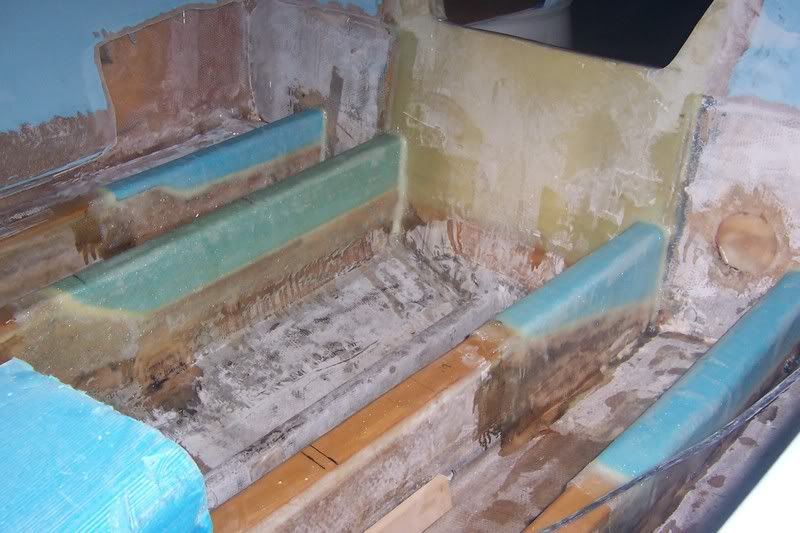 Well now the boat is wide open I started building the deck. I wish I Billy the Kid had done his restoration a few years ago cause I would have done my deck like his.(NICE JOB) So I decided to build my deck in one piece and glass both sides before it went in the boat. Here are a few pics. 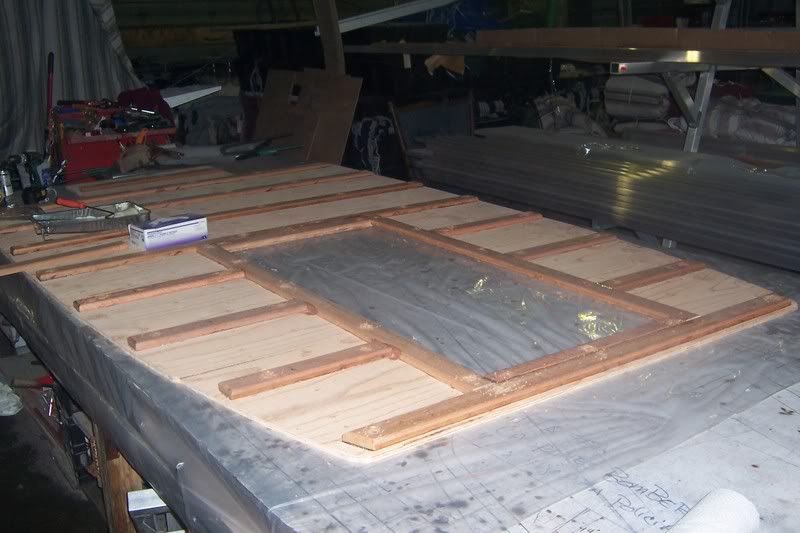 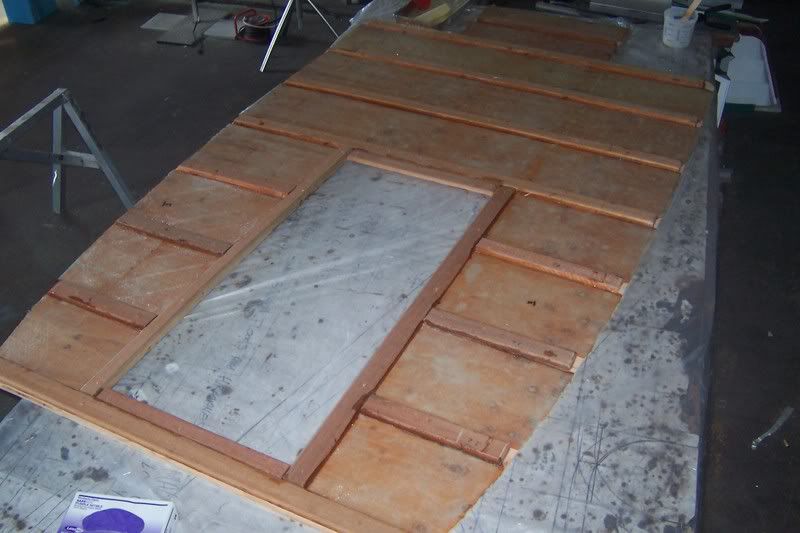 bottom side glassed 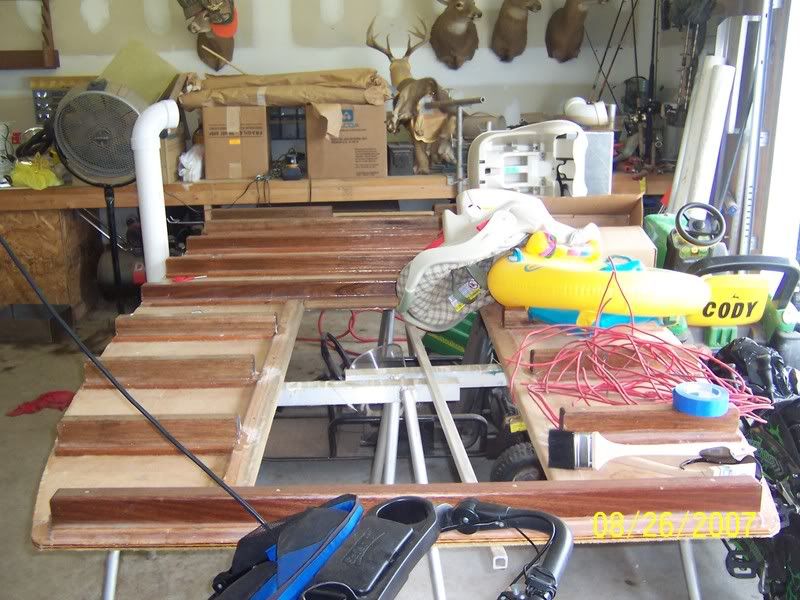 Once again not planning ahead enough when I raised my stringers I decided to raise the deck a little more to a total of three inches, so I added it to the bottom of the deck with mahogany. At this point I took a stab at making molds for the new full height back seats. 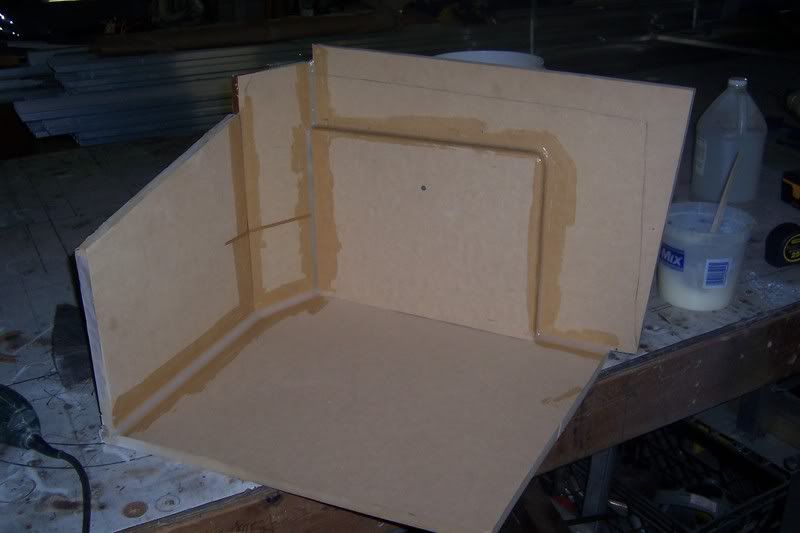 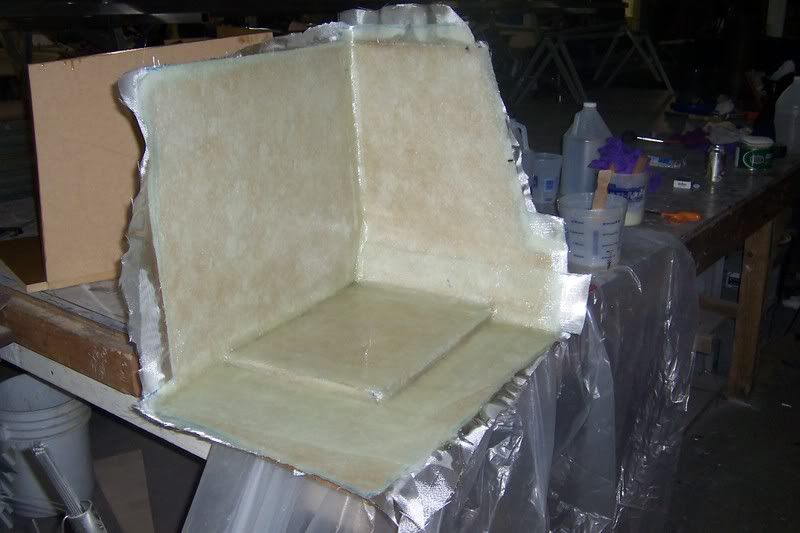 After a little trimming this is how the first one came out. 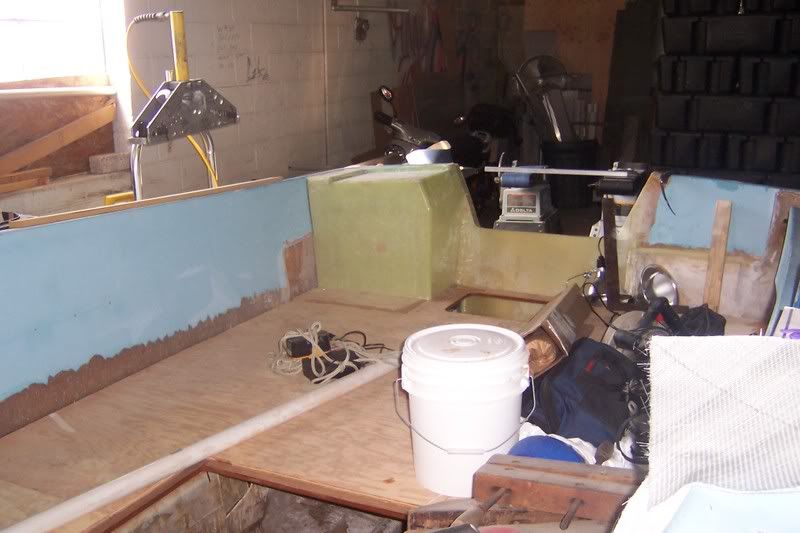 Then another mold and the second seat. 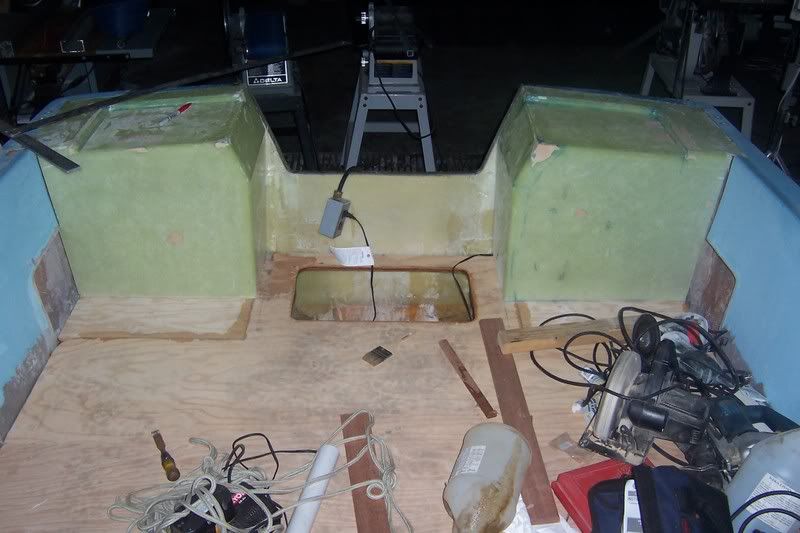 You can see in the pics that they stuck a little and pulled of some MDF. These are the first molds that i have ever made. I coated them with epoxy and sanded smooth then waxed and buffed. The next molds that i made were just raw MDF that I wiped with a thick coat of Part-all and that worked much better for me.
__________________
If it isn't deer season I'd rather be in a SEACRAFT |
|
#6
|
|||
|
|||
|
mr kid
wear U git dat deer gun i needs to make one fer peepaw.u jersey folk shoet ass bacwerds 
|
|
#7
|
|||
|
|||
|
Leave it to you Sam..
   You are right that deer has a pipe stuck in its butt.    Nice job kidcasper!!! Keep the pics coming. See ya, Ken
__________________
See ya, Ken © |
|
#8
|
|||
|
|||
|
Had to stop for dinner. After the new rear seats were made My wife told me that we were going to have a little girl, so boat work stopped for about two years. Which brings us up to about a month ago.
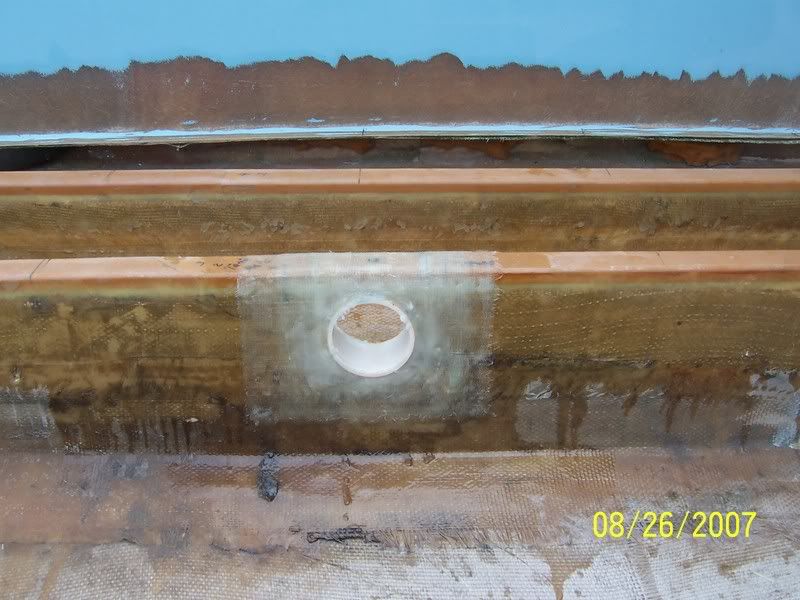 Glassed a PVC pipe through the stringer for controls wire and the usual rigging 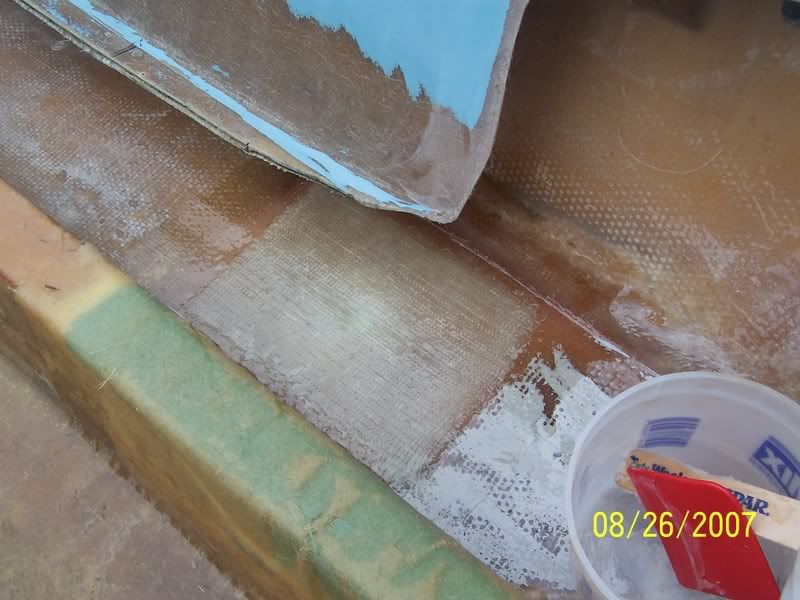 Closed off the old thru hull deck drains as the new ones will go out the transom at deck level 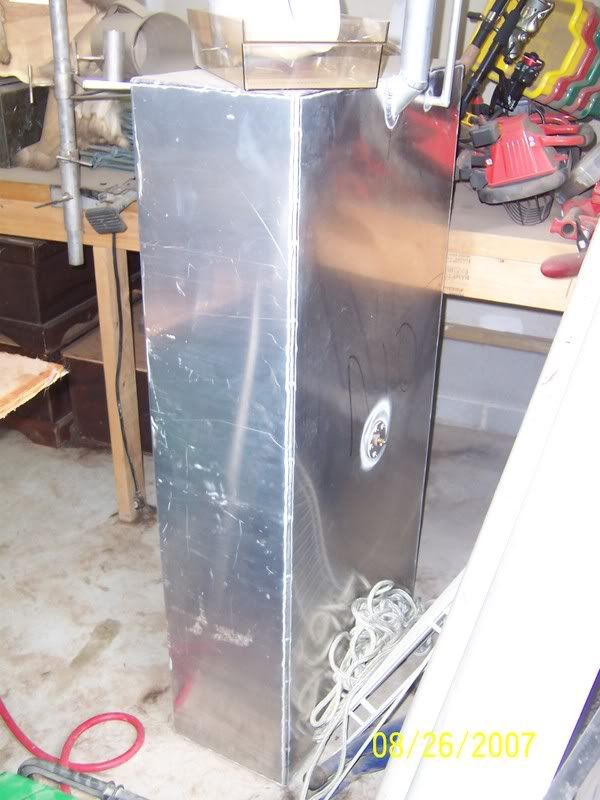 This is a shot of the new fuel tank which I made. I figure it will hold approximately 47 gallons. That's all I will need this boat will probably never go farther than three miles form the beach except during Drum season on a nice day. 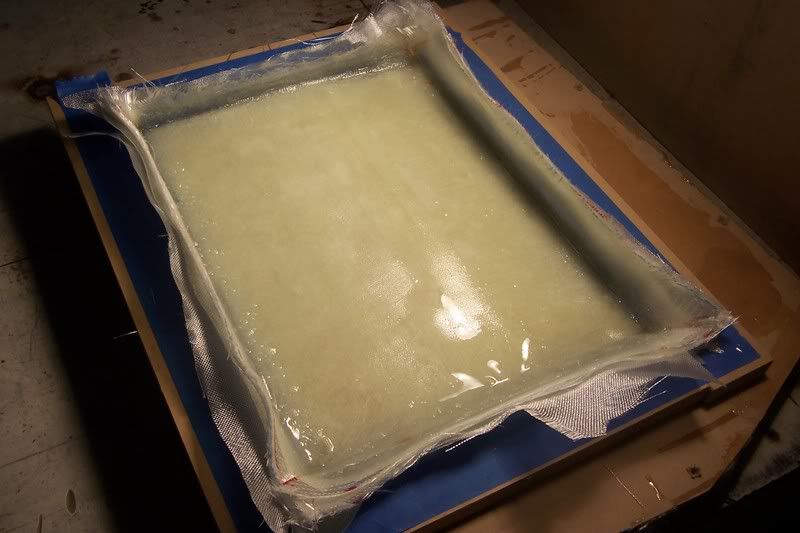 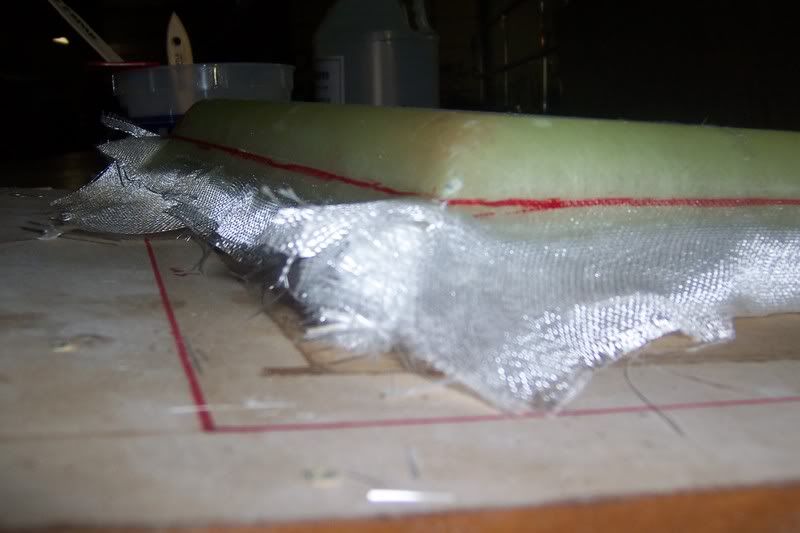 These are the new rear seat covers  This is a pic after the deck was glassed in with two layers of 6" wide 1808 also the bed was in for the fuel tank and a piece of fiberglass exhaust tube was tabbed in for the controls to go thru the deck and one of the rear seats is tabbed in place. This side will house my oil tank, washdown pump, and fuel filter.  Here is a shot of the second seat, this one will be used as a livewell so it was two piece. I made a mold for the well itself and then epoxied them together  a close up  Another interior shot with new seats. This layout is not mine it came from "Marks 20" on the 20' gallery. He was nice enough to give me a call after I sent him a PM and give me some great info.  Here I filled in all of the holes in the gunwhales. My needs won't include outriggers. If i were to have them they will go on the T-top.  This thru hull will serve double duty as the pickup for the washdown pump and the livewell pump. I painted the enitre bilge with an epoxy based paint prior to puttung in the deck.  These are the Coast Guard and ABS inspectors, but I really think he is looking for a place for his little sister. This brings us up to now. I have a lot of sanding and fairng to do. So far I am mixing phenolic microbaloons with my epoxy. Any better fairing compounds and I would like to know, this is my first go around. 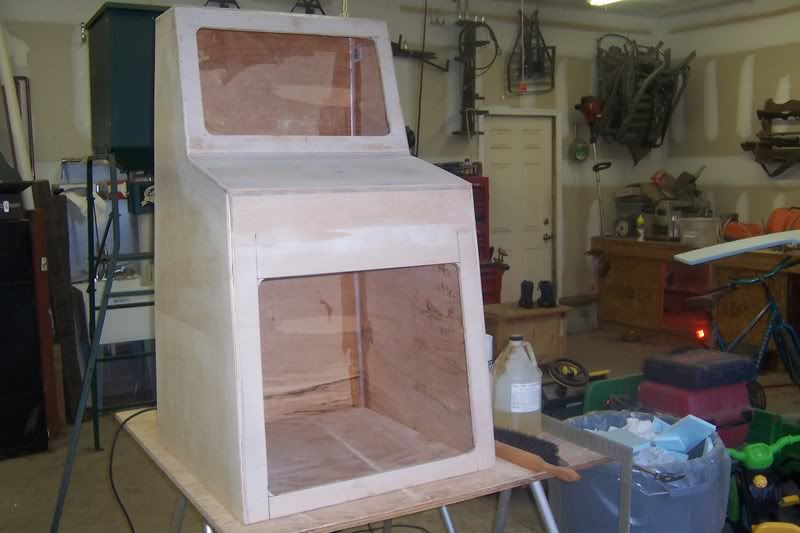 I built this console a few years ago it is coated with epoxy on the inside and glassed on the outside. I have sinced purchased a console. I anyone wants this one its free. I would love to have some advice on painting or anything else, I am thinking of spraying it myself and have an Awlgrip color in mind.
__________________
If it isn't deer season I'd rather be in a SEACRAFT |
|
#9
|
|||
|
|||
|
Hey SpiderCrab, I know it ain't the right way to bag a deer, but here are a couple I got with the right end of the gun
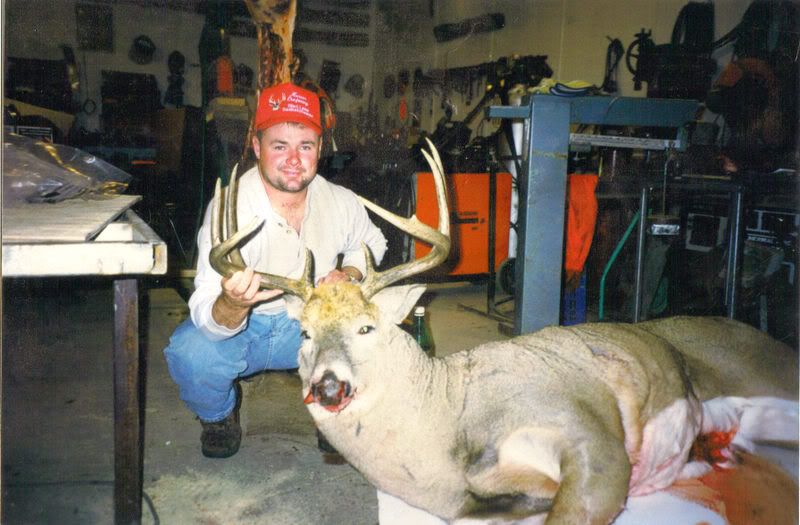  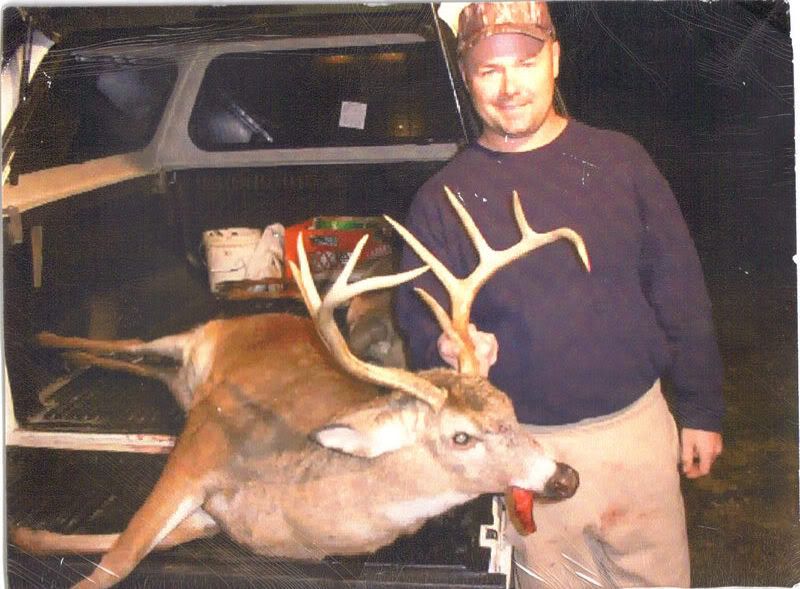 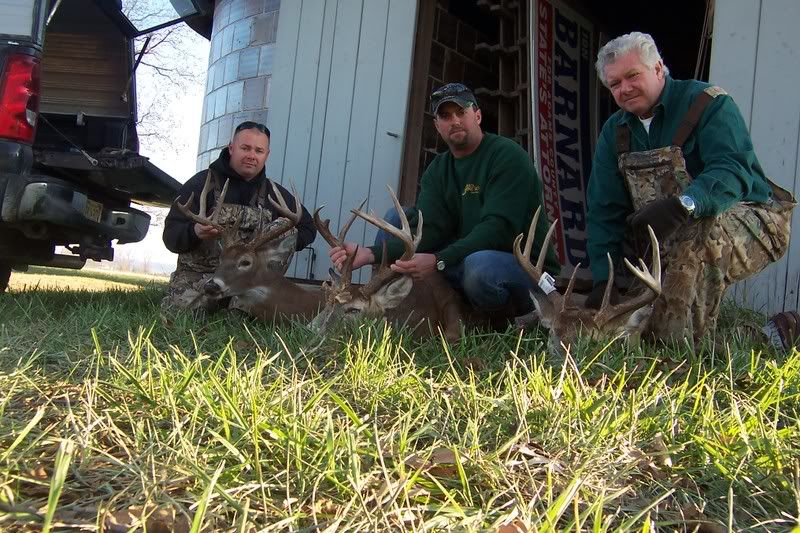 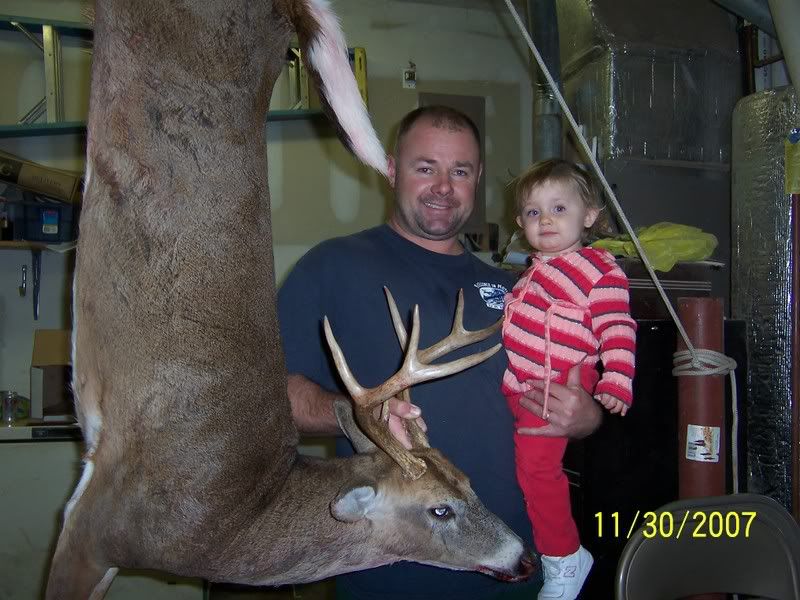 I got that last one right before it snatched up the youngin
__________________
If it isn't deer season I'd rather be in a SEACRAFT |
|
#10
|
|||
|
|||
|
Look out Spidercrab he knows how to post pictures now!
 Geez that's A big bodied buck in that first photo. I could fit 4 black tail bucks in that guy  I see you are a taxidermist? I did a bit of that in my younger days. It's come a long way since then. When I started we were still using paper forms!! Nice work on the boat BTW  strick
__________________
"I always wanted to piss in the Rhine" (General George Patton upon entering Germany) |
 |
|
|