
 |
|
#1
|
|||
|
|||
|
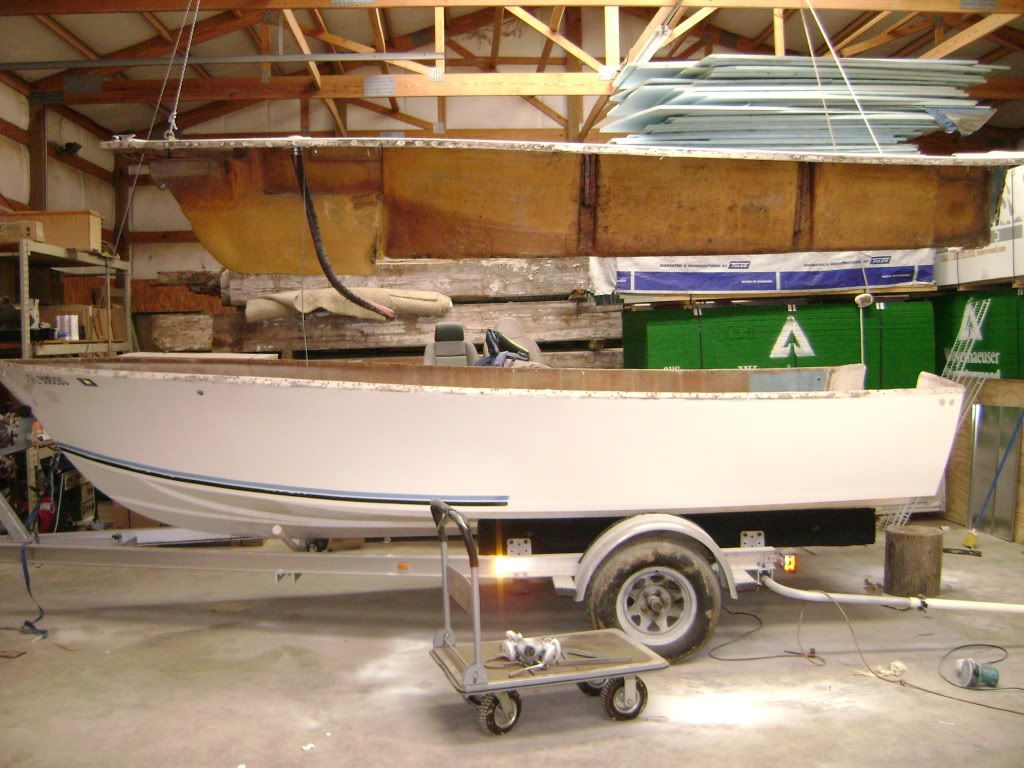
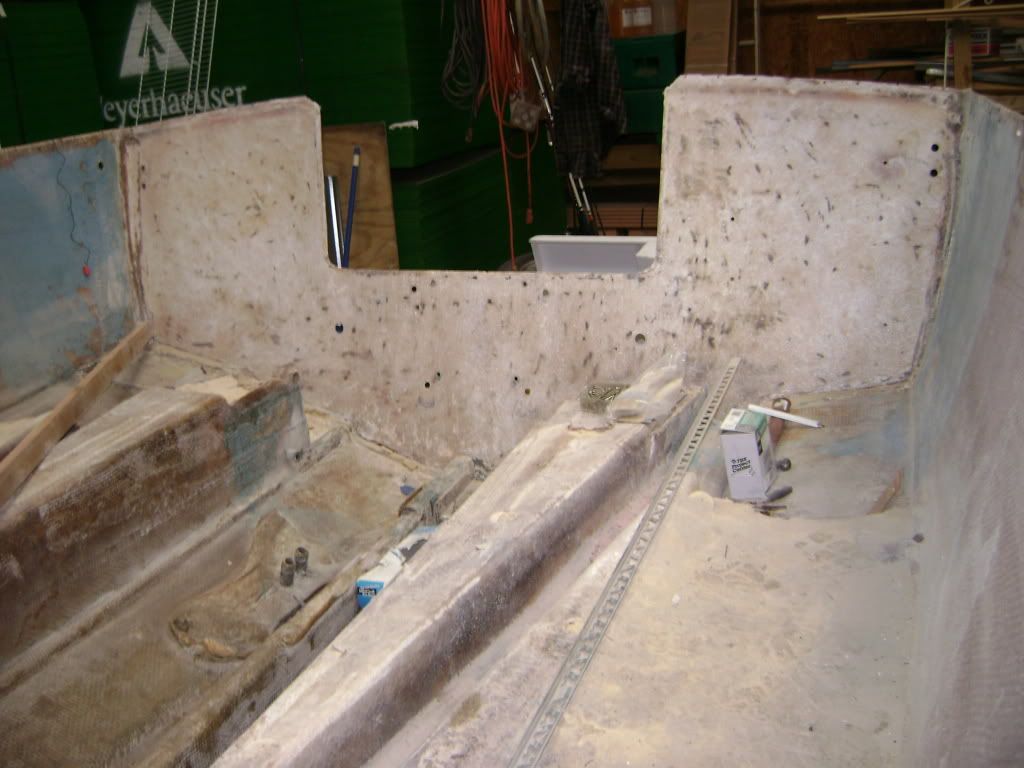
I've been working on this for about three weeks now and I this is my first go with pictures
|
|
#2
|
|||
|
|||
|
|
#3
|
|||
|
|||
|
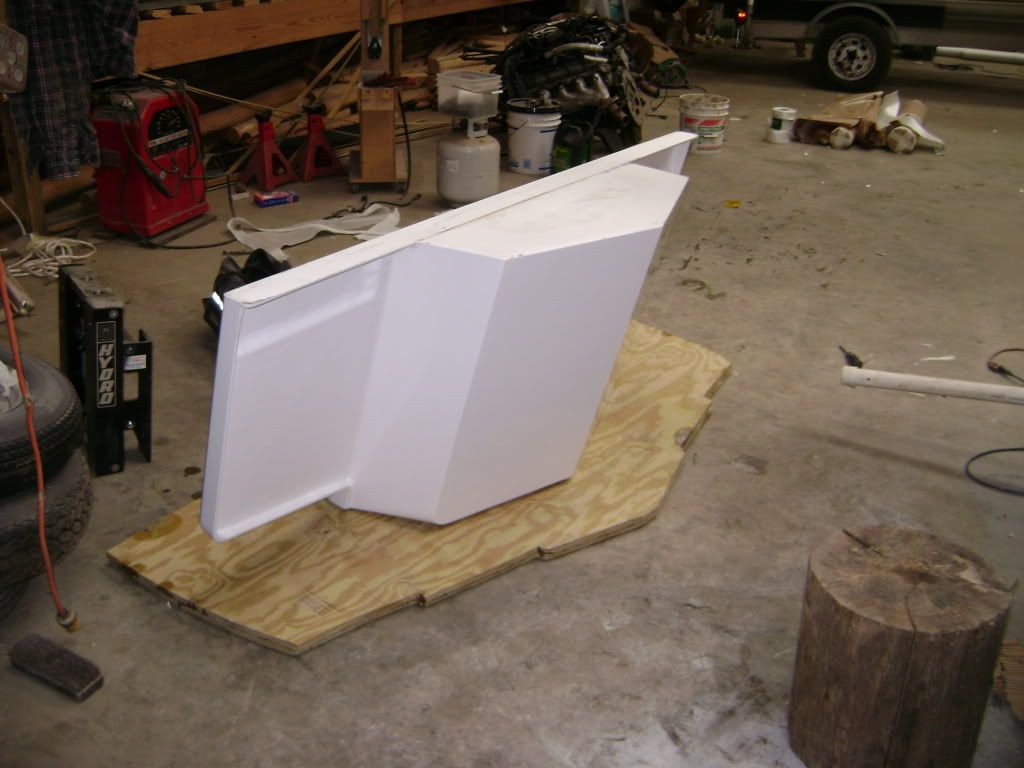
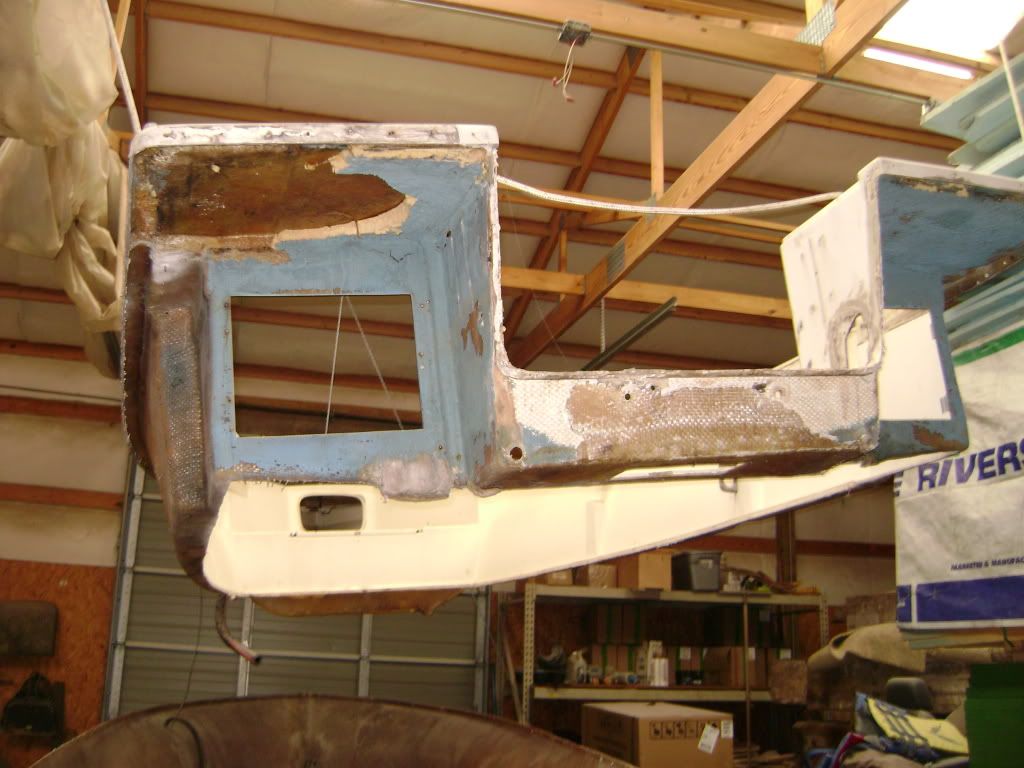
Bear with me, as I'm less than brilliant where technology is concerned. it seems the pics are kind of large but they won't resize in my photobucket. I've reset my camera so maybe tomorrow I can take some better and appropriatly sized pictures.
|
|
#4
|
|||
|
|||
|
|
#5
|
|||
|
|||
|
Nice start! It looks like you have a nice facility to work in complete with lifting capabilities.
__________________
Will |
|
#6
|
|||
|
|||
|
the shop is actually our construction warehouse and since constuction here is door nail DEAD, i made some space and time to get started.
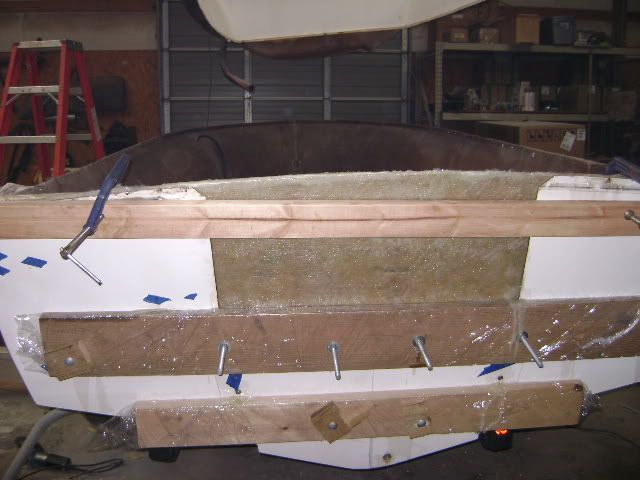
i'm planing to install the new transom core this morning. the temp here is around seventy and my medium cure epoxy seems to really like that  i built the core on monday. it's two layers of 3/4 marine that i had treated and dried last month. i put one layer of 1708 between then screwed it together before setting about 800lbs of various containers of drywall mud and paint buckets on top to hopefully force it flat. i let it set for three days before ATTEMPTING to raise it off the floor. the epoxy that oozed out and onto the floor really bonds well to concrete! |
|
#7
|
|||
|
|||
|
made some good progess today.started out by marking the bracket/bolt lacations on the transom skin. triple checked that and then dilled the skin, transom core, and 2x material for clamping. i put another layer of 1708 on the core and loaded the inside of the original skin with a pretty wet epoxy/cabosil and laid a pretty heavy bed of thick paste for the core to sit in. pretty much trying achieve something similar to what Strick showed for his last project(i think i've looked at that thread 137 times now
 ) )it took two of us to get the new core in place and put in the 10 bolts and c clamps. the results ended up pretty darn staight, though. |
|
#8
|
|||
|
|||
|
You might want to put a clamp or two across your hull, gunwale to gunwale, to keep your topsides from spreading.
|
|
#9
|
|||
|
|||
 thanks for the advise. i pulled measurements in four places before removing the cap. i then wrote them on the hull with a sharpie. then i cut coresponding slots in four 2x4's that i use to help hold the width of the hull in the right spot. i'll try to take some pics tomorrow. all the pics from today don't show them as i removed them while installing the stringer extensions that i made |
|
#10
|
|||
|
|||
|
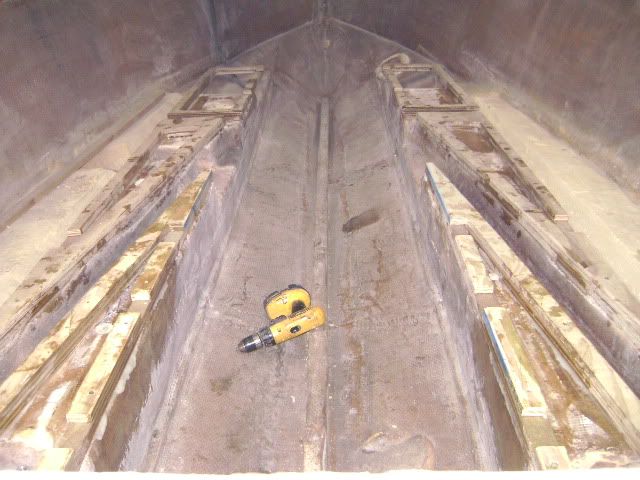
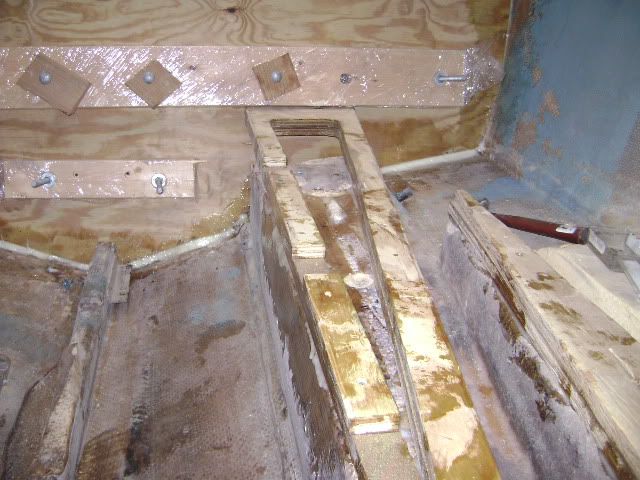
here are some of the spacers. they are made of two matching pieces of 3/4 that i glued up a few days ago and laid flat under some heavy stuff to keep them flat as they cured. i put them down to the stringer tops with cabosil and ceramic coated screws. hopefully soon i can glass over them and start making accomadations for the fuel tanks and floor support structure
  [image]http://i349.photobucket.com/albums/q394/small45/DSC00242[/image] |
 |
|
|