
 |
|
#1
|
|||
|
|||
|
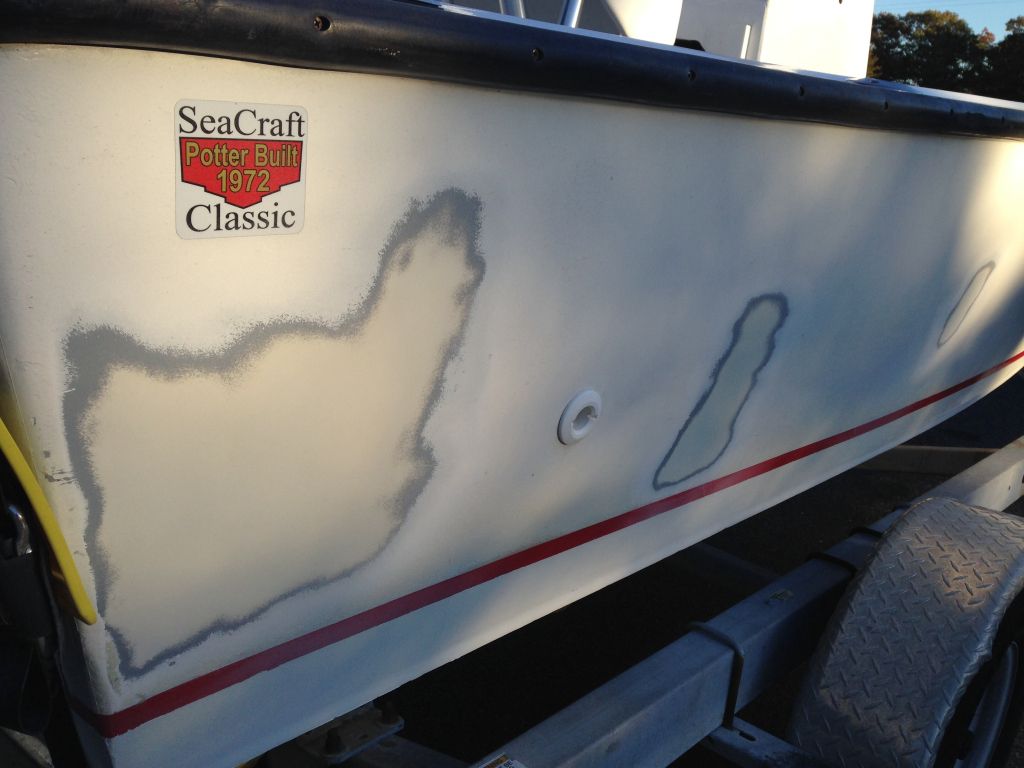
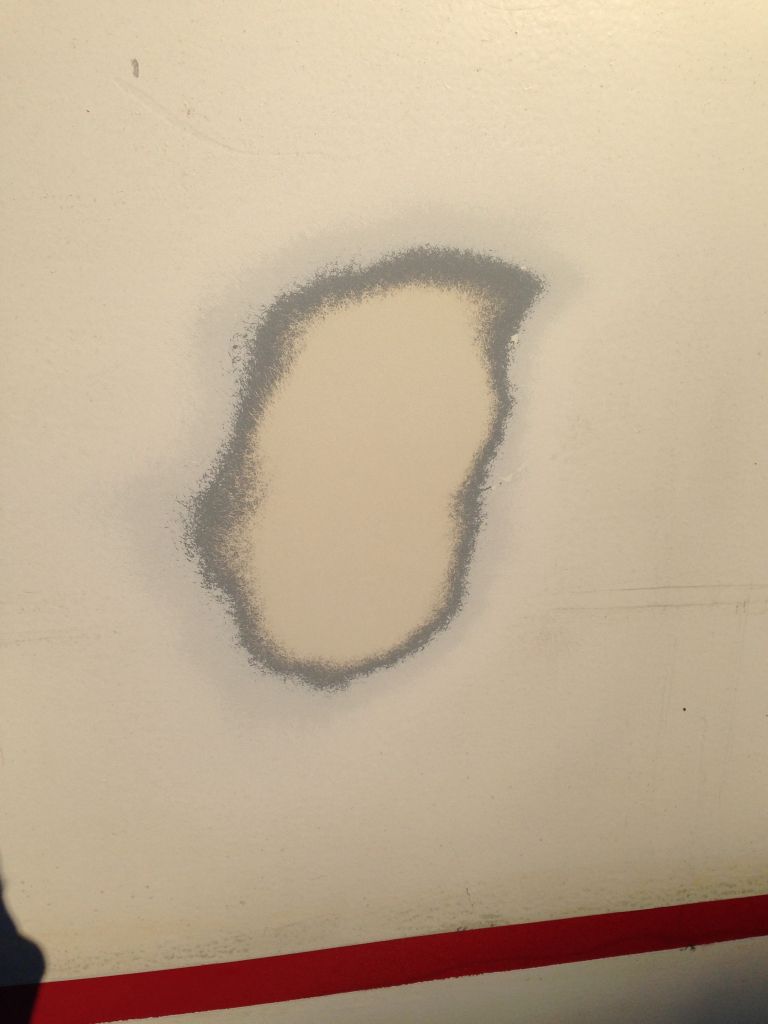
I will be sanding, priming, and painting the hull this winter. I'm trying to figure out how deep to sand. Is the below picture in the spots I sanded about right? Also does that look like fighting lady yellow under there? That's the color I'm actually going to paint it with interlux perfection.
|
|
#2
|
|||
|
|||
|
I would sand it all the way down to the gelcoat, which looks like what you have done in some spots. The polyurethane perfection dose not work over other types of paint. you can apply over polyurethane or epoxy primer but that's about it. Best if you take it to the gelcoat then apply a high build primer to sand on so you can fair out the surface then use the inturlux epoxy primekote to prime pre paint then use 3 coats of perfection. It is a self leveling paint so it will flow out flat and look good as long as you don't over do it and get runs. If you get a few runs just wet sand them out with 320 then add the second coat and then the third. I used it on my last hull I painted and it worked real well and turned out great for me a inexperienced painter. I sprayed mine but you can get a good finish rolling and tip method with interlux perfection too. The brush strokes will flow right flat and it will look like you sprayed it.
__________________
Current SeaCraft projects: 68 27' SeaCraft Race boat 71 20' SeaCraft CC sf 73 23' SeaCraft CC sf 74 20' SeaCraft Sceptre 74 20' SeaCraft CC sf |
|
#3
|
|||
|
|||
|
That doesn't look like fighting lady yellow. It just looks like the off white gel coat on a lot of seacrafts. It looks like the gel coat on mine.
|
|
#4
|
|||
|
|||
|
Thanks guys. That was my plan frizz. Does interlux make a good high build primer before I do the regular interlux primer followed by the perfection.
|
|
#5
|
|||
|
|||
|
There was no FLY factory gelcoat back in the day. The interlux epoxy primer builds high. You need to thin it wicked. I think it's suitable under Perfection paints.
__________________
__________________________________________________ ________________ 1974 23SF |
|
#6
|
|||
|
|||
|
Quote:
You can also prime with the 2000e (It builds fast as well) for under the water line and it sands ez if done in the first few days of applying. High build: Interlux Interprotect 3000 High Build Primer Gallon Kit PN# 3000/3001-01 Interprotect HS is also a high solids that builds thickness faster than the 2000e and is good under the water line too. All are 2 part epoxy products, Use the epoxy primekote for final prep prior to paint. All are very thick and need reducing with 2316n Water tight is a smooth fairing compound that is good under the water line too for light fairing and for filling blisters and cracks as well. Just remember you can only use 2 part primers (epoxy or urethane) under perfection as it is a polyurethane.
__________________
Current SeaCraft projects: 68 27' SeaCraft Race boat 71 20' SeaCraft CC sf 73 23' SeaCraft CC sf 74 20' SeaCraft Sceptre 74 20' SeaCraft CC sf |
|
#7
|
|||
|
|||
|
Assuming I use the primekote, how many coats should I apply and how much would u guess I need to paint a 20 SF from the waterline up? Also, how much perfection for 3 coats on top of the primer? Thanks
|
|
#8
|
|||
|
|||
|
Quote:
On my 20"hull it only took 2 quart kits to do the out side (water line up - hull sides) but that was spraying it too. Rolling will waist less but it will go on thicker causing you to use up more possibly. I still had some left for touch ups afterwards. When I did three coats of primer it took a Gallon due to the primer going on thicker than the final paint. The primekote is much thinner than the 2000e base primer so 2 coats could be done with 2 quart kits as well. If you do any fairing or repairs and spray high build or 2000e I would get the gallon kit due to you will need to fair threw several layers to get it prefect. If your hull is clean and problem free you can skip that step and do just the final primer and paint but all imperfections will show threw if there are any.
__________________
Current SeaCraft projects: 68 27' SeaCraft Race boat 71 20' SeaCraft CC sf 73 23' SeaCraft CC sf 74 20' SeaCraft Sceptre 74 20' SeaCraft CC sf |
|
#9
|
|||
|
|||
|
By imperfections do u mean scrapes, gouges or something else? Thank you
|
|
#10
|
|||
|
|||
|
Quote:
High Build grey: 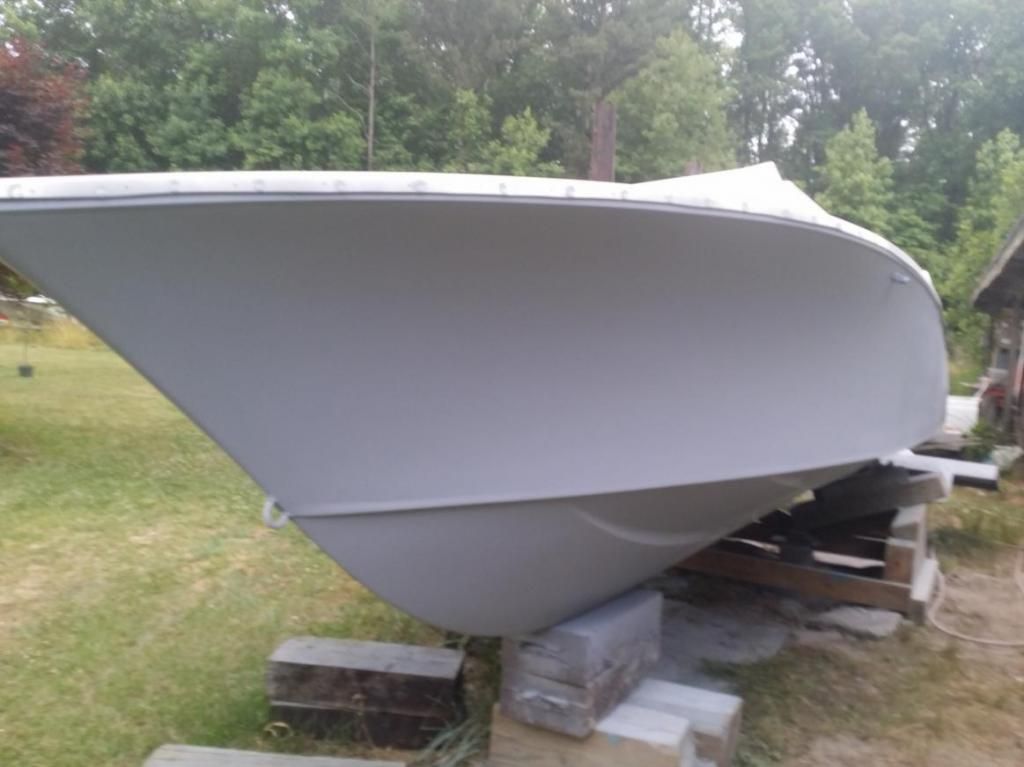 The first pass sanding: 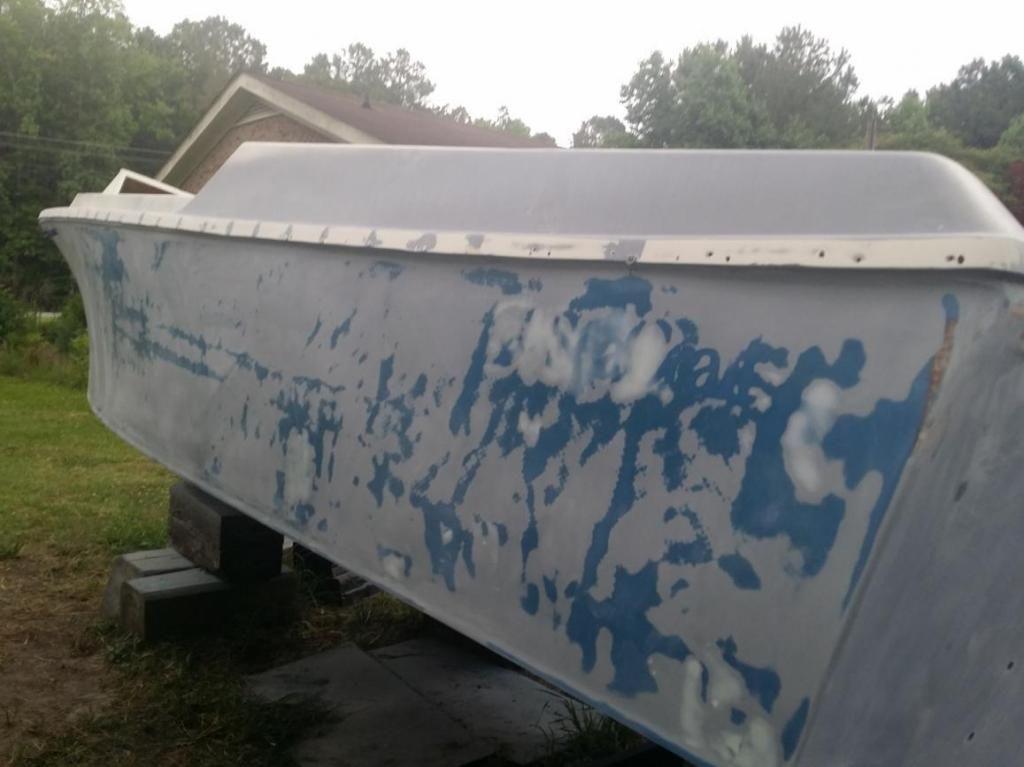 The second pass sanding: 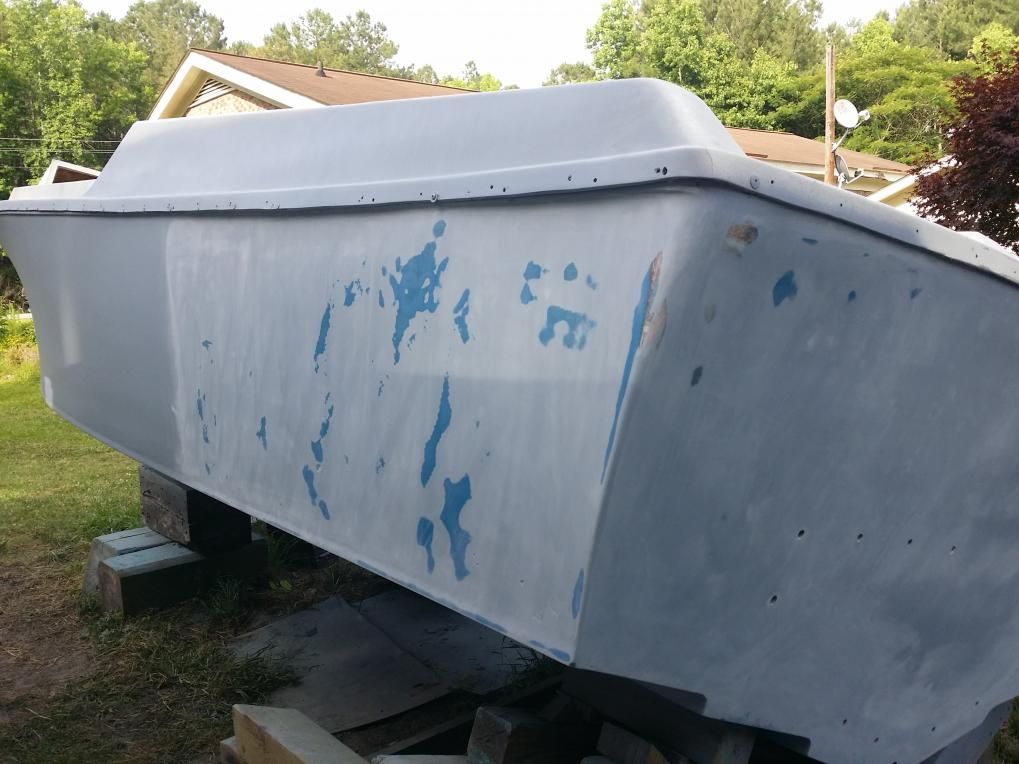 This is a good sander Hutchin straight line sander with DA rotary action: 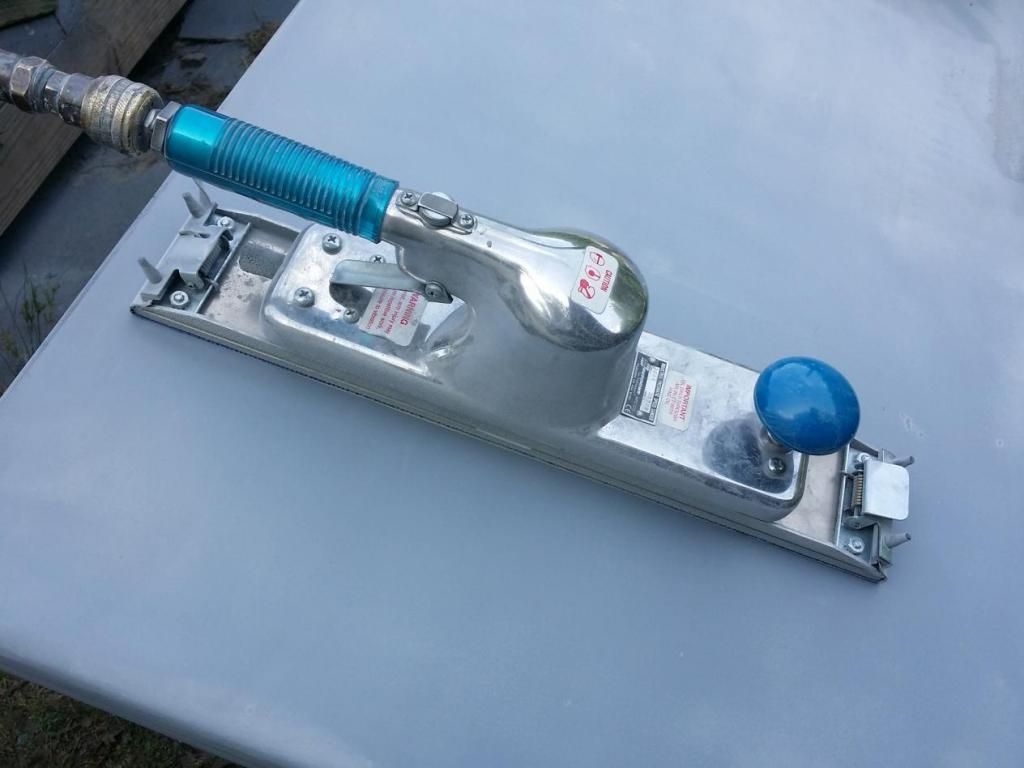
__________________
Current SeaCraft projects: 68 27' SeaCraft Race boat 71 20' SeaCraft CC sf 73 23' SeaCraft CC sf 74 20' SeaCraft Sceptre 74 20' SeaCraft CC sf |
 |
|
|