
|
|
#11
 12-06-2011, 06:37 PM
|
|||
|
|||
|
I think most of my old core removal is done. Scoring with a skillsaw and removing the pieces with a pry bar on edge seemed to do it. I might pull the livewell/rear hatch up and redo it. I'll run a drill bit into the bottom side and see how the shavings are.
Most of the dust you're seeing is wood dust. We're a commercial millwork/casework company during the day and so nights/weekends I get to work the boat. 
|
|
#12
12-17-2011, 01:14 PM
|
|||
|
|||
|
Basically spent the last week after work filling fairing sanding the gunnel caps. The front hatch and livewell deck hatch felt strong but core samples showed the wood to be wet, so I went ahead and recored them as well. Hopefully when I have a week off for Christmas I'll get the deck up along with the fuel tank. Turns out it is an original tank. 47 gallons. I had assumed all tanks sat in their own fiberglass coffin box.
hotcoat coring parts. I only hotcoat the bottom/sides that will be bonded first. Once all the coring is in place I hit the top side all at once so I dont have to handle a ton of pieces again.  coring clamped in with the torpedo heater keeping it warm. 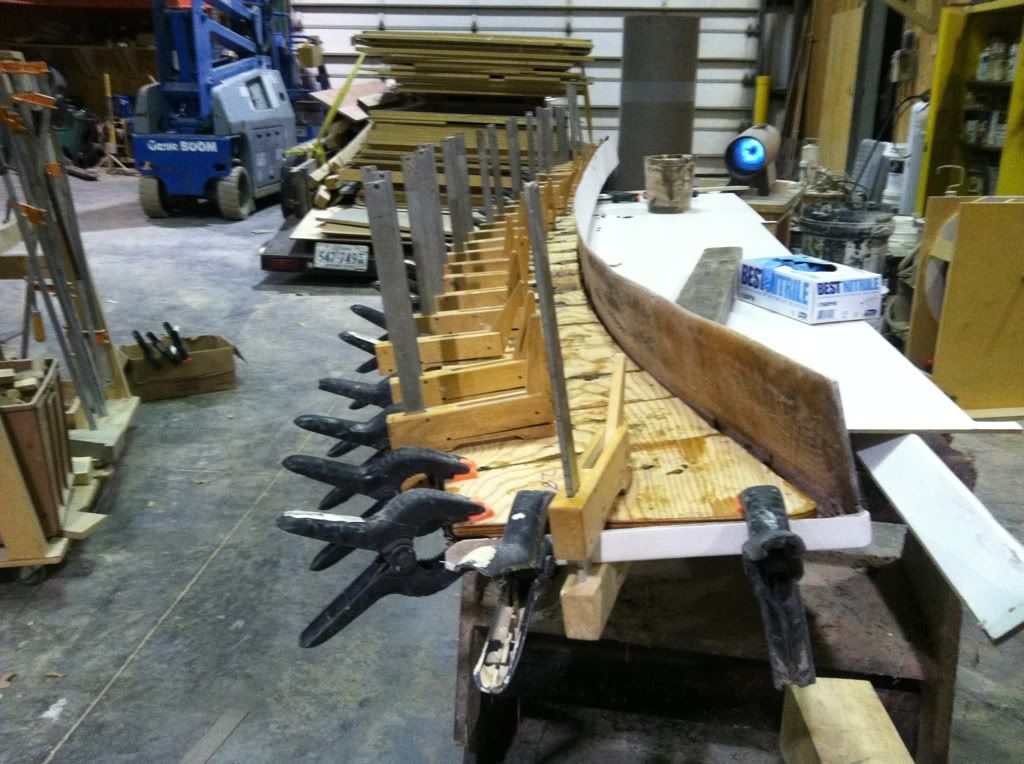 1708 cut to size:  1.5oz mat wetted out over old rod holder locations 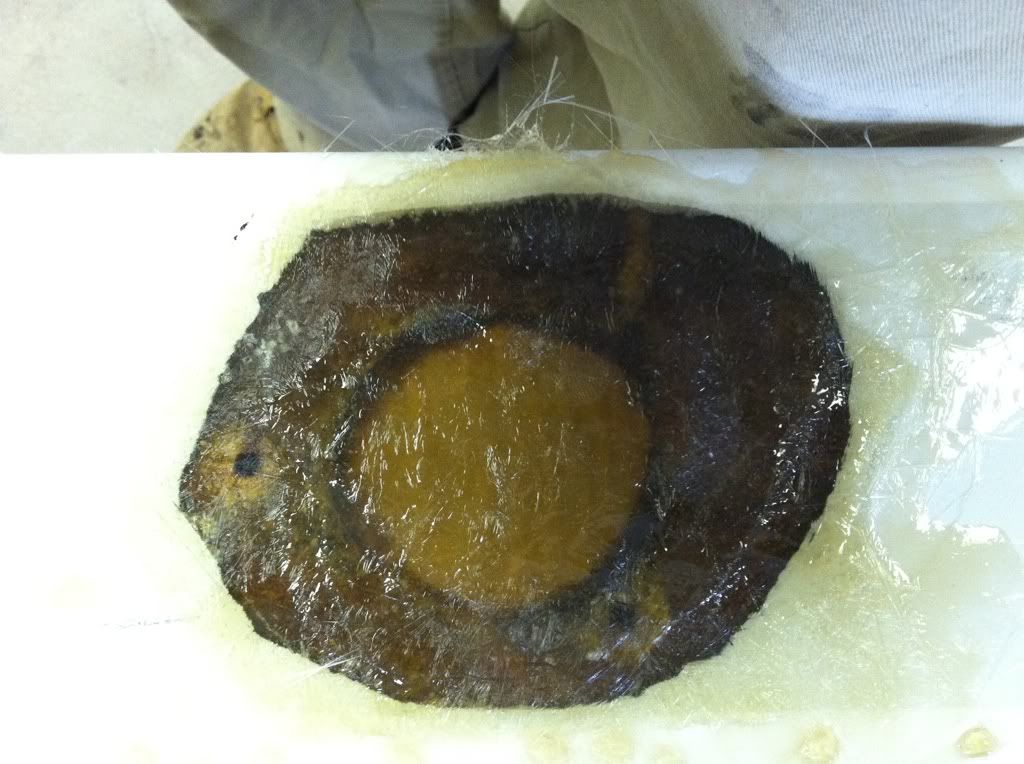 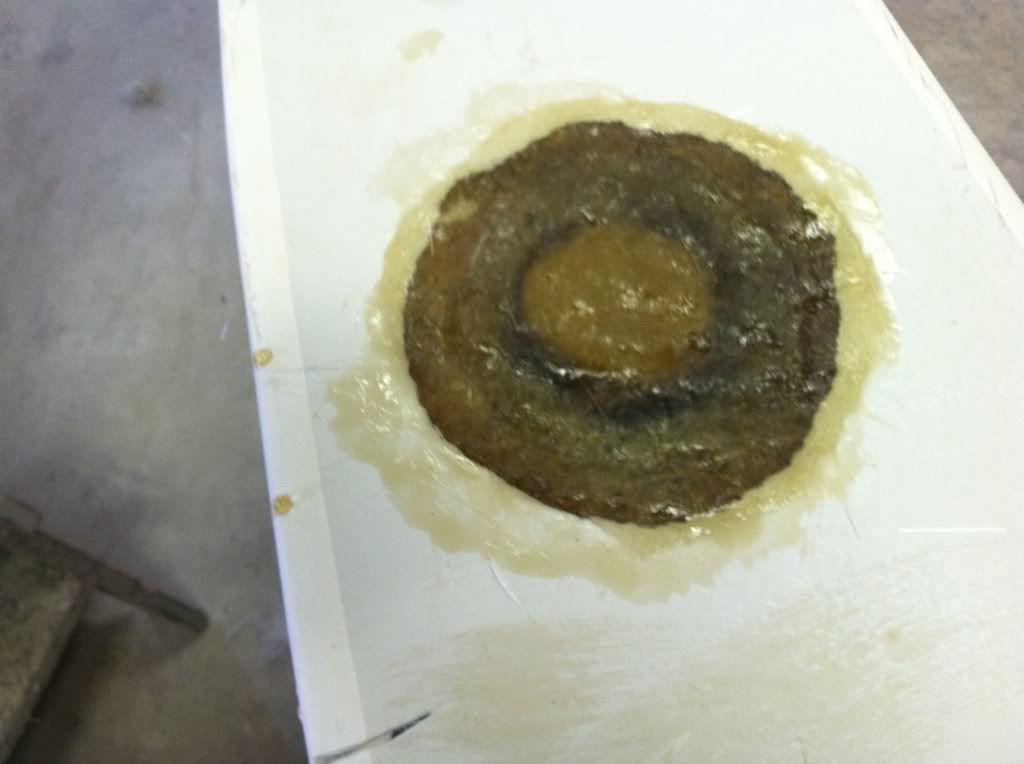 filled sanded faired. again and again and again. 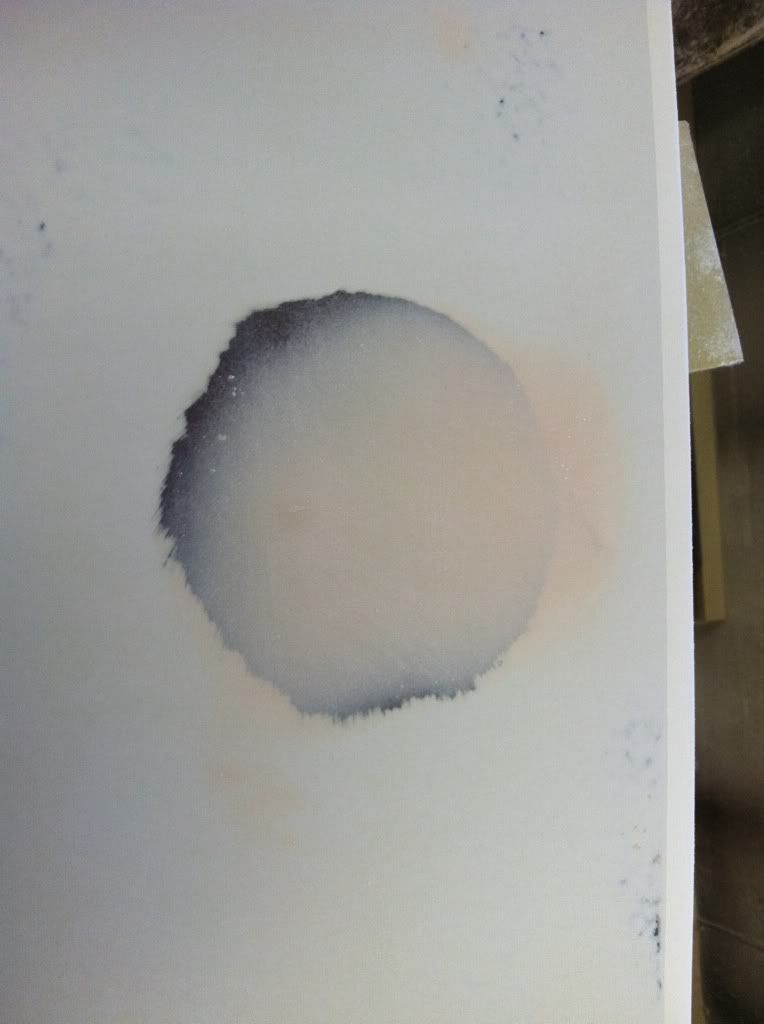 
|
|
#13
12-27-2011, 05:47 PM
|
|||
|
|||
|
Got the deck pulled yesterday along with the tank. After cutting the perimeter of the deck, I looped a strap through the front deck inspection hatch and lifted the entire deck out with the help of a fork lift. Tank was similar, I was able to rip out the front and back bulkheads that were rotted, which allowed me to run a strap along the length of the tank and racheted it out. Capped off the ends and pressure tested it to 4psi without leaks. Sanded what primer/paint was still left on it and plan on coating it this week sometime. I cut out the little amount of glass that was left around the tank area, I still need to grind it all flush but ill do that later.
Once the deck was out, I went after the wet foam. The areas foamed left and right of the stringers were only wet about half way up from the stern, and only the lower 1/2" or so was really saturated through. I went ahead and cleaned out both sides front to back. Im going to refill these areas AND the stringers once theyre ready. The stringer foam has some water in it that I could see once I shoved a pry bar down there and moved it around. The water seeps out of the compressed foam. FYI the deck is all 3/4" material. I was under the assumption it was 1/2" I'm not sure if this is a tracker specific thing, or what. 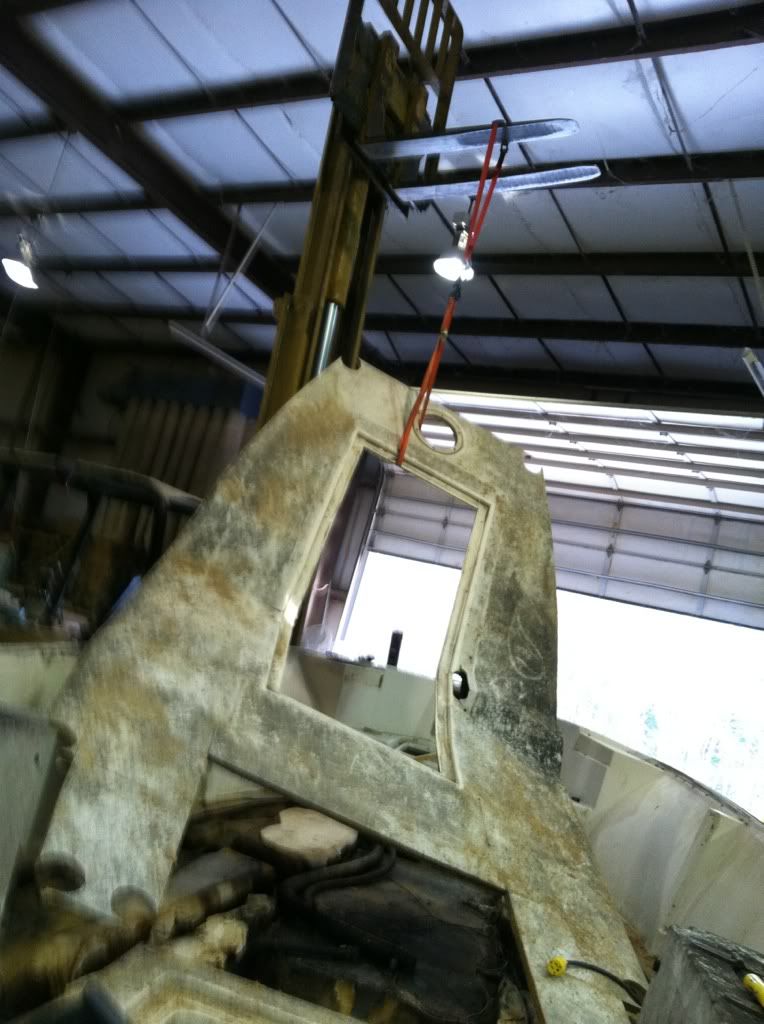 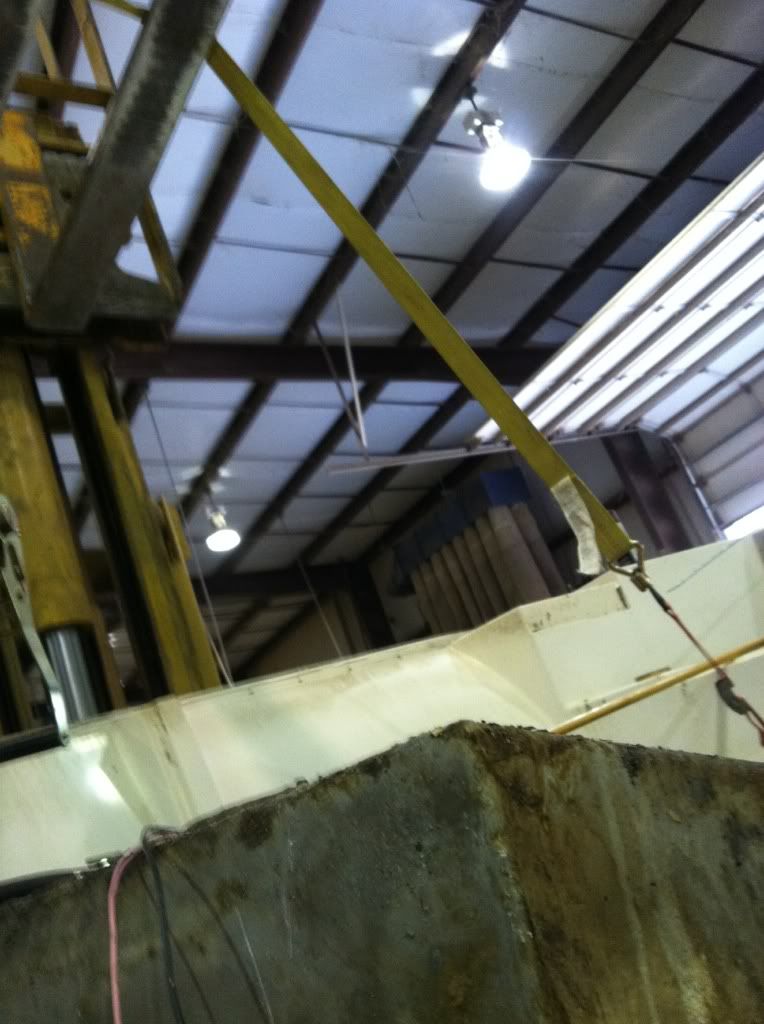  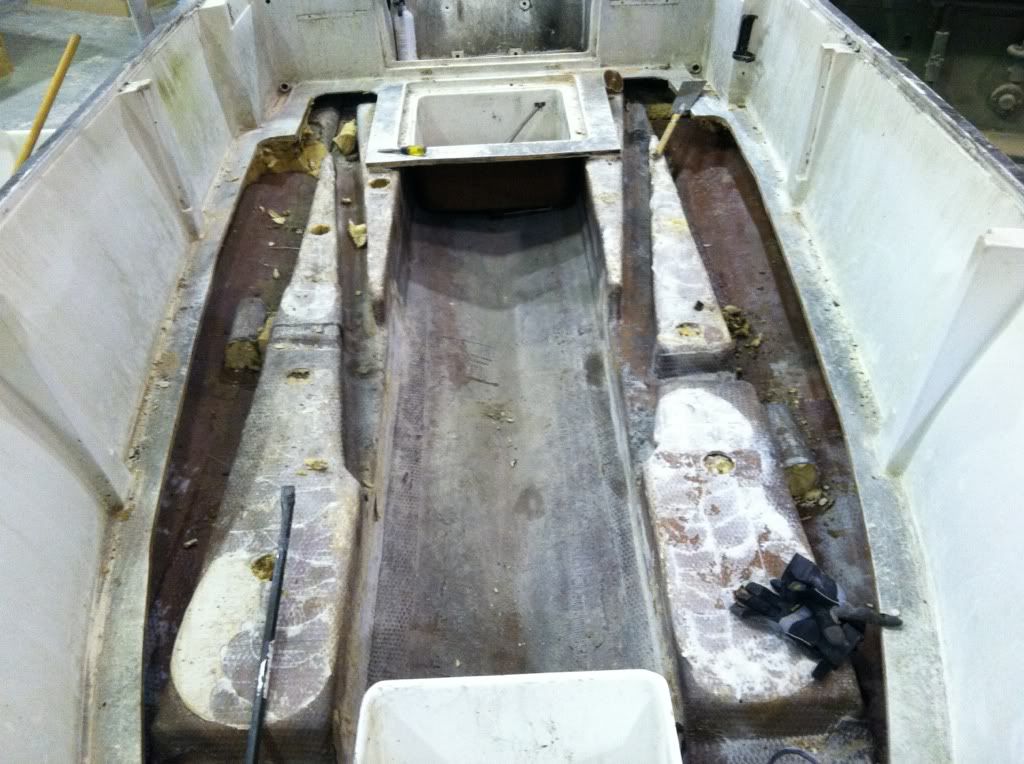 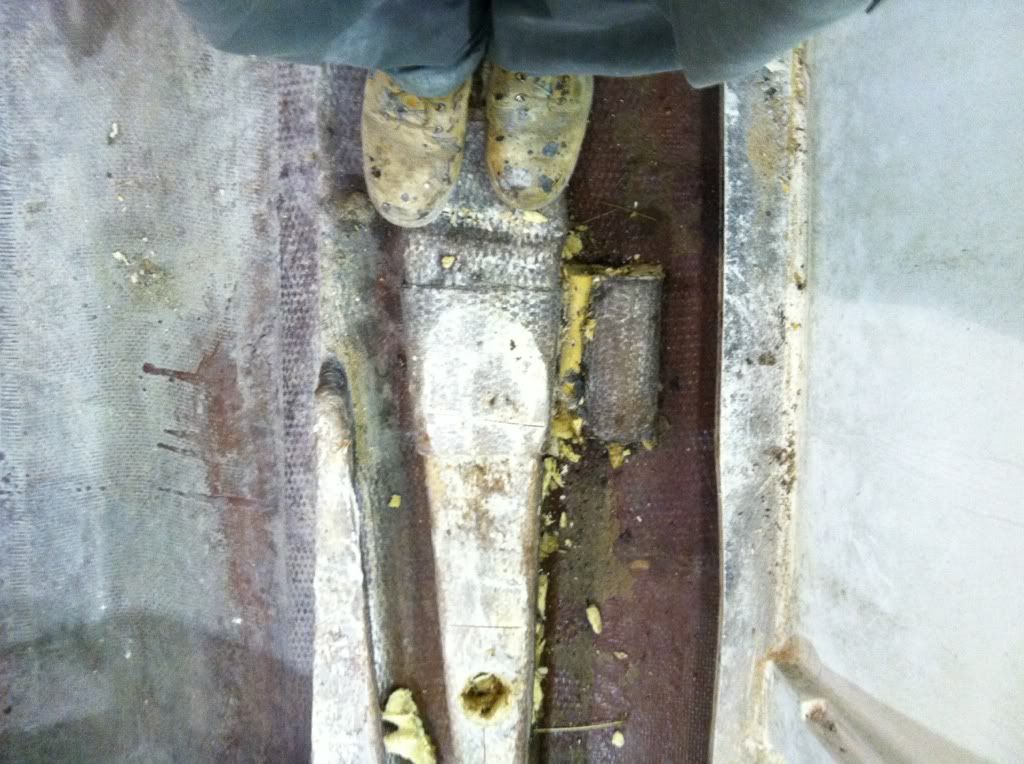 The last picture shows a fiberglass tube that was on the outside part of the left and right stringer, about 2/3rds up from the stern that was glassed in - I'm thinking to help pop/lift the boat out of the mold initially? The glass box at the front of the deck is from a past project that never got completed and I'm looking at cutting it down to make it into an anchor/castnet/wetstorage to fill the void between the tank and the raised bow box. Plans for the rest of the week are to cut out the stringer tops and dig out the foam, recoat the tank, and create some pvc pipe/tarp cover to keep water out from here on out.
|
|
#15
12-28-2011, 12:13 PM
|
|||
|
|||
|
Once I cut the deck out, some of the remaining wood around the perimeter is still rotted/wet. As it stands now, I would have to still somehow remove all of the wet/rotted wood and then be left with a fiberglass lip to attach new cleat/deck material to. OR lay the new deck right on top of the existing perimeter and build up the stringers as needed. Looking at what I have as of now I'm leaning toward putting a new deck on top of the existing one.
The only issues I can think of right now is having to cut out the livewell that's currently in there, and either filling in the scupper channels flush with the new deck height or leaving them as they are which would make them 5/8"-7/8" (depending on material) deeper. Thinking ill fill it in flush and make new scupper holes. This should help with the self draining abilities with a Suzuki DF140. Ill also have better bilge access once the livewell is out and ill be able to glass in a pad for a raw water pickup/washdown and easier transducer installation. Sorry for the ramble and it sounds like I've just talked myself into it, but I would like to still hear any advice from people who have gone this route. Thanks, Alex.
|
|
#16
12-28-2011, 07:17 PM
|
|||
|
|||
|
I have seen a bunch of these rebuilds and know where you are at.........forum member mark has been there on his old 20 (raising the deck and putting on a DF140) and Hermco should be able to weigh in too. Sounds like you are close to doing it. Glass lay-up looks solid and a 3/4 inch deck core was thick. Is the DF140 a done deal? I was wondering where all that black stuff came from. I plan on wet sanding my 88 18 this year. Let me know how that goes. That gel coat should handle the sanding well considering the thickness on both of our boats!
__________________
Snookerd
|
|
#18
01-02-2012, 04:04 PM
|
|||
|
|||
|
Quote:
The DF140 isn't a done deal, it just seems like the best motor for what ill be using the boat for (at least that's whats Ive started telling myself) Based on the gel coats I have worked on already (hatches and gunnel caps) the gel coat does seem to be laid on fairly heavy. The stringers have no hull separation and the hairline cracks seem to be just gelcoat. I'm pretty sure they're from trailering. Do you think I should put in 3/4" deck or just 1/2"? The last boat I rebuilt was foam filled skiff with a 1/2" deck glass on both sides and this seems plenty strong. The only reason why I'm considering a 1/2" deck is due to weight - the old deck I pulled out seemed extremely heavy. To be fair, there was a fair amount of class on each side and some of the wood was soaked. Went ahead and cut out the livewell also. Removed all the remaining deck material that was still attached to it, and sanded the flange down to an even thickness all around. Also, as a side note, the bedding compound tracker used to bond the deck to the stringers was VERY strong, and still pulled some of the mat off the underside of the deck when it was removed. I wouldn't mind using something similar again. The gap between the stringers and the deck varied from bow to stern. At the stern, the bedding compound was over 3/4" thick, while at the bow where the stringers end, it was only 1/4"-3/16" thick. Since I'll be raising the deck slightly, I figure I might as well raise the stringers to the correct height also. Not exactly sure how I want to tackle this. Originally thought I would build it up with plywood. OR once I remove all the foam from the stringers, Ill temp attach material to the left and right side of the stringers, at a height slightly lower than the underside of the new deck height. Once I pour in the foam, Ill trim the foam to the height of the temp material, remove the temp material, and lay new glass overtop to seal it all up. (not sure what frp is best for this application) Thoughts/ideas? Open to anything. Thanks, Alex. Last edited by alexh; 01-02-2012 at 04:07 PM.
|
|
#19
01-07-2012, 02:40 PM
|
|||
|
|||
|
Alex-Good idea about cutting out the in-deck live well. My 89 18 had it sealed up, and my 88 is still functional. I agree on the 1/2 core. I think you have to have your new deck rest on the old deck lip using it as a ledge, which will raise it slightly. Only other option which would keep the deck the same height is to glass blocks to the inside of the hull so the new deck rests on them and then glass the inside corner-sounds like too much work. The DF 140 on the 87 my parents have has greatly reduced their freeboard and required not only the deck drains plugged, but also the engine well plugs. 2 differences to your boat-1 it is lighter (SeaCraft Industries 18's weigh more than Tracker 18's)and can handle the extra weight noticeably better and your deck will now be lighter. If your set on the 140, you will love that motor. If I bought a new motor, the ETEC 115/130 would be my choice because it is slightly less weight, but for price and quality the 140 would be a close 2nd.
__________________
Snookerd
|
|
#20
01-07-2012, 04:41 PM
|
|||
|
|||
|
Nice work, I can't wait to see the result! For what it is worth the older 99-03 carbed yamaha F100 has served me well on my 20 foot master angler. They are supposedly 367 lb. I can pull 33 MPH with 3 guys in the boat. For some, that isn't enough motor, though. And used ones are cheap. Like $1000. Which is how I ended up taking a chance on one with mine.
Last edited by FishStretcher; 01-07-2012 at 04:47 PM.
|
 |
|
|


 Linear Mode

